DIY Fix for Seat Belt SRS Light: A Quick and Budget-Friendly Guide
Dealing with the dreaded SRS (Supplemental Restraint System) light on your car’s dashboard can be frustrating. Often, this warning light illuminates due to a malfunctioning seat belt buckle switch. This switch plays a crucial role in your car’s safety system, communicating whether your seat belt is fastened, which in turn affects airbag deployment in the event of a collision. Dealership repairs for this issue can be costly, involving diagnostic fees, expensive parts, and labor charges. If you’re looking for a temporary and budget-conscious solution, especially for an older vehicle, this DIY fix might be for you.
This guide outlines a method to bypass the seat belt buckle switch, effectively turning off the SRS light. However, it is critical to understand that this is a workaround, not a permanent repair, and comes with significant safety implications. This method should only be considered if you are fully aware of the risks and always wear your seat belt while driving. By implementing this fix, you will be disabling the seat belt reminder light and chime, and more importantly, potentially altering how your airbag system functions.
This DIY approach is intended for individuals who are comfortable with basic car electronics and understand the inherent risks involved in modifying safety systems. If you are unsure or uncomfortable at any point, it is always recommended to consult a professional mechanic for proper diagnosis and repair. For those proceeding, this guide provides a step-by-step method to address the SRS light caused by a faulty seat belt buckle switch using readily available and inexpensive components.
Before we proceed, let’s understand why this seat belt buckle switch is important and what this DIY fix actually does. The seat belt buckle switch is a sensor that detects when your seat belt is buckled. This information is relayed to your car’s SRS computer, which uses it to determine the appropriate airbag deployment force in a crash. By bypassing this switch, we are essentially telling the system that the seat belt is always buckled, regardless of its actual status.
Now, let’s get into the DIY fix. This method involves using a resistor and a wire to trick the SRS system. The total cost for this repair is minimal, typically around $1-$2 for the necessary parts, and the process should take about 15 minutes to complete.
Disclaimer: Proceed at your own risk. This modification is not a proper repair and may have safety implications. CARDIAGTECH and the author are not responsible for any consequences resulting from this DIY fix. If you are not comfortable with these risks, please consult a qualified mechanic for a professional repair.
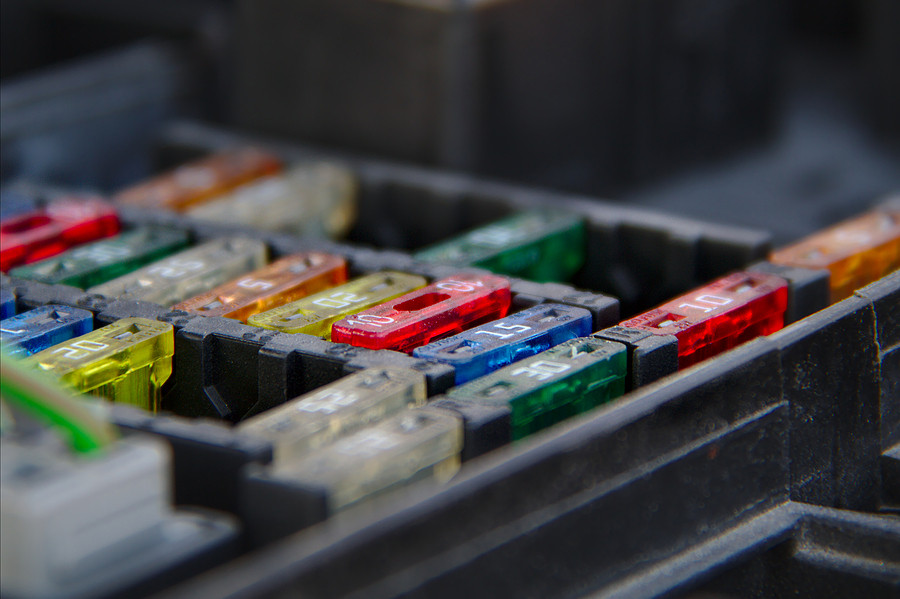
Parts You Will Need:
- 1 Mega Ohm (1MΩ) Resistor: This resistor can be purchased from most electronics or hobby stores. It’s a common and inexpensive component.
Alt text: Close-up of a 1 Mega Ohm resistor, a small electronic component with colored bands, used for DIY car seat belt SRS light fix.
- Short Wire or Paper Clip: A small piece of speaker wire (around 3 inches) or a paper clip will be needed to complete the circuit.
Steps to Bypass the Seat Belt Buckle Switch:
Safety Precaution: It is advisable to disconnect the negative terminal of your car battery before starting any electrical work. This is an optional step but recommended for safety. If you disconnect the battery, ensure you have your radio code if required.
- Access the Seat Belt Buckle Connector: Move the car seat forward and upwards as far as it will go. Look underneath the seat from the rear to locate the connector for the seat belt buckle switch.
Alt text: Image showing the location of the seat belt buckle switch connector underneath a car seat, viewed from the rear.
- Disconnect the Connector: Once you locate the connector, disconnect it by pressing down on the small tab on the connector and pulling it apart.
Alt text: Hands disconnecting the electrical connector of the seat belt buckle switch under the car seat by pressing the release tab.
-
Identify the Female Connector: You will be working with the female side of the connector, which is the part connected to the main wiring harness of your car, not the part attached to the seat buckle itself.
-
Insert the 1MΩ Resistor: On the female connector, identify pin 1 and pin 2. Pin 1 is typically associated with the black wire. Carefully insert the legs of the 1MΩ resistor into pin 1 and pin 2 of the female connector. Ensure a snug fit.
Alt text: Close-up of a female electrical connector with a 1 Mega Ohm resistor inserted into pins 1 and 2, indicated by wire colors.
-
Insert Wire or Paper Clip: Take your short wire or paper clip and insert it into pin 1 and pin 3 of the female connector. Again, ensure a firm connection. This step, along with the resistor, completes the bypass circuit.
-
Reset the SRS Light: After completing the wiring, you will need to reset the SRS light. Refer to this guide for instructions on how to reset the SRS light in your car: http://forums.clubrsx.com/showthread.php?t=308198&highlight=srs+reset. (Link to external SRS reset guide).
-
Verify the Fix: After resetting the SRS light, start your car. If the connections are secure and the bypass is successful, the SRS light should remain off. If the light comes back on immediately, double-check your connections and ensure they are tight.
-
Secure the Connections: Once you have confirmed that the SRS light stays off, use black electrical tape to carefully seal the resistor legs and wire/paper clip in place within the connector. This will help protect the connections from moisture and ensure they remain secure over time.
Important Safety Reminders:
- Loss of Seat Belt Reminder: This DIY fix will disable your seat belt reminder light and chime. You will no longer receive an audible or visual warning if you are not wearing your seat belt.
- Airbag Deployment: By implementing this bypass, you are telling your car that the seat belt is always buckled. In a collision, the airbag system will deploy as if you are wearing your seat belt, regardless of whether you actually are. If you do not consistently wear your seat belt, this modification could lead to increased risk of injury in an accident as the airbag may deploy at full force when it might not be necessary, or conversely, may not deploy optimally if it misinterprets occupant status.
- Temporary Solution: This DIY fix is not a permanent solution to a faulty seat belt buckle switch. It is a workaround to turn off the SRS light and should be considered a temporary measure.
- Professional Repair Recommended: For long-term safety and proper function of your car’s SRS system, it is strongly recommended to have the seat belt buckle switch professionally diagnosed and replaced by a qualified mechanic.
This DIY guide provides a temporary and cost-effective way to address an SRS light caused by a faulty seat belt buckle switch. However, it is paramount to understand and acknowledge the safety implications involved. Always prioritize safety and consider a professional repair for a permanent and reliable solution to any car safety system issues. Drive safely and ensure all occupants are always wearing seat belts.