How to Fix Sagging Roof Lining in Your Car: A DIY Guide

A sagging car roof lining, also known as a headliner, can be a real eyesore and detract from the overall comfort and appearance of your vehicle’s interior. Beyond aesthetics, a drooping headliner can be distracting while driving and indicate underlying issues. Fortunately, you don’t always need a costly professional replacement to restore your car’s ceiling. This guide will walk you through effective DIY methods on How To Fix Sagging Roof Lining In Car without the hassle of complete removal. Let’s explore practical solutions to get your car’s interior looking its best again.
Understanding Your Car’s Roof Lining (Headliner)
Before diving into fixes, it’s helpful to understand what a car headliner is and its purpose. The headliner is the fabric material adhered to the inside roof of your car. It’s more than just a cosmetic feature; it plays several important roles:
- Aesthetics: It provides a finished, smooth, and visually appealing interior roof.
- Insulation: The headliner helps insulate your car’s cabin, keeping it cooler in hot weather and warmer in cold weather.
- Noise Reduction: It acts as a sound absorber, minimizing road noise and vibrations for a quieter and more comfortable ride.
- Structure: The headliner is often bonded to a backing board, adding some structural integrity to the car’s roof interior.
Typically, a car headliner is constructed from multiple layers. This often includes a foam backing, commonly made of polyurethane, which is bonded to a rigid headliner board. This foam layer provides the softness and insulation qualities of the headliner.
Car headliner is a fabric secured to the roof framing
Common Causes of Sagging Car Roof Linings
Over time, you might notice your car’s headliner starting to sag or droop. This unsightly issue is usually caused by the degradation of the adhesive that bonds the fabric to the headliner board. Several factors contribute to this breakdown:
- Heat and Sunlight: Exposure to intense heat and direct sunlight is a primary culprit. The adhesive used in headliners is susceptible to high temperatures. Prolonged heat exposure, especially in hot climates, can cause the glue to weaken and eventually fail, leading to the fabric detaching and sagging.
- Moisture and Humidity: Moisture, whether from humidity, leaks, or condensation, can also damage the headliner. The foam backing can absorb moisture, causing it to lose its structural integrity and the adhesive bond to weaken. Leaks from sunroofs, windows, or windshield seals can exacerbate this issue.
- Age and Wear: Like any material, the components of a headliner, including the adhesive and foam, degrade over time. Normal wear and tear, combined with environmental factors, will eventually contribute to sagging, especially in older vehicles.
- Poor Initial Installation: In some cases, a sagging headliner can be attributed to inadequate installation during manufacturing. Insufficient adhesive application or improper techniques can lead to premature failure.
- Physical Damage: Accidental physical stress can also contribute to sagging. Children or pets playing or pulling on the headliner can weaken the adhesive and fabric over time.
DIY Methods: How to Fix Sagging Roof Lining in Car Without Removing It
Replacing the entire headliner can be a significant undertaking, both in terms of cost and effort, often requiring professional installation. Fortunately, there are several effective and budget-friendly methods to fix a sagging roof lining without removing it completely. These DIY approaches can restore the appearance of your car’s interior and save you money.
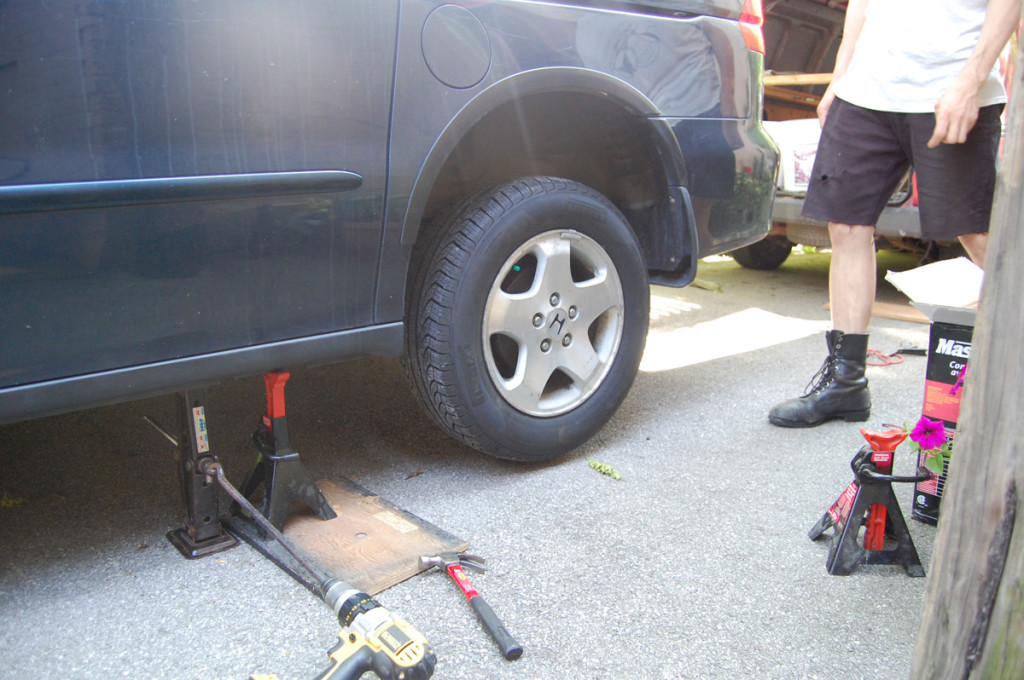
 DIY fix for sagging car headliner
1. Re-Adhering with Fabric Glue
For minor sagging, particularly around the edges or corners of the headliner, fabric glue can be a simple and effective solution. This method works best when the fabric is only partially detached.
Materials You’ll Need:
- Headliner Adhesive Spray: Specifically formulated for headliners, this type of adhesive is designed to withstand automotive interior conditions. Avoid general-purpose glues as they may not hold up to heat and can damage the headliner material.
- Painter’s Tape: To protect surrounding trim and surfaces from overspray.
- Clean Cloth or Sponge: For cleaning the area and smoothing the fabric.
Steps:
- Clean the Sagging Area: Gently clean the sagging fabric and the exposed backing board with a soft brush or vacuum cleaner to remove any dust or loose debris.
- Apply Adhesive: Shake the headliner adhesive spray can well. Protect the surrounding areas with painter’s tape. Lightly spray the adhesive onto both the back of the sagging fabric and the corresponding area on the headliner board. Apply in thin, even coats to prevent soaking through the fabric.
- Reattach the Fabric: Allow the adhesive to become slightly tacky (as per the product instructions, usually a minute or two). Carefully press the fabric back into place, starting from one edge and smoothing it out to avoid wrinkles or air bubbles.
- Apply Pressure: Use a clean cloth or sponge to gently apply even pressure to the re-adhered area. Hold for a few minutes to ensure a good bond.
- Cure Time: Allow the adhesive to cure completely according to the manufacturer’s instructions, usually a few hours. Avoid touching or disturbing the repaired area during this time.
Pros:
- Easy and Inexpensive: A relatively simple and low-cost method.
- Effective for Minor Sagging: Works well for small detached areas.
Cons:
- May Not Hold Long-Term: In areas with significant sagging or heat exposure, the glue may eventually fail again.
- Can Be Messy: Overspray of adhesive can be an issue if not applied carefully.
2. Using Twist Pins or Saggy Stoppers
For more extensive sagging, especially when the fabric is drooping significantly, twist pins or “saggy stoppers” offer a quick and practical fix. These pins are designed to hold the fabric up and in place without removing the headliner.
Materials You’ll Need:
- Twist Pins (Saggy Stoppers): These are clear plastic pins with a twist-lock head, designed to be discreet and hold headliner fabric.
- Optional: Pattern Template: For creating a uniform pattern with the pins (e.g., a stencil or ruler).
Steps:
- Gather Sagging Fabric: Gently gather the sagging headliner fabric and push it back up towards the headliner board.
- Insert Twist Pins: At the desired location, push the pointed end of a twist pin through the fabric and into the foam backing board.
- Twist to Lock: Twist the pin head to lock it in place, securing the fabric against the headliner board.
- Repeat as Needed: Continue inserting twist pins across the sagging area, spacing them evenly to lift and secure the fabric. You can create patterns or follow existing lines in the headliner for a more visually appealing result.
Pros:
- Fast and Simple: A very quick and easy method, requiring minimal tools.
- Inexpensive: Twist pins are relatively cheap and readily available.
- Effective for Significant Sagging: Can handle larger areas of drooping fabric.
- Discreet: Clear-headed pins are less noticeable than other types of fasteners.
Cons:
- Appearance: While discreet, the pins are still visible and may not be aesthetically ideal for everyone.
- Not a Permanent Fix: This is a temporary solution and does not address the underlying adhesive failure.
- Potential for Fabric Damage: Overuse or improper pin placement could potentially damage the headliner fabric.
3. Steam Cleaner and Fabric Roller Method
For a potentially more involved but sometimes more effective DIY fix, you can try using a steam cleaner in combination with a fabric roller. The steam can help reactivate the old adhesive, while the roller helps to re-bond the fabric to the backing board.
Materials You’ll Need:
- Steam Cleaner (with Upholstery Attachment): A handheld steam cleaner with an upholstery nozzle is ideal.
- Fabric Roller (Paint Roller or Upholstery Roller): A clean, soft fabric roller to smooth the headliner fabric.
- Clean Cloths: To wipe away any excess moisture or condensation.
Steps:
- Prepare the Area: Ensure the car interior is well-ventilated. Protect seats and other surfaces from potential moisture with towels or plastic sheeting.
- Apply Steam: Using the steam cleaner’s upholstery attachment, gently apply steam to the sagging headliner area. Move the steamer slowly and evenly, holding it a few inches away from the fabric. Avoid soaking the headliner. The goal is to gently heat and moisten the adhesive.
- Roll and Smooth: Immediately after steaming an area, use the fabric roller to firmly but gently roll the fabric back against the headliner board. Work in sections, smoothing out any wrinkles or creases as you go.
- Dry and Repeat: Allow the area to air dry slightly. Repeat the steaming and rolling process if necessary, especially for areas with stubborn sagging.
- Ventilate and Dry Thoroughly: After completing the repair, leave the car doors open (weather permitting) or use fans to ensure the interior is thoroughly ventilated and dried to prevent mildew or odors.
Pros:
- Potentially Re-activates Adhesive: Steam can help soften and re-activate the original headliner adhesive.
- Smoother Finish: The roller can help achieve a smoother, more uniform finish compared to pins.
Cons:
- Requires Steam Cleaner: You’ll need access to a steam cleaner, which might be an additional cost if you don’t own one.
- Risk of Damage: Excessive steam or heat can damage the headliner fabric or backing board.
- Effectiveness Varies: The success of this method depends on the type and condition of the original adhesive.
- Moisture Concerns: Introducing moisture into the car interior requires thorough drying to prevent issues.
Preventing Future Sagging: Proactive Measures
While fixing a sagging headliner is achievable, preventing it in the first place is always better. Here are some tips to prolong the life of your car’s roof lining:
- Park in Shade: Whenever possible, park your car in shaded areas or use a car cover, especially during hot and sunny weather. This minimizes heat buildup inside the car and reduces stress on the headliner adhesive.
- Ventilate Your Car: On hot days, crack your windows slightly to allow for ventilation and reduce interior heat.
- Regularly Inspect and Address Leaks: Check for and promptly repair any leaks from sunroofs, windows, or windshield seals to prevent moisture damage to the headliner.
- Gentle Cleaning: When cleaning your car’s interior, be gentle around the headliner. Avoid harsh chemicals or abrasive cleaners. Lightly dust or vacuum the headliner surface as needed.
- Limit Physical Stress: Discourage children and pets from pulling or hanging onto the headliner.
When to Consider Professional Headliner Replacement
While DIY methods can effectively address sagging roof linings in many cases, there are situations where professional replacement is the best or only option:
- Extensive Damage: If the headliner is severely damaged, torn, stained, or crumbling, simple fixes may not be sufficient.
- Large Areas of Sagging: For very large or completely detached sections of headliner, professional replacement might provide a more durable and aesthetically pleasing result.
- Desire for a Permanent Solution: DIY fixes are often temporary solutions. If you want a long-lasting and guaranteed repair, professional replacement is recommended.
- Luxury or High-Value Vehicles: For high-end cars, maintaining originality and quality might necessitate professional headliner replacement.
Cost of Professional Headliner Replacement
The cost to replace a car headliner professionally can vary depending on several factors, including:
- Vehicle Make and Model: Luxury vehicles or those with complex roof designs often have higher replacement costs.
- Headliner Material: The type of fabric and material used can affect the price.
- Labor Costs: Labor rates vary by location and shop.
- Additional Features: Sunroofs, moonroofs, or integrated lighting can increase complexity and cost.
Generally, you can expect to pay anywhere from $300 to $1000 or more for professional headliner replacement. Here’s a rough cost breakdown:
| Vehicle Type | Estimated Replacement Cost |
|---|---|
| Simple Sedan/Hatchback/Coupe (e.g., Corolla) | $300 – $750 |
| Typical SUV/Crossover (e.g., RAV4) | $500 – $900 |
| Luxury Vehicle (e.g., BMW) | $1000 – $6000+ |
Note: These are estimated ranges, and actual costs can vary. It’s always best to get quotes from local auto upholstery shops for accurate pricing.
Conclusion: Restoring Your Car’s Interior
A sagging roof lining can be a frustrating issue, but it doesn’t have to be a major expense. By understanding the causes of sagging and utilizing these DIY methods on how to fix sagging roof lining in car, you can effectively restore the look and feel of your car’s interior without breaking the bank. Whether you choose adhesive, twist pins, or the steam cleaner method, these solutions offer practical ways to tackle this common car problem. If DIY isn’t your preference, remember that professional headliner replacement is also an option for a more comprehensive and lasting repair.
FAQs About Sagging Car Roof Linings
How do you know if your ceiling is sagging?
Signs of a sagging car ceiling include:
- Visible drooping fabric that is detached from the roof.
- A noticeable gap between the fabric and the roof, especially around the edges.
- The fabric may feel loose or wavy when touched.
- In severe cases, the headliner may be hanging down and obstructing your view.
Is it OK to fix the headliner sagging myself?
Yes, for many cases of sagging headliners, DIY fixes are perfectly acceptable and can save you a significant amount of money compared to professional replacement. DIY methods are particularly suitable for minor to moderate sagging.
Can I paint a headliner?
While technically possible, painting a headliner is generally not recommended. Paint can stiffen the fabric, alter its texture, and may not adhere well long-term due to temperature fluctuations inside the car. It’s usually more effective to repair or replace the headliner fabric.
Does car insurance cover the cost of car headliner replacement?
Typically, standard car insurance policies do not cover headliner replacement due to wear and tear or age-related sagging. Headliner damage might be covered if it’s a result of a covered event like vandalism or a collision, but normal sagging is considered a maintenance issue and not an accident-related damage. You should always check your specific policy details for clarification.