How to Fix Rock Chips on Your Car: A DIY Guide

Rock chips are a common annoyance for car owners. Those small dings and scratches in your car’s paint, often caused by road debris, can detract from your vehicle’s appearance and potentially lead to rust if left untreated. While professional paint repair is an option, fixing rock chips yourself is a cost-effective and manageable DIY project. This guide will walk you through the steps to effectively repair those unsightly rock chips and keep your car looking its best.
First, you’ll need to gather the right supplies to ensure a successful repair. Essential items include:
- Touch-up paint: Obtain touch-up paint that precisely matches your car’s color code. You can usually find this code on a sticker inside your driver’s side doorjamb or in your car’s owner’s manual. Automotive parts stores or dealerships can help you find the correct paint.
- Cleaning supplies: You’ll need car wash soap or dish soap to clean the area, water, and microfiber cloths for drying and application.
- Rubbing alcohol or wax and grease remover: To ensure a clean surface for paint adhesion.
- Fine-tipped applicator brushes or toothpicks: For precise application of touch-up paint into the rock chips.
- Leveling solution (optional): For blending and smoothing the touch-up paint.
- Compound and polish (optional): For refining the repair and restoring shine.
- Wax or sealant: To protect the repaired area after the paint has cured.
Once you have your supplies ready, follow these steps to fix rock chips on your car:
-
Clean the Area: Thoroughly wash the area around the rock chips with car wash soap and water. This removes dirt and grime that can interfere with the repair. Rinse well and dry completely with a microfiber cloth. For targeted cleaning of the chips themselves, use dish soap to ensure any wax is removed, as wax can prevent paint adhesion.
-
Prepare the Surface: Using rubbing alcohol or a wax and grease remover on a clean microfiber cloth, gently wipe the areas with rock chips. This step is crucial for removing any remaining wax, polish, or contaminants that could prevent the touch-up paint from adhering properly.
-
Apply Touch-Up Paint: Shake the touch-up paint bottle well according to the manufacturer’s instructions. Using a fine-tipped applicator brush or a toothpick, carefully apply a small amount of touch-up paint directly into the rock chip. The goal is to fill the chip with paint, but avoid applying too much at once, which can lead to drips or a raised blob of paint. For deeper chips, you may need to apply thin layers, allowing each layer to dry slightly before applying the next. Let the paint dry completely. Drying times can vary depending on the paint and environmental conditions, so refer to the touch-up paint instructions for guidance.
Uneven car hood after DIY rock chip repair using touch-up paint, highlighting the need for proper application techniques.
-
Level the Paint (Optional): If the touch-up paint application has resulted in a raised area above the original paint surface, you can consider leveling it. For minor imperfections, a leveling solution designed for touch-up paint can be used to gently soften and blend the edges of the new paint with the surrounding area. Follow the leveling solution’s instructions carefully. For more pronounced raised areas, you might consider wet sanding and compounding, but these techniques require more skill and caution to avoid damaging the surrounding paint. For most DIY repairs, leveling solutions are sufficient.
-
Polish and Wax: Once the touch-up paint is fully cured (refer to paint instructions for cure times, which can be hours or days), you can further refine the repair. Apply a small amount of polishing compound to a foam applicator pad and gently polish the repaired area using circular motions. This will help to smooth out any minor imperfections and enhance the shine. After polishing, clean the area and apply a coat of wax or sealant to protect the repaired rock chips and blend them seamlessly with the rest of your car’s paint.
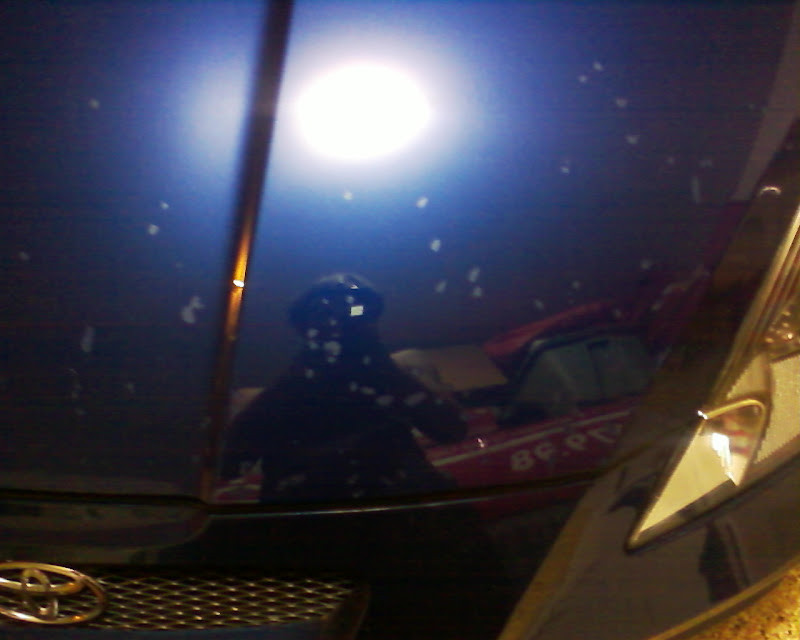 Car hood with visible touch-up paint blobs applied to numerous rock chips, demonstrating a common DIY approach to automotive paint repair.
Fixing rock chips at home is a rewarding way to maintain your car’s appearance and prevent further damage. By following these steps and using the right materials, you can effectively tackle those minor paint imperfections and enjoy a smoother, more flawless finish. While DIY touch-up might not achieve a factory-perfect result, it significantly improves the look of your car and protects it from rust, all while saving you the cost of professional body shop repairs.


