How to Fix a Hole in Your Cloth Car Seat: A DIY Guide
A tear or hole in your car seat can really detract from your vehicle’s interior appeal, especially if the rest of your car is in good shape. Before you consider expensive reupholstering services or generic seat covers, you might be surprised to learn you can tackle this problem yourself. Fixing a hole in your cloth car seat is a manageable DIY project that can save you money and restore the look of your car’s interior.
This guide will walk you through simple steps to repair those unsightly holes in your cloth car seats, getting your car’s interior back to looking its best without breaking the bank.
repair car upholstery
1. Evaluate the Damage
The first crucial step in any car upholstery repair, especially when addressing a hole in your cloth car seat, is to carefully assess the extent of the damage. For cloth seats, most minor holes and tears can be repaired at home. However, it’s important to determine if the damage is something you can handle yourself or if it requires professional attention.
Assess the size and location of the hole: Is it a small puncture, like a cigarette burn, or a larger tear? Is it in a high-visibility area, or somewhere less noticeable? Small holes in less conspicuous locations are ideal for DIY repair.
Check for structural damage: Ensure the damage is only to the upholstery fabric itself and doesn’t extend to the seatbelt mechanisms or any other safety components. If safety features are compromised, it’s essential to consult a professional for repairs. Safety should always be the priority.
Consider the “like new” factor: While DIY repairs can significantly improve the appearance of your car seat, it’s unlikely to be completely invisible. Manage your expectations. If you need a flawless, factory-fresh finish, or if you are planning to sell your car soon and want it in top condition, professional upholstery repair might be a better option. However, for everyday wear and tear and to improve the general look of your interior, DIY methods are very effective.
2. Gather Your Repair Supplies
Once you’ve assessed the damage and decided to proceed with a DIY repair for the hole in your cloth car seat, gathering the right supplies is the next important step. Having everything on hand will make the repair process smoother and more efficient. Here’s what you’ll typically need:
- Patch Fabric: The most crucial item is fabric that closely matches the color, texture, and pattern of your car’s upholstery. You can often find suitable fabric at craft stores or fabric shops. For the best match, you might consider taking a small, discreet piece of fabric from under the seat or another hidden area of your car to the store to compare.
- Fabric Adhesive or Interfacing: For patching holes, you’ll need a strong fabric adhesive or fusible interfacing. Fusible interfacing is a heat-activated adhesive that bonds fabric together when ironed. Choose one that is designed for upholstery or heavy fabrics to ensure a durable repair.
- Upholstery Needle and Thread (Optional): For larger tears or to reinforce the patch, a curved upholstery needle and heavy-duty upholstery thread matching your seat color can be very useful. Sewing can provide extra strength and a neater finish, especially for edges that might fray.
- Scissors or Utility Knife: For trimming fabric and adhesive.
- Iron (if using fusible interfacing): A household iron is needed to activate fusible interfacing.
- Fabric Sealant (Optional): To prevent fraying around the repaired area, especially if you’ve sewn a tear.
- Cleaning Supplies: A vacuum cleaner, mild upholstery cleaner, and a soft brush to clean the area around the hole before you begin the repair. This ensures better adhesion and a cleaner finished look.
- Rubbing Alcohol (Optional): To clean the area and remove any residues that might interfere with adhesion.
Having these supplies ready will set you up for a successful DIY repair of the hole in your cloth car seat.
3. Step-by-Step Patching Process
With your supplies gathered and the damage assessed, you can now move on to the step-by-step process of patching the hole in your cloth car seat. This method is particularly effective for smaller holes, such as burns or punctures.
-
Clean the Area: Begin by thoroughly cleaning the area around the hole. Use a vacuum cleaner to remove any loose dirt, debris, and crumbs. Then, using a mild upholstery cleaner and a soft brush, gently clean the fabric around the hole. Allow the area to dry completely before proceeding. For stubborn stains, a bit of rubbing alcohol on a cotton swab can help, but always test in an inconspicuous area first to ensure it doesn’t discolor your upholstery.
-
Prepare the Patch Fabric: Cut a piece of your chosen patch fabric that is slightly larger than the hole you need to repair, allowing for about half an inch of overlap around all sides of the hole. Ensure the edges of your patch are neat and straight for a cleaner finish.
-
Apply Fabric Adhesive or Interfacing:
- Using Fabric Adhesive: Apply fabric adhesive to the back of your patch fabric, focusing on the edges and ensuring even coverage.
- Using Fusible Interfacing: Cut a piece of fusible interfacing that is slightly larger than the hole but smaller than your patch fabric. Place the interfacing over the hole, tucking the edges slightly under the existing upholstery fabric if possible. Then, position your patch fabric directly over the interfacing.
-
Secure the Patch:
- With Fabric Adhesive: Carefully position the adhesive-backed patch over the hole, ensuring it’s centered. Gently press down the patch, starting from the center and moving outwards to avoid air bubbles and ensure good adhesion. Allow the adhesive to dry according to the manufacturer’s instructions.
- With Fusible Interfacing: Cover the patch with a pressing cloth (a thin cotton cloth will work). Using a dry iron set to the appropriate heat setting for your fabric (usually medium to high, but check the interfacing instructions), press down firmly on the pressing cloth over the patch for the recommended time (usually 10-30 seconds). Lift the iron and check if the patch is securely bonded. If not, repeat the process, applying more heat and pressure. Be careful not to scorch the upholstery by overheating.
-
Finishing Touches: Once the patch is securely in place and the adhesive is dry or the interfacing has fused, inspect your repair. Trim any loose threads or uneven edges of the patch for a neater appearance. If you used adhesive, you might consider applying a fabric sealant around the edges of the patch to prevent any fraying and further secure the repair.
By following these steps, you can effectively patch a hole in your cloth car seat, improving its appearance and preventing further damage.
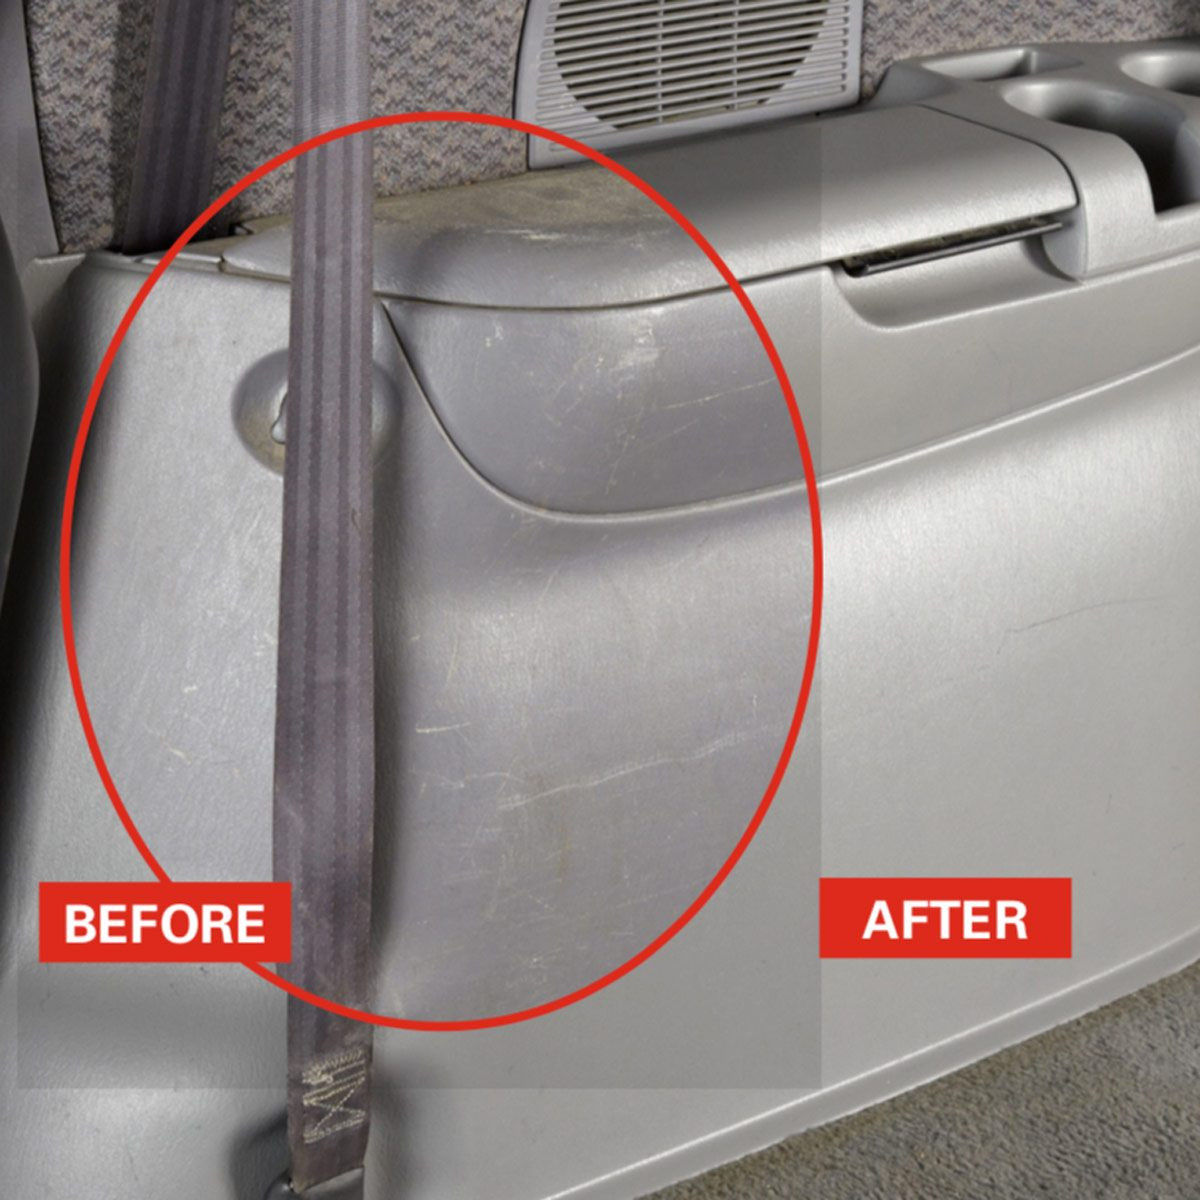
While leather seats require different repair techniques, for cloth interiors, these DIY methods can be a cost-effective way to maintain your car’s interior. For scratches on leather, specialized leather conditioning creams or repair kits might help, but extensive leather damage often requires professional care.
Conclusion
Fixing a hole in your cloth car seat doesn’t have to be a daunting or expensive task. With these straightforward steps and readily available materials, you can effectively repair minor damage and keep your car’s interior looking its best. By taking a DIY approach, you save money and gain the satisfaction of maintaining your vehicle yourself. Regularly inspecting and addressing small upholstery issues can prevent them from becoming larger, more costly problems down the road, preserving the comfort and value of your car for years to come.