How to Fix Fuel Gauge in Car: A Comprehensive Guide for Accuracy
An accurate fuel gauge is crucial for any driver. It prevents you from running out of gas unexpectedly and helps in planning your journeys efficiently. However, fuel gauges can malfunction, providing inaccurate readings that can be frustrating and even leave you stranded. If you’re experiencing issues with your car’s fuel gauge, understanding the problem and knowing how to address it is essential. This guide will walk you through the common causes of fuel gauge inaccuracies and provide step-by-step instructions on how to diagnose and potentially fix them.
Understanding Your Car’s Fuel Gauge System
Before diving into fixes, it’s important to understand the basic components of a fuel gauge system. Typically, it consists of three main parts:
- Fuel Level Sender (Sending Unit): Located inside the fuel tank, this component measures the fuel level. It usually contains a float that rises and falls with the fuel, and a variable resistor that changes resistance based on the float’s position. This resistance is then translated into a fuel level reading.
- Wiring and Connections: Wires connect the fuel level sender to the fuel gauge in the dashboard. These wires carry the electrical signal that represents the fuel level.
- Fuel Gauge (Indicator): Located on your car’s dashboard, the fuel gauge displays the fuel level reading to the driver. It interprets the electrical signal from the sender unit and shows it as a visual indication, usually with a needle or digital display.
Understanding how these components work together is the first step in troubleshooting fuel gauge problems.
Common Symptoms of a Faulty Fuel Gauge
Recognizing the symptoms of a malfunctioning fuel gauge is crucial for timely diagnosis and repair. Here are some common signs to look out for:
- Gauge Reads Empty When Tank is Full (or Vice Versa): This is a clear indication of a problem. If your gauge consistently shows empty even after filling up, or full when you know you’ve driven a significant distance, there’s likely an issue.
- Erratic or Fluctuating Readings: The gauge needle jumps around erratically, or the digital display fluctuates wildly, even when driving on a level surface.
- Gauge Stays at One Level: The gauge is stuck at a specific reading, regardless of fuel level changes.
- Inconsistent Readings Over Time: You notice the gauge behaving inconsistently, sometimes accurate and sometimes not, without any apparent pattern.
- Warning Light Stays On or is Inaccurate: The low fuel warning light illuminates prematurely or stays on constantly, even when the gauge suggests there’s fuel in the tank, or conversely, doesn’t come on when the gauge is near empty.
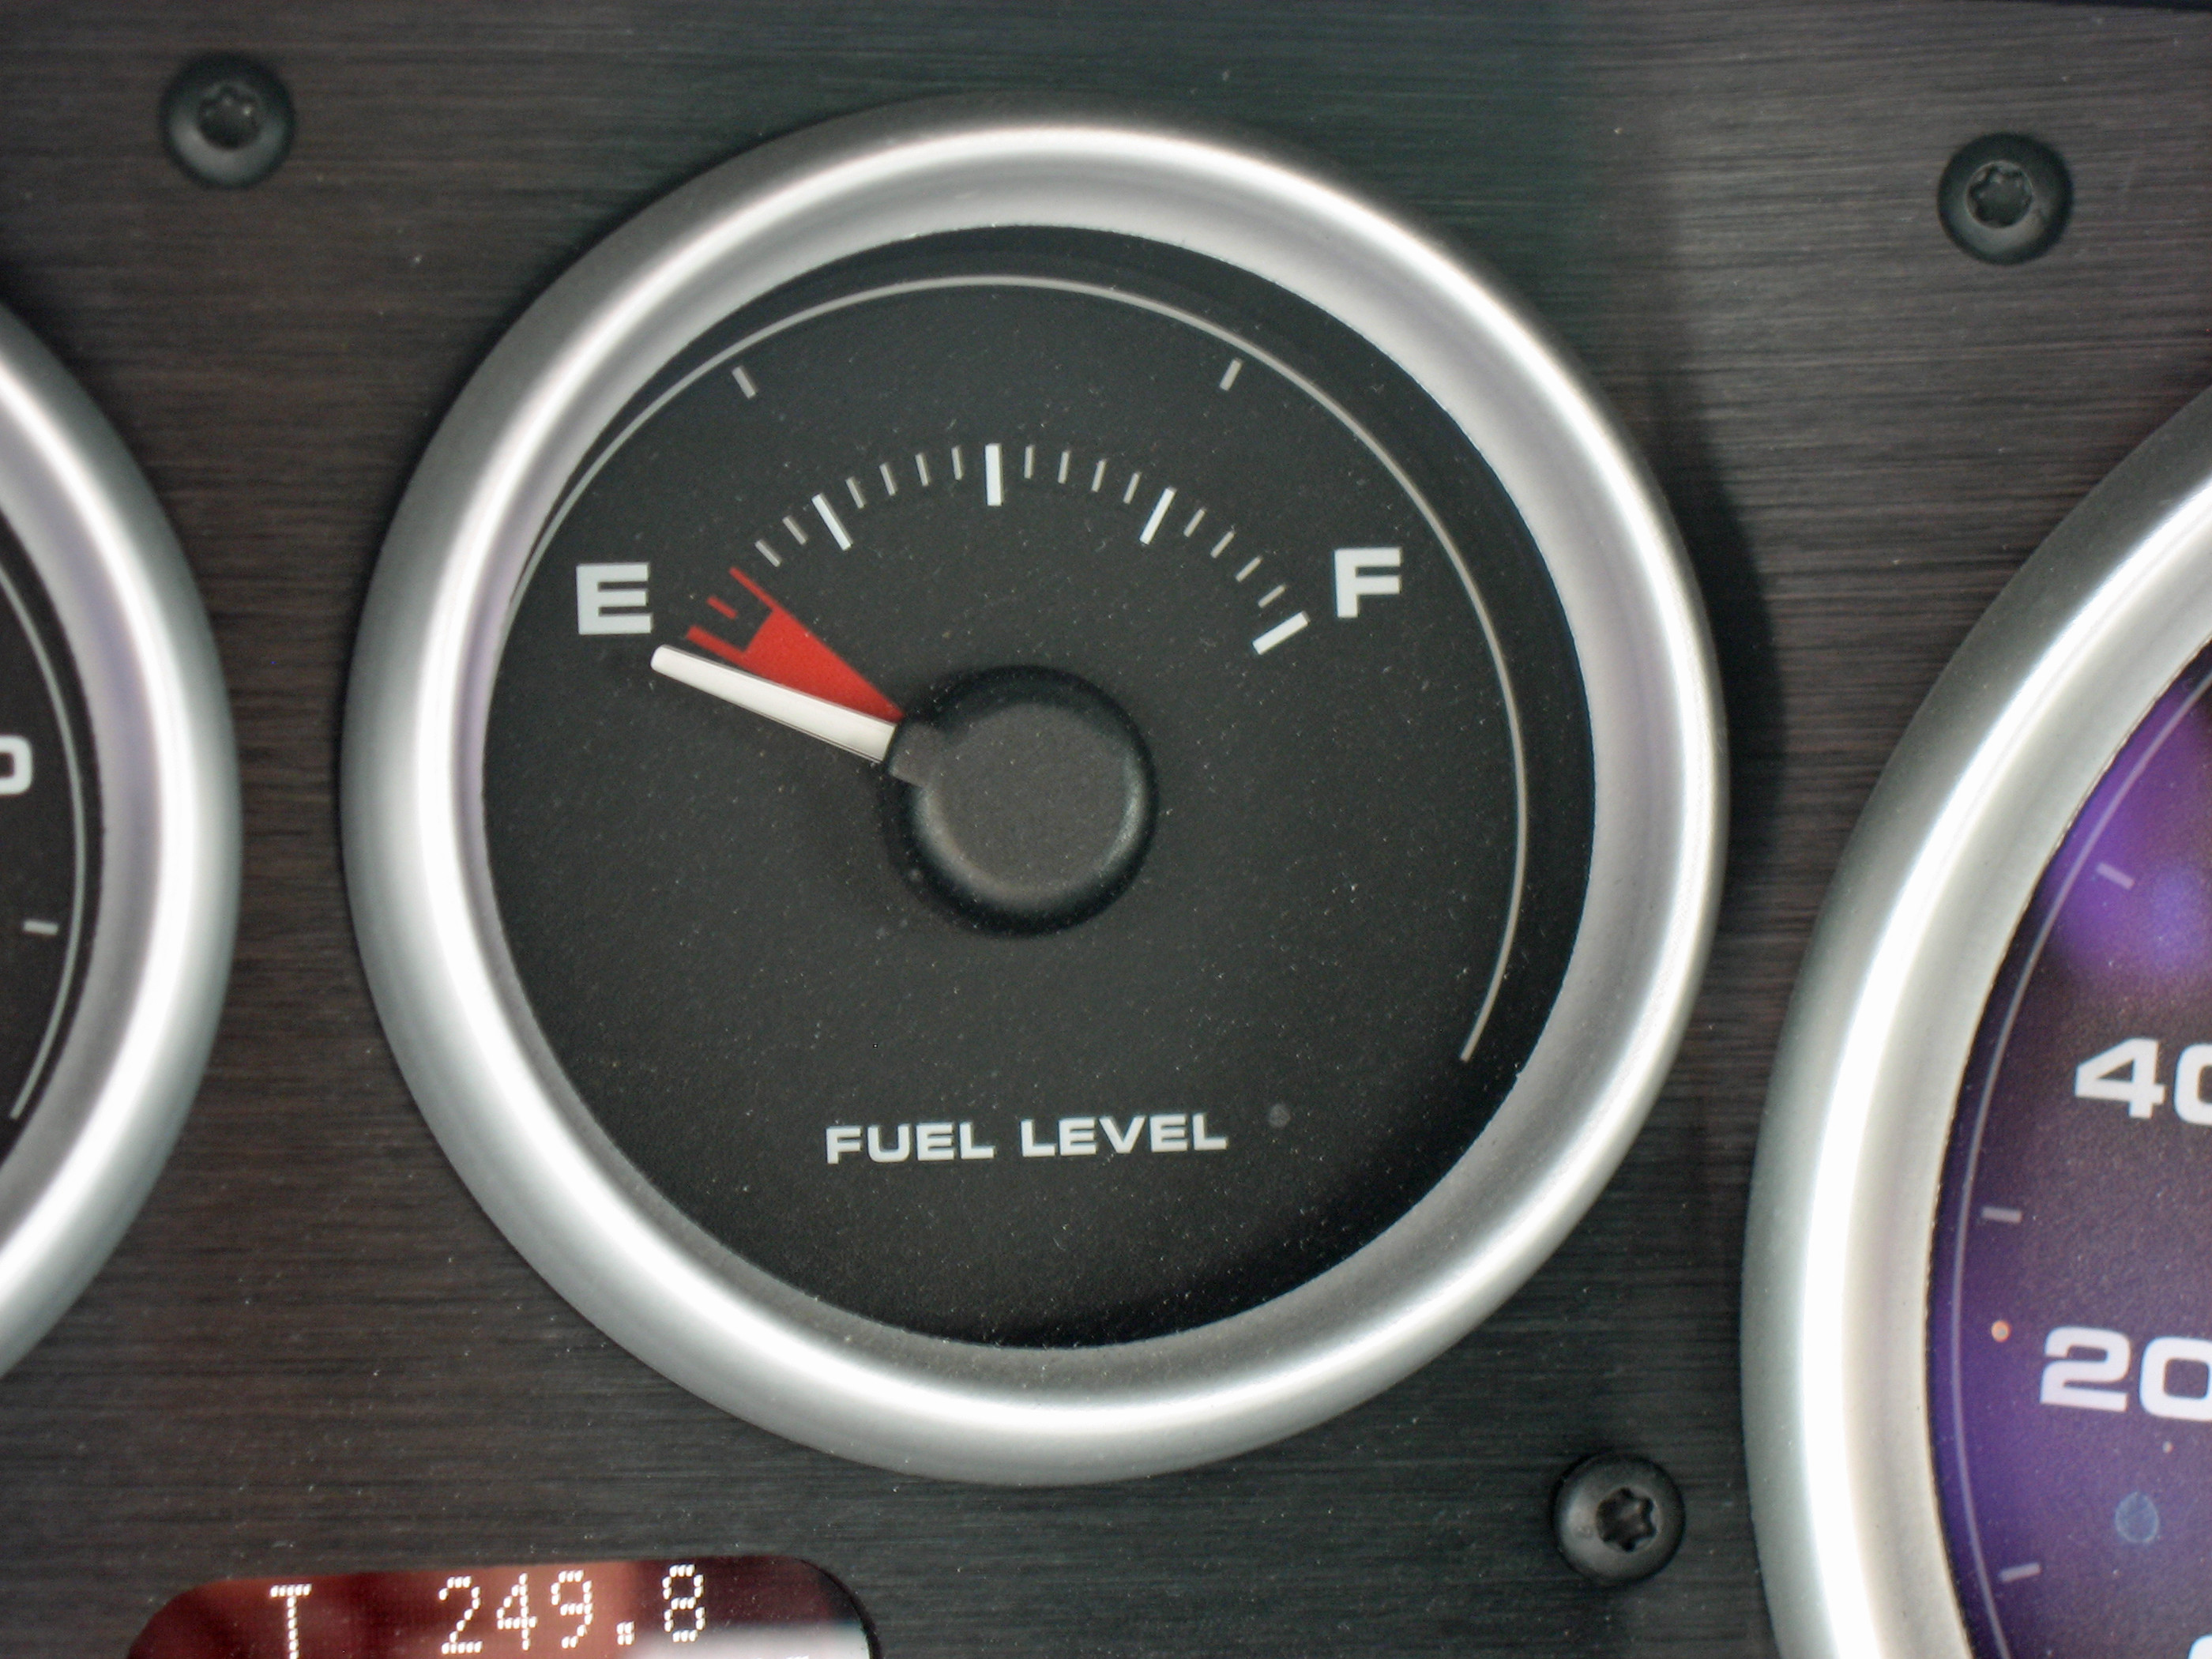
2005 Ford GT Long Term Fuel Gauge
An inaccurate fuel gauge can lead to driving with low fuel levels, similar to this Ford GT, but addressing the issue promptly is key.
Diagnosing Fuel Gauge Problems: Step-by-Step
Diagnosing a fuel gauge problem involves systematically checking each component of the fuel gauge system. Here’s a step-by-step approach:
-
Visual Inspection of Wiring:
- Locate Wiring: Identify the wires connected to the fuel level sender unit, usually accessible from under the car near the fuel tank or sometimes through an access panel inside the car (check your vehicle’s repair manual).
- Check for Damage: Carefully inspect the wires for any signs of damage, such as cuts, fraying, corrosion, or loose connections. Pay close attention to connectors and terminals.
- Repair/Reconnect: If you find any damaged wires, repair them using electrical tape or wire connectors. Ensure connections are clean and secure.
-
Testing the Fuel Level Sender:
- Access the Sender: Gain access to the fuel level sender unit. This may require dropping the fuel tank slightly or accessing it through an access port. Safety First: Always disconnect the negative battery terminal before working on the fuel system to prevent sparks and fire hazards. Work in a well-ventilated area as fuel vapors are flammable.
- Locate Sender Wires: Identify the wires connected to the sender. There are usually two or three wires. Refer to your car’s wiring diagram if needed.
- Measure Resistance: Use a multimeter set to ohms (Ω). Disconnect the sender wires and measure the resistance across the sender terminals.
- Empty Tank Reading: Resistance should be at its highest when the float is at the lowest point (simulating an empty tank).
- Full Tank Reading: Resistance should be at its lowest when the float is at the highest point (simulating a full tank).
- Compare to Specifications: Consult your vehicle’s repair manual for the specific resistance ranges for your fuel level sender at empty and full tank levels. Deviations from these ranges indicate a faulty sender.
- Check Float Movement: If possible, visually inspect the float arm for free movement. A stuck or damaged float can cause inaccurate readings.
-
Testing the Fuel Gauge in the Dashboard:
- Access Gauge Cluster: Access the back of the instrument cluster where the fuel gauge is located. This may involve removing trim panels and screws.
- Identify Gauge Terminals: Locate the terminals on the back of the fuel gauge. Refer to a wiring diagram for identification.
- Bypass Sender (Simulate Signal): Using a jumper wire and a known resistor (within the expected range of the fuel sender), you can simulate different fuel levels to test the gauge directly. Caution: Incorrectly bypassing the sender can damage the gauge. Consult a repair manual or professional if unsure.
- Observe Gauge Response: If the gauge responds correctly to the simulated signals, the gauge itself is likely functioning properly, and the problem is likely in the sender unit or wiring. If the gauge doesn’t respond, the gauge itself may be faulty.
How to Fix a Fuel Gauge: Common Solutions
Based on your diagnosis, here are common solutions for fixing fuel gauge problems:
-
Repairing Wiring Issues:
- Replace Damaged Wires: If you found damaged or corroded wires, replace them with new wires of the same gauge and type. Ensure proper connections and insulation.
- Clean Connectors: Clean corroded connectors with electrical contact cleaner. Ensure they are securely connected.
-
Replacing the Fuel Level Sender:
- Purchase Replacement Sender: Obtain a new fuel level sender unit that is compatible with your car’s make and model.
- Access Fuel Tank: Access the fuel tank and locate the fuel pump/sender assembly.
- Remove Old Sender: Carefully remove the old sender unit, noting its orientation for proper installation of the new one. Be prepared for some fuel spillage.
- Install New Sender: Install the new sender unit, ensuring proper alignment and secure connections. Replace any gaskets or seals to prevent leaks.
- Reassemble and Test: Reassemble the fuel tank components, reconnect wiring, and reconnect the battery. Test the fuel gauge by adding a small amount of fuel and observing the gauge reading.
-
Replacing the Fuel Gauge (Less Common):
- Purchase Replacement Gauge: If you’ve diagnosed a faulty fuel gauge, obtain a replacement gauge compatible with your instrument cluster.
- Remove Instrument Cluster: Remove the instrument cluster from the dashboard.
- Replace Gauge: Carefully remove the old gauge and install the new one.
- Reassemble and Test: Reinstall the instrument cluster and test the fuel gauge.
Prevention and Maintenance
While fuel gauge problems can occur, some preventative measures can help minimize issues:
- Avoid Running on Empty Regularly: Consistently running your fuel tank extremely low can strain the fuel pump and potentially expose the fuel level sender to sediment and debris, which can cause malfunctions over time.
- Regular Vehicle Maintenance: Routine vehicle maintenance, including checks of electrical systems and connections, can help identify and address potential issues before they become major problems.
- Use Fuel System Cleaners (Occasionally): High-quality fuel system cleaners can help keep the fuel sender and fuel system components clean, preventing build-up that could affect sender accuracy.
When to Seek Professional Help
While some fuel gauge issues can be addressed with DIY methods, certain situations warrant professional assistance:
- Complex Electrical Issues: If you are uncomfortable working with electrical systems or suspect complex wiring problems.
- Fuel Tank Removal Required: If accessing the fuel sender requires dropping or removing the fuel tank, which can be complex and potentially dangerous without proper equipment and experience.
- Persistent Problems: If you’ve attempted basic troubleshooting and repairs, but the fuel gauge problem persists.
- Uncertainty in Diagnosis: If you are unsure about the diagnosis or repair steps, it’s best to consult a qualified mechanic to avoid further damage or safety risks.
By understanding how your fuel gauge system works, recognizing the symptoms of problems, and following these diagnostic and repair steps, you can effectively address many fuel gauge issues and ensure accurate fuel readings in your car. Remember to prioritize safety and seek professional help when needed.


