How to Fix a Crease Dent in Your Car: A Step-by-Step PDR Guide
Crease dents on your car can be an eyesore, diminishing its aesthetic appeal and potentially its value. Fortunately, with the right techniques and tools, you can often repair these damages yourself without resorting to costly and time-consuming traditional bodywork. This guide will walk you through the process of fixing a crease dent using Paintless Dent Removal (PDR), a method favored by professionals for its efficiency and ability to maintain the vehicle’s original paint finish. We will demonstrate how to tackle a typical crease dent using a focused set of PDR tools, making it accessible for both enthusiasts and those looking to learn the basics of auto dent repair.
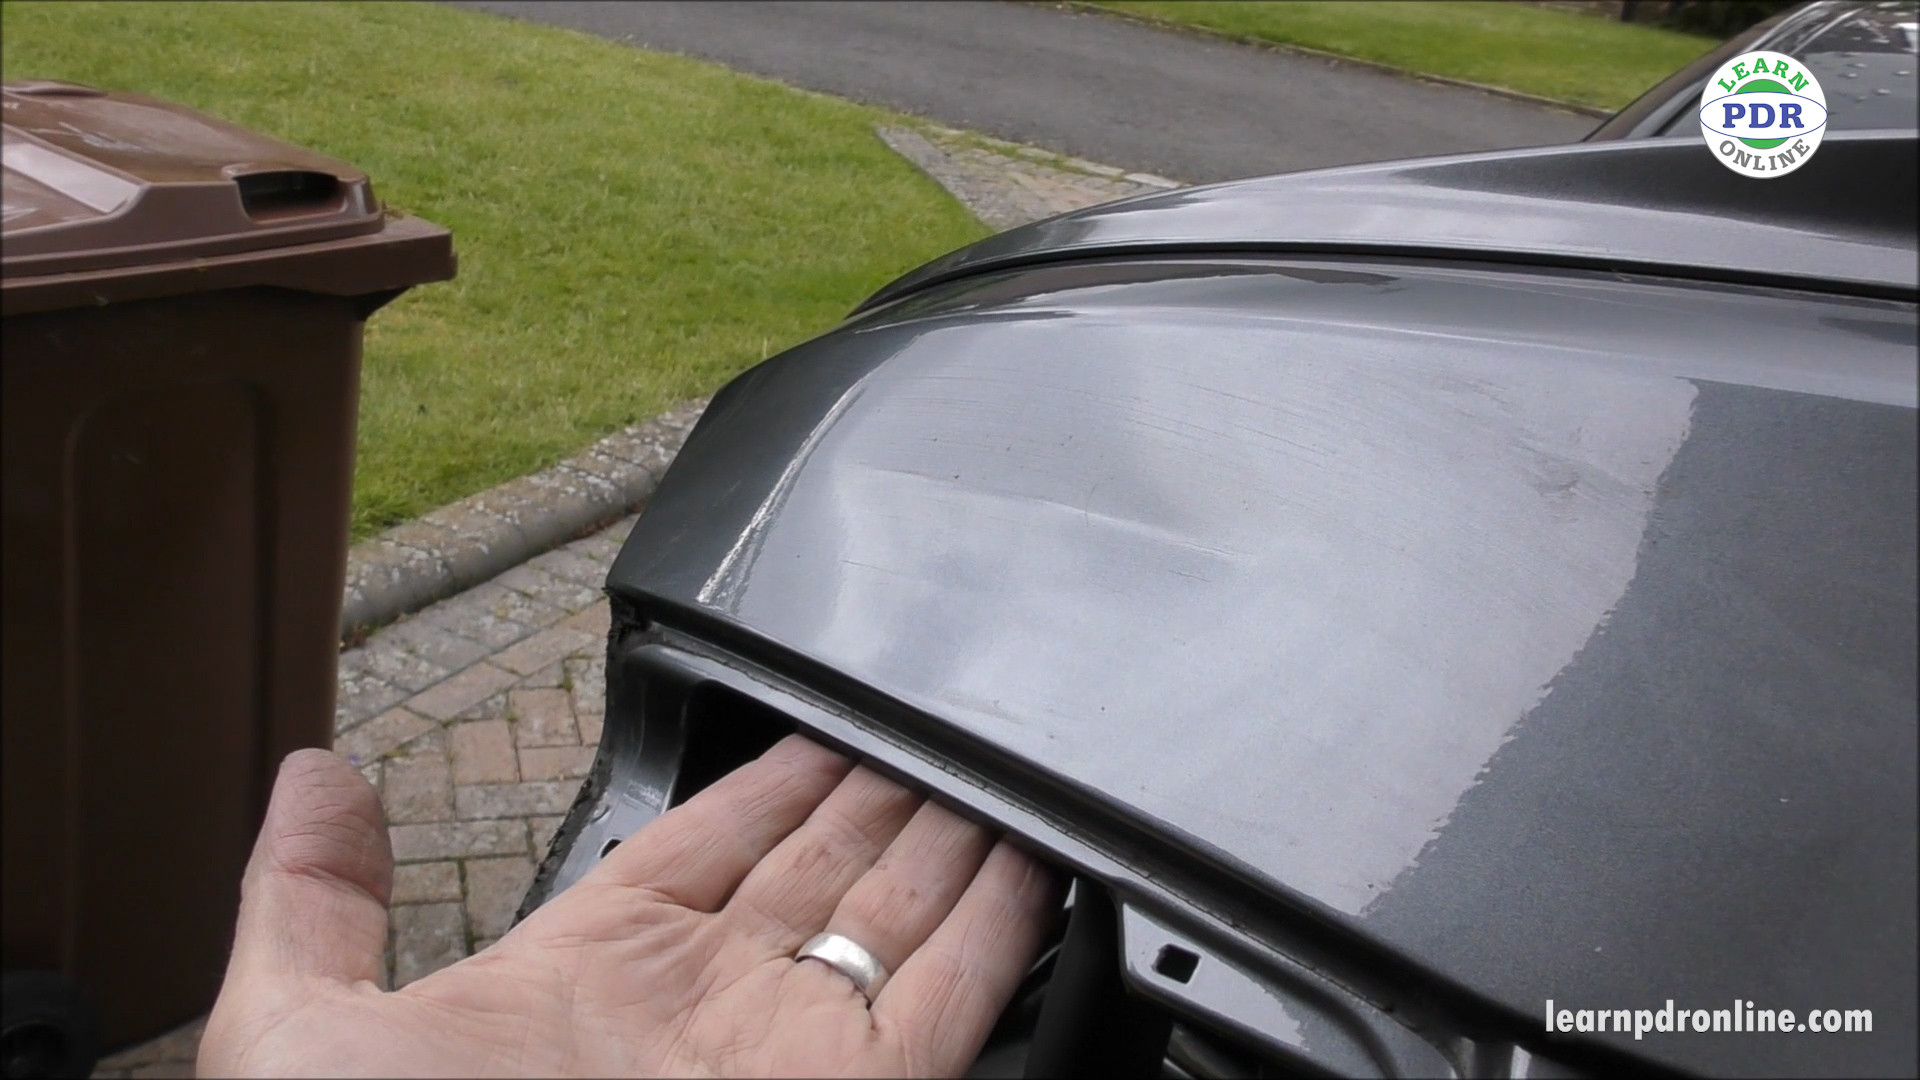
Assessing the Damage
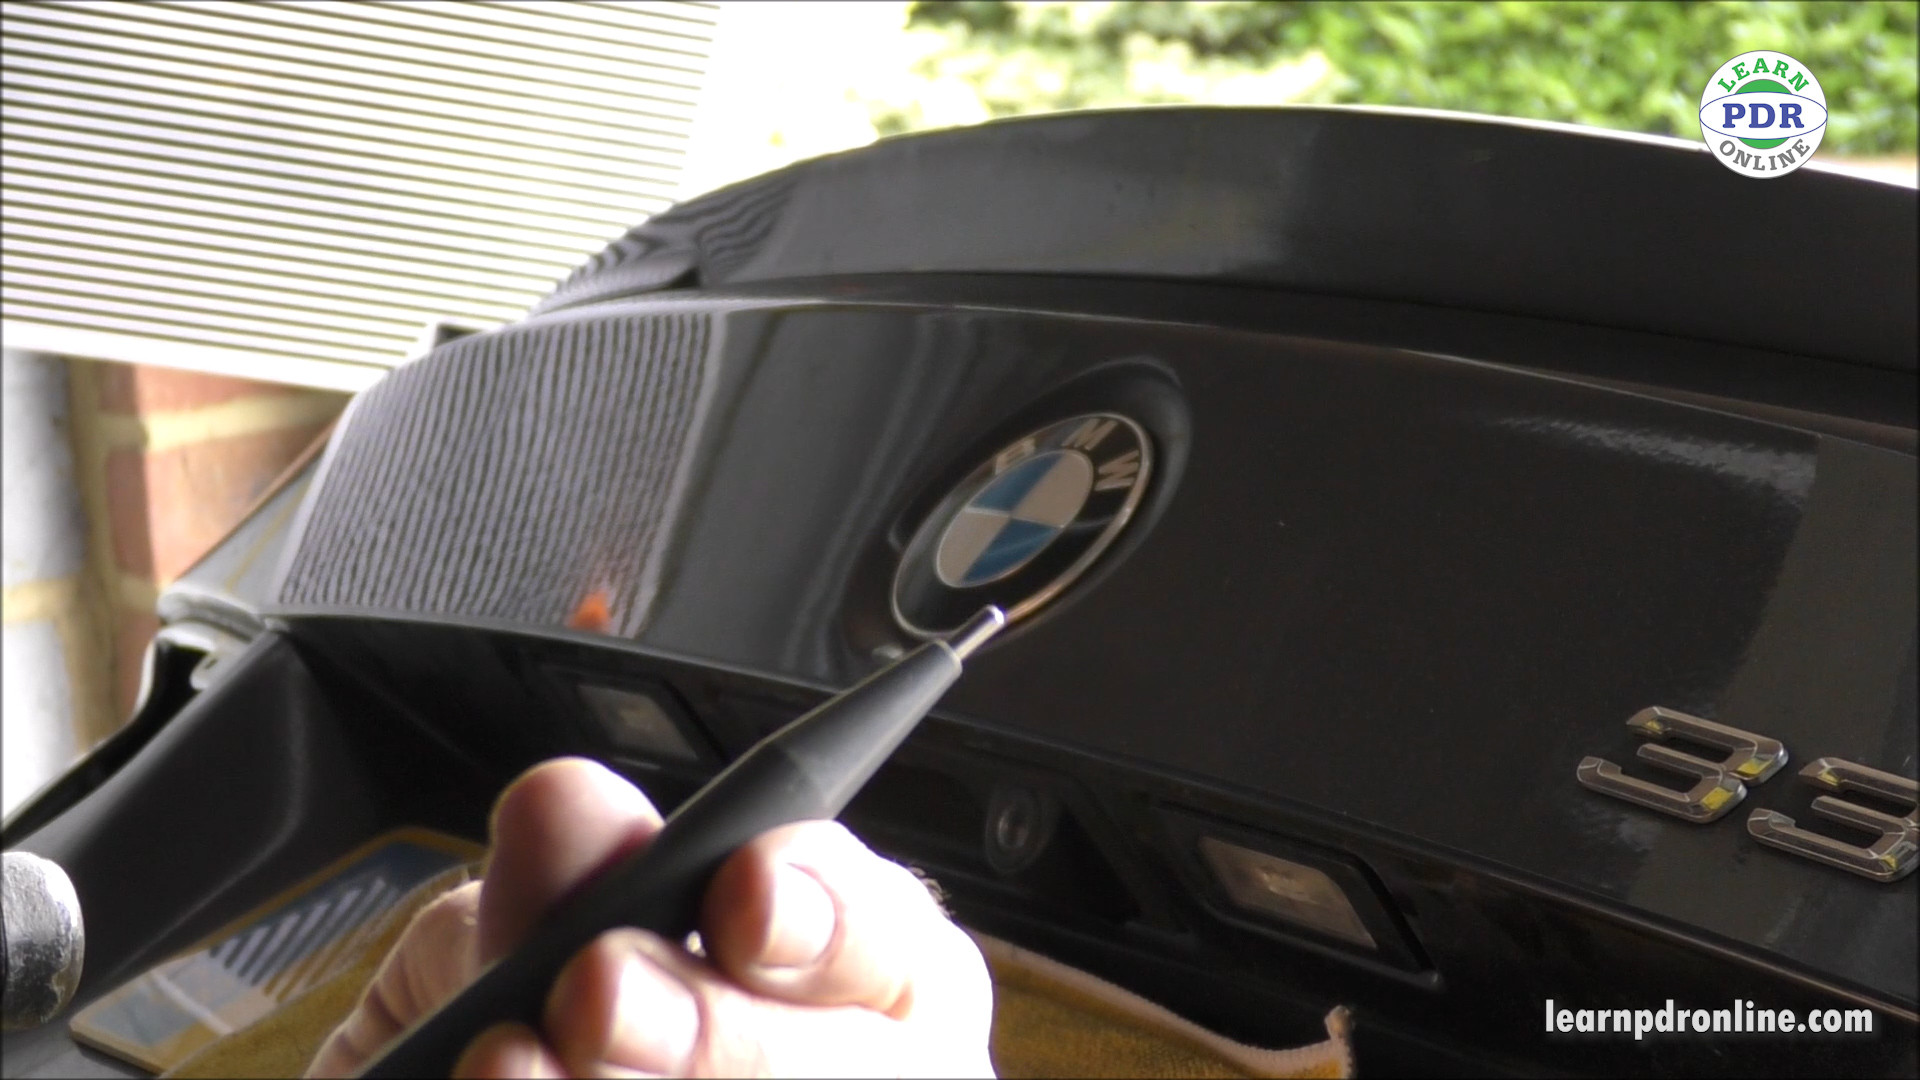
Before you begin any repair work, it’s crucial to thoroughly assess the dent. In this case, we’re dealing with a notable crease on the boot lid, accompanied by a finer crease just below it. The first step involves gaining access to the back side of the dent. Removing the rear tail light often provides this access, allowing for direct manipulation of the dented panel from behind. Confirming accessibility is vital before proceeding with PDR, as it dictates the tools and techniques you’ll be able to employ effectively. A clear understanding of the dent’s location, size, and complexity sets the stage for a successful repair.
Glue Pulling the Crease
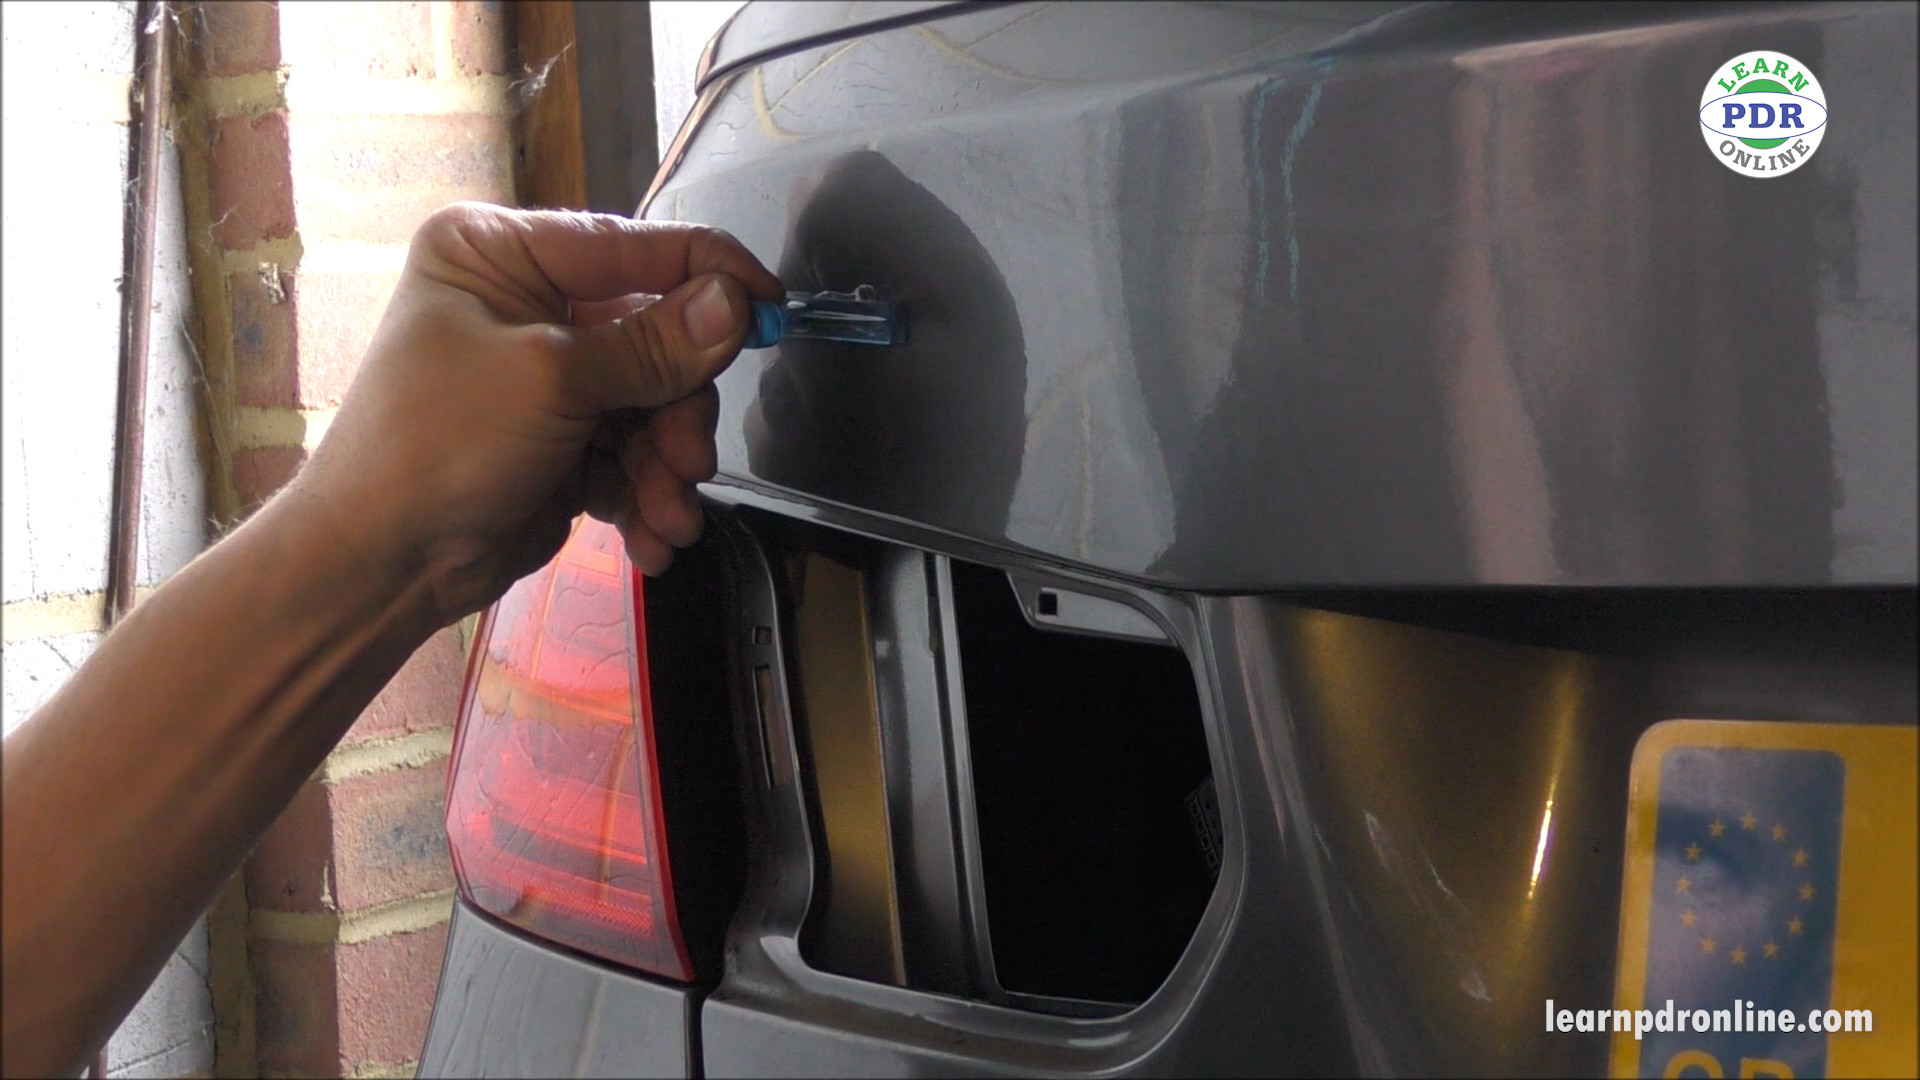
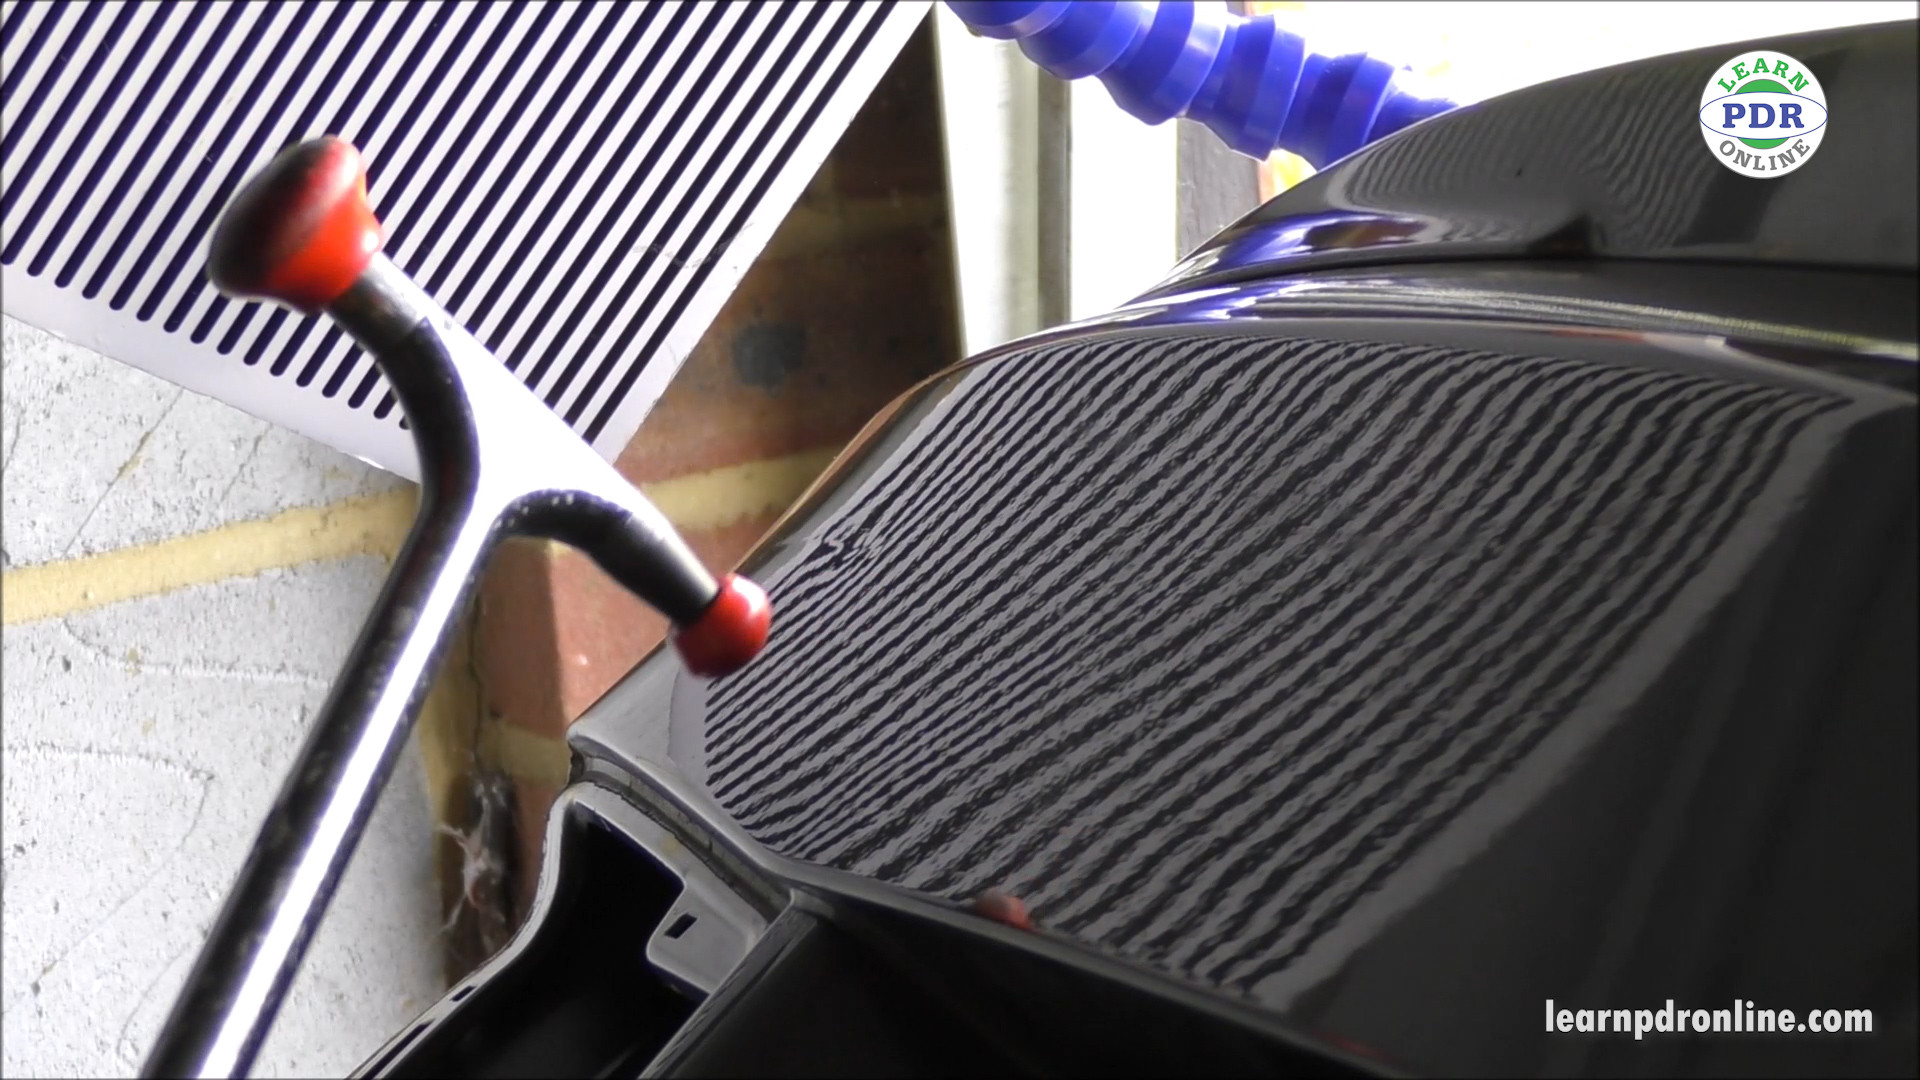
Glue pulling is an essential PDR technique, especially for crease dents. To start, gently warm the panel around the dent to improve the adhesion of the glue and prevent paint damage. Apply hot glue to a specialized crease tab, ensuring a generous and even coating for optimal pull strength. Carefully place the tab directly onto the crease, aligning the tab’s line with the dent’s direction. Allow the glue to set and cure for about 10 seconds. This curing time is critical for the glue to achieve maximum hold. Once set, use a lifter tool, positioning its feet parallel to the crease and the tab. Begin gently pulling the trigger of the lifter. You’ll observe the metal starting to move outwards, gradually reducing the depth of the crease dent. This initial glue pull is about making controlled progress without forcing the metal.
Repeating the Glue Pull Process
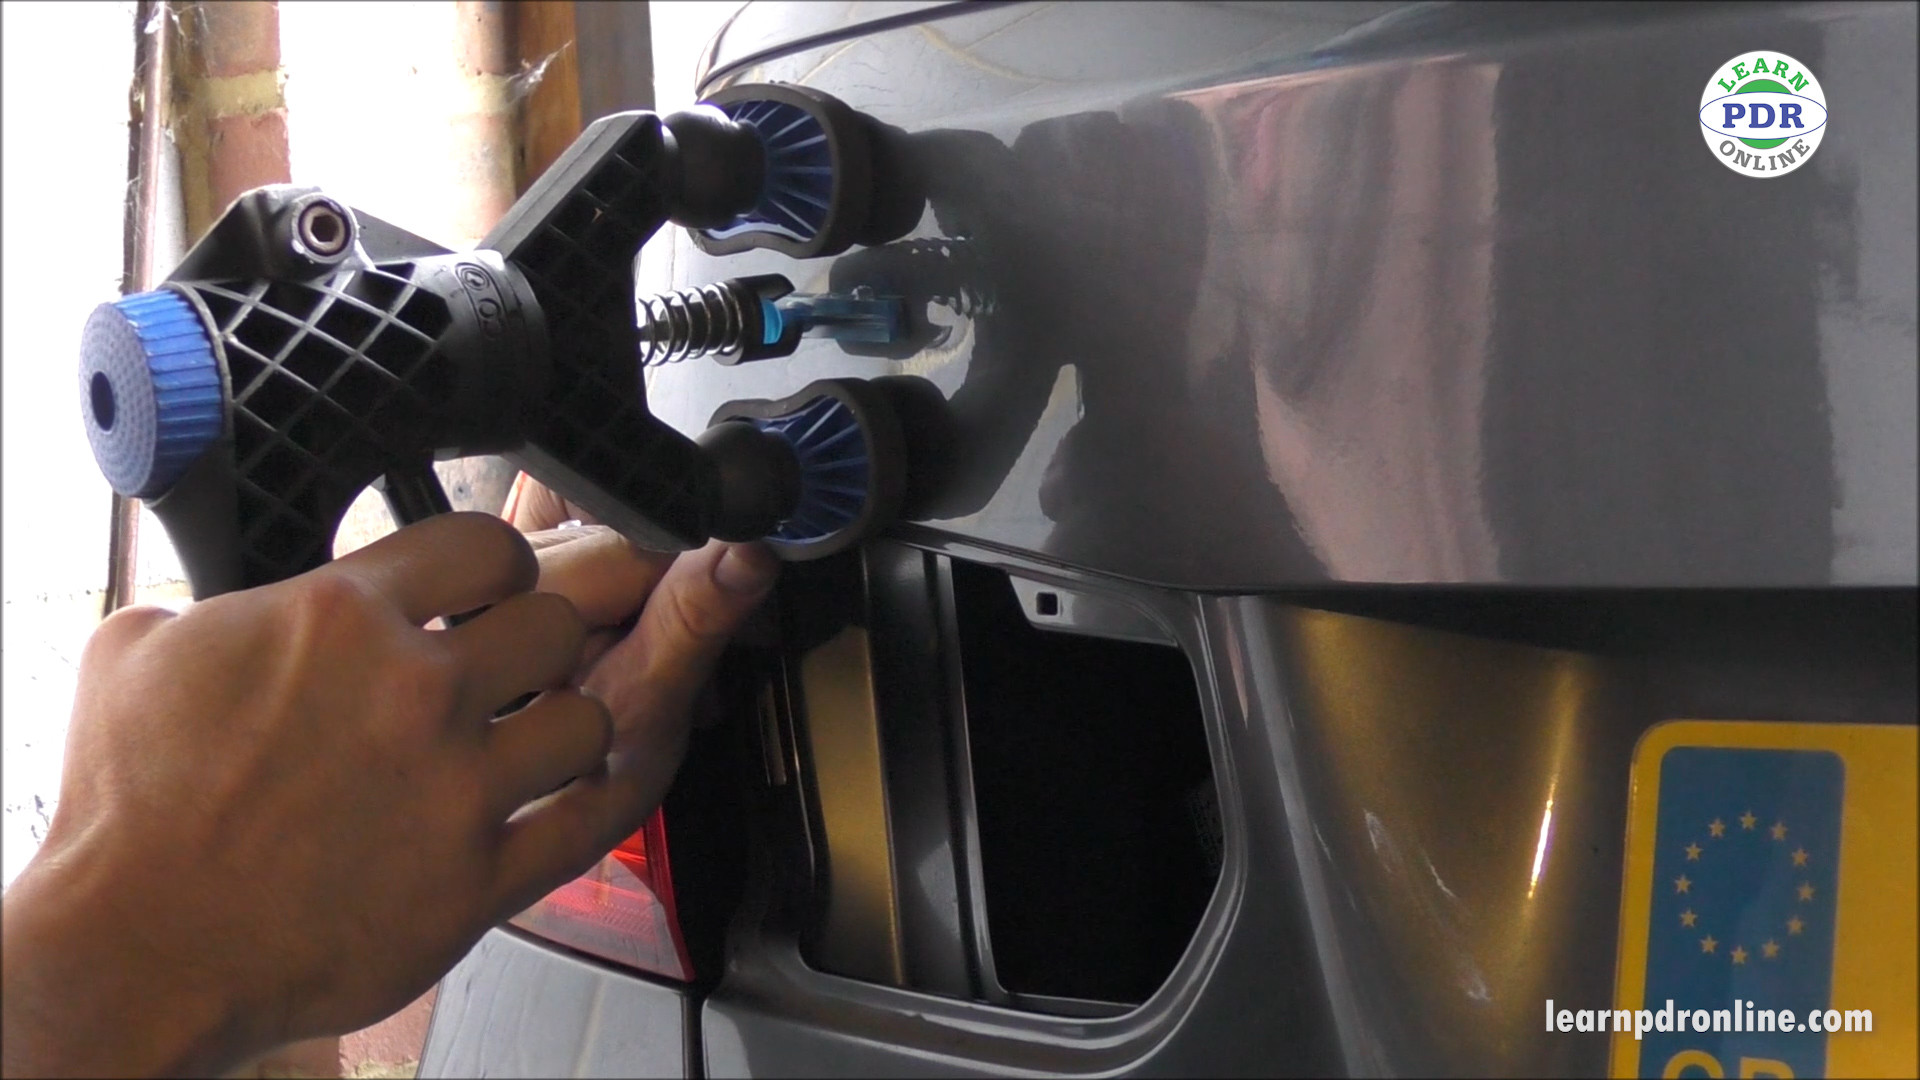
After the first glue pull, reassess the dent. You’ll likely notice a significant reduction in its overall size. However, crease dents often require multiple pulls to progressively reshape the metal. Repeat the glue pulling process, paying close attention to alignment and controlled pressure. Reapply hot glue to a clean tab and position it on the crease, possibly slightly overlapping the previous pull area to ensure comprehensive coverage. Observe the reflection on the panel; this is your guide to understanding how the metal is moving. As you pull with the lifter, you should see the dent diminishing further with each repetition. Patience and methodical repetition are key to effectively reducing the crease depth with glue pulling.
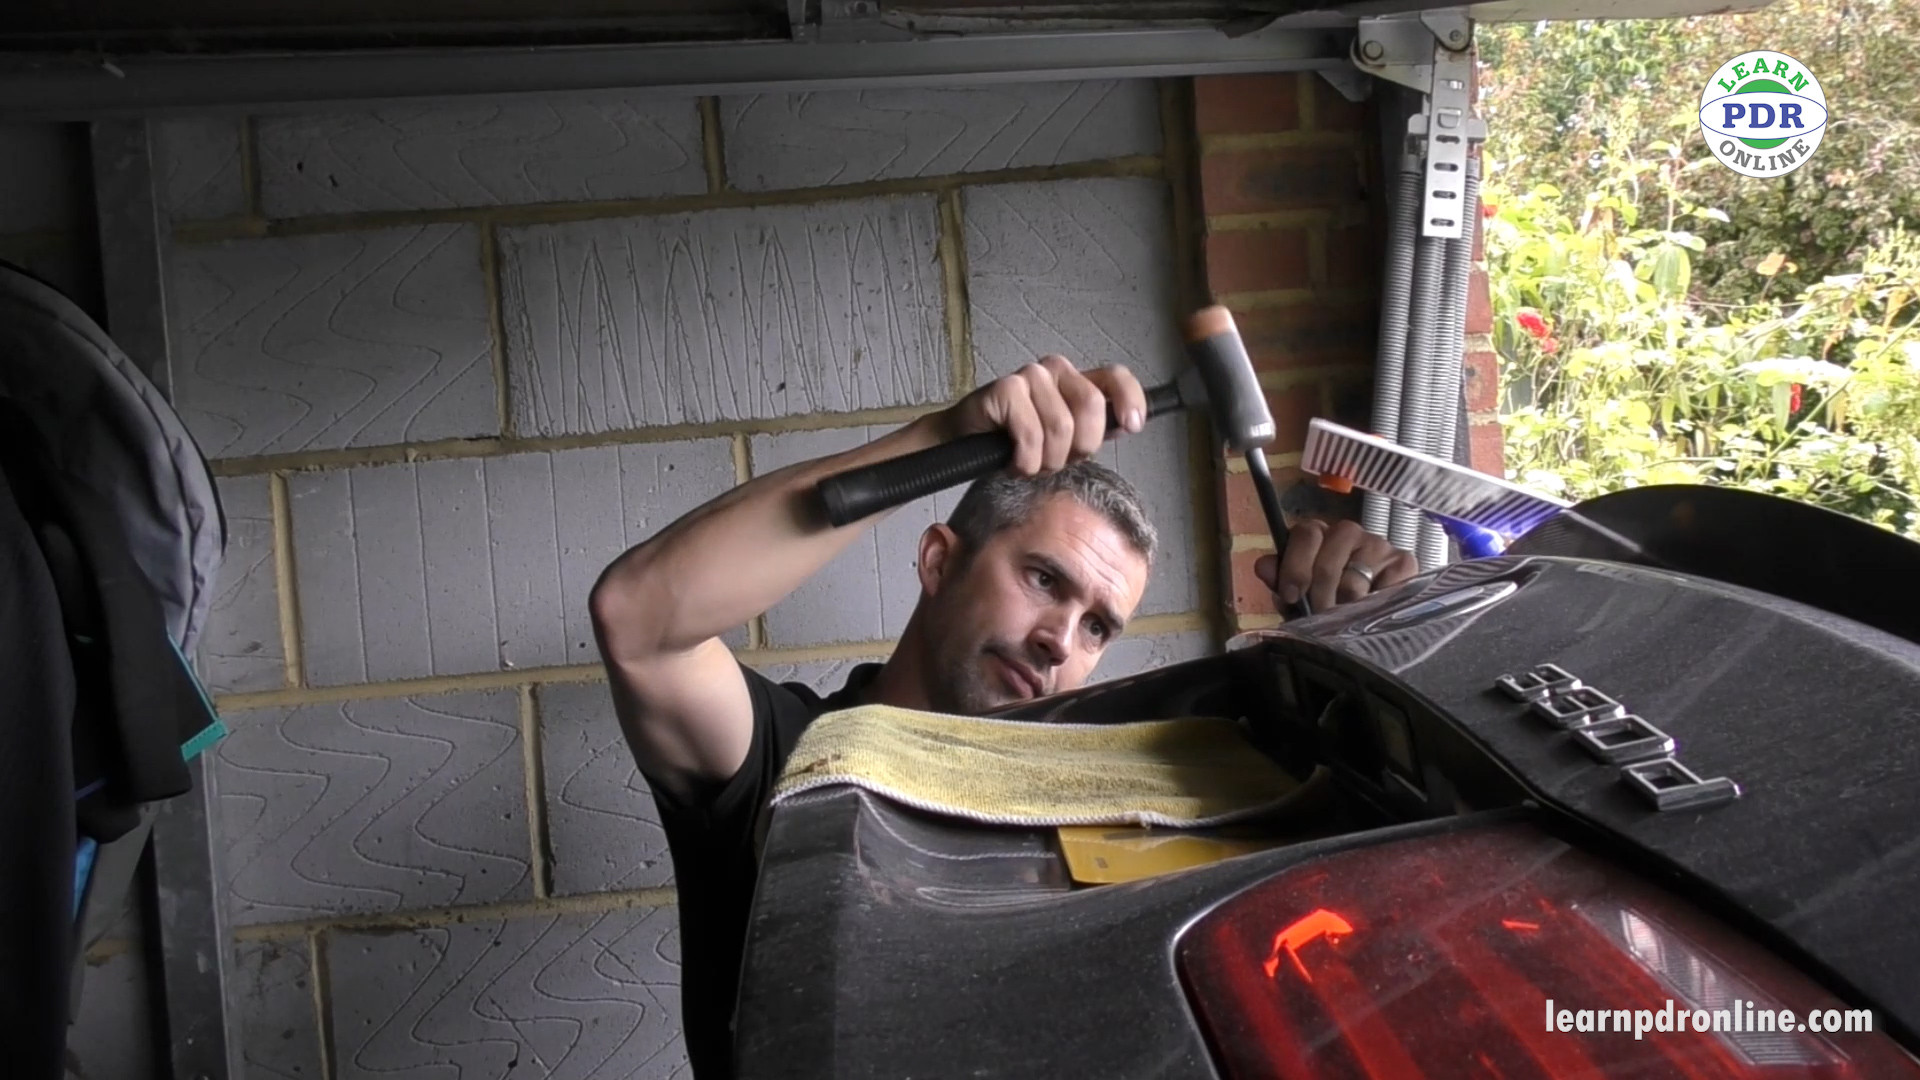
Addressing the Tension in the Metal (Crowns)

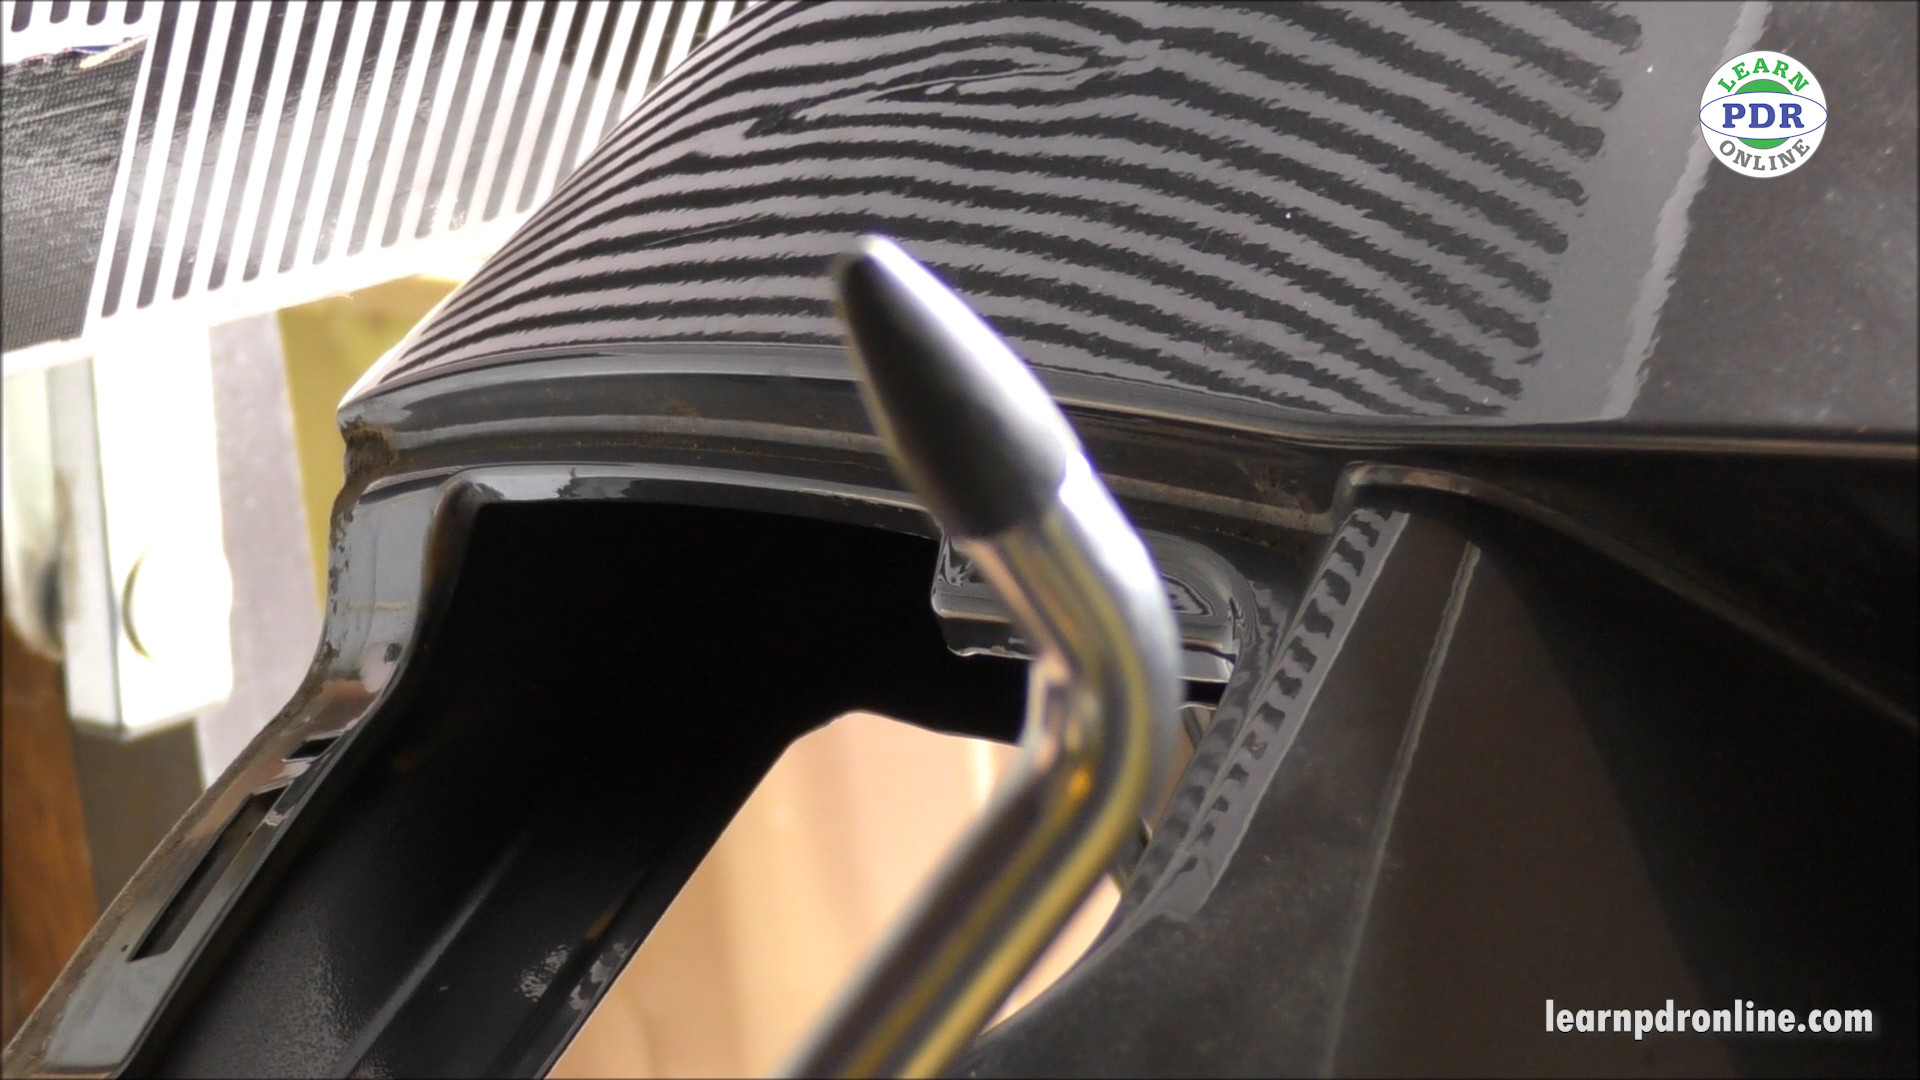
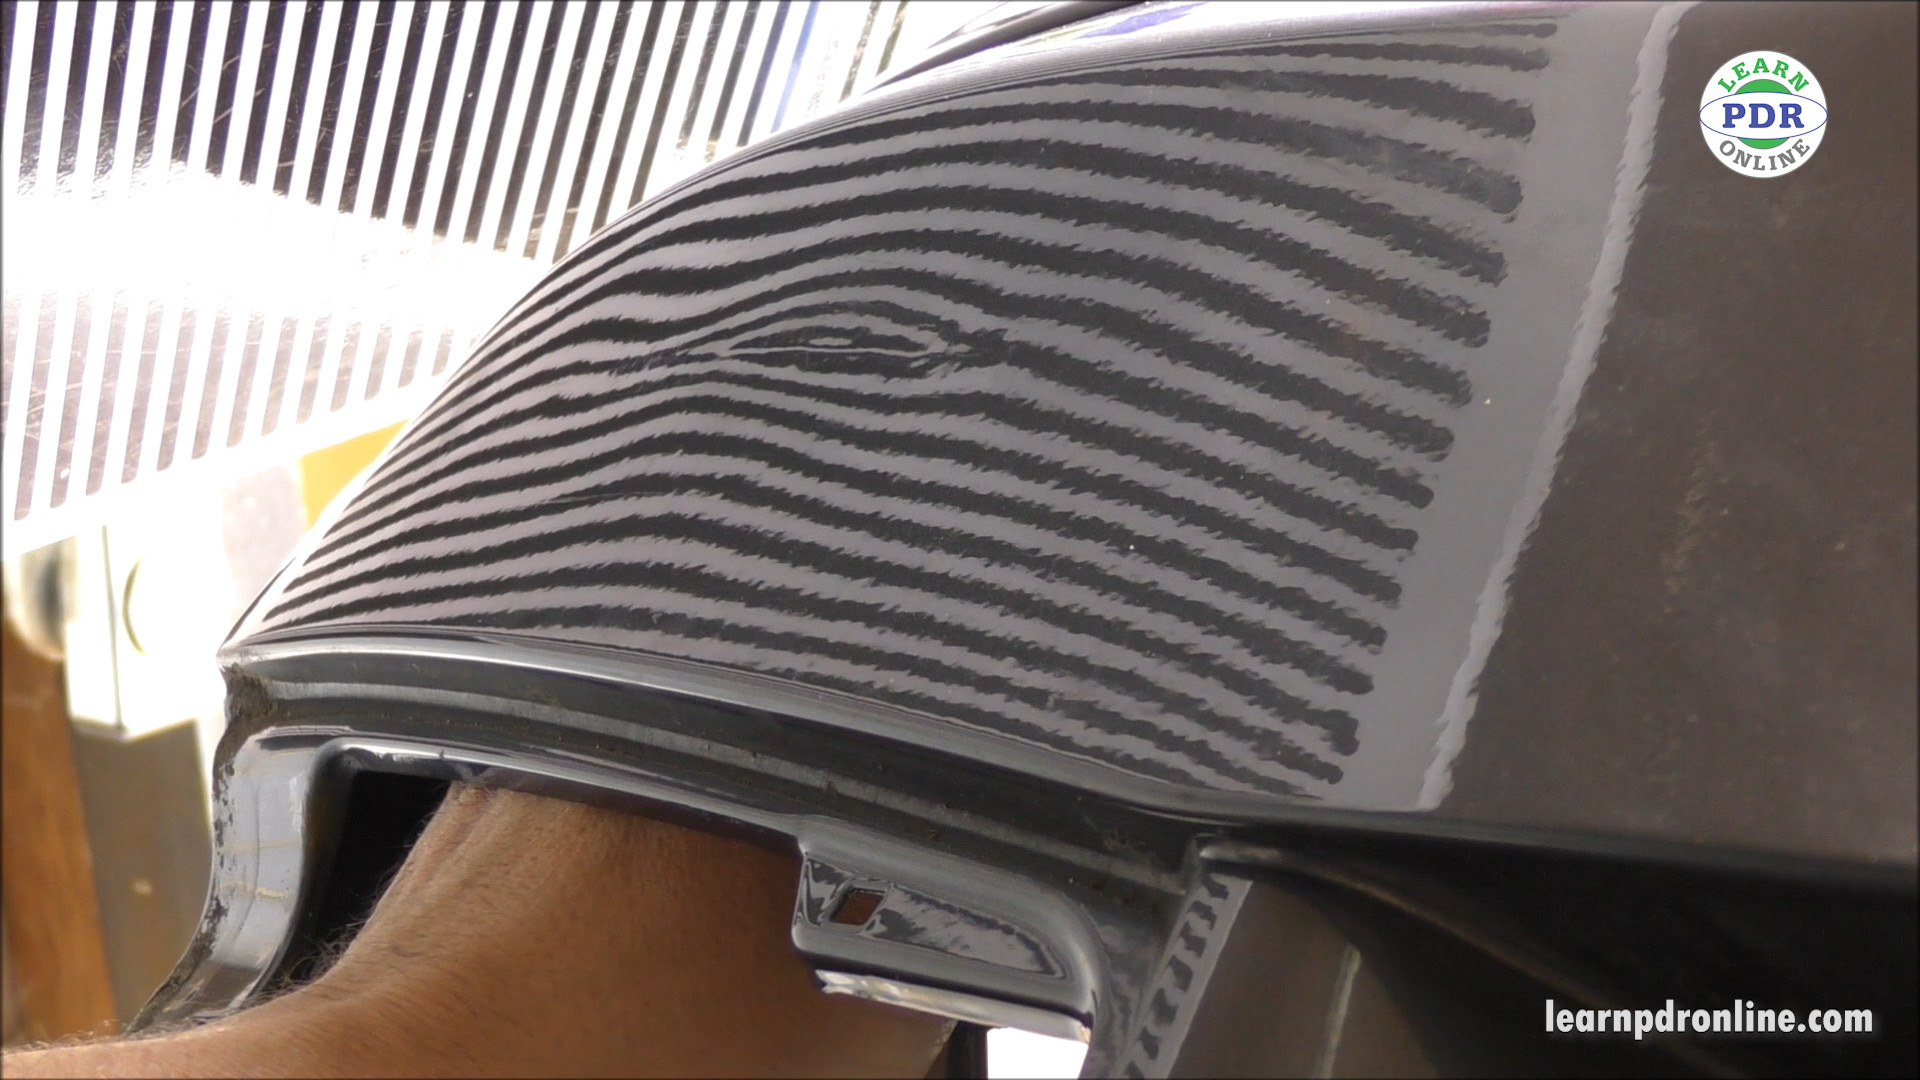
Even after successful glue pulling, crease dents often leave behind tension in the surrounding metal, manifesting as “crowns” – raised areas around the dent. These crowns are visible when using a line board; the reflected lines will appear pinched or compressed in these high-tension areas. To address crowns, a blending hammer is used. Position the line board vertically to clearly identify the crowns. Using the soft tip of the blending hammer, gently tap along the high line of the crown. The purpose of tapping is to release the built-up tension in the metal, allowing it to relax and flow back towards the recessed crease area. This step is crucial for achieving a smooth and even panel surface.
Reducing Tension with a Blending Hammer (Detailed View)
Focusing more closely on crown reduction, observe how the lines on the line board pinch together at the crown’s peak. This visual cue helps pinpoint where to apply the blending hammer. With light, controlled taps, work along the crown. The goal is not to forcefully hammer down the high spot, but rather to gently persuade the metal to redistribute. Watch the lines on the reflection as you tap; you should see them begin to spread out and become more evenly spaced. This indicates that the tension is being released and the metal is leveling out. Effective crown reduction is a delicate process that balances tapping with constant visual assessment using the line board.
Focusing on the Crease with a Double Bend Bar
With the surrounding tension eased, the focus shifts back to refining the crease itself. A double bend bar is an ideal tool for this stage, offering significant leverage and control. Attach a hard plastic tip to the bar; this provides the necessary force to manipulate the metal from behind without creating sharp high spots. Carefully position the tip of the tool on the backside of the crease. Accuracy is paramount here; aim to work directly along the crease line. The double bend in the bar allows for maneuvering within confined spaces and applying targeted pressure to lift the dent from behind.
Gradual Lifting of Low Spots
Repairing sharp crease dents requires a gradual and patient approach. The key is to incrementally work the metal outwards, avoiding excessive force that can stretch or damage the panel. Concentrate on lifting the low spots along the crease line. As you lift, constantly monitor for high spots forming around the repair area. When high spots appear, use a knockdown tool to gently tap them down, maintaining a level surface. Adjusting the line board angle to around 45 degrees can provide a different perspective on the dent, helping you better identify high and low spots and refine your technique.
Using Smaller Tools for Finishing Touches
As the crease dent diminishes and becomes more refined, transition to smaller PDR tools. Reduce the size of your knockdown tool to match the increasingly smaller high spots remaining in the repair area. Switching to a metal tip on the knockdown can provide greater force and precision for these final refinements. Continue to address any remaining low spots and cross-check your work frequently using the line board. This iterative process of lifting and knocking down, with increasingly finer tools, is essential for achieving a clean and seamless repair.
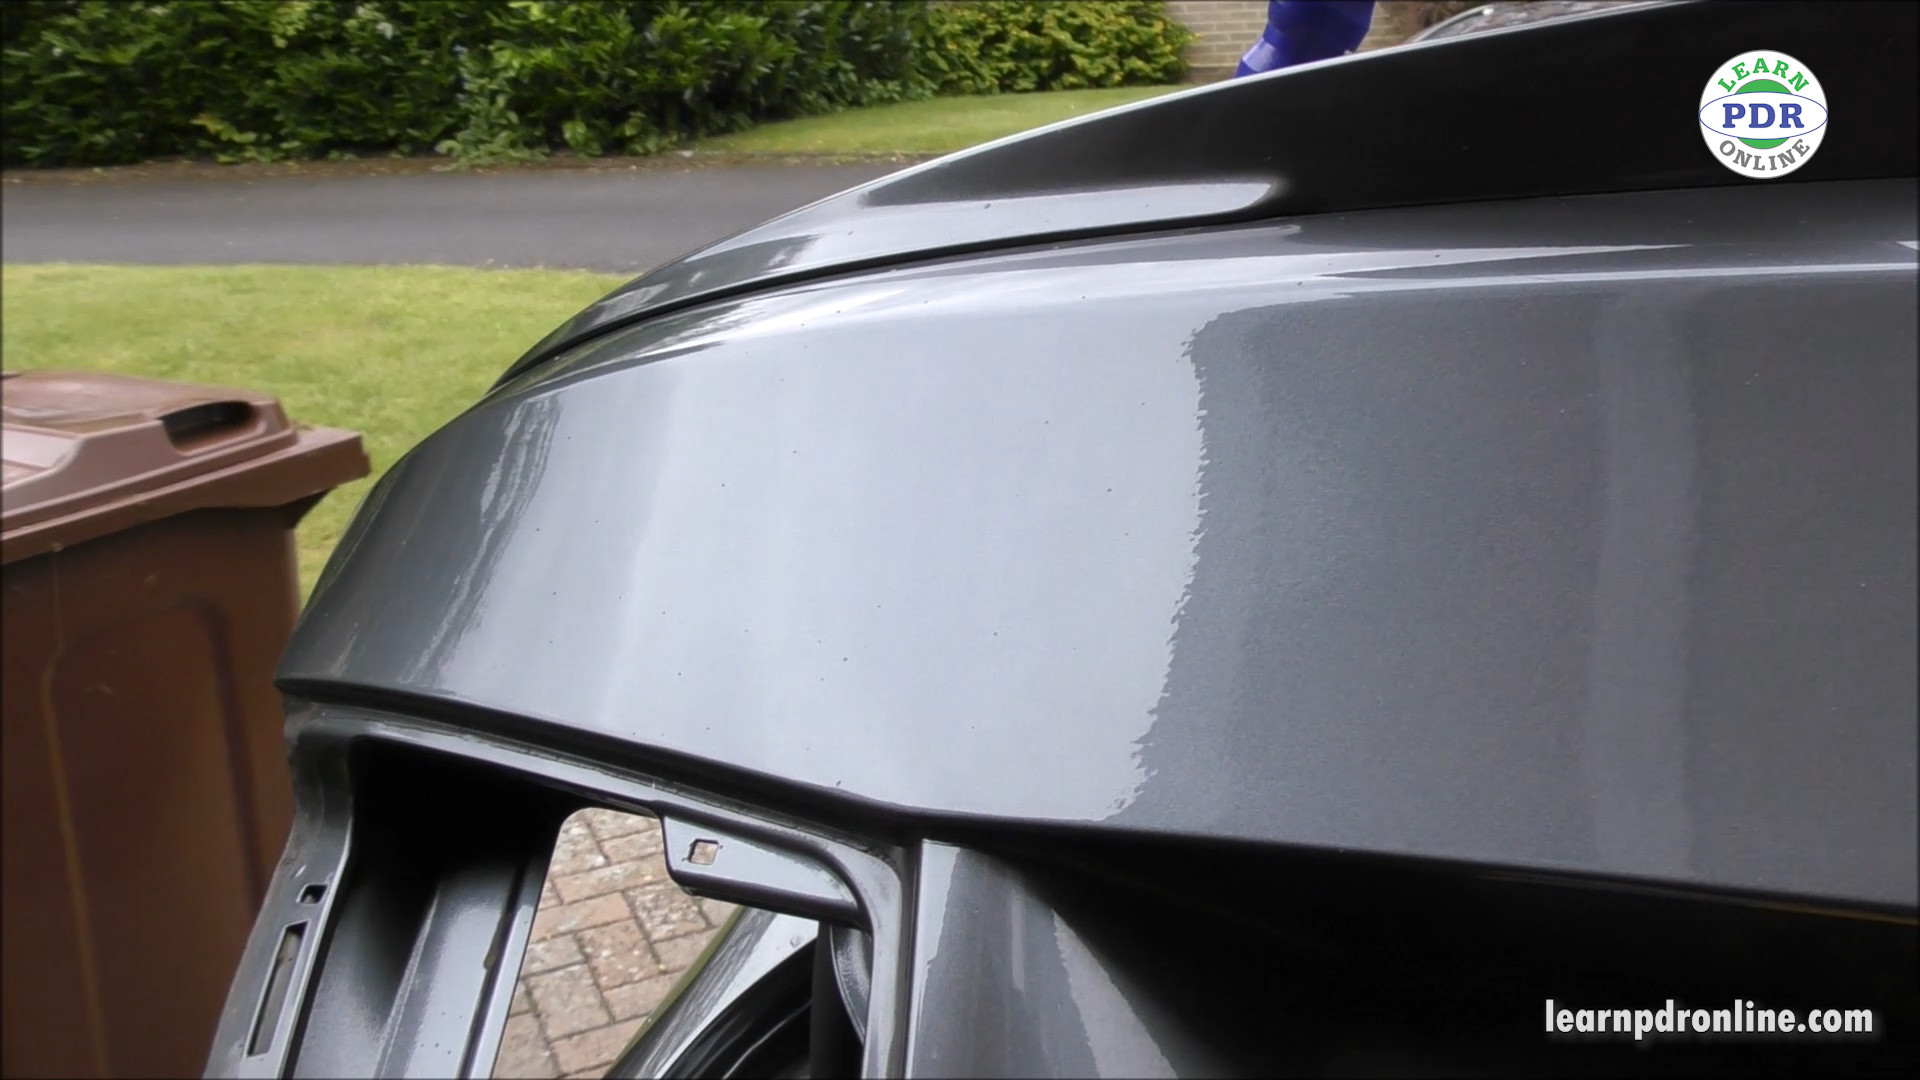
Blending the Repair into the Panel
In the final stages of the repair, focus on blending the repaired area seamlessly into the surrounding panel. This involves ensuring that the texture of the repaired section matches the original manufacturer’s paint texture. Subtle adjustments with blending hammers and knockdown tools, combined with careful visual inspection, are crucial for achieving an undetectable repair. The goal is for the repaired area to be indistinguishable from the original panel finish, both in shape and surface texture.
Conclusion
Through the methodical application of paintless dent removal techniques, even significant crease dents can be effectively repaired, restoring the vehicle’s appearance and preserving its original paint. As demonstrated, by using a combination of glue pulling, blending hammers, and specialized PDR bars and knockdown tools, a crease dent can be significantly reduced and often eliminated. The result is a professionally repaired panel that leaves customers satisfied with the outcome and the restoration of their vehicle’s condition.