How to Fix Cracked Vinyl Car Seats: A Comprehensive Guide

Cracked vinyl car seats are a common problem, especially in older vehicles or those exposed to harsh sunlight and temperature fluctuations. As vinyl ages and dries out, it becomes brittle and prone to cracking, often with sharp, upward-curling edges. Fortunately, repairing cracked vinyl car seats is a manageable DIY project that can restore the look and comfort of your car’s interior. This guide will walk you through the process of fixing cracked vinyl car seats using heat-cure putty, a superior method for achieving durable and professional-looking results.
Understanding the Challenge of Cracked Vinyl
Before diving into the repair process, it’s important to understand why vinyl cracks in the first place. Vinyl, a type of plastic, loses its flexibility over time as plasticizers evaporate, especially when exposed to heat and UV radiation. This desiccation leads to brittleness and eventually, cracks. These cracks aren’t just unsightly; they can also be uncomfortable and further degrade the seat material if left unrepaired. Addressing these cracks promptly is key to maintaining your car’s interior.
Essential Materials and Tools for Vinyl Car Seat Repair
To effectively fix cracked vinyl car seats, you’ll need to gather the right materials and tools. Using the correct products is crucial for a long-lasting and aesthetically pleasing repair. Here’s what you’ll need:
- Heat-Cure Putty: This is the primary repair material. Unlike low-temperature fillers, heat-cure putty creates a stronger and more durable bond, especially in high-stress areas of car seats.
- Heat Gun: A heat gun is necessary to cure the putty and soften the vinyl for reshaping. A dual temperature heat gun is preferable for better control.
- Reducer Nozzle: This attachment for the heat gun concentrates the heat, allowing for more precise application and preventing damage to surrounding areas.
- Graining Pads or Papers: These are used to replicate the original texture of the vinyl after applying the filler. High-quality graining pads are a worthwhile investment for frequent repairs. Alternatively, graining papers can be used for less frequent tasks.
- Razor Blade: A new, sharp razor blade is needed to carefully shave away any sharp, raised edges of the cracks before applying the filler.
- Palette Knife or Needle Tool: These tools are useful for applying the heat-cure filler precisely into the cracks and for leveling it.
- Plastic Spreader: A plastic spreader helps to remove excess filler and create a smooth, even surface.
- Denatured or Rubbing Alcohol: Used for cleaning the vinyl surface before and after the repair process to ensure proper adhesion and a clean finish.
- Subpatch Material (if needed): For larger holes or tears beneath the cracks, a subpatch may be necessary to provide support.
- Glue (if needed): To secure subpatch material.
- Wooden Block or Small Board: Used to apply even pressure when embossing the grain into the filler.
Picture of cracking vinyl with sharp edges
Step-by-Step Guide: Repairing Cracked Vinyl Car Seats
With your materials gathered, you can now proceed with the vinyl car seat repair. Follow these steps carefully for the best results:
- Prepare the Damaged Area: If there are any holes beneath the cracks, apply a subpatch and glue them in place. This provides a solid backing for the filler.
- Shave Sharp Edges: Using a new razor blade held almost parallel to the surface, carefully shave away any sharp, curling edges of the cracked vinyl. The goal is to level the edges and remove protrusions that would be visible after repair.
- Melt Low-Profile Edges (Optional): For edges that are too low to shave or are in risky areas, gently melt them using a heat gun set to around 550°F (288°C). Hold the heat gun 2-6 inches away from the vinyl for 5-15 seconds. Observe the vinyl closely; it will become slightly glossy as it softens. Be cautious not to overheat and melt the vinyl excessively. For tougher vinyl, you might cautiously use higher heat (around 1000°F/538°C) with a reducer nozzle, but proceed with extreme care.
- Emboss Melted Areas: Immediately after heating, apply a grain pad to the softened vinyl. Use a wooden block or small board to apply even pressure and hold for 10-15 seconds. This helps to flatten the melted vinyl and impart a texture. Repeat heating and embossing as needed until the vinyl is as level as possible and at room temperature.
- Clean the Repair Area: Thoroughly clean the vinyl surface with denatured or rubbing alcohol. This removes any dirt, grease, or residue that could interfere with the filler’s adhesion.
- Apply Heat-Cure Filler: Using a palette knife or needle tool, apply a thin, even coat of heat-cure filler into the cracks. Level the filler and remove any excess using a plastic spreader. Aim for a smooth, even surface that is slightly higher than the surrounding vinyl to account for shrinkage during curing.
- Initial Heat Curing: Use the heat gun at around 550°F (288°C), holding it 8-10 inches away from the repair. Warm the filler until it transitions from a glossy white cream to a more translucent, frosted appearance. Be careful not to overheat it to the point of becoming glossy again, as this can affect graining.
- Emboss the Filler: Immediately after heating, apply a grain pad over the filled crack and press firmly with a wooden block for 5-10 seconds. This embosses the grain texture into the filler as it cools and helps to level any ridges.
- Cool and Repeat: Allow the repaired area to cool to room temperature. You can speed up cooling with water or a chill block if available. Repeat steps 7-10, applying thin layers of filler and embossing until the surface is level and the cracks are filled.
- Final Texturizing (Optional): For a seamless blend, apply a final thin coat of heat-cure filler and texturize it with a gloved hand to mimic the surrounding vinyl texture. Heat and emboss with a grain pad one last time.
- Texture Blending (Optional): For further texture blending, consider using a spray grain product like SEM Chip Guard. Apply according to the manufacturer’s instructions.
- Color Restoration (Optional): If desired, apply a vinyl color restorer like Rub ‘n Restore® color to match the original seat color, followed by a clear protective finish like Clear Prep+Finish™.
- Re-working (If Necessary): If you need to rework the repair, use a cleaner like Flite™ or rubbing alcohol to remove the color before applying more heat-cure filler.
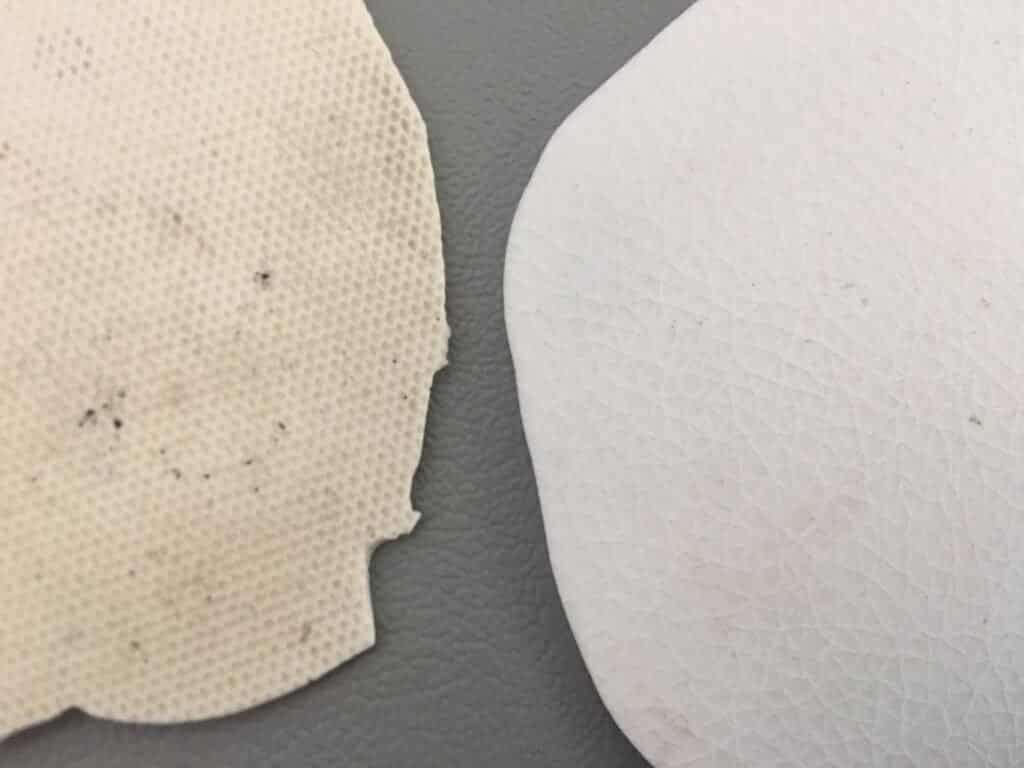 leather vinyl repair grain pads
Tips for a Professional-Looking Vinyl Repair
- Work in Thin Layers: Applying the heat-cure filler in thin layers and curing between applications minimizes shrinkage and cracking and allows for better control over the final surface.
- Control the Heat: Practice with the heat gun on a scrap piece of vinyl to get a feel for the heat settings and distance needed to soften the vinyl and cure the filler without causing damage.
- Match the Grain: Choose a graining pad that closely matches the original texture of your car seat vinyl for a more seamless repair. Experiment with different pads if necessary.
- Cleanliness is Key: Ensure the repair area is thoroughly clean before applying the filler. Any contaminants can weaken the bond and affect the final appearance.
- Patience is Important: Take your time with each step, especially the heating and embossing stages. Rushing can lead to uneven texture or damage.
Conclusion
Repairing cracked vinyl car seats is a rewarding DIY project that can significantly improve the look and feel of your vehicle’s interior. By using heat-cure putty and following these steps, you can achieve durable and professional-quality repairs. While repairs in high-stress areas may be susceptible to re-cracking over time, proper application and care will extend the life and appearance of your vinyl car seats. With the right tools, materials, and a bit of patience, you can effectively fix cracked vinyl car seats and enjoy a more comfortable and aesthetically pleasing driving experience.