How to Fix Cracked Paint on Your Car: A Comprehensive Guide
Discovering cracks in your car’s paint can be disheartening. What once was a smooth, glossy finish is now marred by a network of fractures, diminishing your vehicle’s aesthetic appeal and potentially its protection against the elements. As experts at CARDIAGTECH, we understand the frustration and want to equip you with the knowledge to tackle this common automotive paint defect. This guide will delve into the causes of cracked car paint and provide step-by-step instructions on how to fix cracked paint on your car, ensuring a professional-looking finish.
Understanding Cracked Car Paint
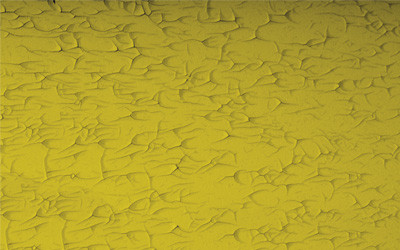
Cracked paint, often referred to as crazing or lacquer checking, is a paint defect characterized by a series of fine lines or fractures on the painted surface of your vehicle. These cracks can vary in size and depth, appearing as superficial hairline fractures or deeper, more pronounced breaks in the paint layers. Cracking can affect a small localized area or spread across larger panels, detracting from the overall appearance and potentially exposing the underlying layers to damage.
Inspecting cracked paint surface on a car panel
Preventing Car Paint Cracking: Proactive Measures
Prevention is always better than cure. Understanding the common culprits behind paint cracking allows you to take proactive steps to minimize the risk and maintain your car’s paintwork in pristine condition. Several factors can contribute to this issue:
1. Proper Paint Preparation: The Foundation for a Flawless Finish
Incorrect paint preparation is a primary cause of cracking. The crucial aspect here is the paint mixture. Always adhere to the manufacturer’s recommendations outlined in the technical data sheet, particularly regarding the precise ratio of thinner to paint. An improper mixture can compromise the paint’s flexibility and drying properties, making it susceptible to cracking over time.
2. Stable Environmental Conditions: Temperature and UV Exposure
Fluctuations in temperature, whether in the painting booth or the external environment, can induce stress within the paint layers as they expand and contract at different rates. Similarly, prolonged exposure to intense UV radiation from sunlight can degrade the paint’s binders, leading to brittleness and cracking. Whenever possible, ensure stable temperature conditions during painting and drying processes. Parking your car in shaded areas or using car covers can mitigate UV exposure.
3. Optimal Paint Layer Thickness: Avoiding Excessive Build-Up
Applying paint layers that are too thick is another common mistake that can lead to cracking. Excessive paint thickness hinders proper drying and curing throughout all layers. The outer surface may dry faster than the inner layers, creating internal stresses that manifest as cracks. Always follow the technical data sheet’s guidelines for recommended coat thickness and drying times between coats to ensure each layer dries and cures correctly.
Step-by-Step Guide: How to Fix Cracked Paint on Your Car
If prevention wasn’t enough, and you’re now facing cracked paint, don’t worry. Here’s a comprehensive guide on how to fix cracked paint on your car, ranging from minor surface cracks to more significant damage.
Addressing Superficial Paint Cracks: A Minor Repair Approach
For hairline cracks that are only on the surface, a less intensive repair process can often restore the finish.
Step 1: Sanding the Cracked Area with P1500 Sandpaper
Begin by carefully sanding the cracked area using P1500 grit sandpaper. To protect surrounding undamaged paint, use masking tape to define the repair area precisely. Gently sand the cracks to level the surface.
 Sanding cracked car paint with P1500 sandpaper
Step 2: Smoothing the Surface with P3000 Sandpaper
After using P1500, refine the surface with P3000 grit sandpaper. This finer grit will smooth out any sanding marks left by the coarser paper, preparing the area for polishing. Once sanding is complete, thoroughly clean the area with a degreaser and a microfiber cloth to remove all sanding dust.
 Smoothing car paint with P3000 sandpaper
Step 3: Surface Polishing with Quick Polish
Apply a quick polish using a polishing machine. Maintain uniform pressure and movement across the sanded area to achieve an even and glossy finish. The polishing compound will further refine the surface, removing any remaining imperfections and restoring shine.
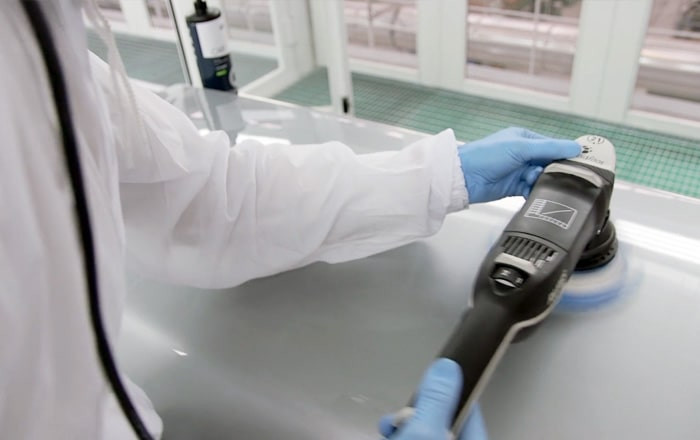 Polishing car paint surface to fix cracks
Step 4: Final Cleaning with Microfiber Cloth
Complete the process by cleaning the polished area with a degreaser and a clean microfiber cloth. This final cleaning step allows you to accurately assess the repair and ensure all polish residue is removed, revealing the restored paint finish.
 Cleaning polished car surface with microfiber cloth
Repairing Deep and Persistent Paint Cracks: A Comprehensive Approach
If the cracking is deep, extending beyond the surface, or if the polishing method proves insufficient, a more thorough repair is necessary. This involves removing the damaged paint layers and rebuilding the finish from scratch.
Step 5: Initial Sanding with Rough Sandpaper
For deep cracks, begin by sanding the affected area with rougher sandpaper. The specific grit will depend on the severity of the cracking, but aim to use a grit coarse enough to effectively remove the cracked paint layers. Continue sanding until all traces of cracking are completely eliminated from the surface. Use a degreaser to remove sanding residue.
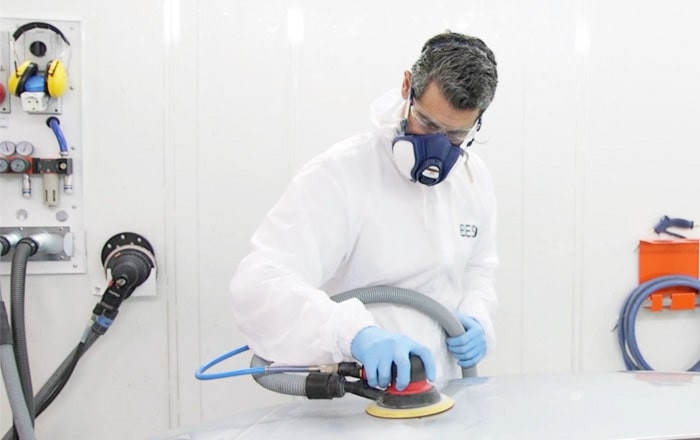 Sanding car paint with rough sandpaper to remove deep cracks
Step 6: Applying the Filler Coat
Once the cracked paint is removed and the surface is smooth, apply a filler coat or primer. This layer provides a uniform base for the new paint and helps to level any minor imperfections. Allow the filler coat to dry completely according to the manufacturer’s instructions, and then sand it smooth to create an even surface for the topcoat.
 Applying filler coat on car surface to repair paint cracks
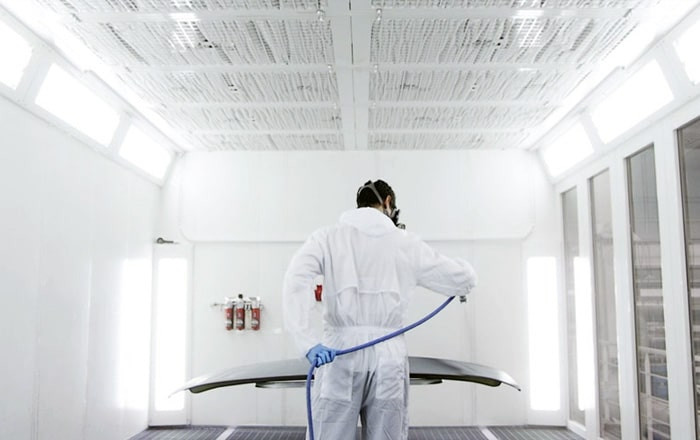
Step 7: Applying the Finish Coat
Finally, apply the finish coat of car paint. Ensure the paint is mixed correctly, as improper mixing is a primary cause of cracking. Apply thin, even coats, avoiding overloading the surface. Allow each coat to dry adequately before applying the next, following the paint manufacturer’s recommendations for drying times and application techniques.
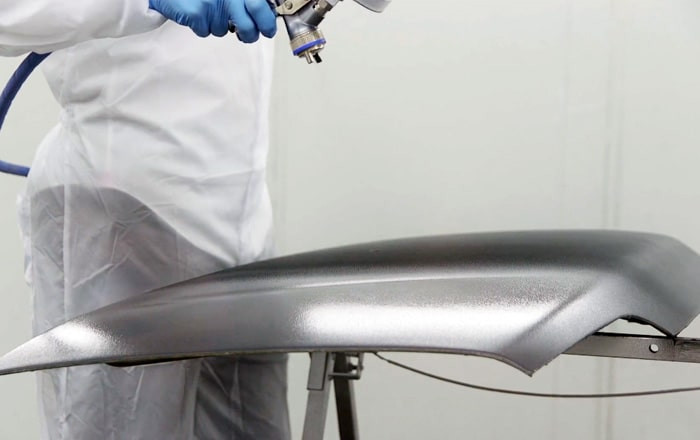 Applying finish coat on car to repair cracked paint
Achieving a Crack-Free Finish
By understanding the causes and following these detailed steps on how to fix cracked paint on your car, you can effectively address this common automotive paint issue. Whether you’re dealing with minor surface cracks or more extensive damage, a methodical approach and attention to detail will help you restore your car’s paintwork to its former glory, maintaining its appearance and protection for years to come.