How to Fix Clear Coat Peeling on My Car: A Professional Guide
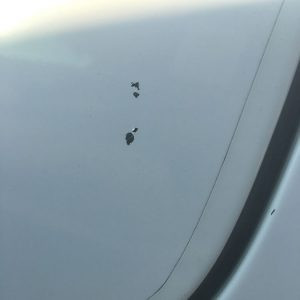
Clear coat peeling is a common cosmetic issue that can significantly detract from your car’s appearance. When the clear protective layer starts to fail, it not only looks unsightly but also exposes the underlying paint to further damage. While minor clear coat issues might seem like a DIY fix, a proper and lasting repair, especially for extensive peeling, usually requires professional expertise. This guide will walk you through the steps a professional paint shop takes to fix clear coat peeling, ensuring a high-quality and durable finish.
The Professional Clear Coat Peeling Repair Process
When you bring your car to a reputable auto body shop to address clear coat peeling, they follow a meticulous process to restore your vehicle’s paintwork. This typically involves several key stages, from preparation to final curing.
Preparation: Washing and Masking
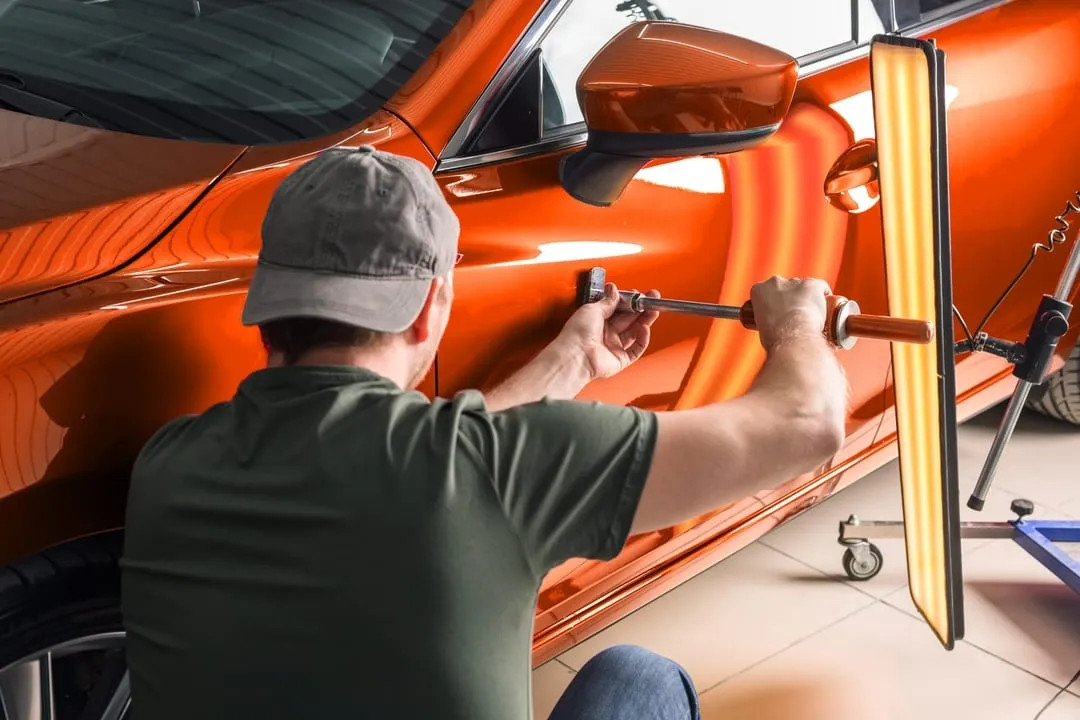
The first step is thorough preparation. The panel affected by clear coat peeling, whether it’s the hood, roof, or door, needs to be meticulously cleaned. Professionals start by washing the entire panel to remove any dirt, grime, and contaminants that could interfere with the repair process. If the affected part, like a hood or trunk lid, is easily detachable, it might be removed for better access and to avoid overspray onto other areas of the car. Otherwise, adjacent panels and sometimes the entire vehicle are carefully masked using specialized automotive masking tape and paper. This masking is crucial to protect surrounding paintwork from overspray during sanding, priming, painting, and clear coating.
Sanding: Removing the Damaged Clear Coat and Leveling the Surface
Once prepped, the next critical step is sanding. The goal here is to completely remove the peeling and damaged clear coat and create a smooth, even surface for the new paint layers to adhere to. Auto body technicians use various grades of sandpaper depending on the severity of the peeling and any underlying paint damage. Typically, they start with 400 to 600-grit sandpaper to remove the clear coat and level the base coat. This process also helps to eliminate any oxidation or minor scratches in the base coat. In cases where the damage is deeper, reaching the primer layer, coarser sandpaper like 220-grit might be initially used, followed by progressively finer grits to refine the surface back to a smooth finish.
Surface Preparation: Cleaning and Degreasing
After sanding, meticulous cleaning is essential. The sanded panel is first washed with water to remove sanding dust. Then, a degreaser is applied to eliminate any wax, grease, or silicone contaminants that could cause paint adhesion problems. Finally, the surface is wiped down with a solution of isopropyl alcohol and water. This final wipe ensures the panel is perfectly clean and ready for the subsequent paint application stages.
Priming (If Necessary): Creating a Foundation for Paint
If the sanding process has gone down to the primer layer, or if there was significant damage, a primer application becomes necessary. Primer serves as a bonding agent between the bare surface and the color coat, ensuring proper paint adhesion and preventing issues like paint lifting or peeling in the future. The primer is applied in thin, even coats and allowed to cure completely. Once cured, the primer is sanded smooth, typically with 1500-grit sandpaper, to create an ideal, level base for the color coat.
Color Matching and Application: Restoring the Original Hue
Achieving a seamless repair requires accurate color matching. For factory colors, paint shops utilize the vehicle’s paint code, which ensures a precise color match. Custom colors, however, require a more nuanced approach. Technicians may need to perform spray-out tests and adjustments to achieve an exact match with the existing paint. Once the color is perfectly matched, several thin coats of the base color are applied to the prepared panel. While two coats might be the minimum, more coats are often necessary, especially if the panel was sanded down to the primer, to achieve full color coverage and depth.
Clear Coat Application: Protecting and Enhancing the Paint
The final and crucial step in restoring the paint’s luster and protection is the clear coat application. A high-quality polyurethane clear coat is mixed with a reducer and hardener to achieve the correct viscosity for spraying and to ensure proper curing and durability. Typically, three coats of clear coat are applied. The first two coats are usually medium coats, and the final coat is often a slightly heavier coat to ensure complete coverage and sealing of the entire surface. Each coat is allowed to flash, or partially dry, for about 5-10 minutes before the next coat is applied. This flash time is critical for preventing runs and sags and ensuring proper adhesion between layers.
Curing Time: Allowing for a Durable Finish
After the final clear coat application, the paint needs time to cure properly. While the clear coat may be touch-dry relatively quickly, it takes 24-48 hours for it to cure enough for the car to be returned to the customer. Full curing, where the paint reaches its maximum hardness and durability, takes approximately 7 days. During this initial period and for several weeks to a month afterward, it’s crucial to avoid waxing, applying ceramic coatings, or using paint protection films. This allows for any residual solvents to fully off-gas from the paint, ensuring a long-lasting and flawless finish.
Professional Repair: Ensuring Quality and Longevity
Fixing clear coat peeling is a labor-intensive process that requires specific skills, equipment, and materials. While understanding the steps involved can be helpful, achieving a professional-quality repair is best left to experienced auto body technicians. Attempting a DIY repair without the proper knowledge and tools can often lead to unsatisfactory results and potentially further damage. Investing in a professional repair ensures a color-matched, durable, and aesthetically pleasing finish, restoring your car’s appearance and protecting its paint for years to come. Expect to invest a few hundred dollars for a single panel repaint, with full vehicle repaints costing significantly more, reflecting the complexity and labor involved in achieving a flawless finish.