How to Fix Clear Coat on Car: A Comprehensive Guide
Dealing with clear coat issues on your car can be frustrating. Whether you’ve sanded through the color coat, are battling orange peel, or noticing bubbles, achieving a smooth, glossy finish requires a systematic approach. This guide provides expert insights and step-by-step instructions on how to effectively fix clear coat on your car, ensuring a professional-looking result.
Understanding Common Clear Coat Problems
Before diving into the repair process, it’s crucial to understand the common issues that necessitate clear coat fixes. These often include:
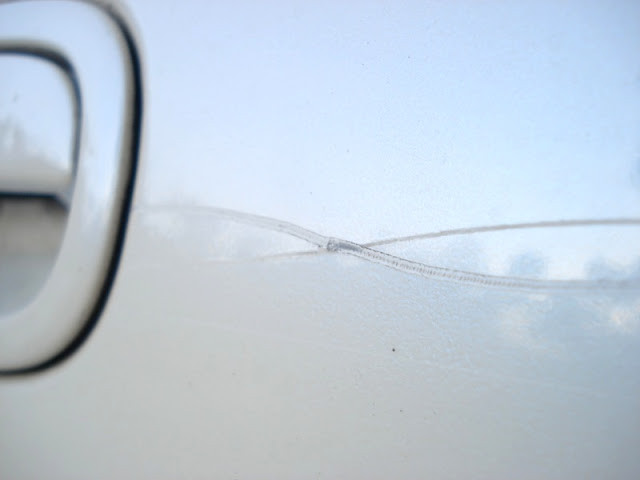
- Orange Peel: This textured surface, resembling the skin of an orange, is a common paint defect. It occurs when the paint doesn’t level out properly during application, often due to improper spraying technique or paint viscosity.
- Bubbles: Air bubbles trapped within the paint layers can appear as small bumps or imperfections on the surface. These can arise from inadequate surface preparation or issues during the painting process.
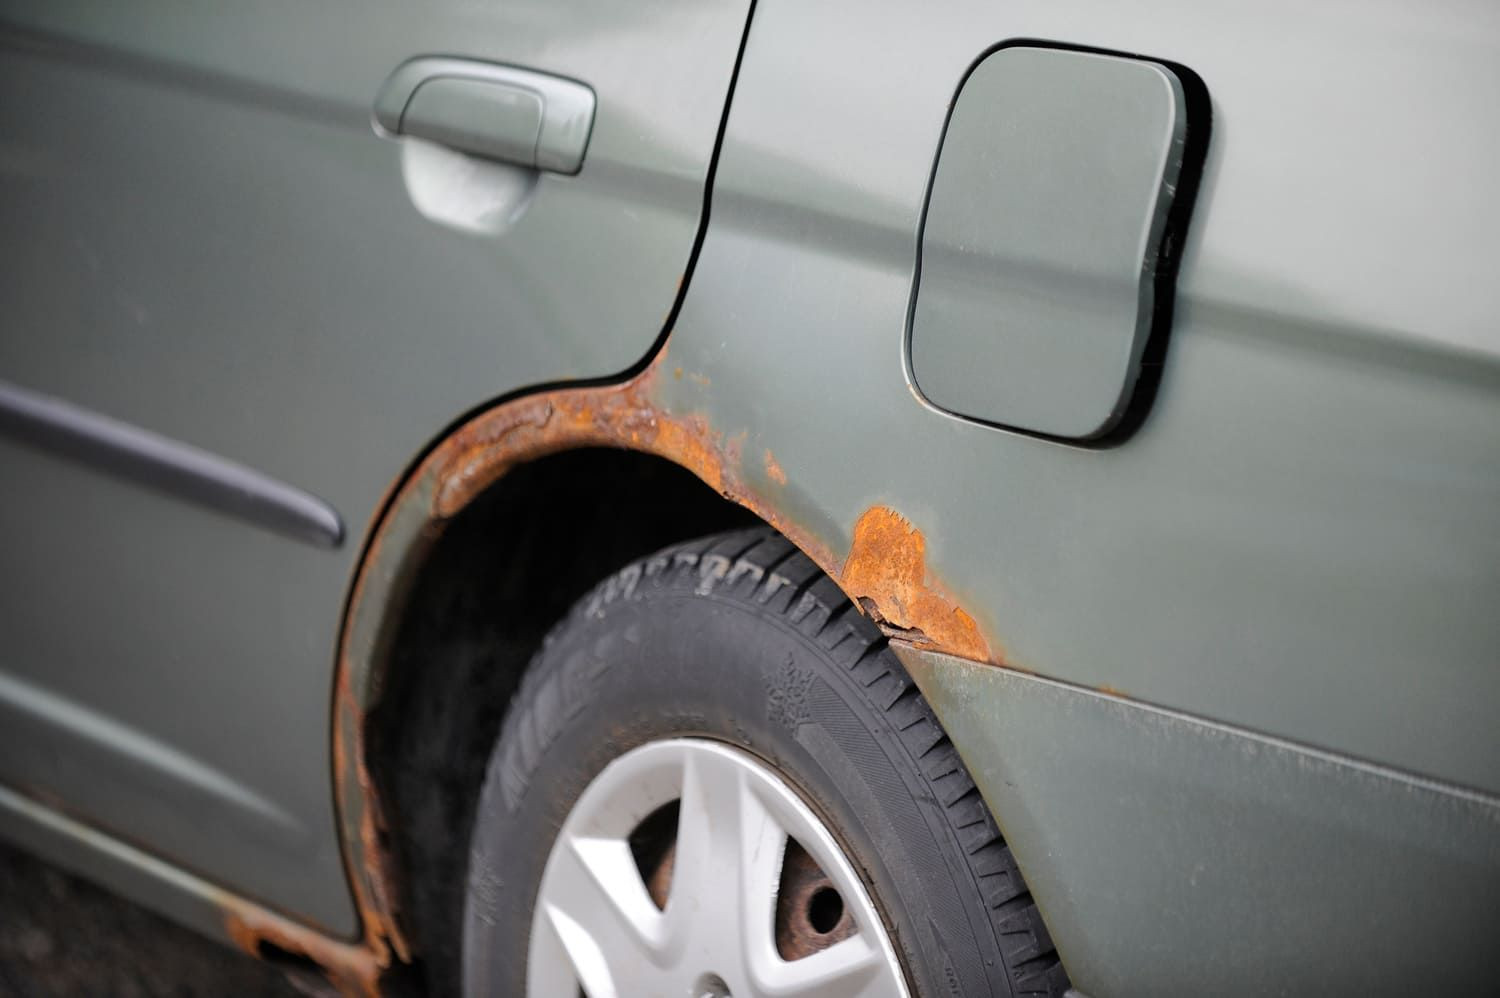
- Sanding Through the Color Coat: An error during sanding, where you accidentally remove the clear coat and expose the color coat beneath, requires immediate attention to prevent further damage and ensure proper paint adhesion.
Step-by-Step Guide to Fixing Clear Coat
The following steps outline a comprehensive process to fix common clear coat problems and restore a smooth, glossy finish to your car’s paintwork.
Step 1: Preparing the Surface with Sanding
If you’ve sanded through the color coat or are dealing with orange peel, sanding is the first crucial step.
-
Wet Sanding with 600 Grit Paper: Begin by wet sanding the affected area, or ideally the entire panel, with 600 grit sandpaper. Wet sanding helps to minimize scratches and keeps the sandpaper from clogging. Use a sanding block or cushion pad to ensure even pressure and avoid creating sanding streaks. This process aims to level the surface and remove the orange peel.
- Pro Tip: Pay special attention to areas where paint may have pooled, such as along rain gutters or body lines. Imperfections in these areas can easily reappear through subsequent coats if not properly addressed.
Step 2: Applying a New Color Base Coat
Since the original color coat has been compromised, a fresh application is necessary.
- Apply Acrylic Base Coat: After sanding, thoroughly clean the area to remove any sanding residue. Apply a new, even coat of your car’s acrylic base coat. Ensure proper coverage over the sanded area.
- Drying and Inspection: Allow the base coat to dry completely for a few hours, as recommended by the paint manufacturer. After drying, carefully inspect the area for any remaining imperfections, particularly looking for any signs of bubbles that may have persisted from the previous paint job.
- Addressing Lingering Imperfections: If bubbles or other imperfections are still visible, gently wet sand again with 600 grit sandpaper to smooth them out.
- Final Color Coat Application: Apply a final color coat. This coat should now flow smoothly and effectively bury any remaining minor imperfections, creating a uniform base for the clear coat.
Step 3: Applying the Clear Coat for Gloss and Protection
With the color base coat properly applied and dried, it’s time for the clear coat application.
-
Preparing the Clear Coat: For optimal results, especially when using a lacquer-based clear coat like WetLook Clear (WLC), warming the can of clear coat is highly recommended. Submerge a new can of WLC in very hot water for approximately 90 seconds before spraying. Warming the paint reduces its viscosity, allowing it to flow more evenly and produce a smoother, glossier finish without requiring heavy coats.
-
Applying Light Mist Coats: Begin with several light mist coats of clear coat, allowing about 5 to 6 minutes of flash time between each coat. Mist coats help to build adhesion and prevent runs or drips in the subsequent heavier coats.
-
Applying a Heavier Final Coat: After the mist coats, apply a final, heavier coat of clear coat. This coat will provide the depth and gloss to the finish.
- Environmental Considerations: In hot and dry climates, like Southern California summers, thin coats are particularly important to prevent the paint from drying too quickly and causing issues.
Step 4: Curing and Wet Sanding the Clear Coat
Proper curing and further sanding are essential for achieving a flawless finish.
- Curing Time: Allow the clear coat to cure thoroughly for at least a week. During this time, some of the initial gloss may diminish as solvents evaporate from the paint – this is a normal part of the curing process.
- Wet Sanding for Smoothness: Once the clear coat is fully cured, you can begin wet sanding to achieve a perfectly smooth surface. Start with 2000 grit sandpaper, followed by 3000 grit. High-quality 3000 grit sanding pads are readily available from automotive stores. For an even finer finish, specialized abrasive films used for resurfacing delicate surfaces like CDs or DVDs can be used.
- Polishing Compound: After wet sanding, use a polishing compound to remove the fine scratches left by the sandpaper and begin to bring back the gloss.
- Swirl Remover: Finish with a swirl remover, applied by hand, to eliminate any swirl marks and enhance the final clarity and shine of the clear coat. Meguiar’s swirl remover is a well-regarded product for this purpose.
Potential Drawbacks and Considerations
While re-coating with clear coat is an effective solution, it’s important to be aware of potential downsides.
- Loss of Detail: In some cases, re-coating can slightly soften or reduce the definition of fine character lines and edges, such as around roof gutter moldings or windshield moldings. This is due to the added layers of paint filling in these details.
- Foiling Challenges: If you plan to apply trim foil to these areas later, the added paint layers can make the process slightly more challenging, requiring extra care and precision.
Conclusion
Fixing clear coat on your car is a manageable DIY task with patience and the right techniques. By following these steps, from proper sanding and base coat application to careful clear coating and finishing, you can effectively address common clear coat problems like orange peel, bubbles, and sanding errors. While there are minor potential drawbacks such as slight detail loss, the result is a significantly improved paint finish, restoring the gloss and protection of your car’s clear coat. Remember to take your time, work methodically, and enjoy the rewarding process of automotive paint repair.