How to Fix Chipped Paint on Your Car: A Comprehensive Guide

Chipped paint is a frustratingly common issue for car owners. Those small blemishes, often appearing on the hood, bumper, or fenders, are usually caused by flying debris like gravel and stones kicked up from the road. These paint chips, while seemingly minor, can detract from your car’s appearance and, if left unattended, can lead to more serious problems like rust. Fortunately, fixing chipped paint on your car is a manageable task, often achievable at home with the right tools and a bit of patience.
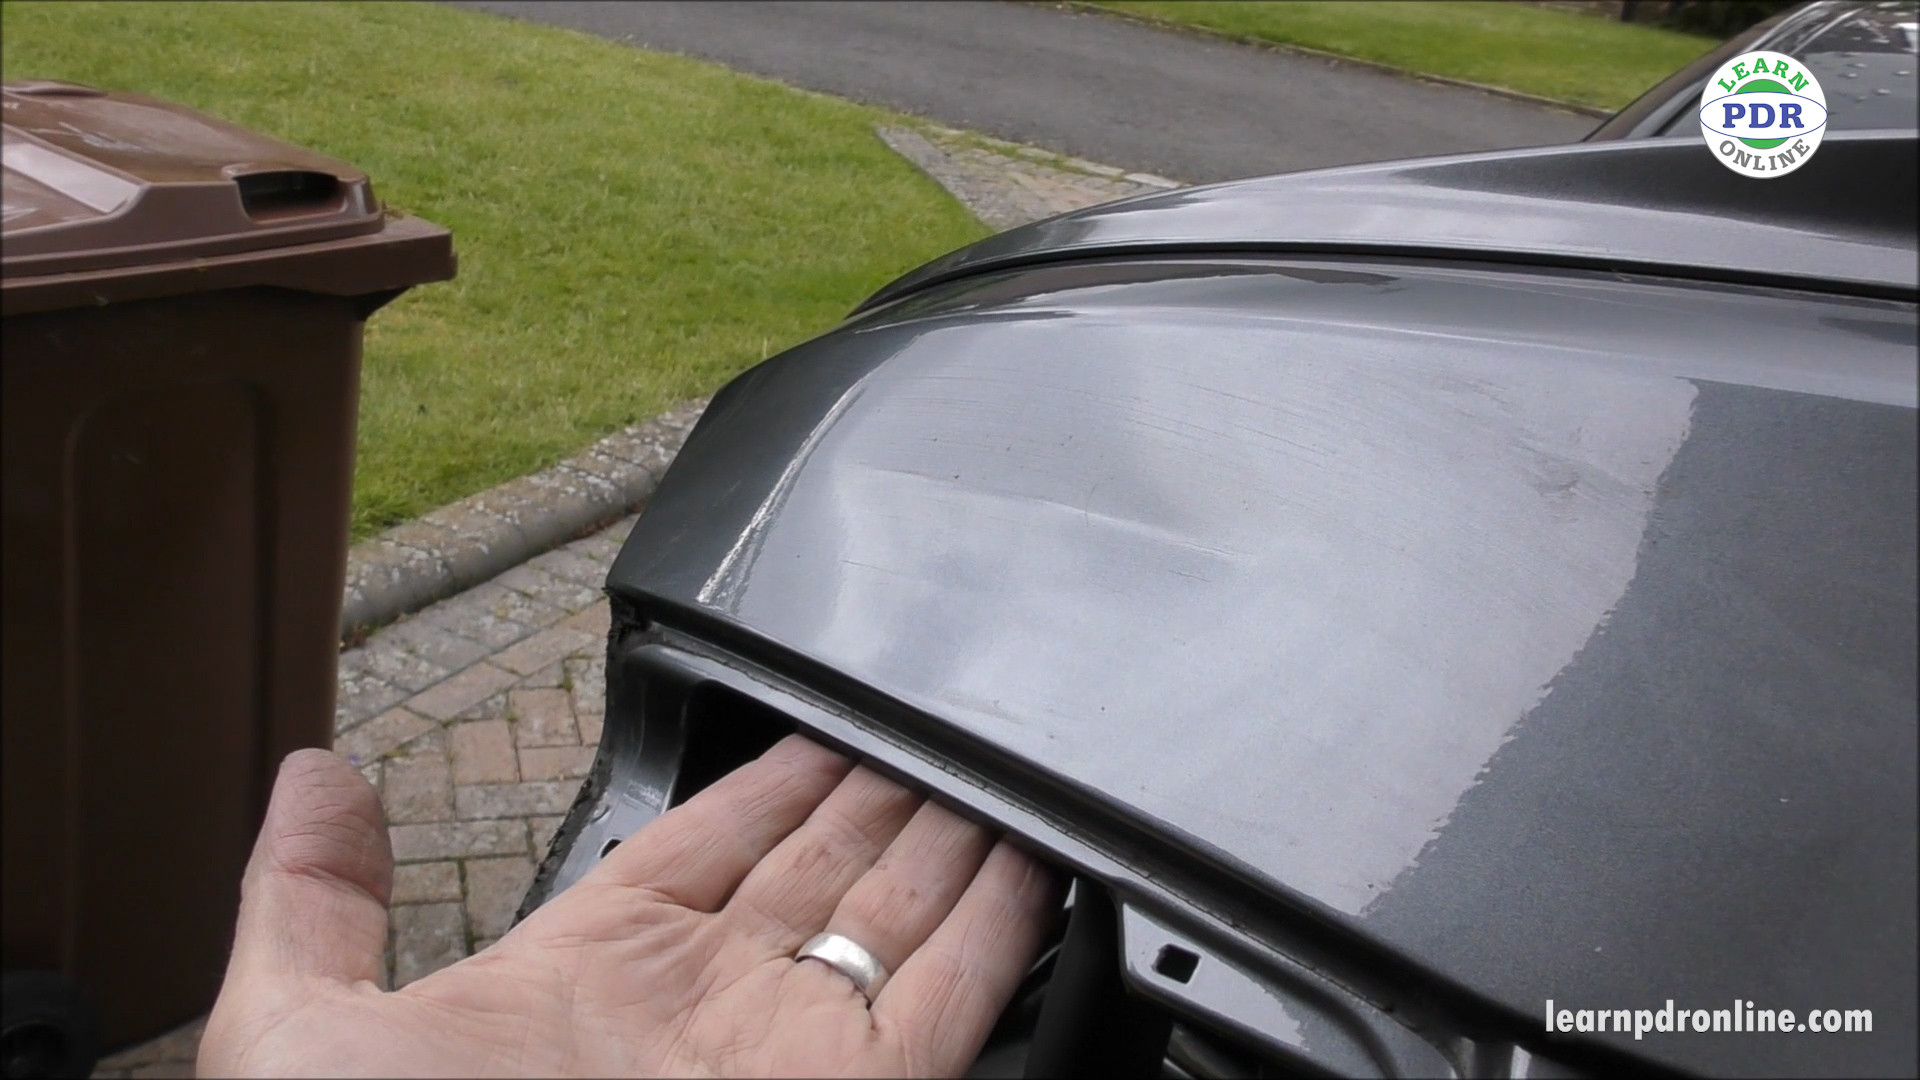
Close-up of car paint chip repair process, demonstrating how to fix chipped paint on car.
Understanding why these chips occur is the first step in prevention and repair. Road debris, especially on highways where vehicles travel at higher speeds, is a primary culprit. Winter conditions exacerbate the problem, as salt and grit spread on roads to combat ice can be easily kicked up, causing damage. Furthermore, cold and wet weather can worsen existing chips by allowing water to penetrate to the bare metal, potentially leading to rust formation beneath the paint.
While completely avoiding stone chips might be impossible, timely repair is crucial. Addressing these chips promptly prevents further deterioration and maintains your car’s value and appearance. This guide will walk you through the process of how to fix chipped paint on your car, helping you decide if it’s a DIY job or when professional help is recommended.
DIY vs. Professional Repair: Knowing When to Seek Help
For minor paint chips, a do-it-yourself approach can be effective and cost-saving. However, there are situations where professional car paint chip repair is the wiser choice. Consider seeking professional help when:
- The chip has reached the bare metal: If the chip exposes the metal underneath the paint layers (primer and base coat), it’s more vulnerable to rust. Professional treatment can ensure proper rust prevention and paint adhesion.
- Rust is already present: If you notice rust forming in or around the chipped area, DIY touch-up alone won’t suffice. Rust needs to be properly treated and removed before any paint repair to prevent it from spreading.
- You have numerous or large chips: Dealing with a few small chips is one thing, but extensive damage might require techniques and tools beyond the scope of a simple DIY fix. Professionals can offer more efficient and comprehensive solutions for widespread chipping.
Step-by-Step DIY Guide: How to Fix Chipped Paint on Your Car at Home
For small, surface-level paint chips that haven’t penetrated to the metal or show signs of rust, you can achieve good results with a DIY repair. Here’s a detailed guide on how to fix chipped paint on your car yourself:
1. Gather Your Tools and Materials:
Before you begin, assemble everything you’ll need. This typically includes:
- Car wash soap and water: For cleaning the area.
- Rubbing alcohol or wax and grease remover: To ensure a clean surface for paint adhesion.
- Touch-up paint: Obtain touch-up paint that precisely matches your car’s color code. You can usually find this code on a sticker located on the driver’s side doorjamb or in your car’s manual. Automotive parts stores can help you find the right match.
- Fine-tipped applicator brush or paint pen: For precise application of touch-up paint. Some touch-up paint kits come with these applicators.
- Primer (optional but recommended): For chips that are deep or reach the primer layer.
- Clear coat (if your car has a clear coat finish): To protect the color coat and provide a glossy finish.
- Rubbing compound (like T-Cut) or very fine-grit sandpaper (2000-3000 grit): For leveling and smoothing the repaired area.
- Polishing compound and soft cloths: To blend the repair and restore shine.
- Masking tape (optional): To protect surrounding areas.
2. Clean the Area:
Thoroughly wash the area around the paint chip with car wash soap and water. Rinse well and dry completely. Next, use rubbing alcohol or a wax and grease remover to eliminate any remaining wax, polish, or contaminants that could hinder paint adhesion. Let it dry fully.
3. Prepare the Chip (Sanding – If Necessary):
If there are raised edges around the chip, you’ll need to gently level them. Use a rubbing compound like T-Cut applied with a soft cloth, or very fine-grit wet sandpaper (2000-3000 grit) lightly dampened. Be extremely careful not to scratch the surrounding clear coat. Focus only on smoothing the edges of the chip. For very small chips, this step might not be necessary.
4. Apply Primer (Optional but Recommended for Deeper Chips):
If the chip is deep and exposes the primer layer or bare metal, applying a thin layer of primer is advisable. This promotes better paint adhesion and corrosion protection. Let the primer dry completely according to the manufacturer’s instructions.
5. Apply Touch-Up Paint in Thin Layers:
Shake the touch-up paint bottle well. Using a fine-tipped brush or paint pen, carefully apply a very small amount of paint into the chip. The goal is to fill the chip, not to paint over the surrounding good paint. Apply the paint in thin, even layers, allowing each layer to dry for the time recommended by the paint manufacturer before applying the next. Multiple thin layers are better than one thick layer, as they prevent drips and ensure proper drying and curing.
6. Level the Paint (Sanding and Rubbing Compound):
Once the touch-up paint is completely dry (usually after 24-48 hours), you might notice that it’s slightly raised compared to the surrounding paint. To level it, you can use very fine-grit wet sandpaper (2000-3000 grit) wrapped around a small, flat block (like the end of a pencil eraser) to concentrate pressure only on the touch-up paint. Dampen the sandpaper and lightly sand the repaired area in a circular motion, checking frequently to avoid sanding too much. Alternatively, you can use rubbing compound applied with a soft cloth to gently level the touch-up paint.
7. Apply Clear Coat (If Applicable):
If your car has a clear coat finish (most modern cars do), apply a thin layer of clear coat over the touch-up paint to seal and protect the color coat and restore the glossy finish. Allow it to dry completely.
8. Polish and Blend:
Finally, use a polishing compound and a clean, soft cloth to gently polish the repaired area. This will help blend the touch-up paint seamlessly with the surrounding paintwork and restore the shine. Work in small, circular motions and buff until the area is smooth and glossy.
Cost of Fixing Chipped Paint: DIY vs. Professional
The cost to fix chipped paint on your car varies significantly depending on whether you choose the DIY route or opt for professional repair.
DIY Repair:
- Touch-up paint kit: $10 – $30 (depending on brand and if it includes applicators, primer, clear coat).
- Additional supplies (sandpaper, rubbing compound, etc.): $10 – $20 (if you don’t already have these).
Total DIY cost: Approximately $20 – $50.
Professional Repair:
- Mobile paint chip repair services (SMART repair): $80 – $200+ per panel, depending on the number and severity of chips.
- Body shop repair: Can be more expensive, especially if panel respraying is involved, ranging from $200 to several hundred dollars per panel.
Professional SMART repair services often offer a good balance of quality and cost, providing more advanced techniques and color matching than DIY while being less expensive than full body shop repairs.
Prevention: Minimizing Car Paint Chips
While you can’t eliminate the risk of chipped paint entirely, you can take steps to minimize it:
- Avoid driving on gravel or loose stone roads whenever possible.
- Maintain a safe following distance from vehicles in front of you, especially trucks and construction vehicles that are more likely to kick up debris.
- Consider using mud flaps on your vehicle, especially if you frequently drive on roads with loose gravel.
- Apply paint protection film (PPF) to vulnerable areas like the hood, bumper, and fenders. PPF is a clear, self-healing film that provides a robust barrier against stone chips. While more expensive initially, it offers excellent long-term protection.
- Regularly wash and wax your car. A good coat of wax can provide a degree of protection to the paint and make it easier to remove road grime that can contribute to paint damage.
Conclusion
Chipped paint on your car is an unavoidable part of vehicle ownership, but it doesn’t have to be a permanent eyesore. By understanding how to fix chipped paint on your car, you can take proactive steps to maintain your vehicle’s appearance and protect it from further damage. Whether you choose the DIY approach for minor chips or seek professional help for more extensive damage, addressing paint chips promptly is a worthwhile investment in your car’s longevity and resale value.