How to Fix Car Wiring: A Comprehensive Guide to Repairing Automotive Electrical Issues

Car wiring issues can be a frustrating problem for any car owner. From a malfunctioning trunk light to a completely dead electrical system, faulty wiring can cause a range of inconveniences and safety concerns. While complex electrical repairs are best left to professionals, understanding the basics of car wiring and knowing how to fix common problems yourself can save you time and money. This guide provides a comprehensive overview of how to diagnose and repair car wiring, empowering you to tackle those electrical gremlins effectively.
Understanding Car Wiring Issues
Modern vehicles rely on intricate electrical systems to control everything from ignition and lighting to advanced safety features and infotainment. This complexity means that wiring problems can manifest in various ways. Before diving into repairs, it’s crucial to understand the common causes and symptoms of car wiring issues.
Common Causes of Wiring Problems
- Flexing and Vibration: Wires in areas like doors, trunks, and engine bays are constantly subjected to movement and vibration. Over time, this flexing can cause wires to fatigue and break, especially at stress points within harnesses and connectors.
- Environmental Exposure: Harsh conditions under the hood and under the car body, including heat, moisture, road salt, and chemicals, can degrade wire insulation, leading to corrosion and shorts.
- Rodent Damage: Unfortunately, rodents are attracted to the warmth and sometimes the materials used in car wiring. They can chew through wires, causing open circuits and malfunctions.
- Overloading Circuits: Adding aftermarket accessories incorrectly or having a short circuit can overload wiring, causing fuses to blow, wires to overheat, and insulation to melt.
- Poor Previous Repairs: Improperly spliced or connected wires from previous repairs can fail over time, leading to new issues.
Identifying Car Wiring Problems: Symptoms to Watch For
Recognizing the symptoms of wiring problems is the first step towards fixing them. Common signs include:
- Malfunctioning Lights: Headlights, taillights, brake lights, or interior lights that are dim, flickering, or not working at all.
- Electrical Component Failure: Power windows, door locks, trunk releases, or windshield wipers that stop functioning or operate intermittently.
- Blown Fuses: Repeatedly blown fuses are a strong indicator of a short circuit or an overloaded wiring issue.
- Warning Lights on the Dashboard: The check engine light, ABS light, or other warning lights can be triggered by electrical faults in various systems.
- Unusual Electrical Behavior: Strange noises, smells (like burning plastic), or smoke can point to serious wiring problems that require immediate attention.
- “Trunk Open” or “Door Ajar” warnings: Even when properly closed, these can indicate faulty wiring in the lid or door harness.
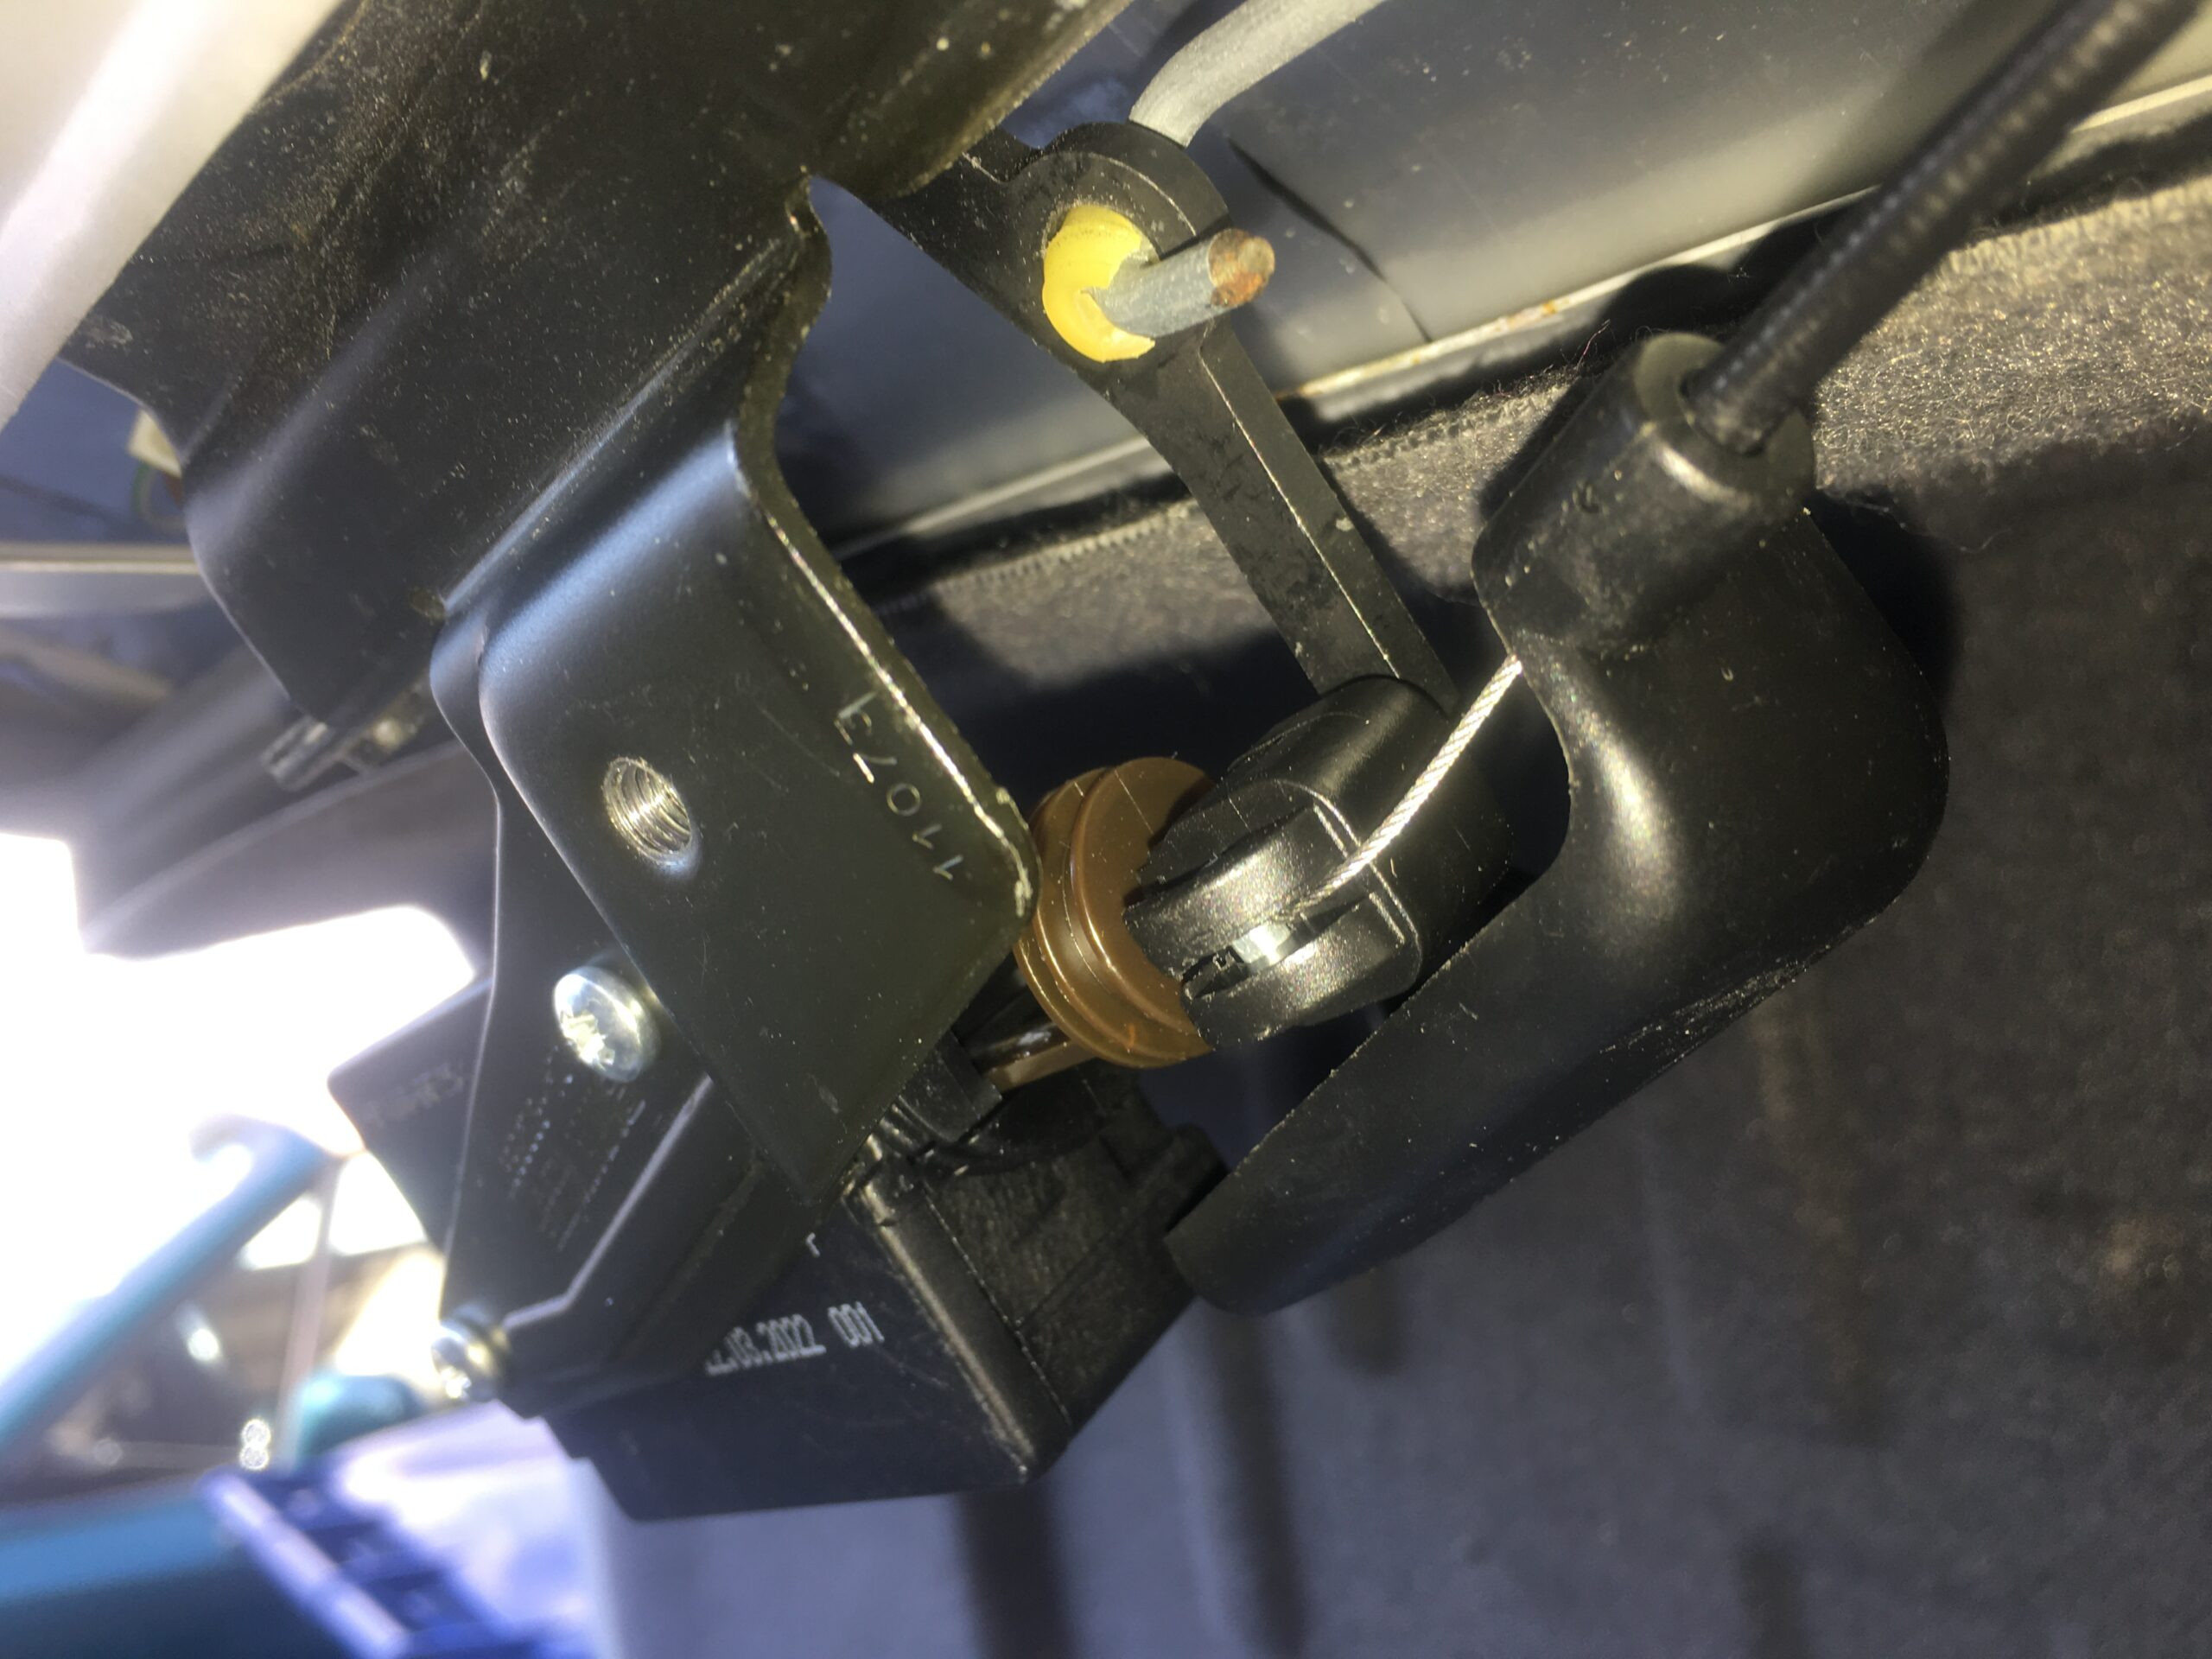
relay part
Essential Tools and Materials for Car Wiring Repair
Before you start fixing car wiring, gather the necessary tools and materials. Having the right equipment will make the job easier, safer, and ensure a reliable repair.
Essential Tools
- Wire Strippers/Crimpers: A combination tool that strips insulation from wires without damaging the conductors and crimps connectors securely.
- Crimping Tool (Ratcheting): For more consistent and professional crimps, especially for various connector types.
- Soldering Iron and Solder: For creating strong and conductive soldered wire splices. A temperature-controlled soldering iron is recommended.
- Heat Gun: For shrinking heat shrink tubing to insulate and protect wire splices. A hair dryer can be used as a less effective alternative.
- Multimeter: An essential tool for diagnosing electrical problems. It allows you to check for voltage, continuity (broken wires), and resistance.
- Wire Cutter: For cleanly cutting wires to length.
- Electrical Tape (Vinyl and Self-Fusing Silicone): For insulating and protecting wire connections. Self-fusing silicone tape offers better moisture resistance.
- Terminal Tools/Pick Set: For removing wires from connectors without damaging the terminals.
- Flashlight or Work Light: To provide adequate illumination in dimly lit areas.
- Safety Glasses and Gloves: To protect your eyes and hands during the repair process.
Necessary Materials
- Automotive Wire (Various Gauges): Purchase automotive-grade wire in different gauges (thicknesses) to match the wires you are repairing. Ensure it is rated for automotive use (high temperature, oil, and chemical resistance).
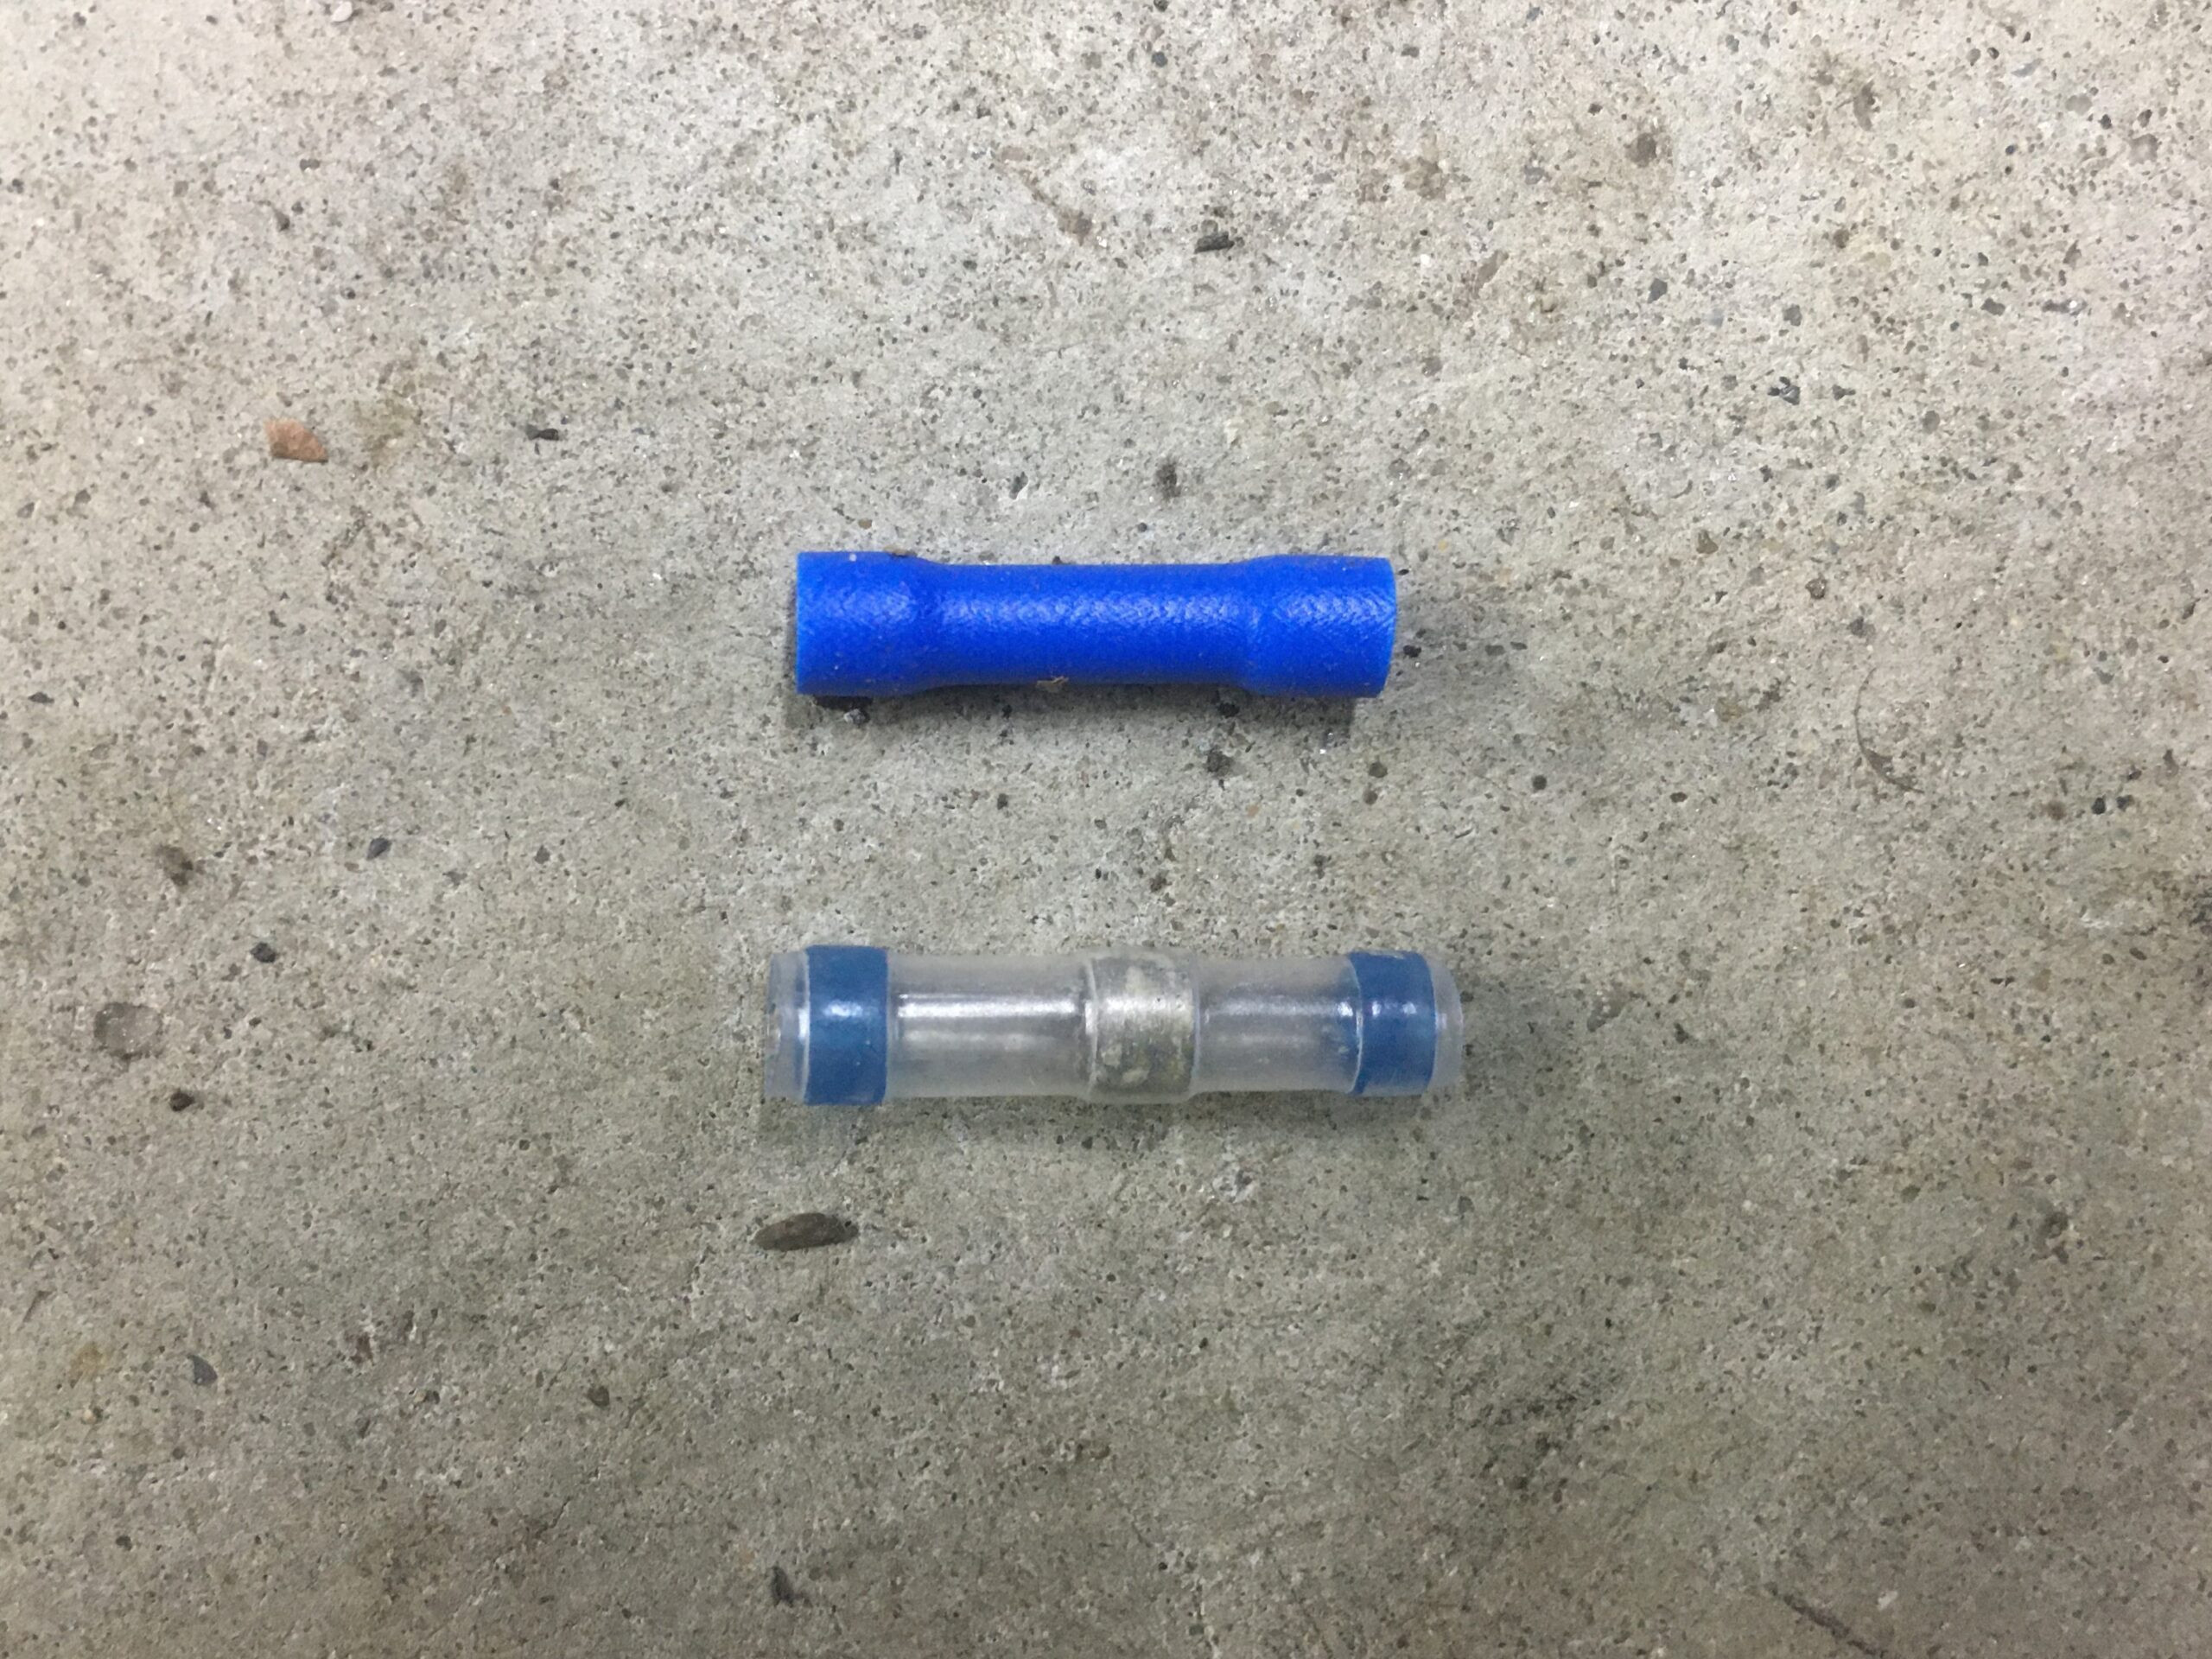
- Butt Splice Connectors: For quickly joining two wires by crimping. Choose insulated connectors for better protection.
- Heat Shrink Solder Connectors: Combine soldering and heat shrinking in one step for a weather-tight and convenient splice.
- Heat Shrink Tubing (Various Sizes): For insulating solder joints and butt splice connectors. Choose adhesive-lined heat shrink for superior moisture sealing.
- Solder: Rosin-core solder is suitable for electrical work.
- Electrical Contact Cleaner: To clean corroded terminals and connectors.
- Dielectric Grease: To prevent corrosion in electrical connectors.
- Cable Ties: To neatly bundle and secure wires.
- Wiring Diagram (for your vehicle): A wiring diagram specific to your car model is invaluable for tracing circuits and identifying wire colors and functions. These are often available online or through repair manuals.
 relay cable
Step-by-Step Guide: How to Fix Broken Car Wires
Repairing broken car wires typically involves locating the break and then using a splicing method to reconnect the wires securely. Here’s a step-by-step guide:
Safety First: Disconnect the Battery
Before starting any electrical work on your car, always disconnect the negative battery terminal. This prevents accidental shorts, electrical shocks, and damage to your vehicle’s electrical system. Wait a few minutes after disconnecting the battery before proceeding to allow any residual charge to dissipate.
Locating the Wire Break
- Visual Inspection: Carefully examine the wiring harness in the area where you suspect the problem. Look for:
- Obvious breaks or cuts: Visually inspect the wires for any points where the insulation is damaged, or the wire is completely severed. Pay close attention to areas prone to flexing, like door jambs and trunk hinges.
- Corrosion: Check for green or white powdery deposits on wires and connectors, indicating corrosion.
- Melted or Brittle Insulation: Look for signs of overheating, such as melted or cracked wire insulation.
- Using a Multimeter for Continuity Testing: If the break is not visually apparent, use a multimeter to test for continuity:
- Set the multimeter to the continuity setting (often indicated by a diode symbol or a sound wave symbol).
- Touch the multimeter probes to each end of the wire you suspect is broken.
- No continuity (no beep or reading) indicates a break in the wire. Systematically test sections of the wire until you isolate the break.
- Refer to a wiring diagram to identify the specific wires and circuits you are testing.
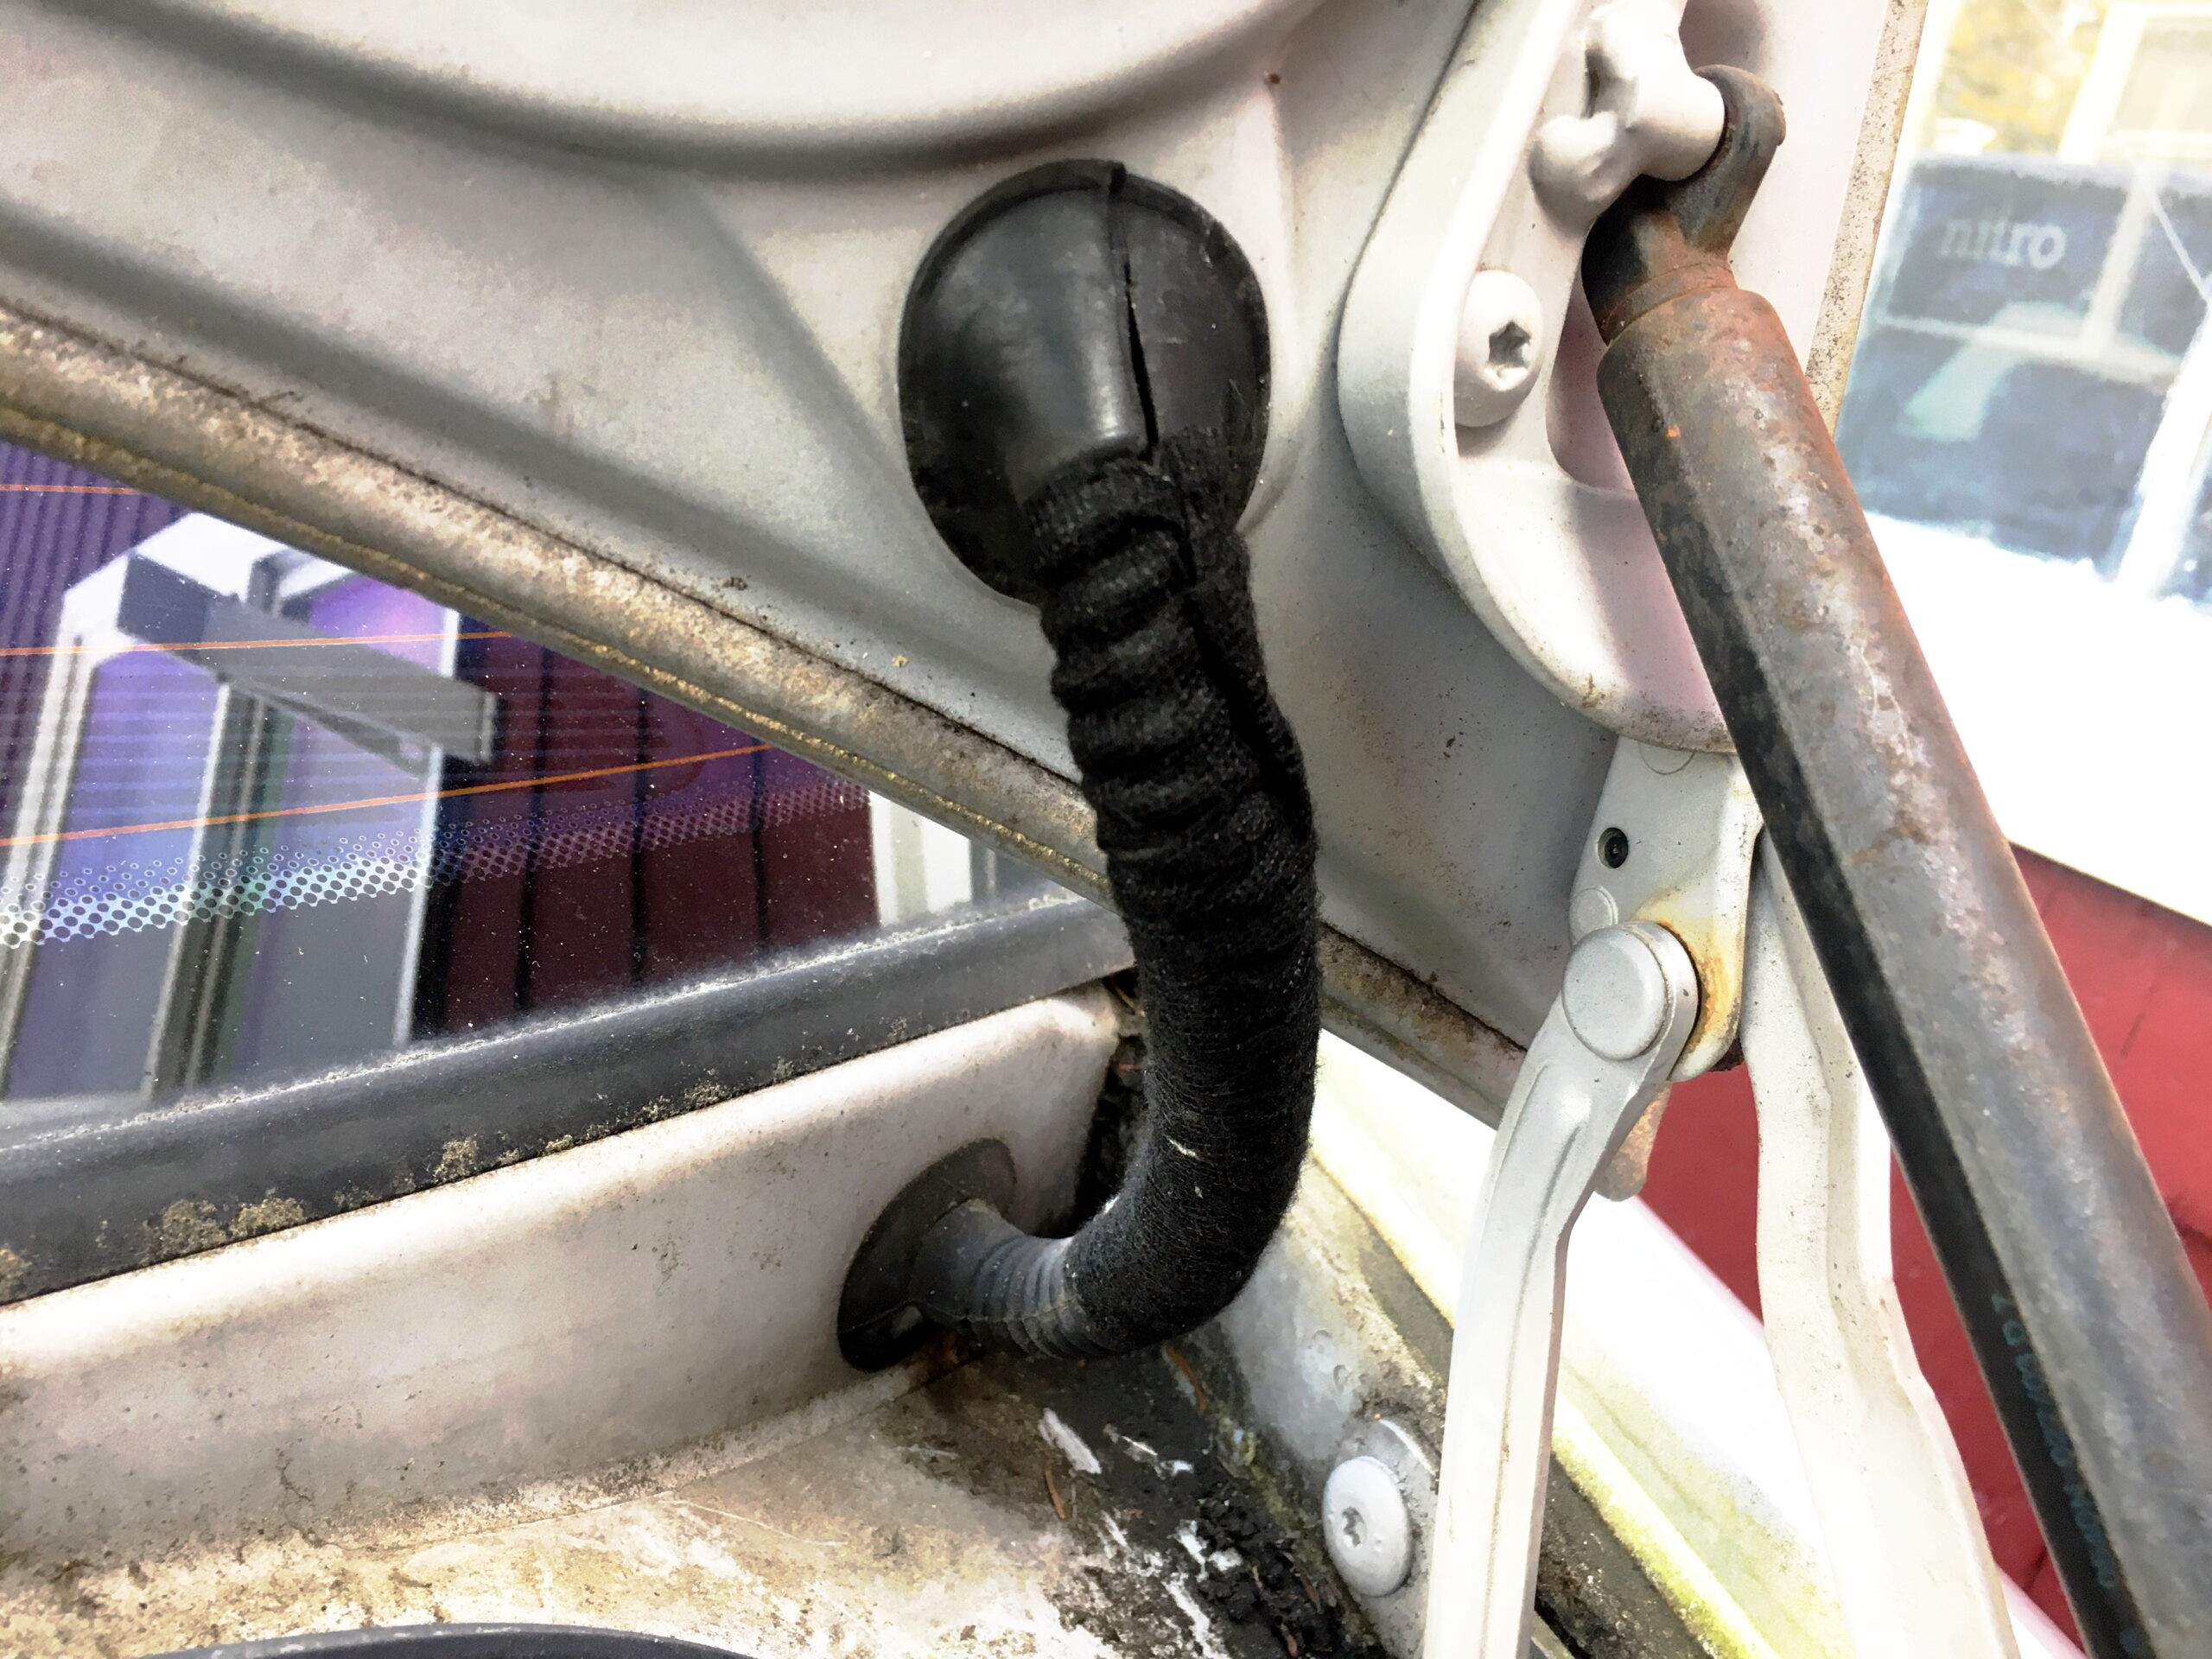
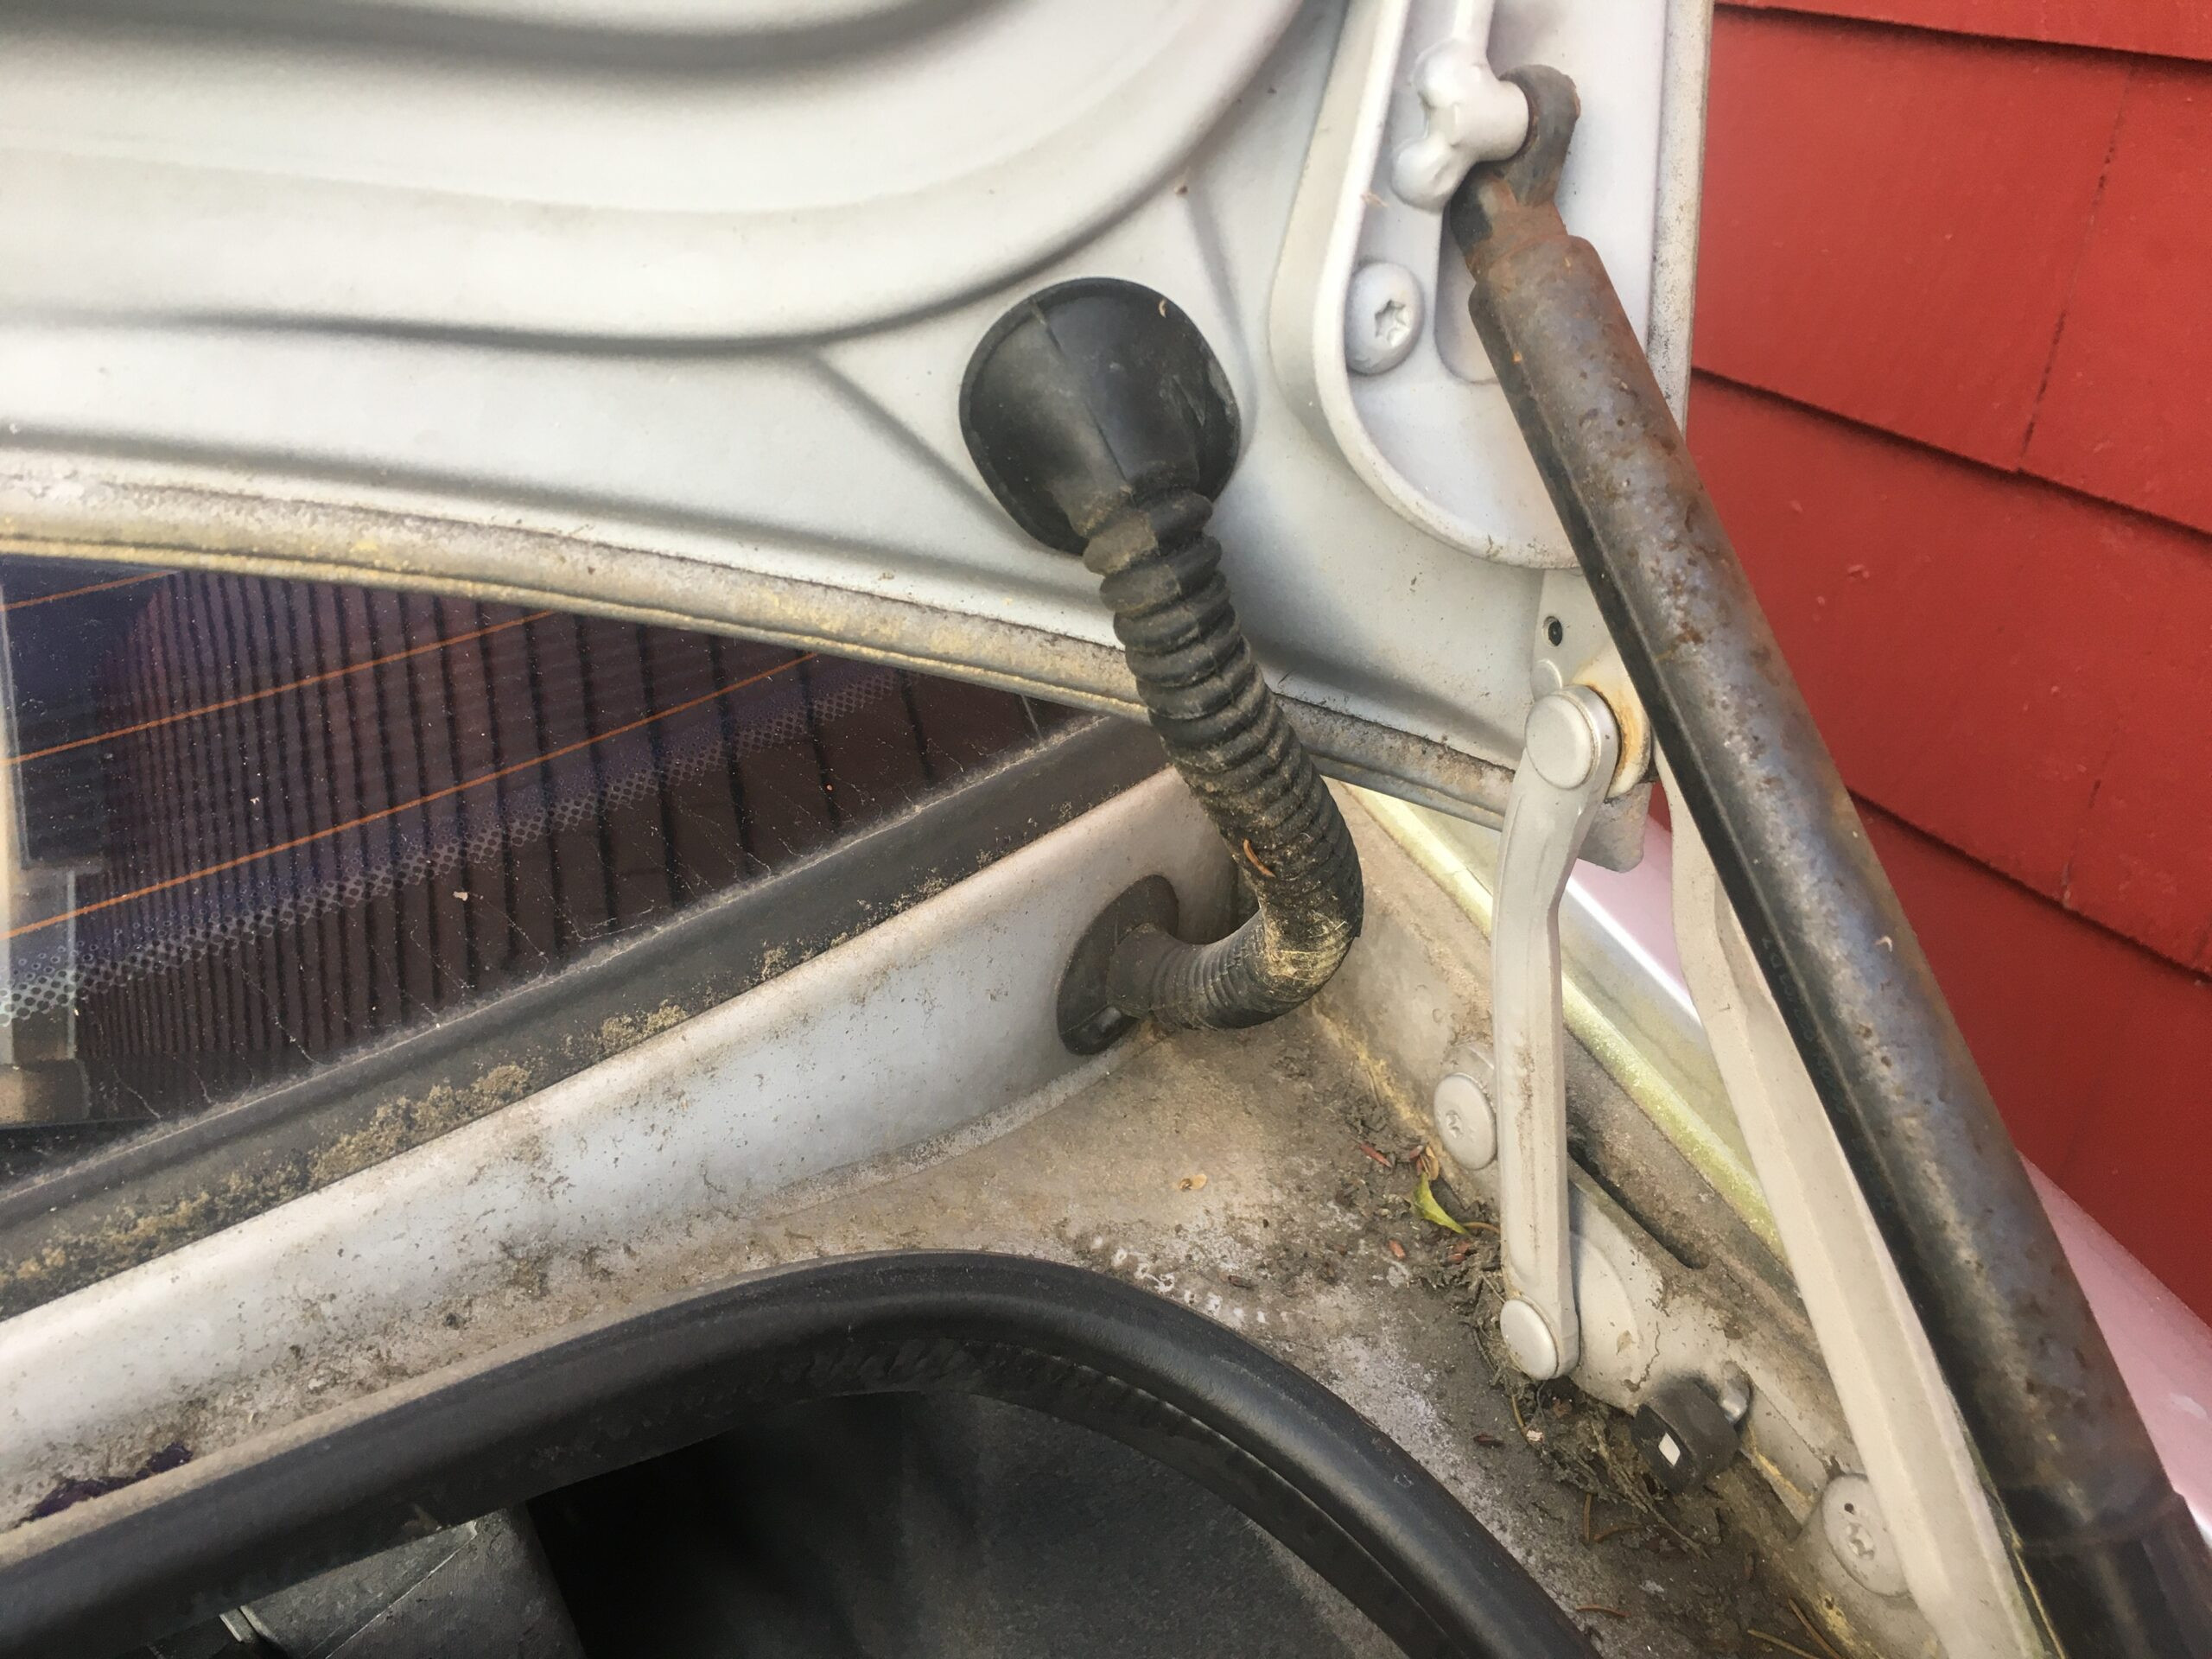 conduit trunk
Repair Methods: Splicing Broken Wires
Once you have located the break, you can choose from several splicing methods. The best method depends on the location, the number of wires, and your skill level.
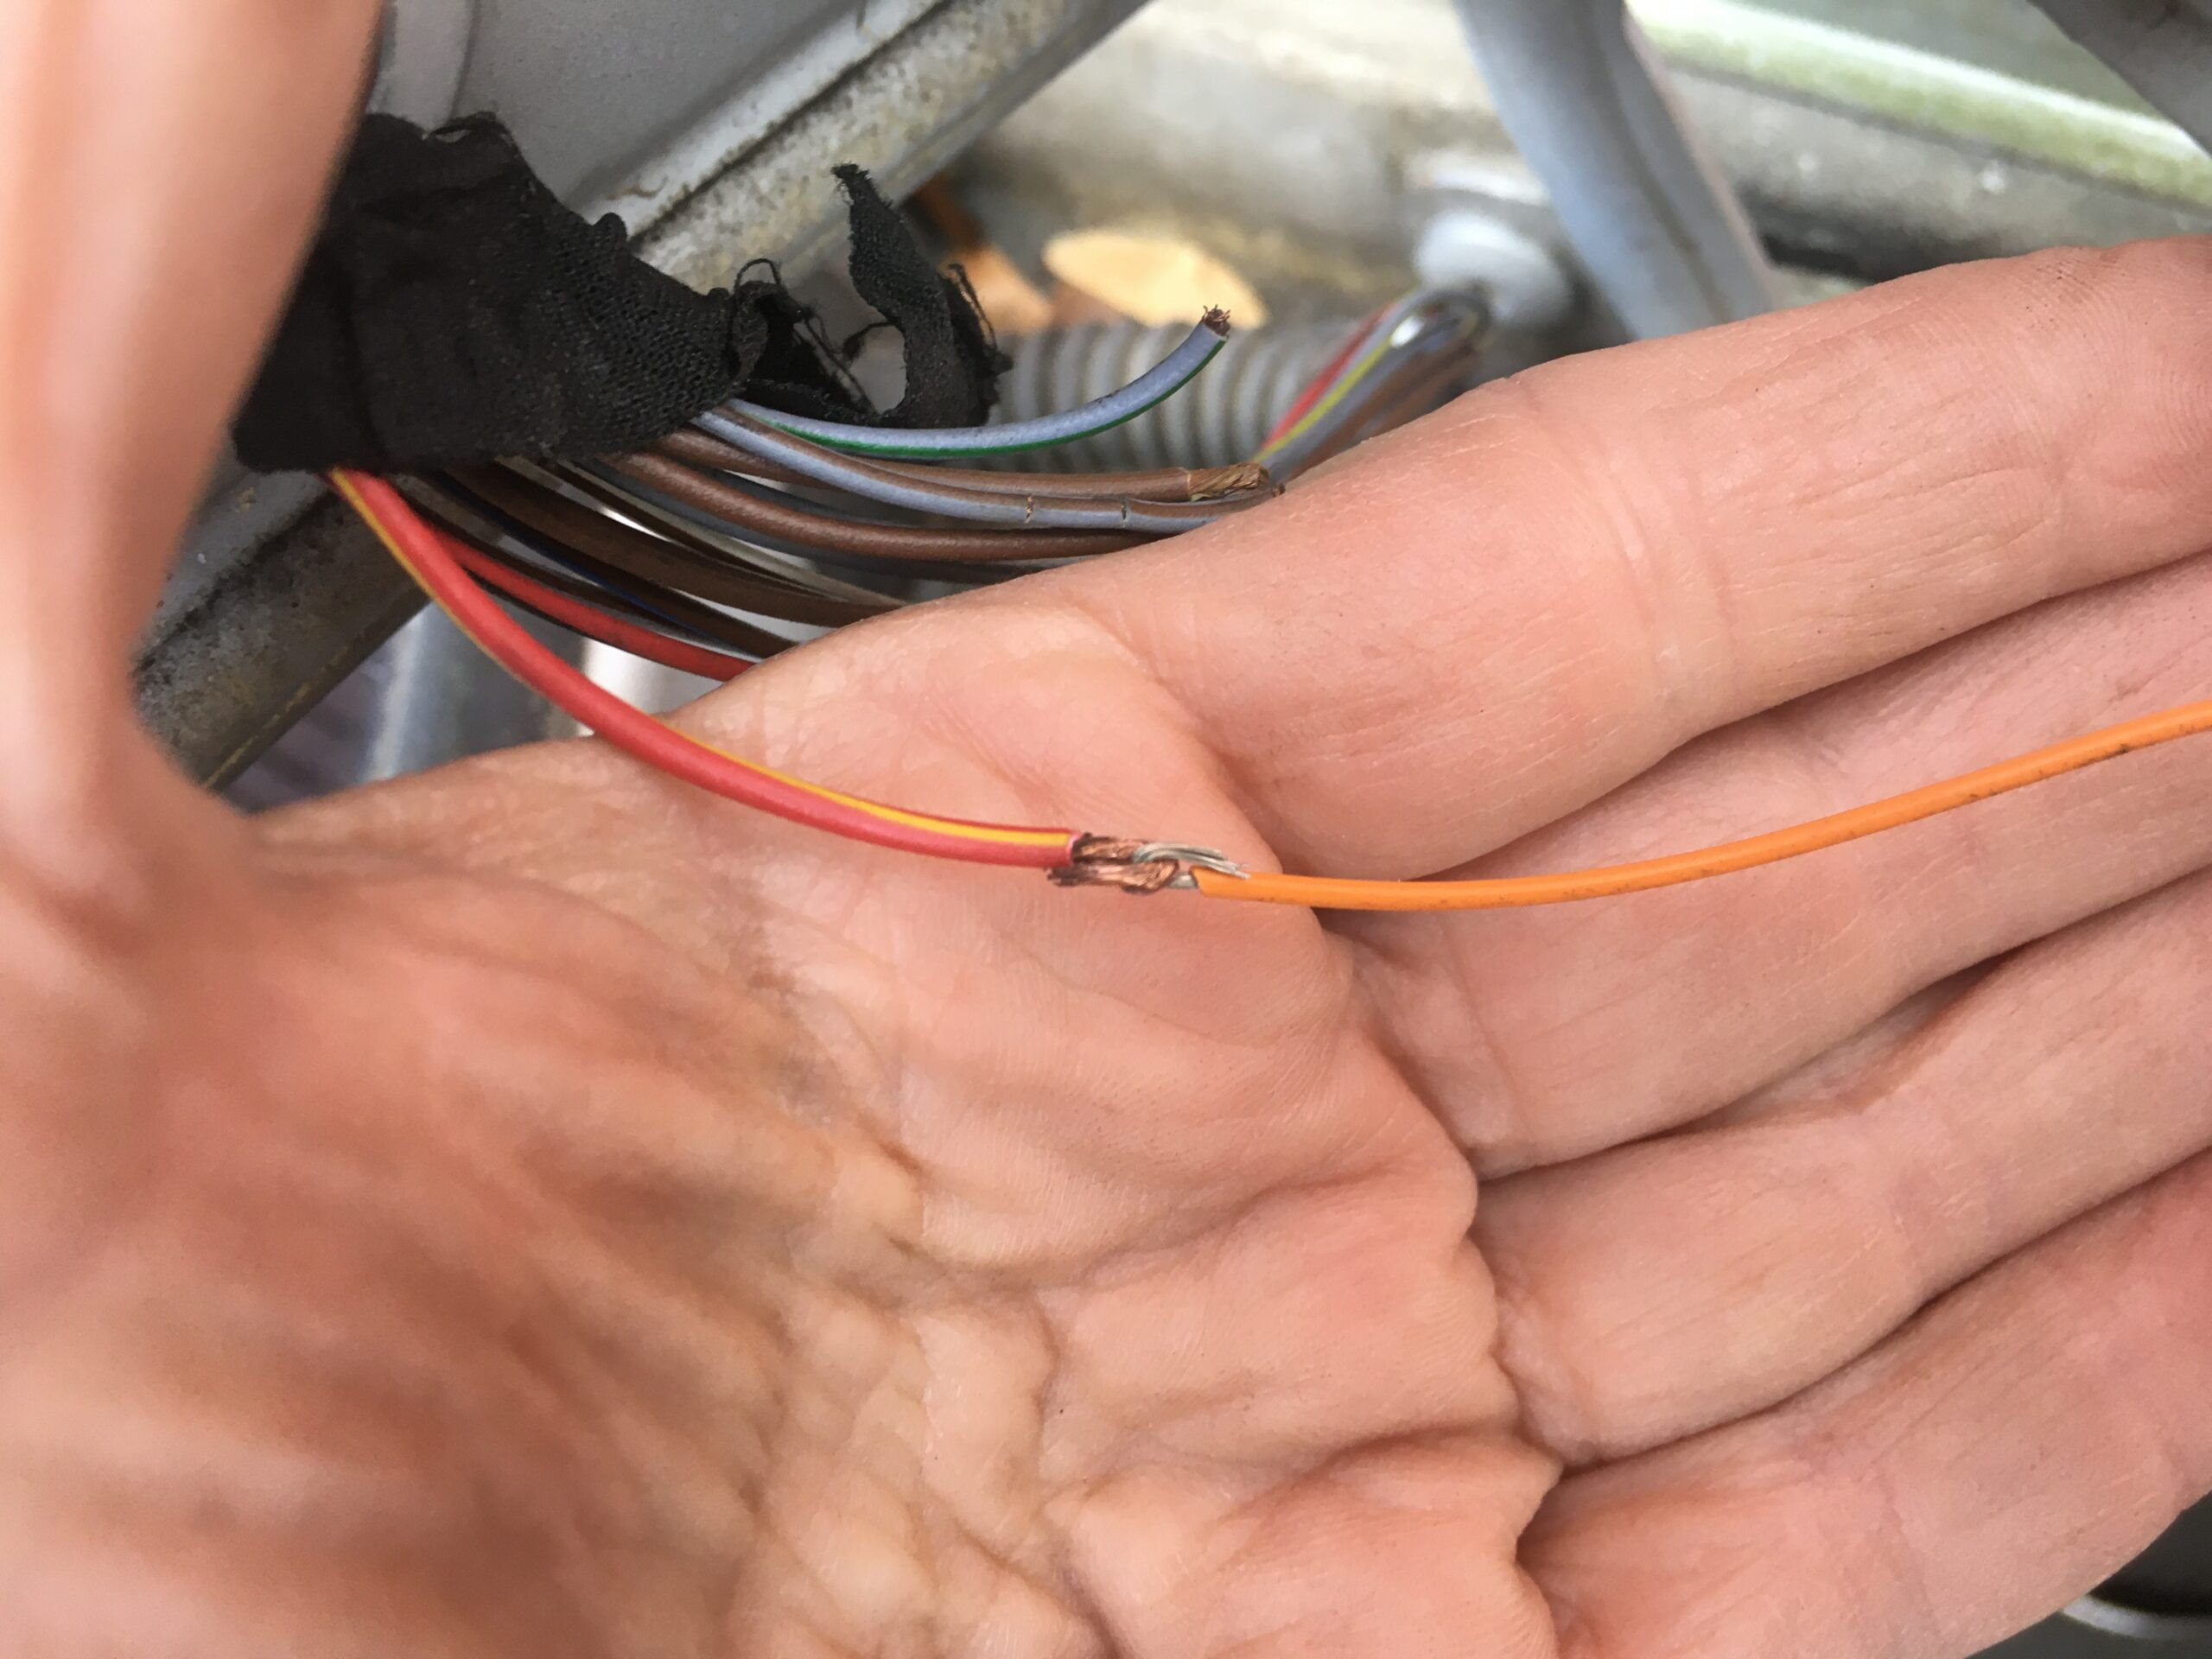
Method 1: Crimping Butt Connectors
Butt connectors are a fast and relatively easy way to splice wires, especially for beginners.
Steps:
- Strip the Wire Ends: Use wire strippers to remove about 1/2 inch of insulation from each end of the broken wires. Be careful not to nick or damage the wire strands.
- Insert Wires into Butt Connector: Insert the stripped ends of the two wires into opposite ends of the butt connector. Ensure the wire strands are fully inserted into the metal crimping section.
- Crimp the Connector: Use a crimping tool to crimp the metal part of the butt connector firmly onto the wires. Make two crimps per side for a secure connection.
- Test the Connection: Gently tug on the wires to ensure the crimp is secure.
- Insulate (Optional but Recommended): For added protection, especially in exposed areas, slide heat shrink tubing over the butt connector and shrink it with a heat gun.
Pros: Fast, easy, requires minimal tools.
Cons: Butt connectors can be bulky, not ideal for tight spaces, less weather-resistant than soldered connections if not properly sealed with heat shrink.
Method 2: Heat Shrink Solder Connectors
These connectors combine soldering and heat shrinking in one step, providing a weather-tight and more streamlined splice compared to butt connectors.
Steps:
- Strip the Wire Ends: Strip about 1/2 inch of insulation from each wire end.
- Insert Wires into Solder Connector: Insert the stripped ends of the two wires into the heat shrink solder connector, ensuring the wire ends meet or slightly overlap within the solder ring.
- Apply Heat: Use a heat gun to heat the connector. The solder ring inside will melt and flow, creating a soldered connection, while the heat shrink tubing shrinks to insulate and seal the splice.
- Allow to Cool: Let the connector cool completely before moving or stressing the wires.
- Inspect: Ensure the solder has flowed evenly and the heat shrink tubing is tightly sealed.
Pros: Weather-tight connection, more compact than butt connectors.
Cons: Requires a heat gun, wires are slightly shortened due to overlap, can be slightly more challenging than butt connectors for beginners.
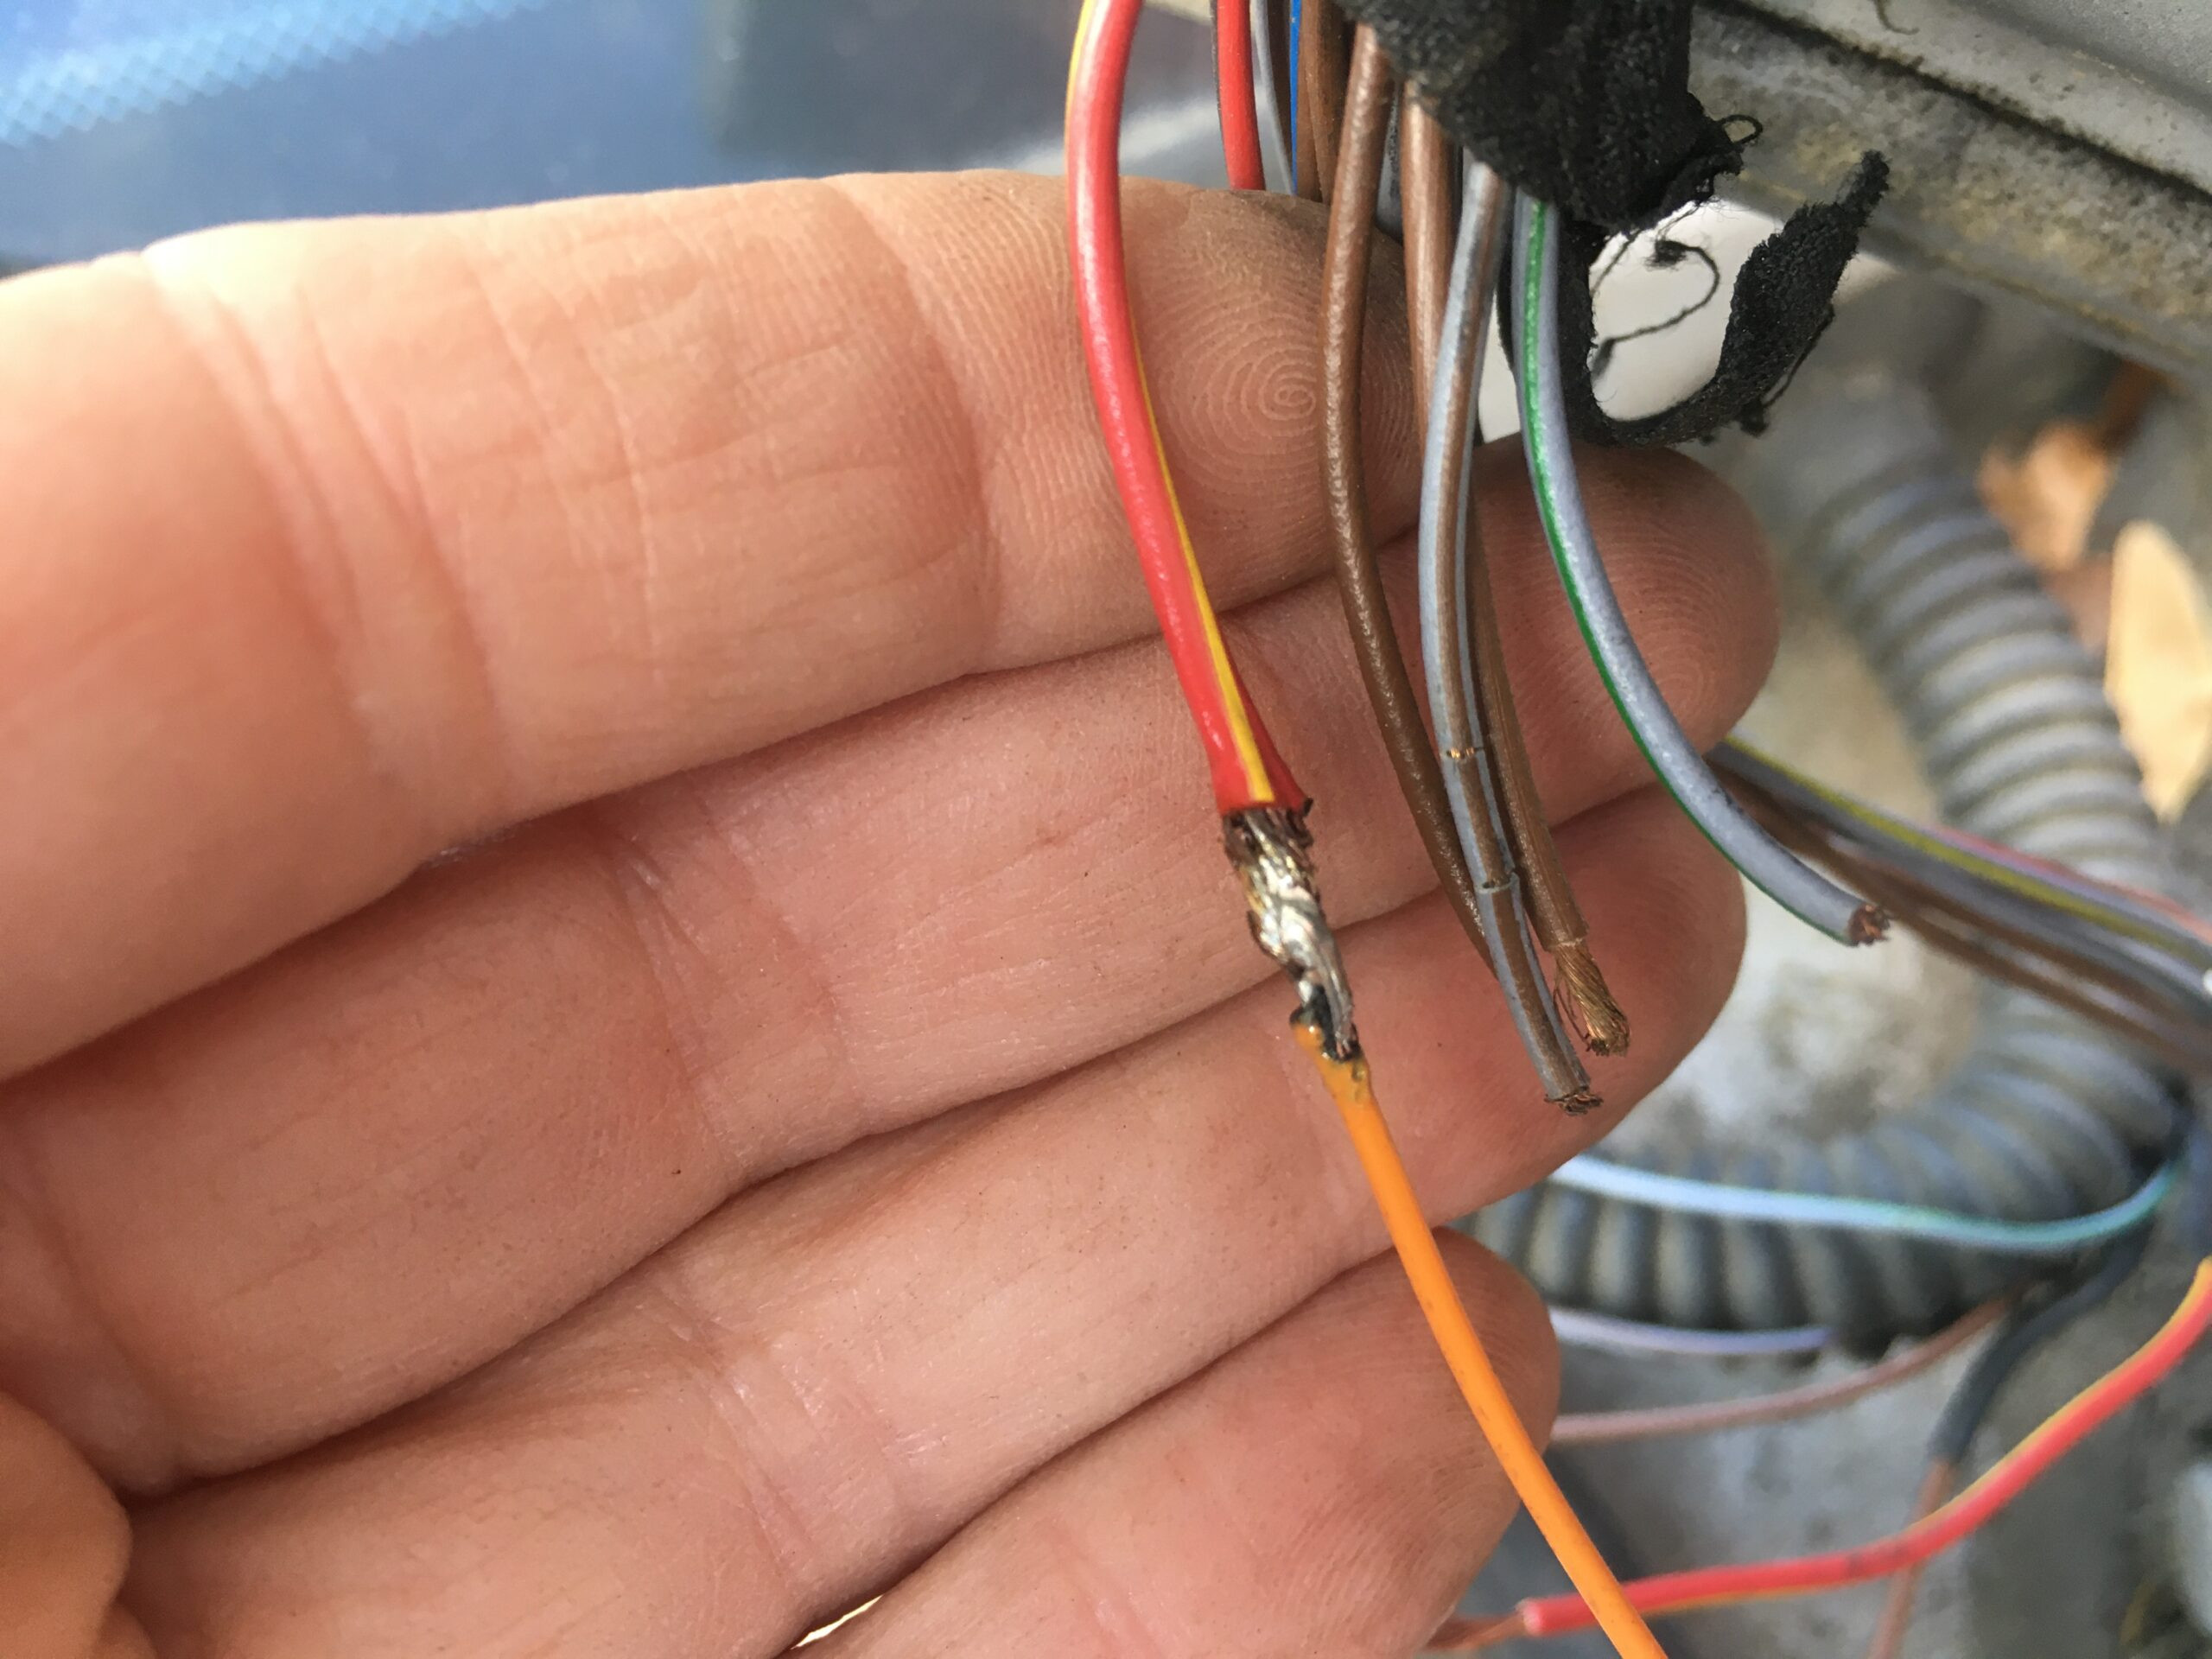
Method 3: Soldering and Heat Shrink Tubing (Manual Soldering)
This method provides the most robust and professional-quality splice but requires soldering skills.
Steps:
- Strip the Wire Ends: Strip about 3/4 inch of insulation from each wire end.
- Splice Wire Ends: There are a few ways to mechanically join the wires before soldering:
- Hook Splice: Create a small hook in the end of each wire. Interlock the hooks and then twist the wires together for a secure mechanical connection.
- Lineman’s Splice (Western Union Splice): Twist the stripped ends of the wires together tightly, wrapping each wire around the other in a spiral for several turns. This creates a strong mechanical bond before soldering.
- Solder the Splice: Heat the wire splice with a soldering iron and apply rosin-core solder to the joint. Ensure the solder flows evenly into the wire strands, creating a solid electrical connection. Avoid “cold soldering” – where the solder sits on top without properly bonding – by heating the wires sufficiently before applying solder. Use flux if needed to promote solder flow, especially on older or slightly corroded wires.
- Insulate with Heat Shrink Tubing: Slide a piece of heat shrink tubing over one of the wires before splicing. After soldering and allowing the joint to cool, slide the heat shrink tubing over the soldered splice and shrink it with a heat gun. Ensure the heat shrink tubing extends beyond the soldered area to provide complete insulation.
Pros: Strongest and most reliable splice, professional quality, allows for adding extra wire length if needed.
Cons: Requires soldering skills, takes more time, requires more tools.
 car wiring connector
 car wiring splice tie
 car wiring solder closeup
 car wiring shrink heat gun closeup
 car wiring connections heat shrink
Advanced Tips for Car Wiring Repair
- Match Wire Gauge: Always use replacement wire of the same gauge (thickness) or slightly larger than the original wire. Using thinner wire can lead to overheating and circuit failure.
- Use Automotive-Grade Wire: Automotive wiring is designed to withstand the harsh conditions in a vehicle. Avoid using household wire, which is not rated for these environments.
- Weatherproof Connections: In exposed areas, use adhesive-lined heat shrink tubing or self-fusing silicone tape to create a watertight seal around splices. Dielectric grease in connectors also helps prevent corrosion.
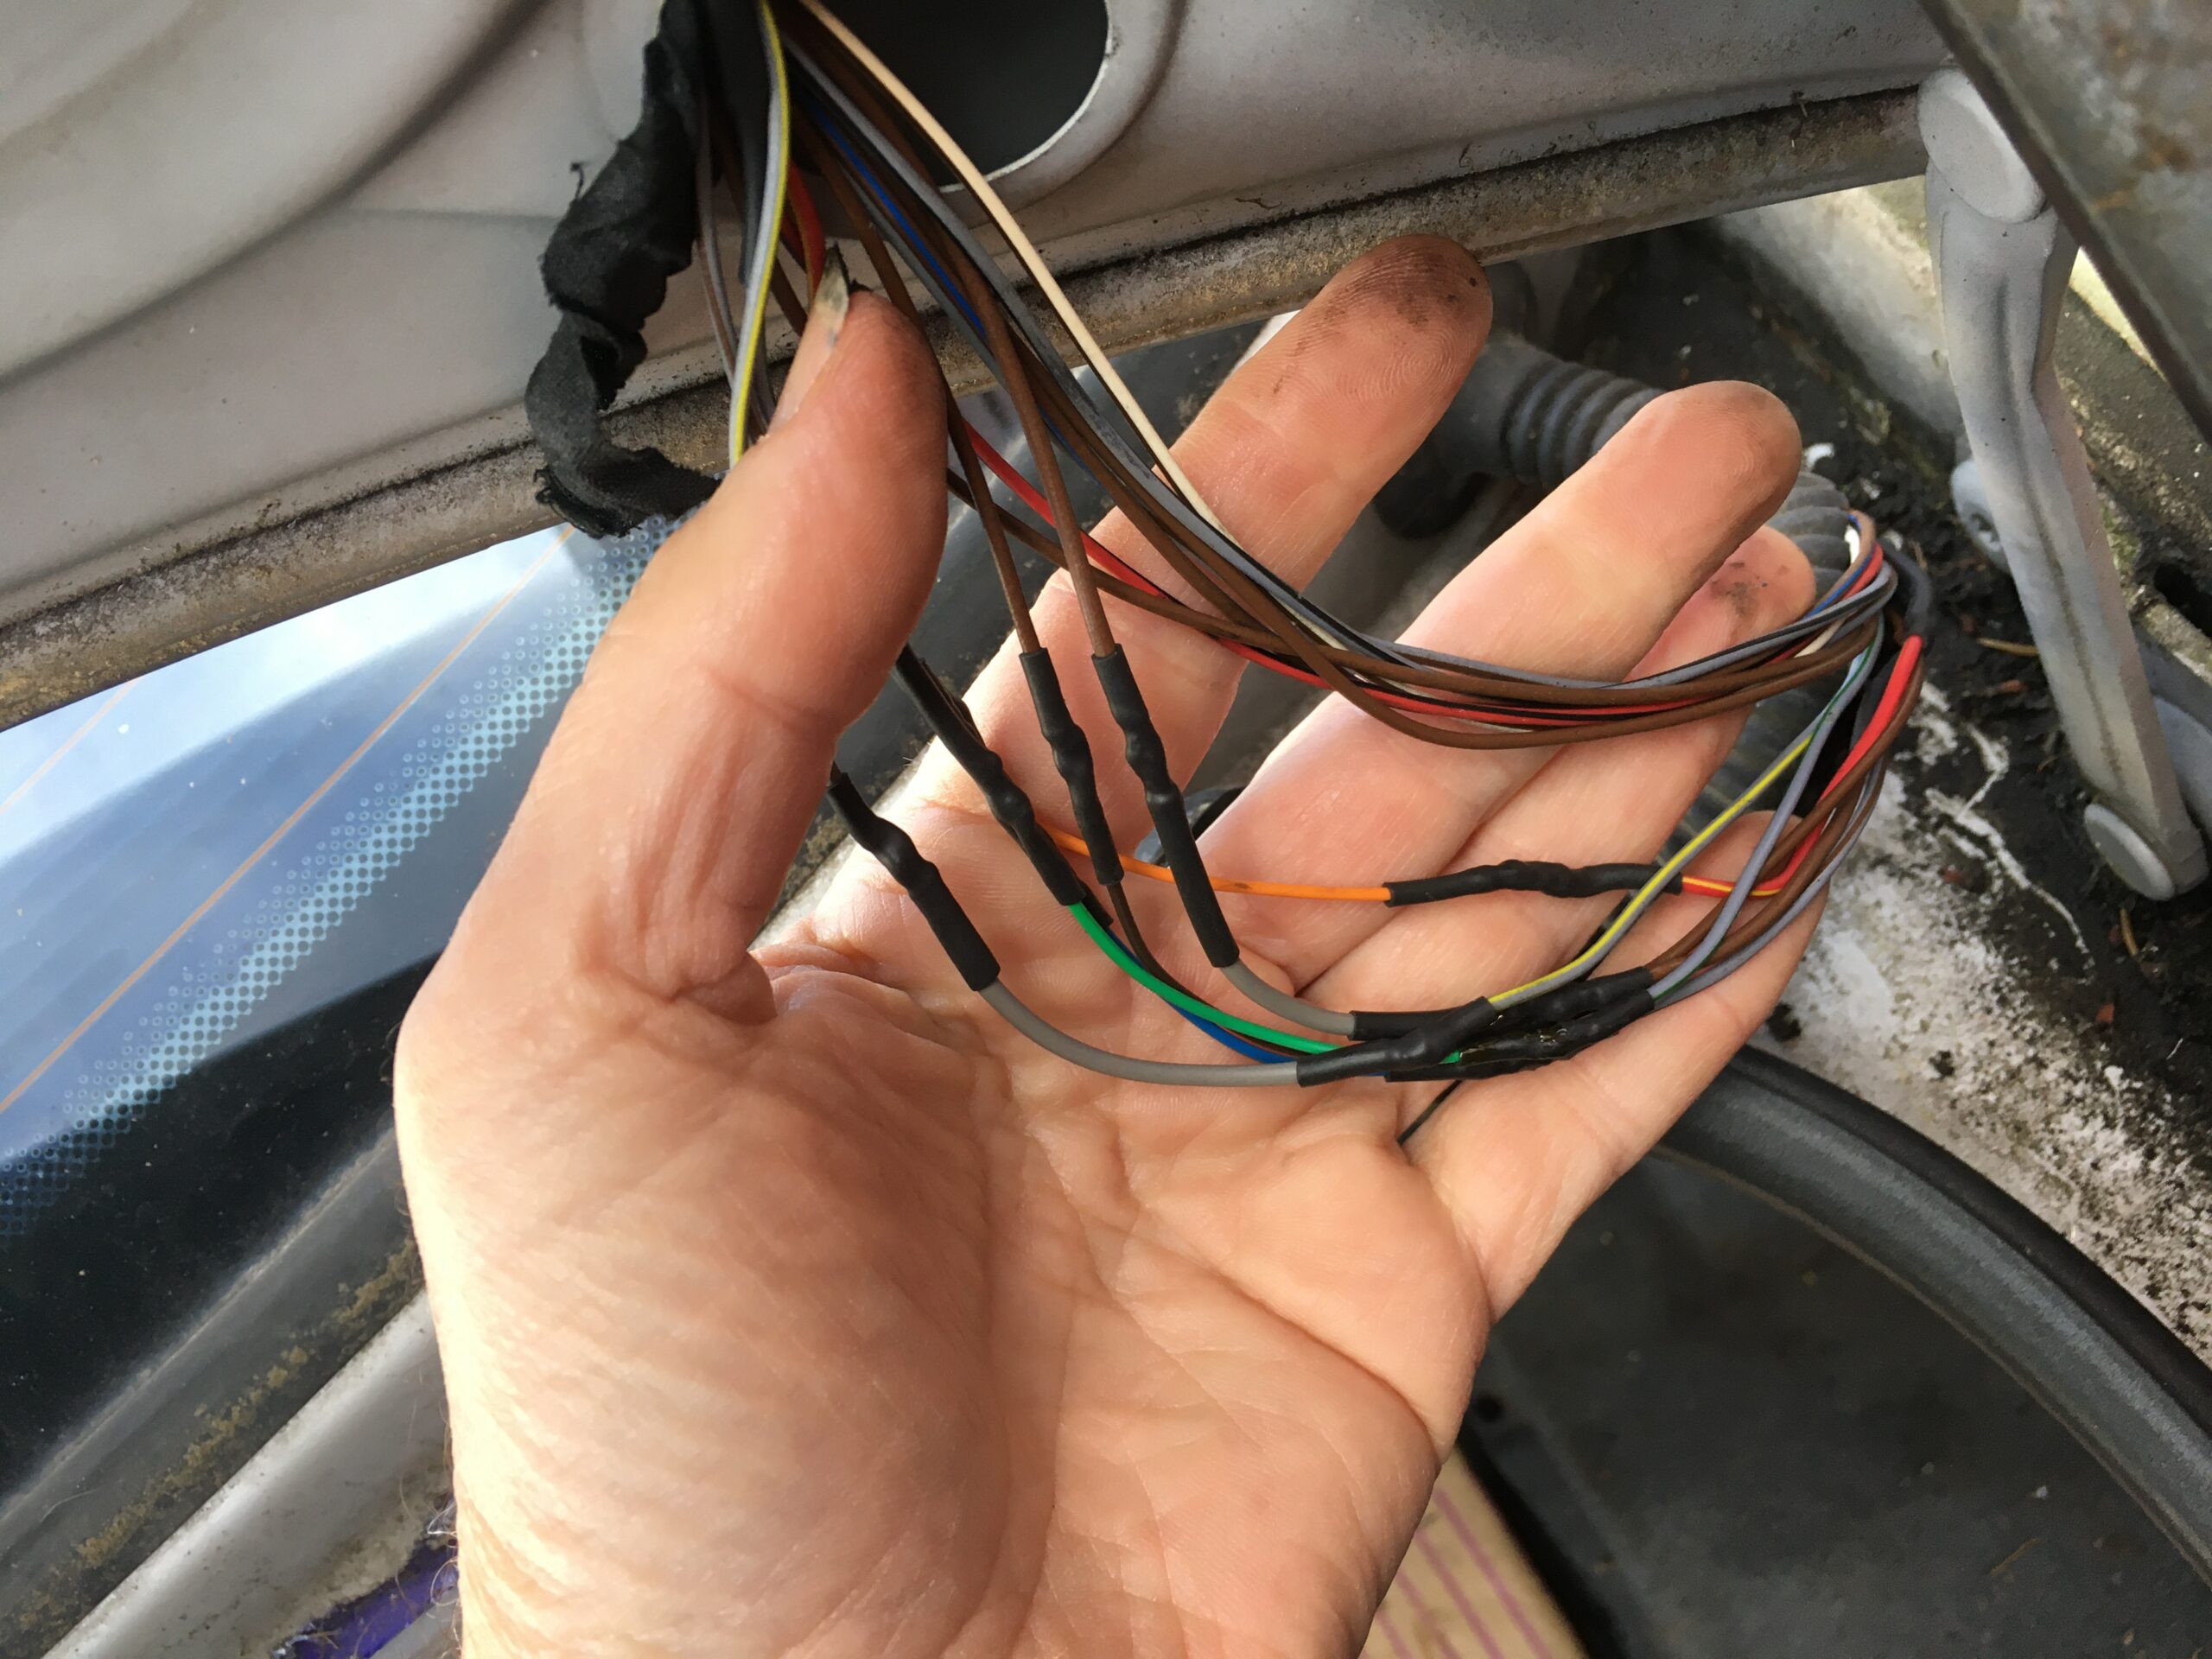
- Stagger Splices in Harnesses: When repairing multiple wires in a harness, stagger the splices along the harness to prevent a bulky area and maintain flexibility.
- Test Your Repair: After completing the repair, reconnect the battery and test the circuit to ensure the problem is resolved. Use a multimeter to verify voltage and continuity.
- Secure Wiring Harnesses: Ensure repaired wiring harnesses are properly routed and secured to prevent chafing or further damage. Use cable ties or clips to keep wires in place and away from moving parts or heat sources.
- Consider Wire Color Coding: While not always essential for basic repairs, understanding wire color codes (if available for your vehicle) can be helpful, especially for more complex electrical diagnostics and repairs. Wiring diagrams are invaluable for this.
 car wiring connections in new conduit
Conclusion
Fixing car wiring issues can seem daunting, but with a systematic approach, the right tools, and a bit of patience, many repairs are within the reach of a determined DIYer. By understanding the common causes of wiring problems, learning effective repair techniques like crimping and soldering, and prioritizing safety, you can confidently tackle those electrical challenges and keep your car running smoothly. Remember to consult your vehicle’s repair manual or a qualified mechanic for complex electrical problems or if you are unsure about any step in the repair process.