How to Fix a Car Radio Fuse: A Simple Guide to Get Your Tunes Back
Imagine this: you’re cruising down the highway, ready to enjoy your favorite playlist or catch up on an audiobook for a long drive. But then, silence. Your car radio suddenly dies. No music, no news, just the hum of the engine and road noise. It’s frustrating, right?
One of the most common culprits for a dead car radio is a blown fuse. Luckily, this is often a simple fix you can handle yourself without needing to be a car expert. Let’s dive into how to diagnose and fix a car radio fuse, and get your sound system back in action.
Understanding Car Radio Fuses: Your Audio System’s First Line of Defense
Before we grab any tools, let’s understand what a fuse is and why it’s so important. Think of a fuse as a safety guard for your car’s electrical components. It’s designed to protect sensitive electronics, like your car radio, from power surges. If there’s an unexpected spike in voltage, the fuse blows (it’s designed to melt and break the circuit), preventing that excess power from frying your radio or other parts.
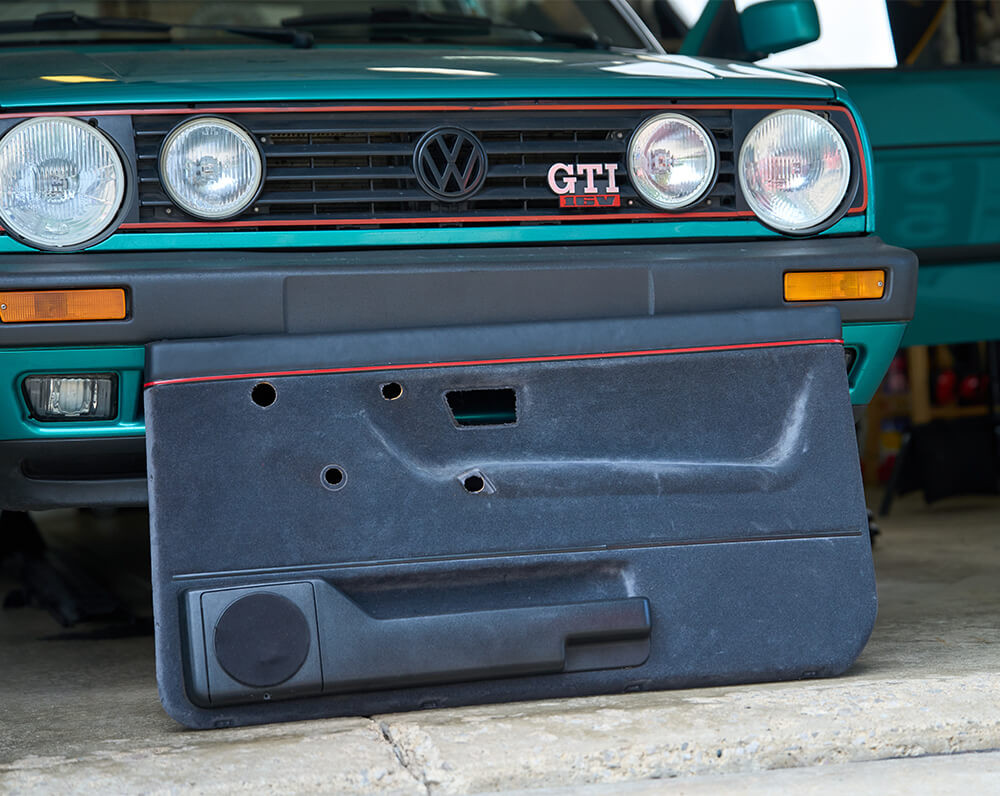
Car Radio Fuse Box
A blown fuse is often the most straightforward reason why your car radio might suddenly stop working. The key symptom? Everything else in your car seems to be working perfectly fine – headlights, wipers, dashboard lights – but the radio is completely unresponsive. You’ll get no sound, no display, nothing. This is a strong indicator that a fuse might be the issue.
Step-by-Step Guide to Check and Replace Your Car Radio Fuse
Fixing a blown car radio fuse is usually a quick and easy DIY task. Here’s how to do it:
Step 1: Locate Your Car’s Fuse Box(es)
Your car actually has multiple fuse boxes, often located in places like:
- Under the dashboard: This is a very common location, usually on the driver’s side. You might need to look under the steering wheel area or near the pedals.
- In the engine compartment: Often near the battery, there’s another fuse box for engine-related components.
- Sometimes in the trunk: Less common, but some vehicles have a fuse box in the trunk area.
Your owner’s manual is your best friend here. It will have diagrams showing the exact location of your fuse boxes and what each fuse controls. If you don’t have your manual handy, a quick online search for “[your car make and model] fuse box location” should provide helpful results and diagrams.
Step 2: Identify the Car Radio Fuse
Once you’ve found a fuse box, you’ll see a collection of fuses, each labeled or numbered. Again, your owner’s manual is crucial for identifying the fuse specifically for your car radio. Look for labels like “Radio,” “Stereo,” “Audio,” or “ACC” (Accessory). Fuse box covers often have a diagram printed on the inside to help you.
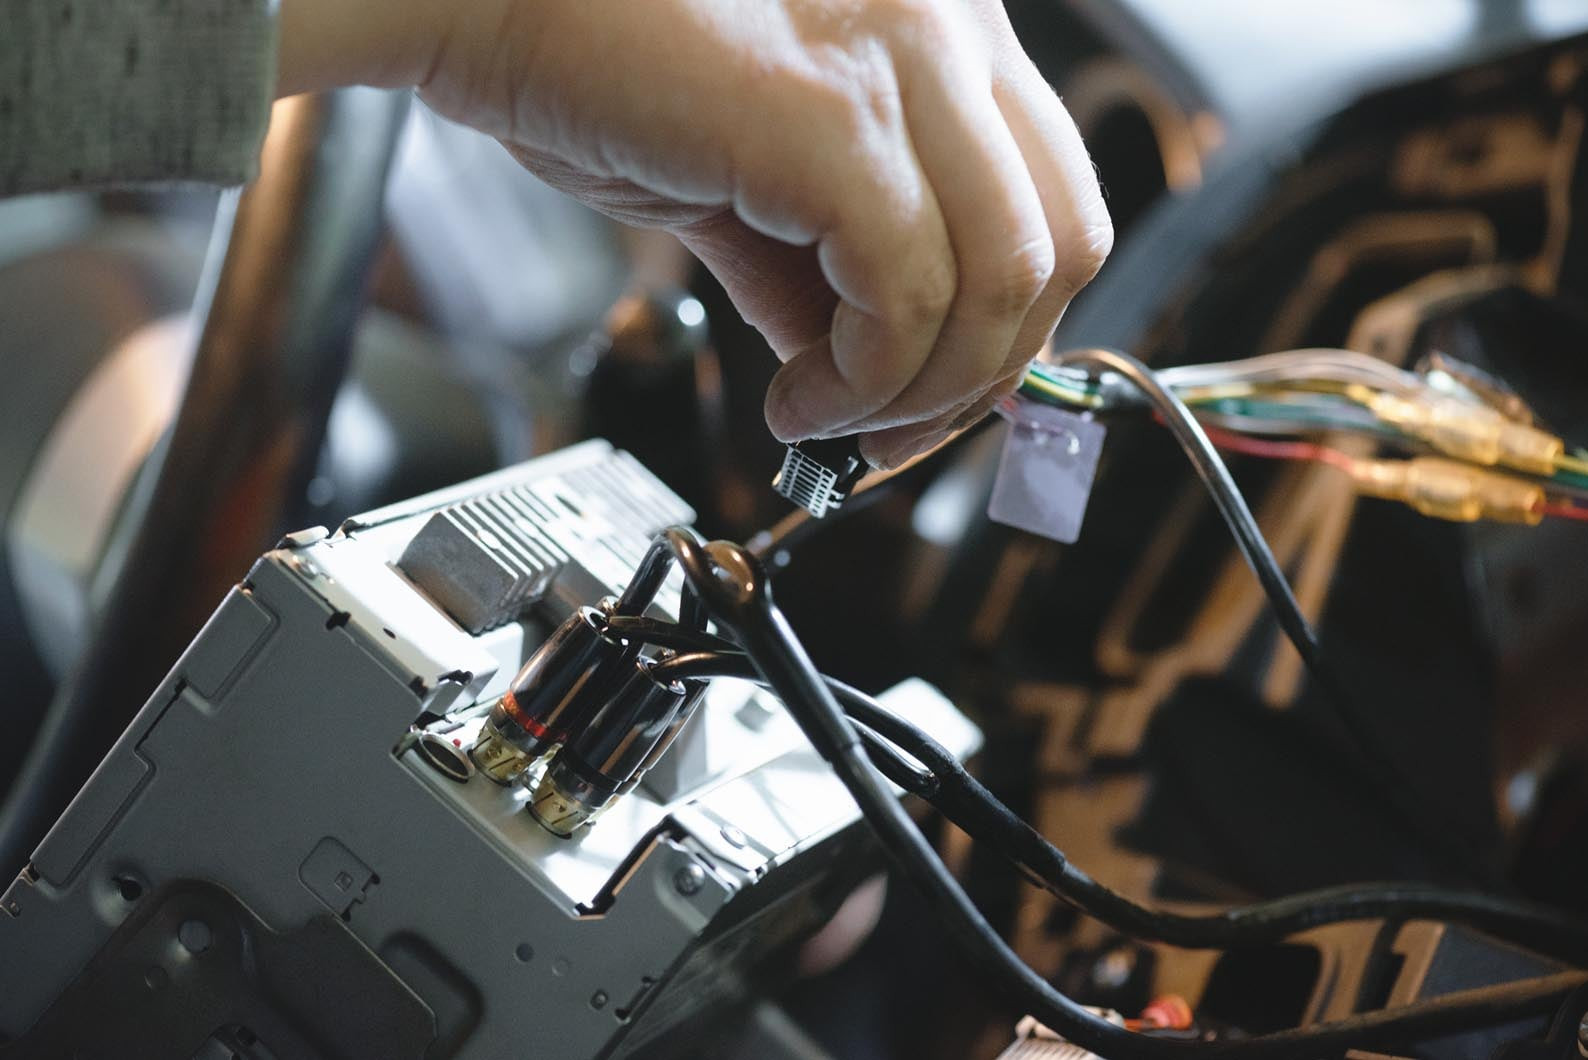 Car Radio Wiring Diagram
Step 3: Inspect the Fuse
Carefully remove the fuse you’ve identified. You can usually pull them out by hand, or use a small fuse puller tool (often found in the fuse box itself or available at auto parts stores).
Hold the fuse up to the light and look closely at the thin wire inside.
- Good Fuse: If the wire inside the fuse is intact and not broken, the fuse is likely good.
- Blown Fuse: If the wire inside the fuse is broken, melted, or blackened, then the fuse is blown and needs to be replaced.
Step 4: Replace the Blown Fuse with the Correct Type
This is important: always replace a blown fuse with a fuse of the exact same amperage rating. The amperage rating is printed on the fuse itself (e.g., “10A,” “15A,” “20A”). Using a fuse with a higher amperage rating can be dangerous and could damage your car’s electrical system or even create a fire hazard. Using a lower amperage fuse will likely just blow again immediately.
You can purchase replacement fuses at any auto parts store. Make sure to get the correct amperage rating and fuse type (ATO, ATC, mini, etc. – your old fuse will show you the type).
Simply push the new fuse firmly into the slot where you removed the old one.
Step 5: Test Your Car Radio
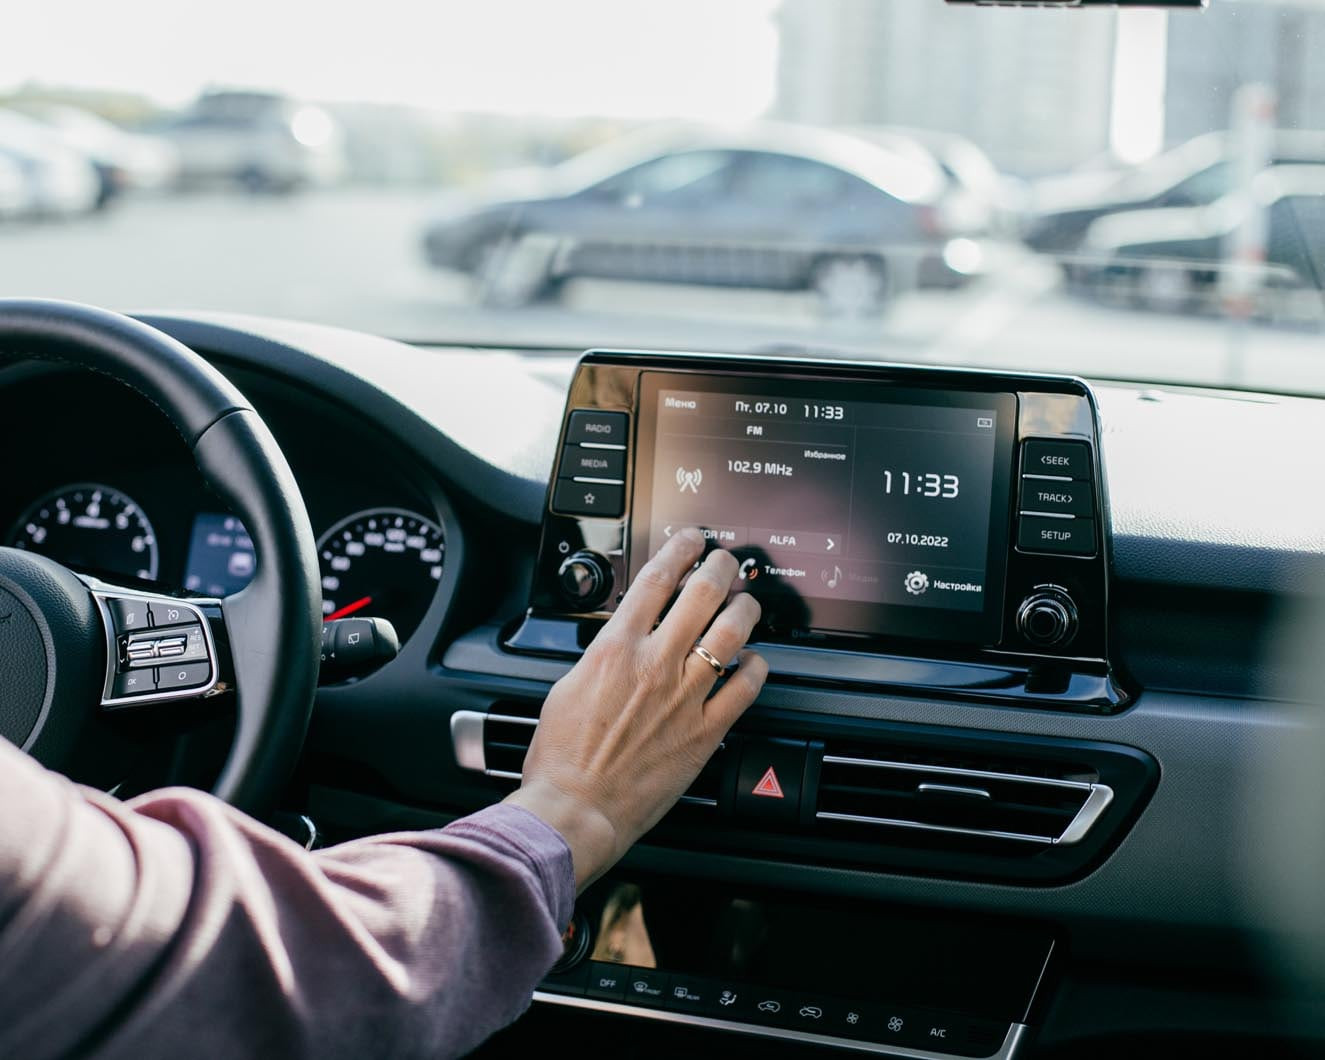
Turn your car’s ignition to the “Accessory” or “On” position (you don’t need to start the engine). Turn on your car radio and see if it works.
- Success! If your radio is now working, congratulations! You’ve likely fixed the problem by replacing the fuse.
- Still Not Working? If the radio still doesn’t work after replacing the fuse, or if the new fuse blows immediately, then there might be a more serious electrical issue, such as faulty wiring or a problem with the radio unit itself.
When It’s More Than Just a Fuse: Troubleshooting Further
While a blown fuse is a common and easy fix, sometimes the problem lies deeper. If you’ve replaced the fuse and your radio still isn’t working, or if fuses keep blowing repeatedly, it could indicate:
- Wiring Issues: Damaged or frayed wires, loose connections, or a short circuit in the wiring to your radio.
- Component Failure: Less commonly, the car radio unit itself might be faulty and need repair or replacement.
In these more complex scenarios, it’s generally best to consult a professional. A certified car technician or a car audio specialist can diagnose the underlying electrical problem and perform more complex repairs safely and effectively.
Get Back to Enjoying Your Drive
Don’t let a silent car cabin ruin your journey. Checking and replacing a car radio fuse is a great first step and often solves the problem quickly. By following these simple steps, you can often get your car radio working again and get back to enjoying your favorite tunes on the road. However, if you’re uncomfortable working with your car’s electrical system or if the problem persists, don’t hesitate to seek professional help from a trusted service center.