How to Fix a Blown Speaker in Your Car Door: A Step-by-Step Guide
Experiencing distorted, muffled, or completely absent sound from your car door speaker? You might be dealing with a blown speaker. Before you rush to replace it, understanding the issue and the steps involved can save you time and money. This guide will walk you through diagnosing and fixing a blown speaker in your car door, ensuring you get back to enjoying your music on the road.
Identifying a Blown Speaker
Recognizing the symptoms of a blown speaker is the first step. Common signs include:
- Distorted Sound: Music sounds crackly, fuzzy, or unclear, especially at higher volumes.
- Muffled Audio: The speaker produces weak or dull sounds, lacking clarity and vibrancy.
- Rattling or Buzzing: Unwanted noises, even at low volumes, indicating internal speaker damage.
- Lack of Bass or Treble: Certain frequencies are missing or significantly reduced.
- No Sound at All: In extreme cases, the speaker may completely fail to produce any sound.
While these are typical indicators of a blown speaker, it’s crucial to rule out other potential issues before assuming replacement is necessary.
Preliminary Checks: It Might Not Be Your Speaker
Before you start dismantling your car door, consider that the problem might not actually be the speaker itself. Especially in vehicles with factory-installed sound systems, particularly those with external amplifiers, issues can arise elsewhere in the audio chain.
For instance, in BMWs with HiFi (Option 676) or Top HiFi/Logic 7 (Option 677 or 688) systems, a frequent culprit is water damage to the amplifier. These amplifiers are often located in areas prone to moisture ingress, such as behind the passenger side wheel well. Before assuming a speaker problem, especially in these systems, it’s wise to check the amplifier for signs of water damage or corrosion.
BMW amplifier location prone to water damage.
To determine your BMW’s audio system type, you can use a VIN decoder like Mdecoder.com. Look for option codes in the 6xx range to identify your system (Stereo, HiFi, or Top HiFi/Logic 7). Knowing your system is crucial for targeted troubleshooting.
It’s also worth noting that factory car audio systems, especially in older models or base configurations, are often not designed for high power or bass-heavy music. Overdriving these systems can lead to speaker damage over time.
Step-by-Step Guide to Diagnose and Fix a Blown Speaker
If you’ve ruled out amplifier issues and are confident the problem lies within the door speaker, here’s how to proceed:
Step 1: Gather Tools and Safety Precautions
You’ll need a few basic tools:
- Screwdrivers: Typically Phillips head and potentially flathead for prying panels.
- Panel Removal Tools: Plastic pry tools are ideal to avoid damaging door panels.
- Socket Set: For removing speaker mounting screws.
- Multimeter (Optional but Recommended): To test speaker continuity.
- New Speaker (If Replacement is Needed): Ensure it’s compatible with your car model.
- Work Gloves and Safety Glasses: For personal protection.
Safety First: Disconnect the negative terminal of your car battery before working on any electrical components to prevent shorts or accidental airbag deployment (consult your car’s manual for specific instructions).
Step 2: Remove the Door Panel
Door panel removal procedures vary by car model, but the general process is similar:
- Locate and Remove Screws: Look for screws hidden behind plastic covers, door handles, or armrests.
- Pry Off Panel: Use panel removal tools to gently pry the panel away from the door frame. Start at the edges and work your way around, listening for clips popping loose.
- Disconnect Wiring: Once the panel is loose, carefully disconnect any wiring harnesses connected to door switches, speakers, or lights.
- Set Panel Aside: Place the door panel in a safe location to avoid scratches or damage.
Numerous online resources, including YouTube tutorials specific to your car model (search for “[Your Car Model] door panel removal”), can provide visual guidance for this step.
Step 3: Inspect the Speaker
With the door panel removed, you can access the speaker.
-
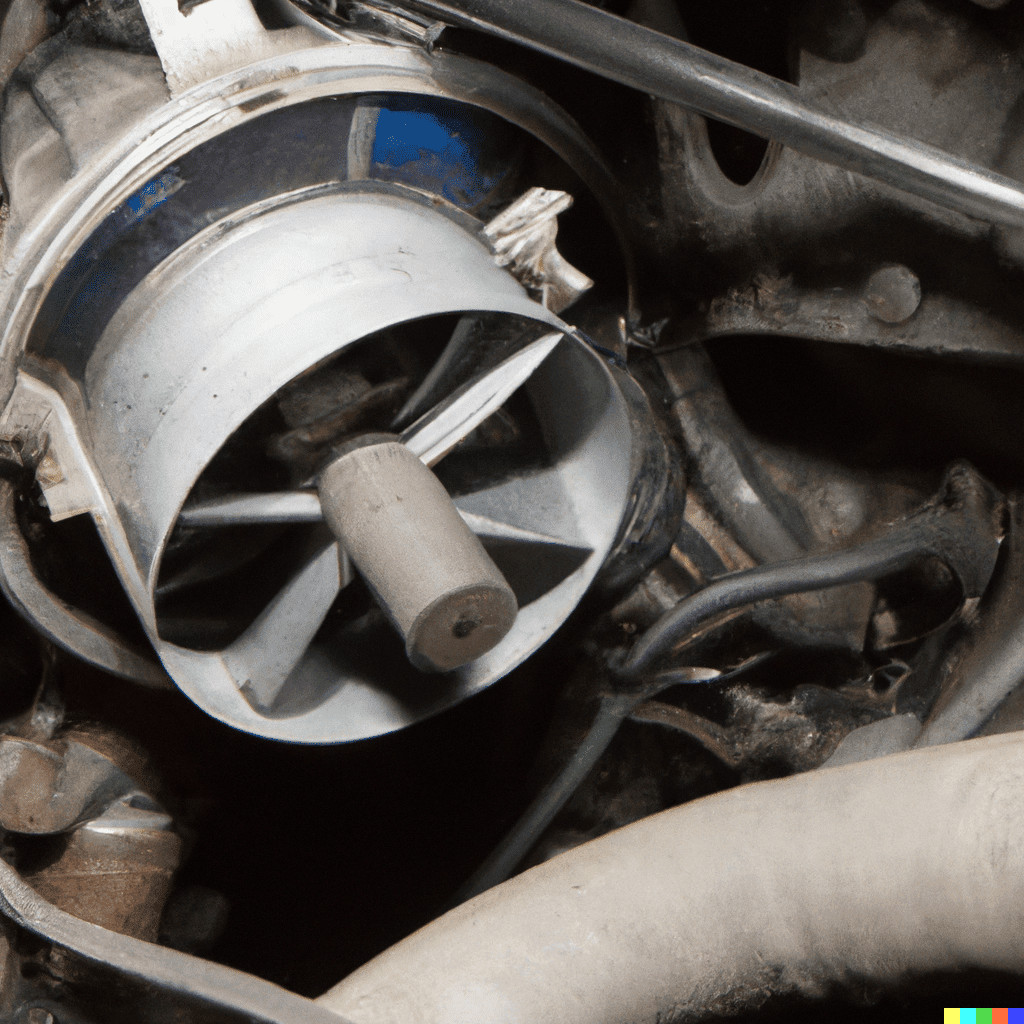
Visual Inspection: Look for obvious signs of damage to the speaker cone (the paper or plastic part), such as tears, cracks, or separation from the speaker surround (the flexible ring around the cone). Also, check for damage to the speaker wiring.
Visual inspection revealing a torn car speaker cone.
-
Smell Test (Carefully): A burnt smell emanating from the speaker can indicate a blown voice coil (the speaker’s internal motor).
Step 4: Test the Speaker (Optional)
A multimeter can be used to perform a basic speaker continuity test.
- Set Multimeter to Ohms: Select the resistance (Ω) setting on your multimeter.
- Test Speaker Terminals: Touch the multimeter probes to the speaker terminals (positive and negative).
- Check Reading: A healthy speaker should show a reading close to its impedance rating (typically 4 or 8 ohms). An open circuit (infinite resistance) or a very low reading suggests a problem.
Alternatively, if you have a spare speaker or another speaker from a different door that you suspect is working, you can temporarily swap it with the speaker in question to see if the problem moves with the speaker.
Step 5: Replace the Speaker
If you’ve confirmed the speaker is blown, replacement is the next step.
- Remove Old Speaker: Unscrew the old speaker from the door and disconnect the speaker wiring.
- Connect New Speaker: Connect the wiring to the new speaker, ensuring correct polarity (positive to positive, negative to negative – often indicated by markings on the speaker or wiring).
- Mount New Speaker: Screw the new speaker securely into place.
- Reassemble Door Panel: Reconnect all wiring harnesses to the door panel, align the panel with the door frame, and gently push it back into place until all clips are engaged. Reinstall any screws you removed.
- Test the System: Reconnect the car battery and test your car audio system to ensure the new speaker is working correctly.
When to Seek Professional Help
While replacing a door speaker is a manageable DIY task for many, there are situations where professional help is recommended:
- Complex Audio Systems: If your car has a premium or complex aftermarket audio system, diagnosing and repairing issues can be more intricate.
- Amplifier Problems: If you suspect an amplifier issue, professional diagnosis and repair are generally advisable.
- Uncertainty: If you’re uncomfortable working with car electronics or are unsure about any step, it’s best to consult a qualified car audio technician.
Conclusion
Fixing a blown speaker in your car door can restore your driving soundtrack and is often a straightforward process. By systematically diagnosing the issue, checking for common culprits beyond just the speaker itself, and following a step-by-step guide, you can effectively address the problem. Remember to prioritize safety and seek professional help when needed to ensure a successful and enjoyable audio repair experience.
References:
- BMW stereo types: http://www.e90post.com/forums/showthread.php?t=352586
- BMW stereo types images: http://www.e90post.com/forums/attach…2&d=1266451970, http://www.e90post.com/forums/attach…2&d=1260829447, http://www.e90post.com/forums/attach…1&d=1209780865, http://www.e90post.com/forums/attach…1&d=1209780605, http://www.e90post.com/forums/attach…4&d=1278871872
- BMW audio system info: http://bmwcoders.com/forum/3-er-8/bm…1-e92-e93-291/, http://technicpnp.com/menuDiagrams/d…e90_92_93.html, http://www.musicarnw.com/page-2/, https://www.bimmerfest.com/threads/e…n-752.1275694/
- BMW amplifier location image: http://www.e90post.com/forums/attach…3&d=1169133185
- BMW base system wiring: https://www.google.com/url?sa=t&rct=…tDpLJPcGkw_ui_
- BMW base system guide: http://www.e90post.com/forums/attach…5&d=1493273253
- Door panel removal DIY: http://www.e90post.com/forums/showthread.php?t=641323, http://www.e90post.com/forums/showthread.php?t=343673
- Damaged speaker cone image: http://www.e90post.com/forums/attach…2&d=1266451970