How to Fix Bad Wiring in Your Car: A DIY Guide

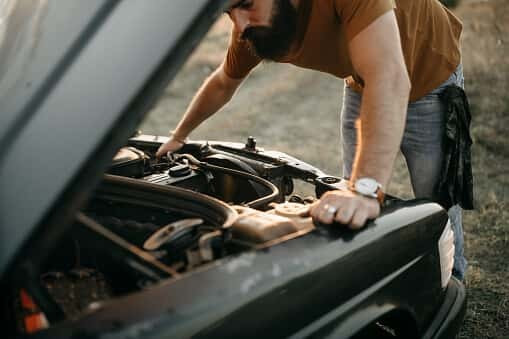
Bad wiring in a car can be a frustrating and sometimes dangerous problem. From malfunctioning lights and accessories to more serious electrical issues, faulty wiring can cause a range of headaches for car owners. If you’re experiencing electrical gremlins in your vehicle, learning how to fix bad wiring yourself can save you time and money. This guide will walk you through the process of diagnosing and repairing common car wiring problems, equipping you with the knowledge to tackle these issues effectively.
Identifying Bad Wiring in Your Car
The first step in fixing bad wiring is recognizing the signs. Often, bad wiring manifests in several ways:
- Intermittent or Non-functioning Electrical Components: This is the most common symptom. You might notice lights flickering, power windows working sporadically, or accessories like your radio cutting out unexpectedly. In the original article, the author experienced a non-functioning trunk lock actuator and trunk light.
- Dashboard Warning Lights: Electrical problems can trigger various warning lights on your dashboard, such as the battery light, check engine light, or ABS light.
- Blown Fuses: Repeatedly blown fuses in a specific circuit often indicate a short circuit caused by damaged wiring.
- Unusual Smells: A burning smell, especially when electrical components are in use, can be a sign of overheating wires and melting insulation.
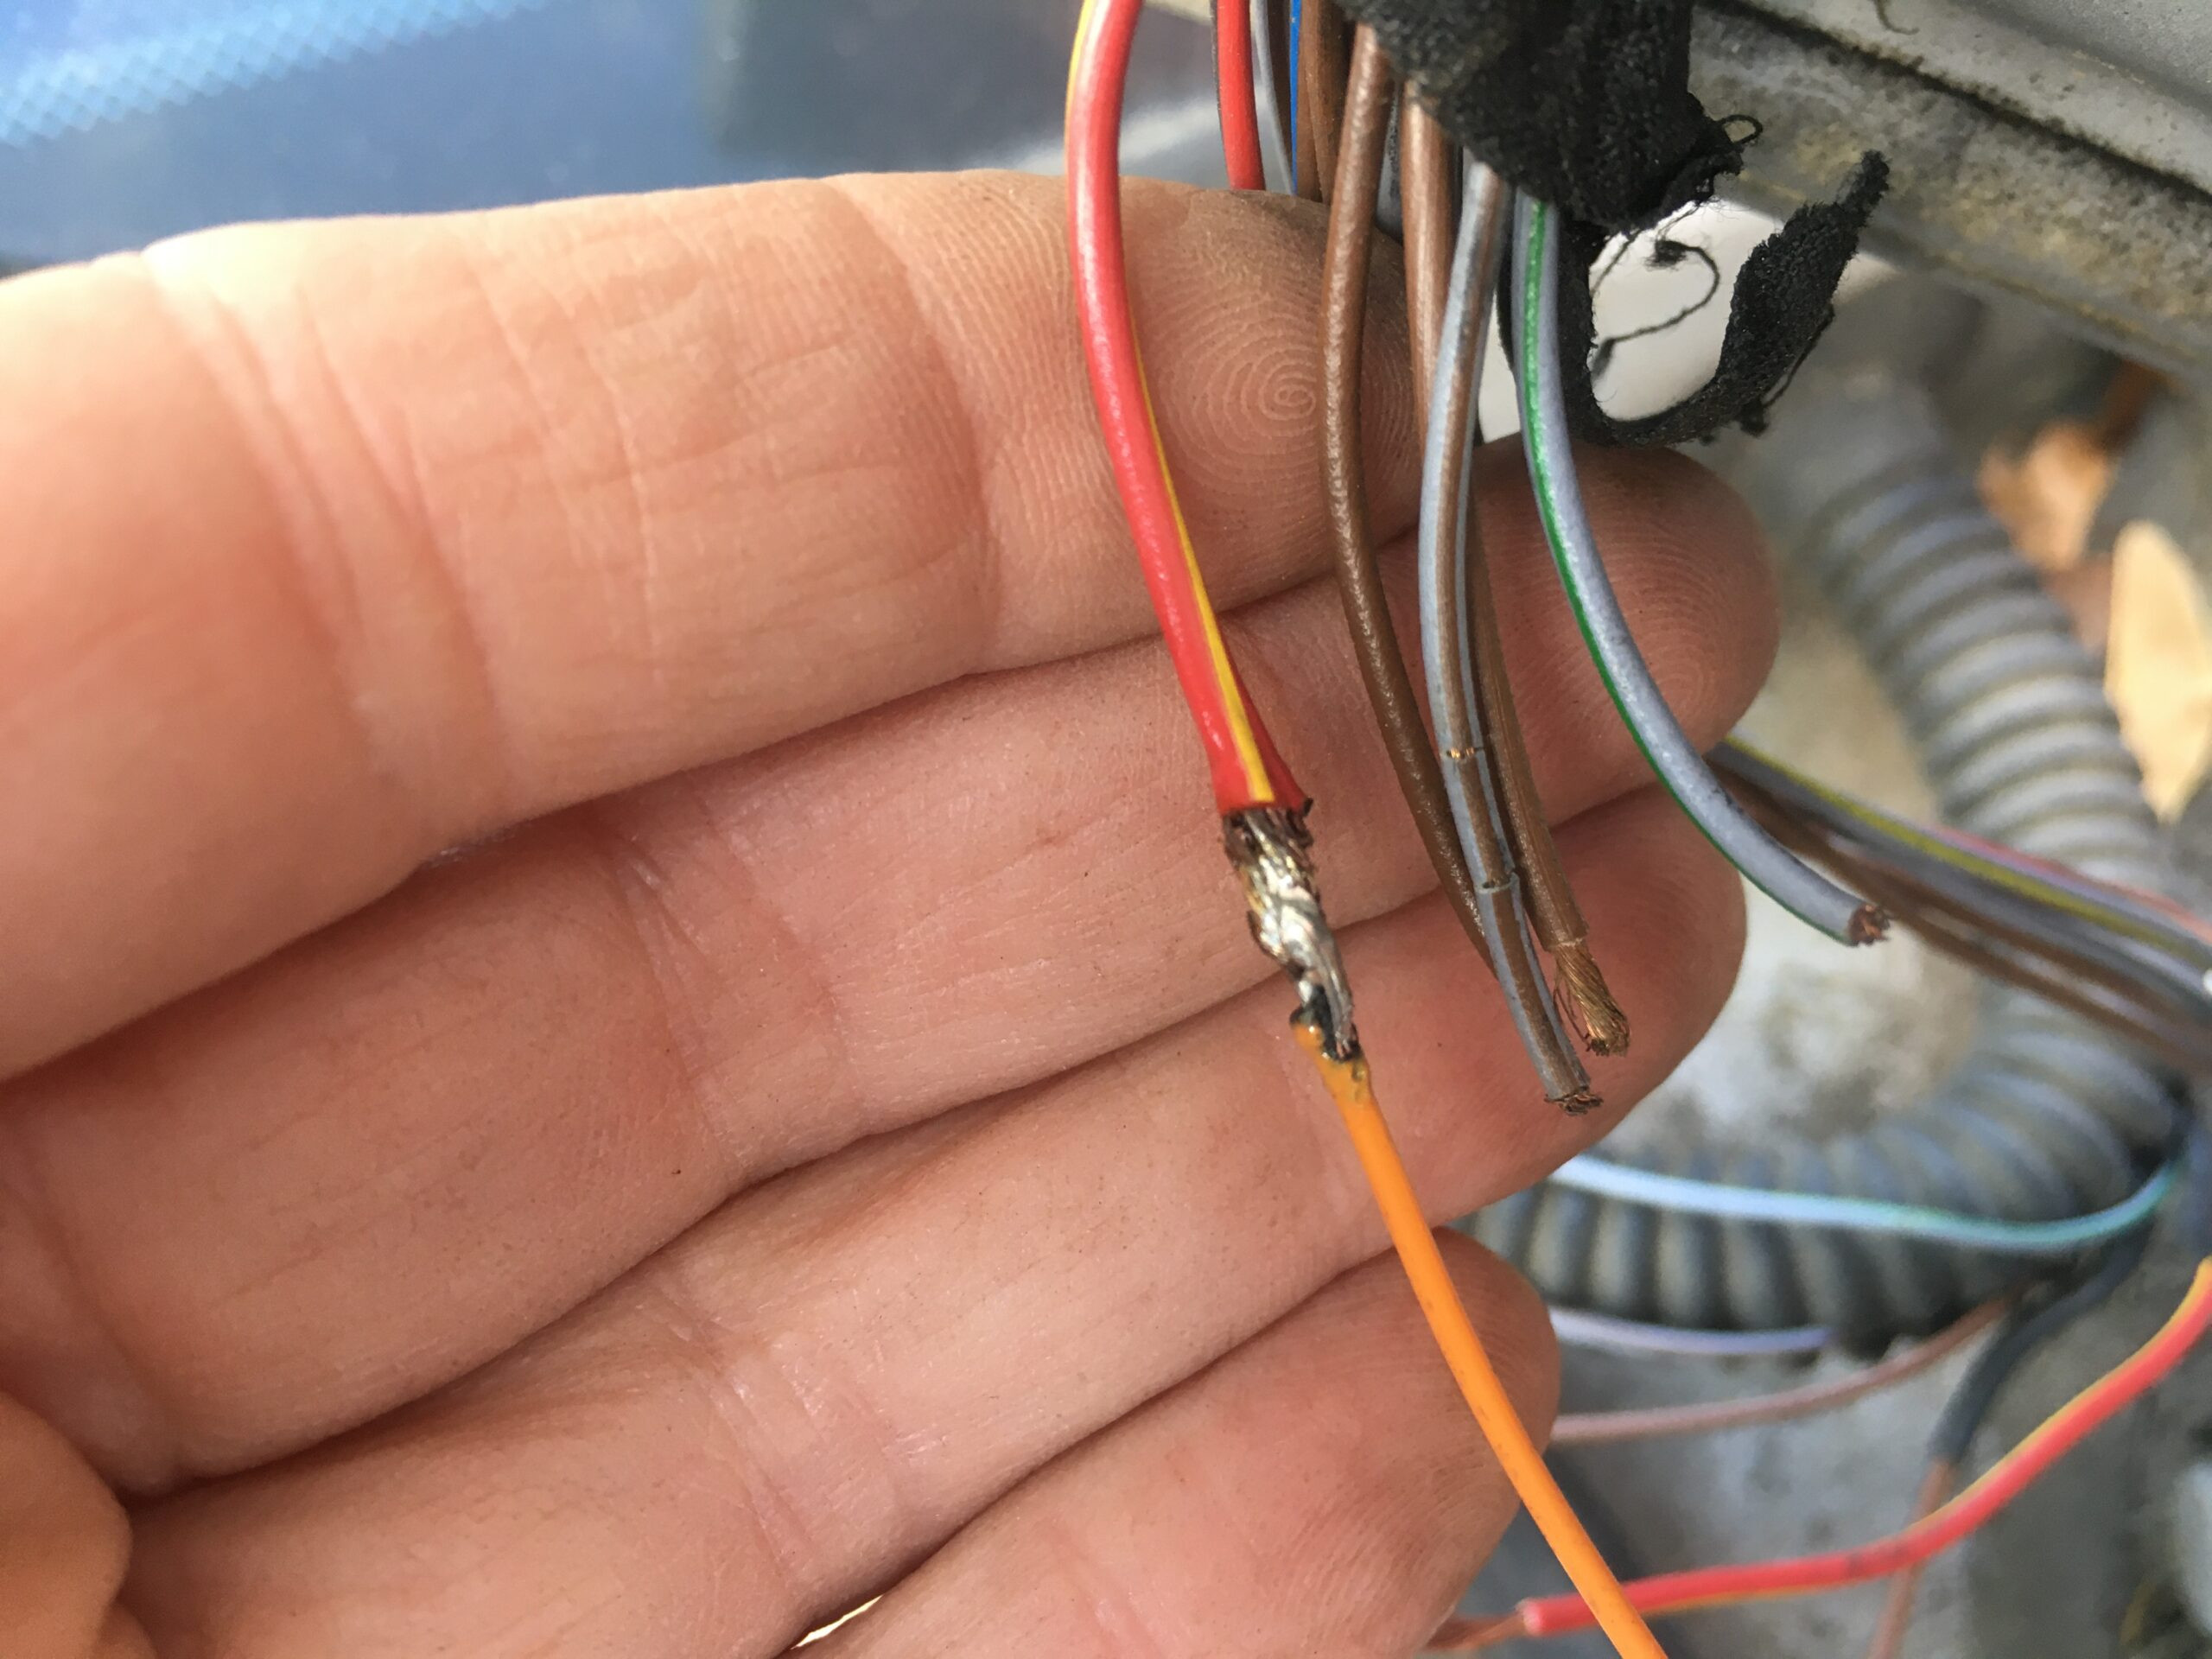
- Visible Wire Damage: Sometimes, a visual inspection can reveal frayed, cracked, or melted wires. Pay close attention to areas where wiring harnesses flex, like door jambs, trunk lids, and engine compartments.
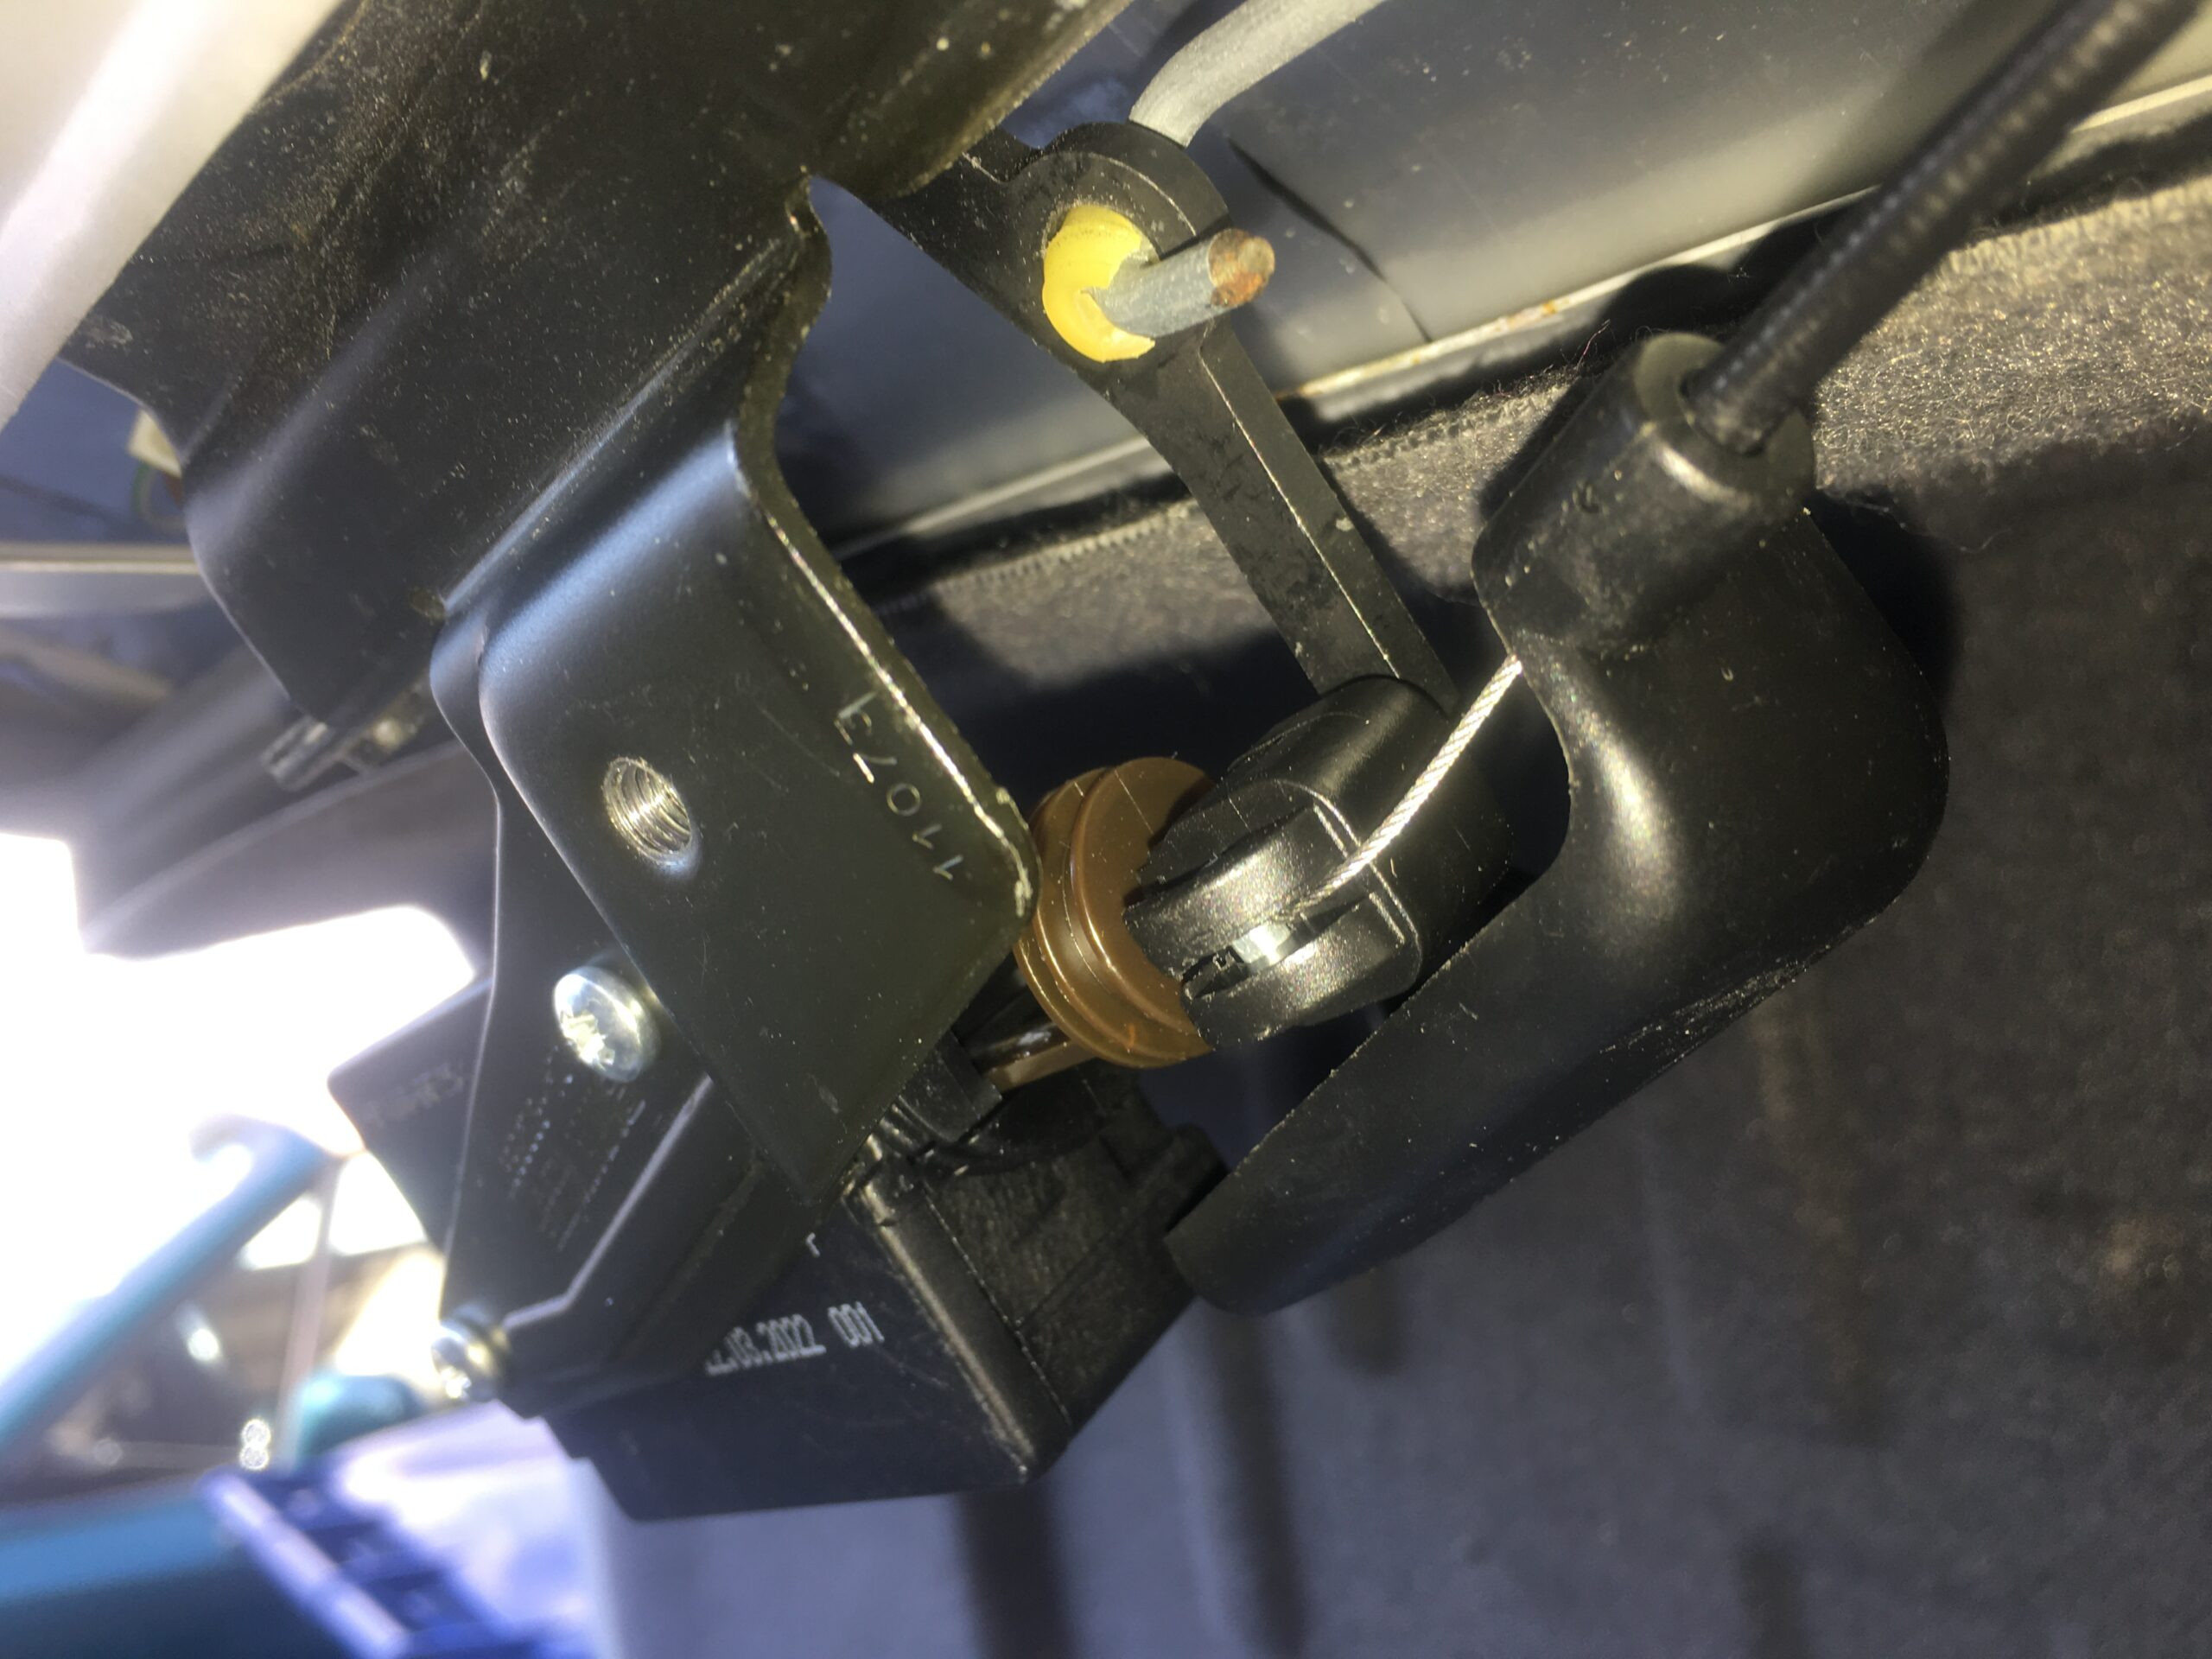
relay part
Common culprits for bad wiring include:
- Age and Wear: Over time, car wiring insulation can become brittle and crack due to heat, vibration, and environmental exposure.
- Flexing and Movement: Wiring harnesses that repeatedly bend, such as those in doors and trunk lids, are prone to wire breakage.
- Rodent Damage: Rats and mice are notorious for chewing on car wires.
- Corrosion: Moisture and road salt can corrode electrical connectors and wiring, especially in exposed areas.
- Poor Previous Repairs: Faulty wiring repairs done in the past can fail over time.
Tools and Materials for Car Wiring Repair
Before you start fixing your car’s wiring, gather the necessary tools and materials. Having everything on hand will make the job smoother and safer.
Essential Tools:
- Wire Strippers/Crimpers: For stripping insulation from wires and crimping connectors.
- Soldering Iron and Solder: For creating strong, reliable soldered wire connections.
- Heat Gun: For shrinking heat shrink tubing to insulate and protect connections.
- Multimeter: For testing for voltage and continuity to diagnose electrical problems.
- Automotive Circuit Tester (Test Light): A simpler tool for checking for power in circuits.
- Diagonal Cutters (Dikes): For cutting wires.
- Utility Knife or Scissors: For carefully slitting wire sheaths and insulation.
- Pliers and Screwdrivers: Assorted sizes, including Torx screwdrivers if needed for your vehicle (as mentioned in the original article for the trunk latch).
- Work Light: Good lighting is crucial for detailed wiring work.
Essential Materials:
- Automotive Wire: Choose the correct gauge (thickness) wire to match the existing wiring. Using the wrong gauge can lead to overheating or insufficient current flow.
- Butt Splice Connectors: For quick crimped wire connections.
- Heat Shrink Solder Splice Connectors: Combine soldering and heat shrinking in one connector for weather-tight connections.
- Heat Shrink Tubing: For insulating soldered or crimped connections.
- Electrical Tape (Automotive Grade): For wrapping and protecting wiring harnesses.
- Flux: For soldering old or corroded wires, ensuring good solder flow.
- Cable Ties (Zip Ties): For securing wiring harnesses and keeping them organized.
- Wiring Diagram for Your Car (Optional but Recommended): Helps in understanding your car’s electrical system and tracing circuits. You can often find these online or in repair manuals.
 relay cable
Step-by-Step Guide to Fixing Bad Car Wiring
Safety First:
- Disconnect the Negative Battery Terminal: Before working on any electrical system in your car, disconnect the negative (black) battery terminal. This prevents accidental shorts and electrical shocks. Wait a few minutes after disconnecting to allow any residual charge to dissipate.
Diagnosis and Inspection:
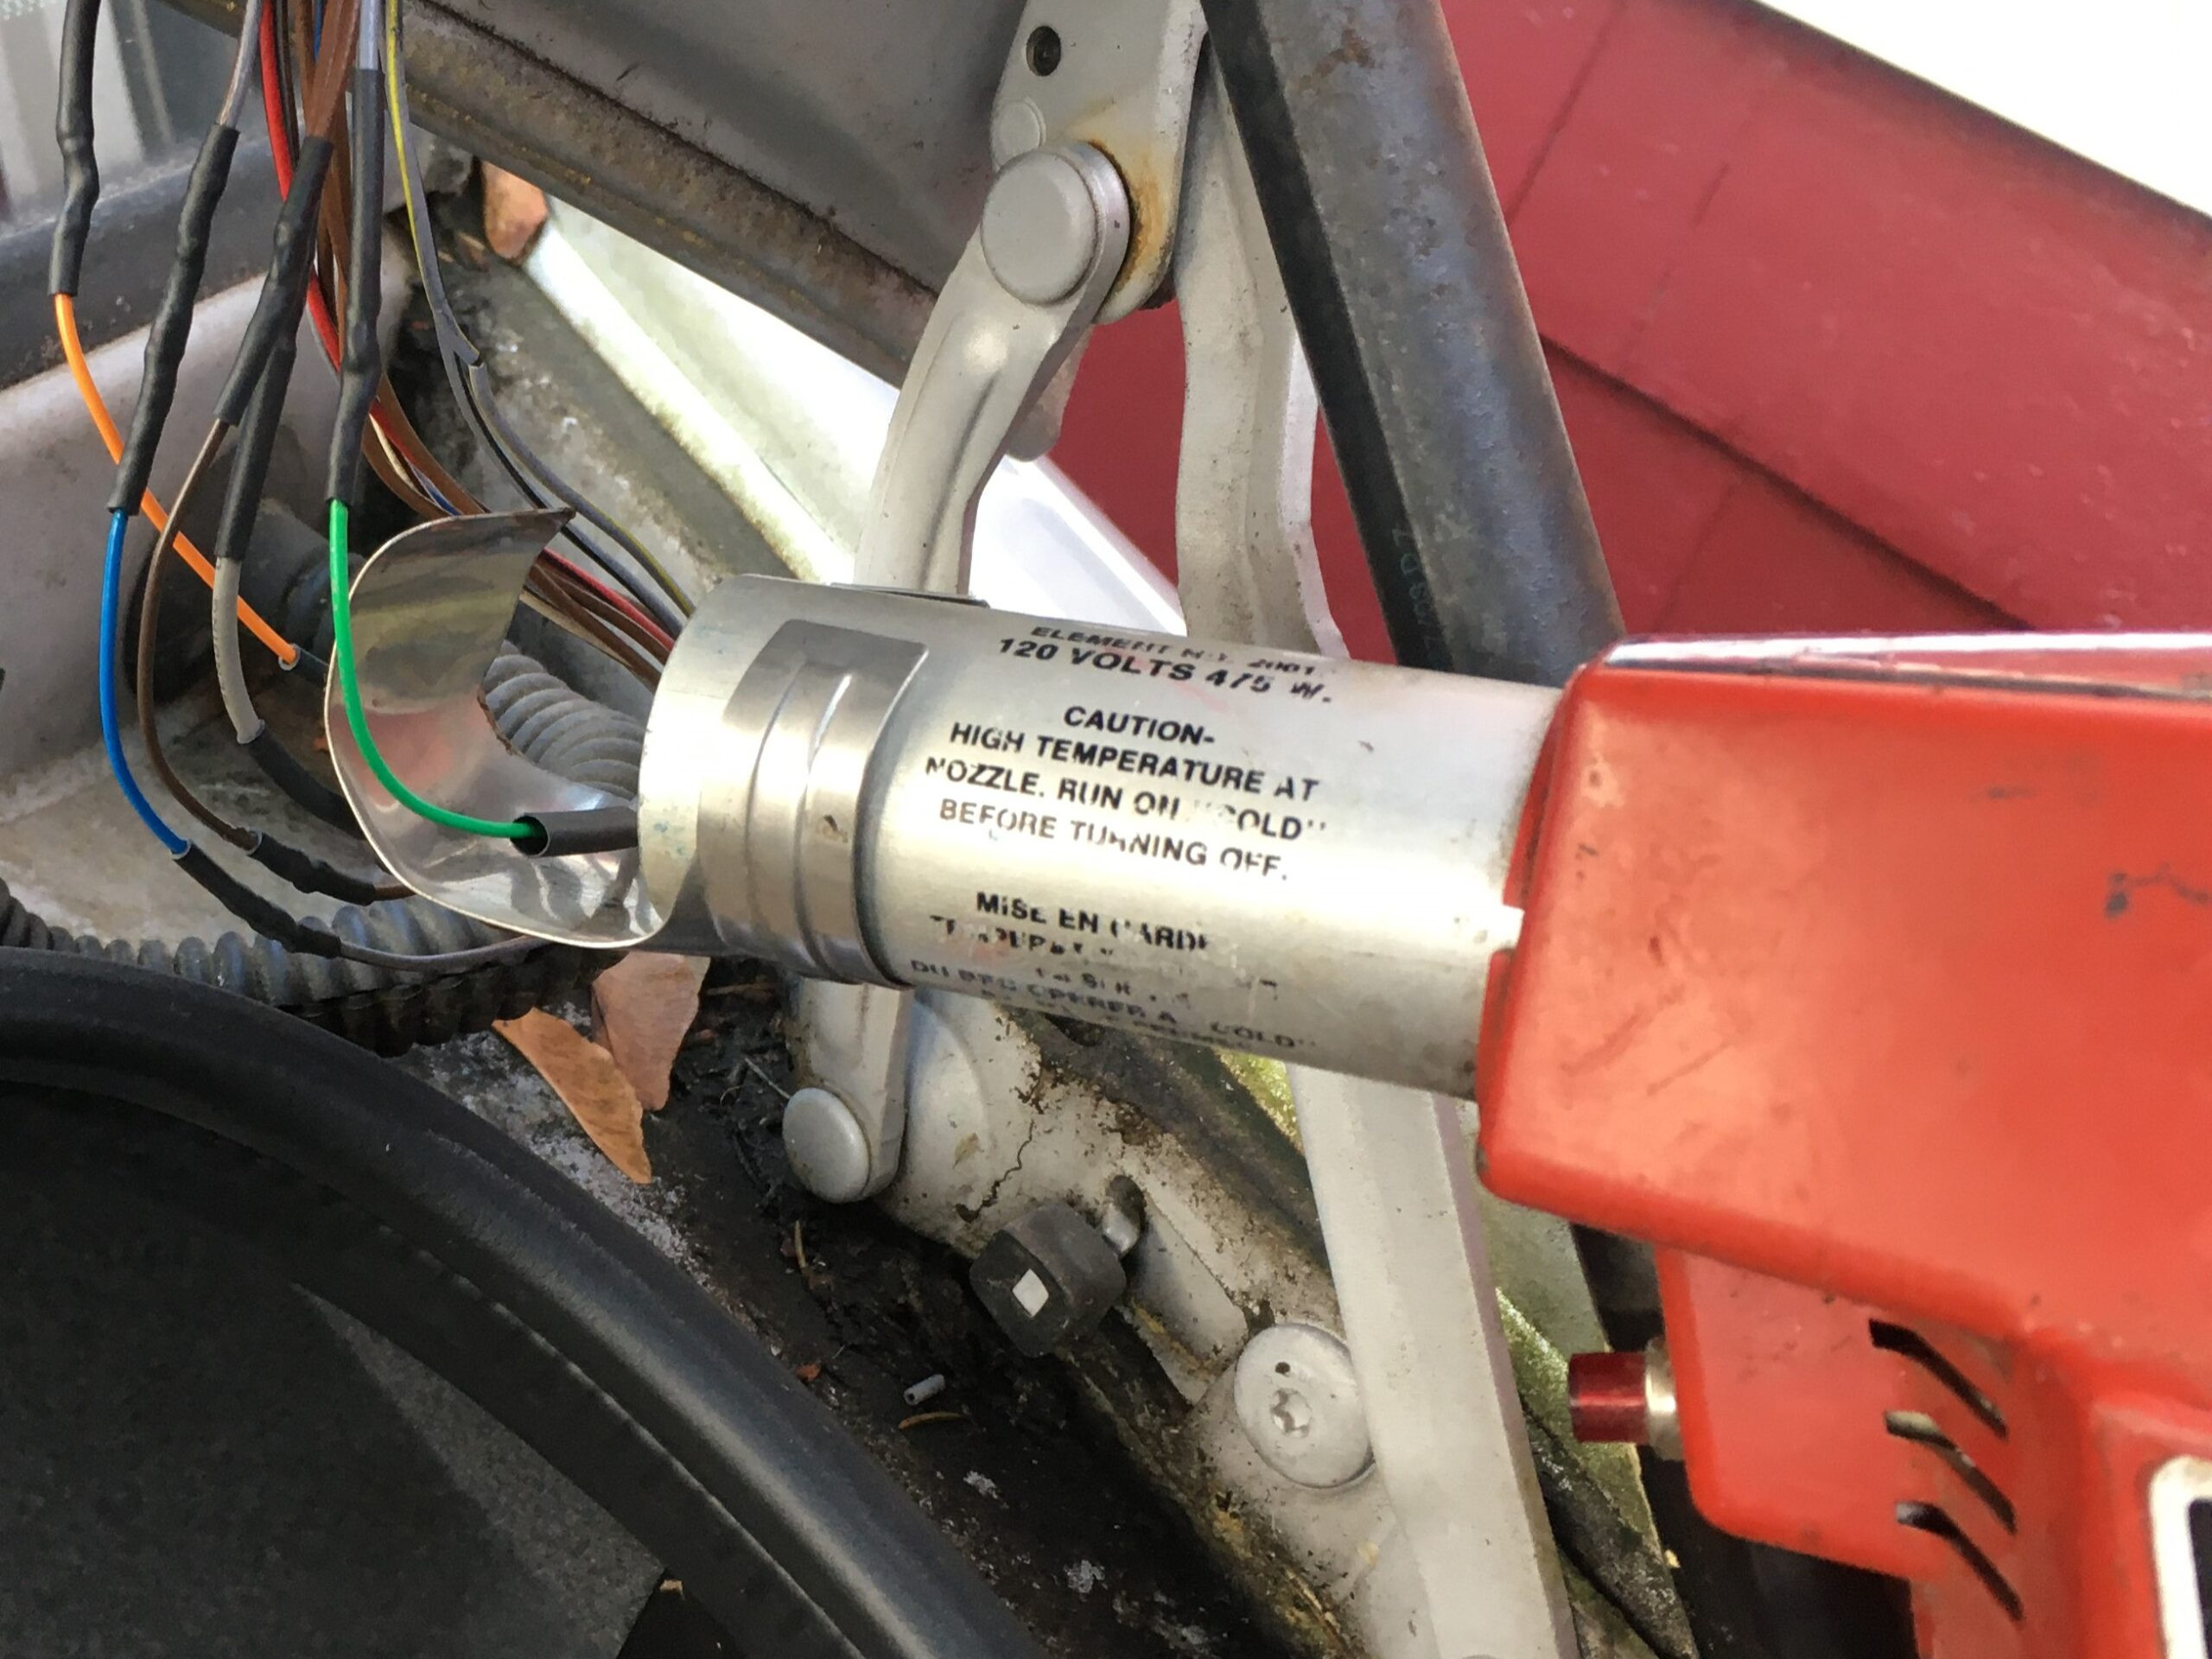
- Identify the Problem Circuit: Use your car’s symptoms and a circuit tester or multimeter to pinpoint the circuit with the bad wiring. For example, if your trunk light and actuator aren’t working, focus on the wiring harness leading to the trunk lid, as the original author discovered.
- Visually Inspect Wiring Harnesses: Carefully examine the wiring harness related to the faulty circuit. Look for:
- Broken or Frayed Wires: Pay close attention to areas where the harness bends or flexes.
- Cracked or Brittle Insulation: Insulation that’s crumbling or cracked needs replacement.
- Melted or Burned Wires: Indicates overheating and potential short circuits.
- Corroded Connectors: Look for green or white powdery buildup on connectors.
- Test for Continuity and Voltage: Use a multimeter to test for:
- Continuity: Check for breaks in the wire by testing for continuity along its length. No continuity means a broken wire.
- Voltage: Verify that power is reaching the component (e.g., light, actuator) when it should be. No voltage could indicate a problem upstream in the wiring.
Repairing the Wiring:
-
Choose Your Repair Method: Depending on the type and location of the wire damage, you can use different repair methods:
- Splicing and Soldering: For broken wires in the middle of a harness, soldering provides the most durable and reliable repair, as highlighted in the original article.
- Crimping: Butt splice connectors are quicker for simple repairs, especially in less critical areas.
- Connector Replacement: If connectors are corroded or damaged, replace them with new ones.
-
Splicing and Soldering Broken Wires (Detailed Steps based on Original Article):
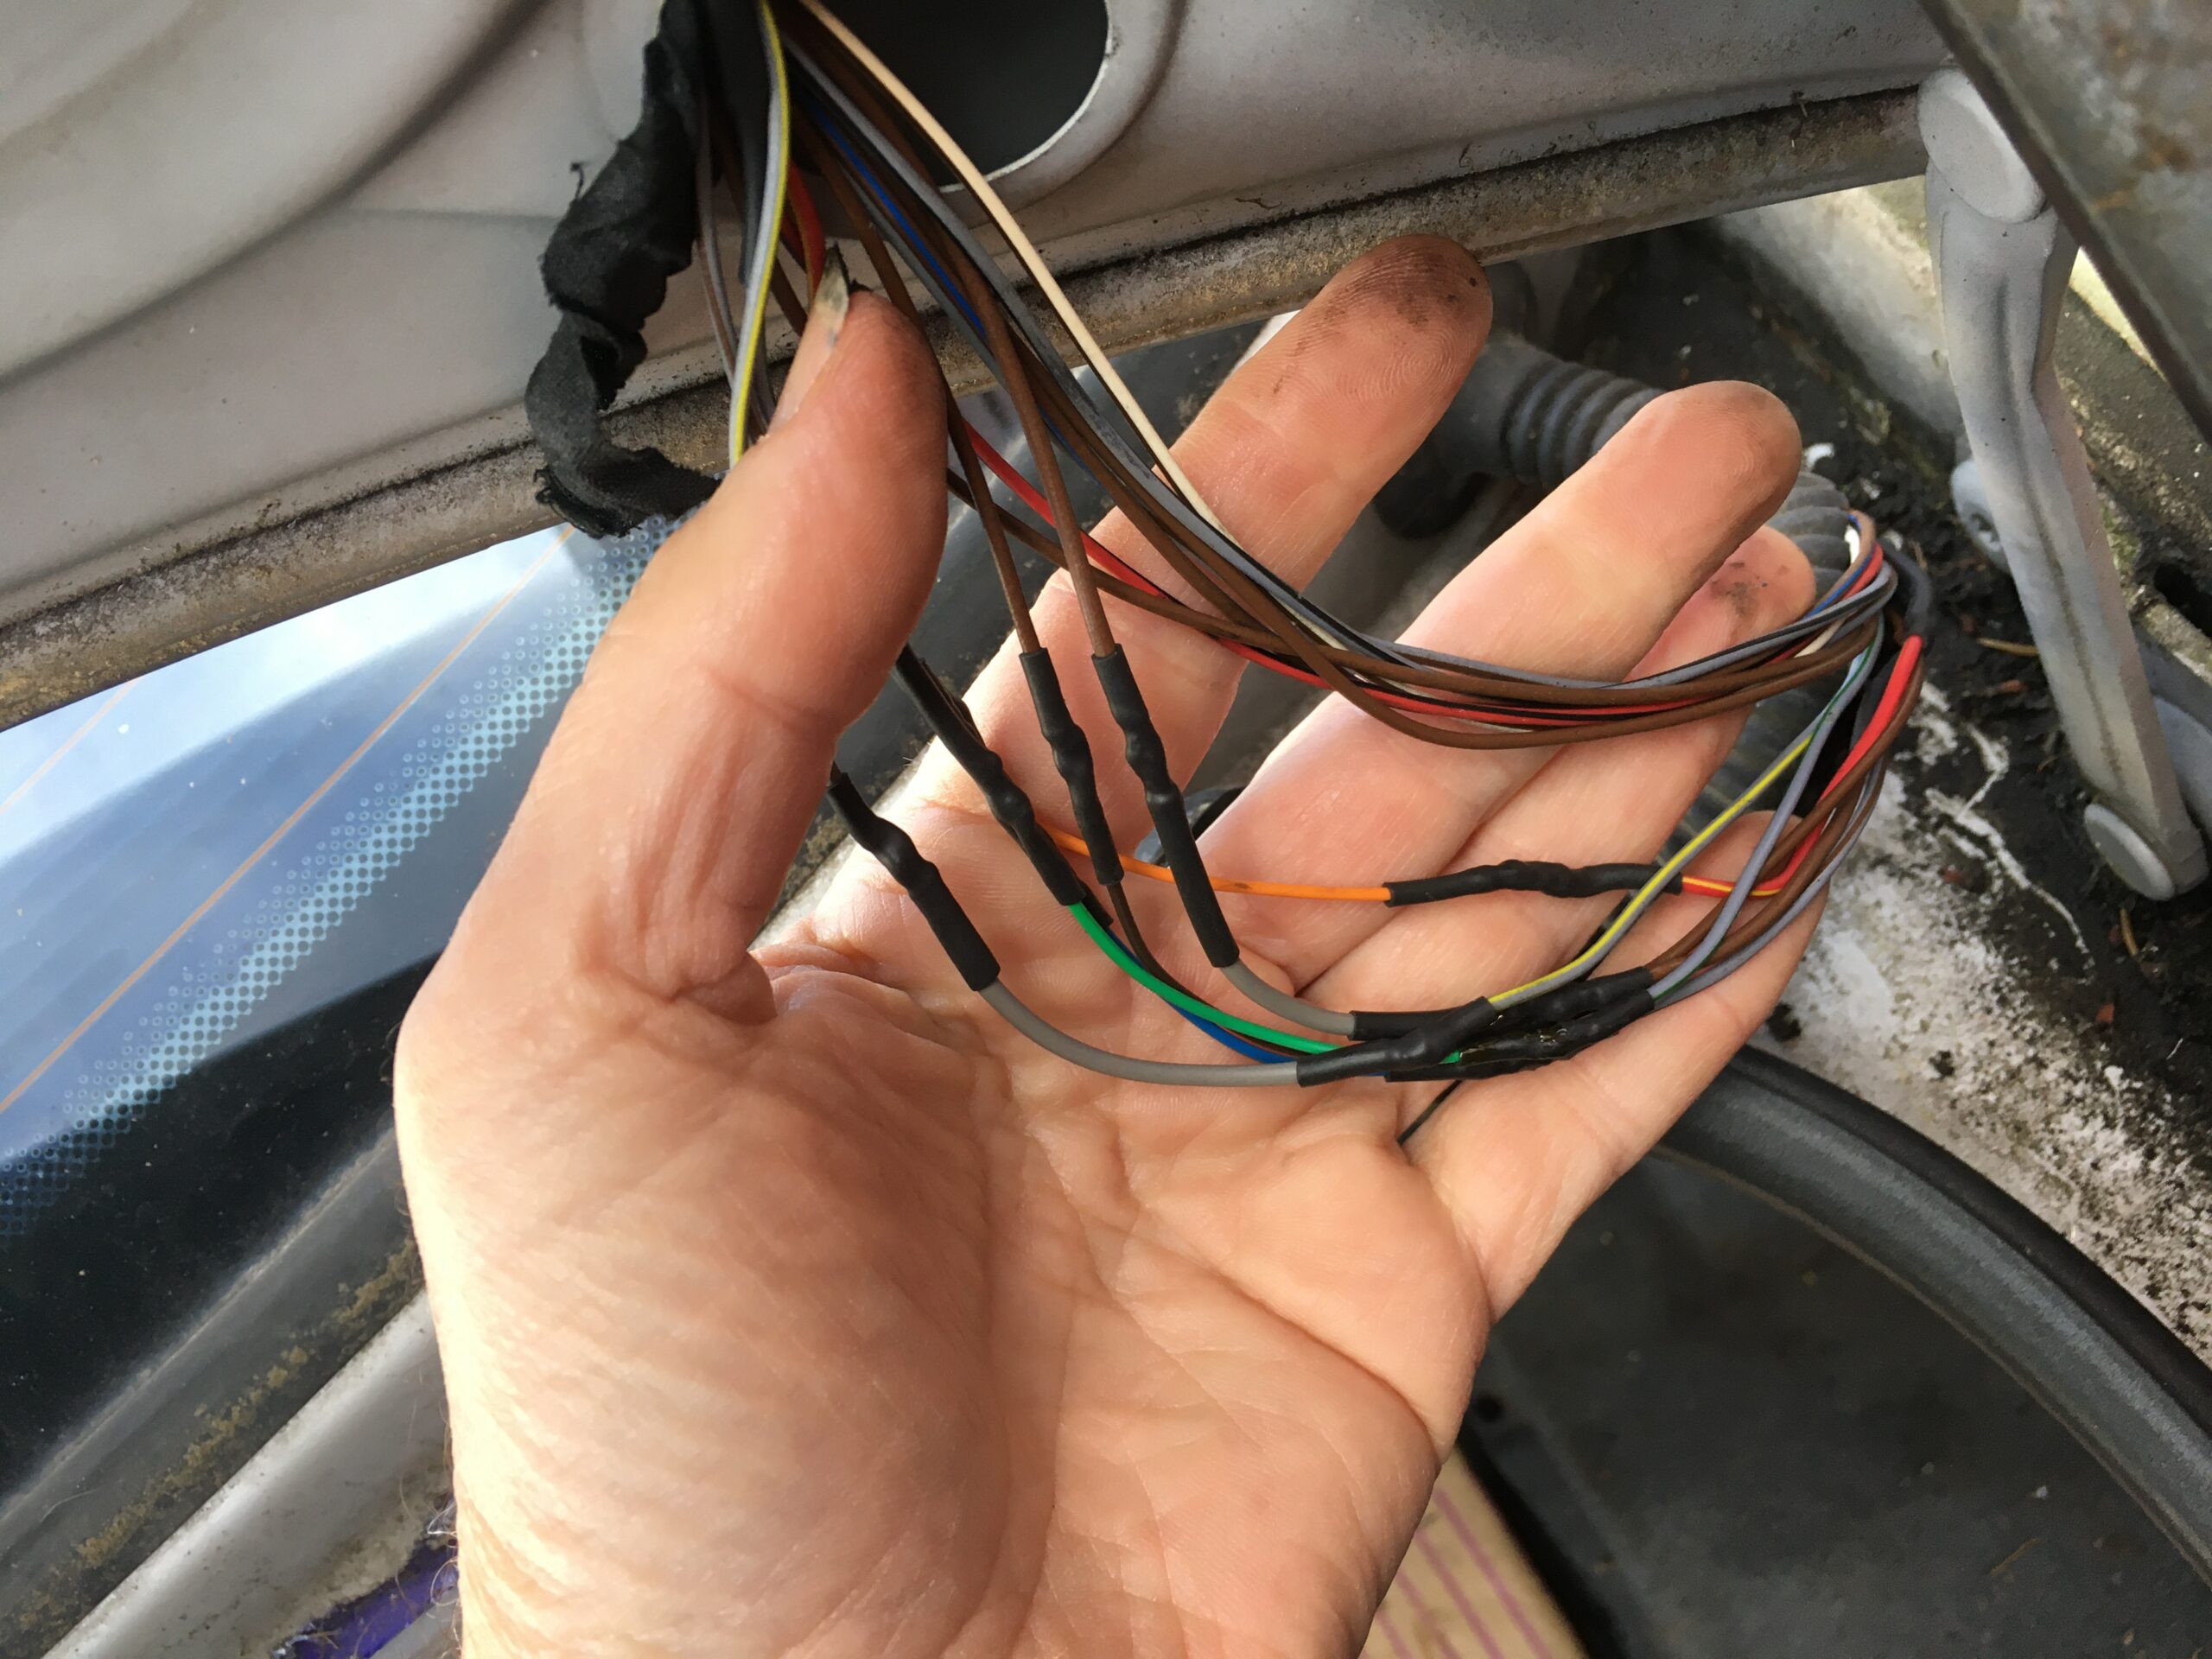
a. Prepare the Wires: Cut out the damaged section of wire. Strip about 1/2 inch of insulation from the ends of the broken wires and the replacement wire.
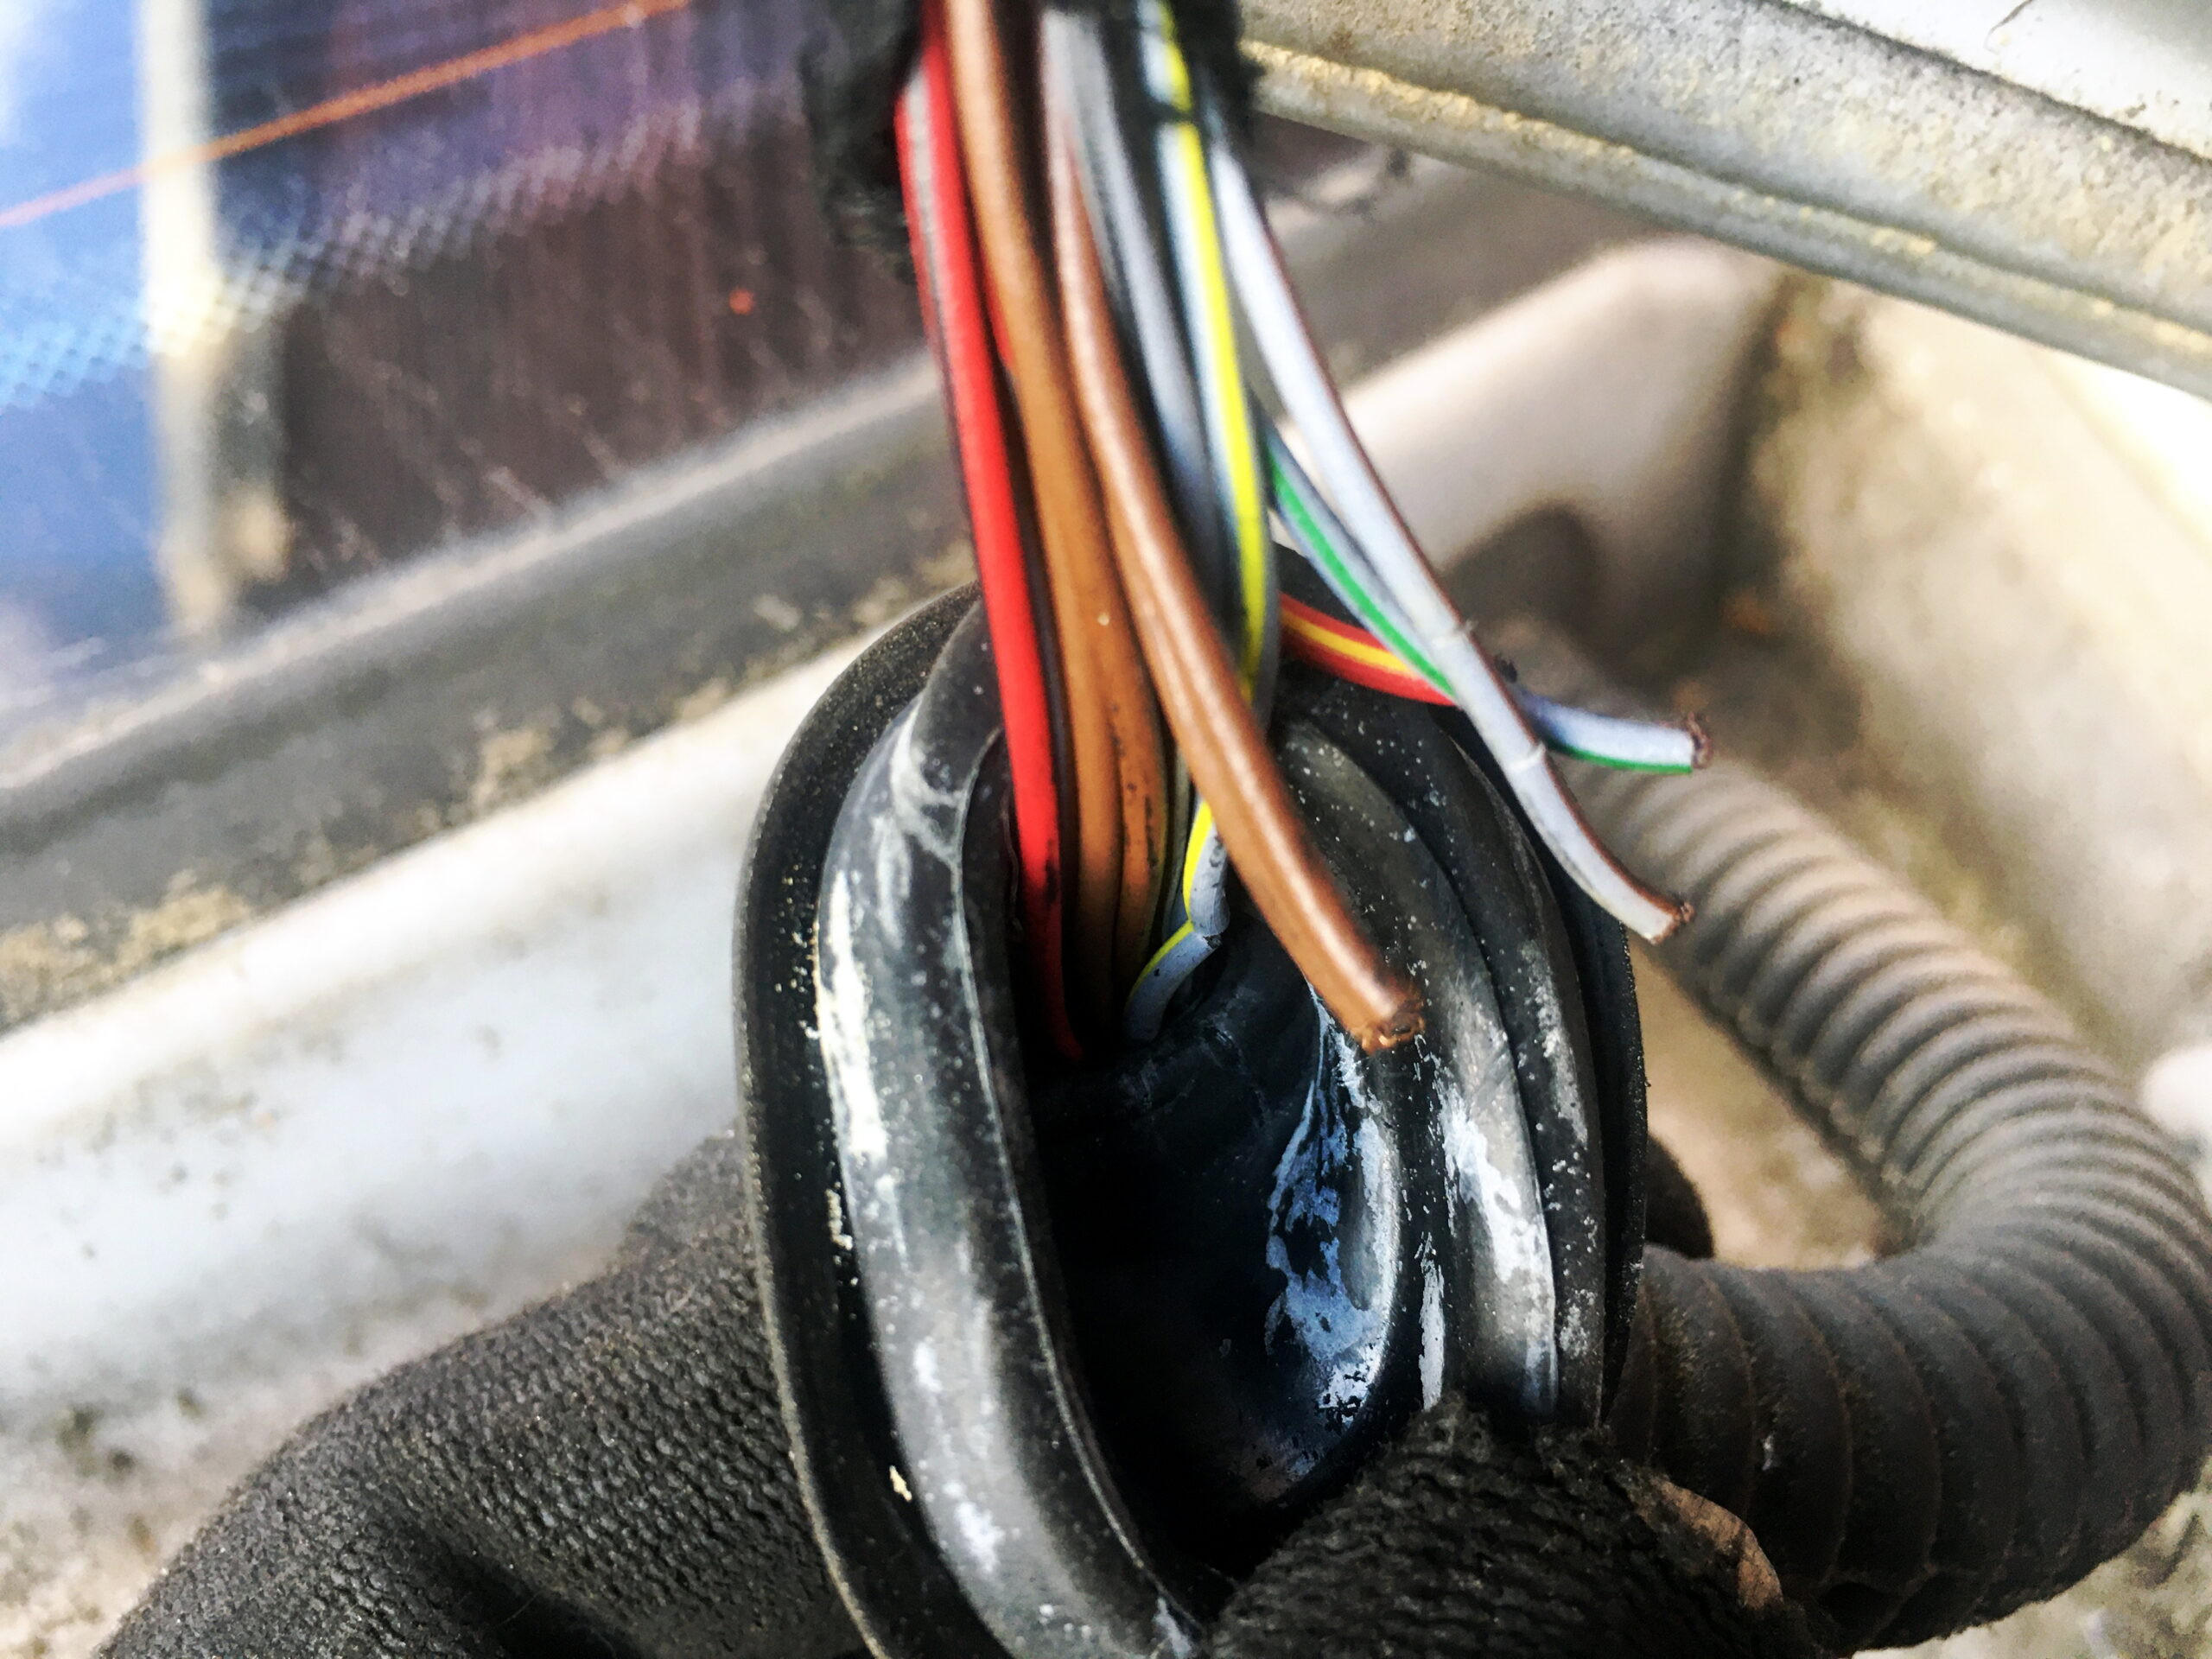 car wiring closeup
b. Slide Heat Shrink Tubing: Slide a piece of heat shrink tubing over one end of each wire to be spliced, far enough away from the splice area so it doesn’t shrink prematurely.
c. Mechanical Connection: Create a secure mechanical connection before soldering. You can use the hook method described in the original article (bending right-angle hooks and interlocking them) or simply twist the wires together tightly.
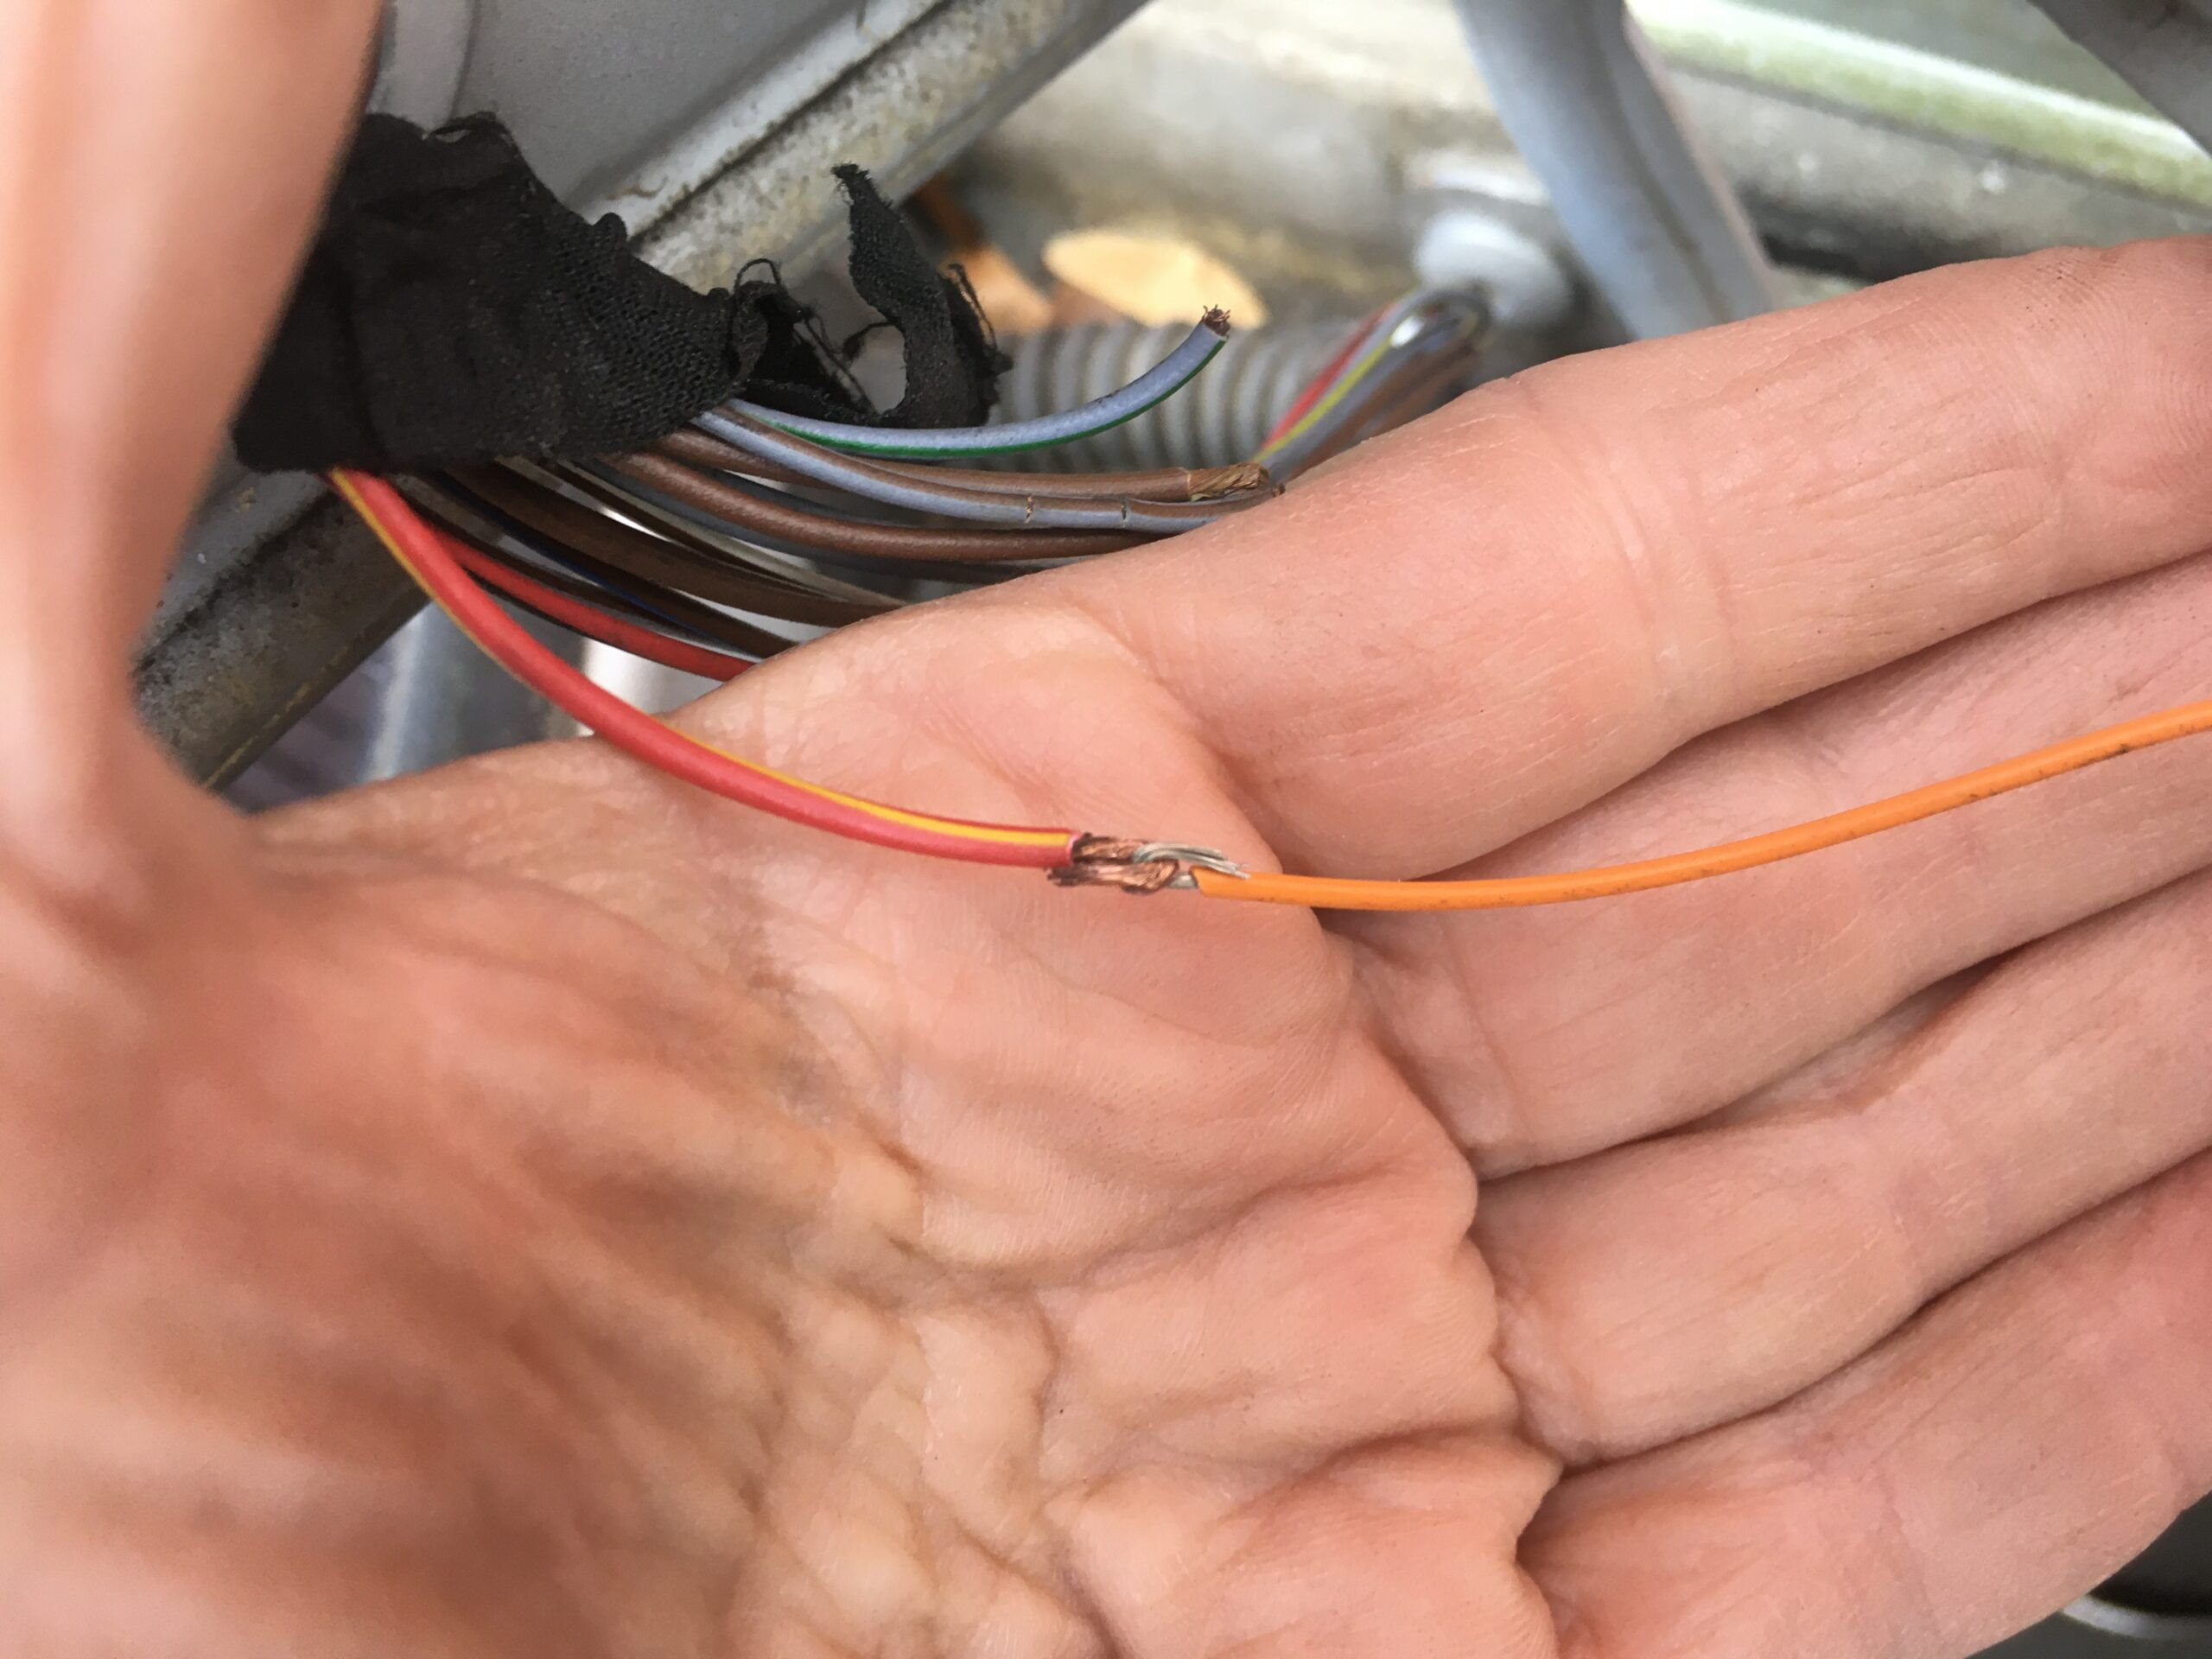 car wiring splice tie
d. Solder the Connection: Heat the wire joint with a soldering iron and apply solder to the heated wire until it flows smoothly into the strands. Use flux if necessary, especially on older wires, to ensure good solder flow. Avoid “cold soldering” – where the solder just sits on top and doesn’t bond properly.
 car wiring solder closeup
e. Insulate with Heat Shrink Tubing: Slide the heat shrink tubing over the soldered joint and use a heat gun to shrink it tightly, providing insulation and protection.
 car wiring shrink heat gun closeup
f. Repeat for All Broken Wires: Repair each broken wire in the harness using the same method.
-
Crimping Butt Splice Connectors (Alternative Method):
a. Strip Wire Ends: Strip about 1/2 inch of insulation from the ends of the wires to be joined.
b. Insert Wires into Connector: Insert the stripped ends of the wires into a butt splice connector, one wire from each side.
c. Crimp the Connector: Use wire crimpers to firmly crimp the connector onto the wires, creating a secure electrical and mechanical connection.
d. Insulate (Recommended): For added protection, especially in exposed areas, slide heat shrink tubing over the crimped connector and shrink it with a heat gun.
Final Steps:
- Test Your Repair: Reconnect the negative battery terminal. Test the repaired circuit to ensure the problem is resolved. Check if the lights, accessories, or components that were malfunctioning are now working correctly.
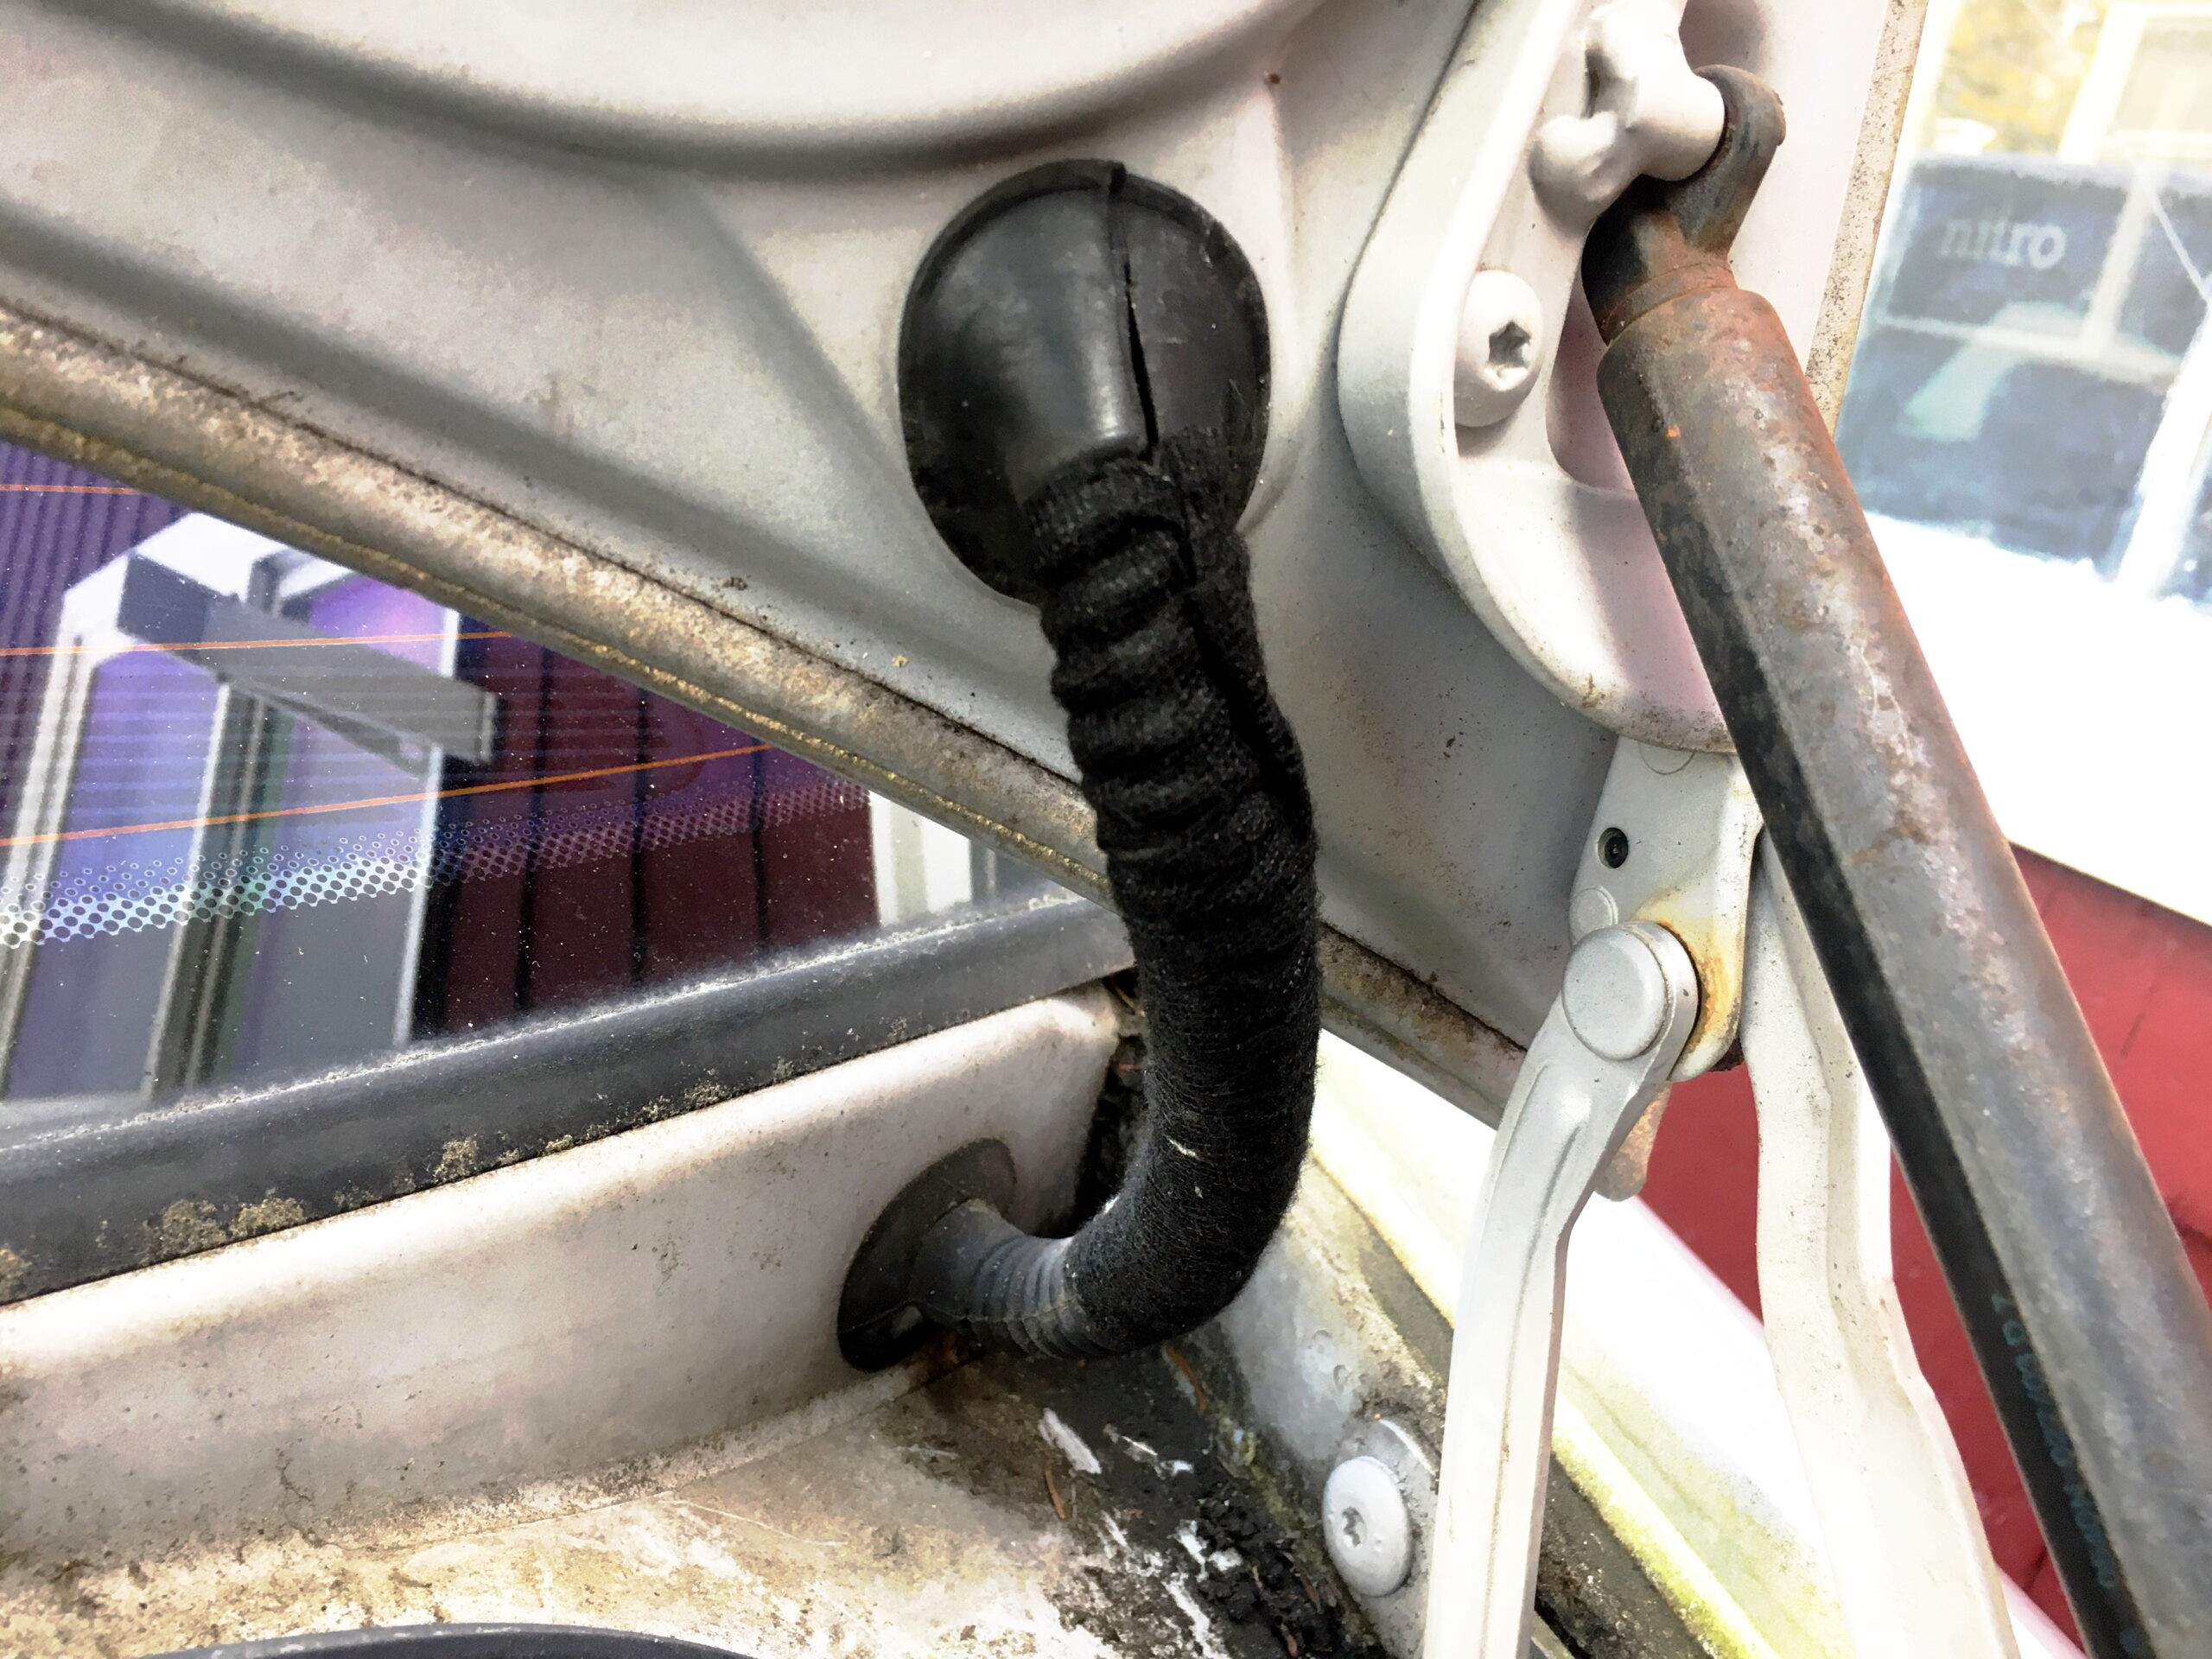
- Protect and Organize Wiring: Once you’ve verified the repair, carefully re-wrap the wiring harness with electrical tape or automotive cloth tape to protect the wires. Secure the harness back in its original location using cable ties to prevent future damage from movement or chafing.
 car wiring connections heat shrink
 car wiring connections in new conduit
Advanced Tips and Considerations
- Wire Gauge Matters: Always use replacement wire of the same gauge or slightly larger than the original wire. Using too thin a wire can cause overheating and fire hazards. Heavier gauge for ground wires is sometimes used as noted in the original article.
- Use Flux for Old Wires: As Rob Siegel mentioned, flux is crucial when soldering older car wires. It helps clean oxidation and corrosion, allowing solder to flow properly and create a strong connection.
- Weatherproofing is Key: In exposed areas, ensure your wiring repairs are weatherproof. Heat shrink tubing and automotive-grade electrical tape help protect connections from moisture and corrosion. Consider using waterproof connectors in very wet environments.
- Wiring Diagrams are Your Friend: If you are tackling complex wiring issues, a wiring diagram for your specific car model is invaluable. It helps you understand the circuit layout and trace wires effectively.
- When to Seek Professional Help: If you’re uncomfortable working with car electrical systems, or if the wiring damage is extensive or complex, don’t hesitate to take your car to a qualified mechanic. Electrical problems can be tricky to diagnose and repair, and mistakes can lead to further damage or safety hazards.
Fixing bad wiring in your car can be a rewarding DIY project, saving you money and giving you a deeper understanding of your vehicle’s electrical system. By following these steps and taking your time, you can effectively tackle many common car wiring issues and keep your vehicle running smoothly.