How to Fix a Car Seat Belt Buckle: A Comprehensive Guide
Wearing a seat belt is not just a legal obligation in nearly every U.S. state, but a fundamental safety measure for both drivers and passengers. In over half of the US states, passenger seat belt use is also mandated by law. Regardless of legal requirements, the inherent risks of car accidents should be enough motivation to address a malfunctioning seat belt buckle without delay. Driving without a properly functioning seat belt is extremely dangerous under any circumstances. Fortunately, resolving a broken seat belt buckle is often a straightforward process, potentially requiring no replacement parts if you follow the correct procedures. If you are experiencing issues with your seat belt and are looking for the most effective methods on How To Fix A Car Seat Belt Buckle in almost any vehicle, continue reading for our in-depth guide.
Understanding How Seat Belt Buckles Work
Diagram of a seat belt buckle mechanism
Seat belt buckles are ingeniously designed to securely fasten and release the seat belt. The system relies on the interaction between the seat belt tongue (the metal piece at the end of the belt) and the buckle itself. When you insert the tongue into the buckle, it engages with an internal mechanism. This mechanism typically involves a spring-loaded tab within the buckle. As the tongue is inserted, it pushes past this spring tab, compressing internal springs. Once the tongue is fully inserted, the spring tab snaps back into a notch or gap in the tongue, firmly locking it in place. This robust locking action ensures the seat belt remains fastened during regular use and in the event of sudden vehicle movements.
To release the seat belt, you press the prominent release button on the buckle. Pressing this button compresses the spring tab again, disengaging it from the notch in the tongue. With the tab retracted, nothing obstructs the tongue, allowing it to be freely pulled out of the buckle, releasing the seat belt.
Occasionally, the intricate seat belt buckle mechanism can malfunction. Common issues include the spring tab becoming sticky or jammed, preventing it from properly engaging with the tongue and locking the seat belt. Alternatively, the internal springs might become compressed or obstructed, hindering the tongue from fully inserting and locking. Another problem can arise if the release button itself becomes stuck, making it impossible to unbuckle the seat belt. Any of these malfunctions preventing the reliable use of your seat belt must be addressed promptly to ensure your safety and that of your passengers.
5 Essential Steps to Troubleshoot and Fix a Car Seat Belt Buckle
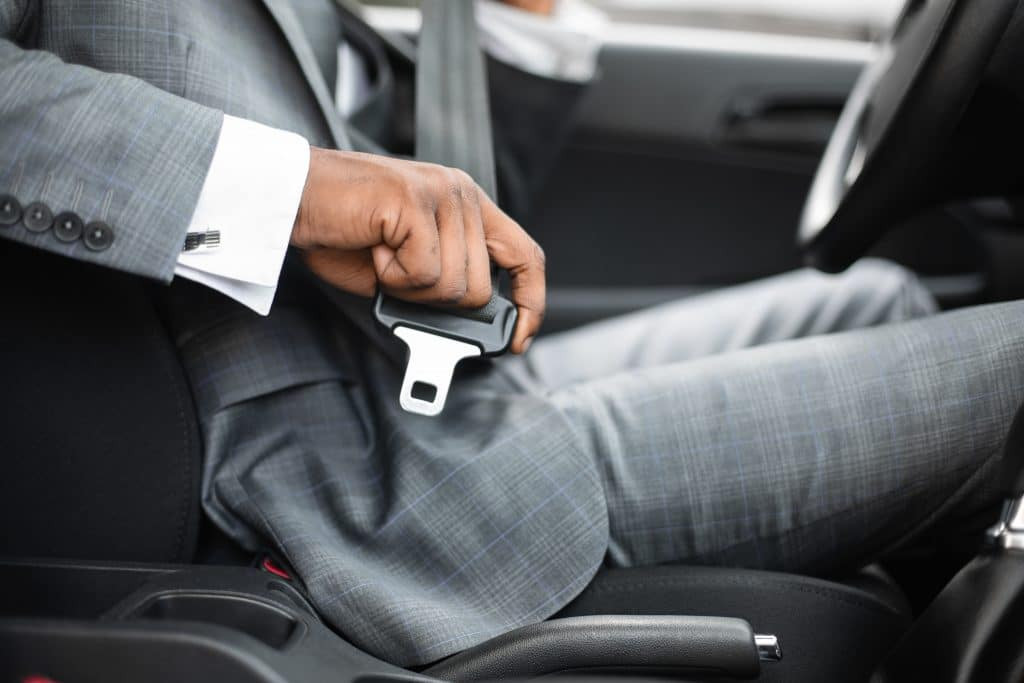
 Hands fixing a car seat belt buckle
If you are experiencing problems with your seat belt buckle, there are several troubleshooting steps you can take before considering professional repair or replacement. Often, the issue is simpler than you might think and can be resolved with basic tools and techniques. Here are five essential steps to guide you through fixing a car seat belt buckle:
1. Start with Cleaning the Seat Belt Tongue
The first and simplest step in addressing a sticky or non-functioning seat belt buckle is to thoroughly clean the seat belt tongue. Over time, dirt, grime, food particles, or other debris can accumulate on the tongue and interfere with its smooth insertion and locking into the buckle. Before attempting any more complex solutions, ensure that surface contamination isn’t the root cause of your problem.
Begin by visually inspecting the seat belt tongue for any visible debris or sticky substances. Often, you can manually scrape off loose dirt or grime with your fingernail or a soft plastic tool. For more stubborn residues, warm, soapy water can be very effective. Apply a mild soap solution to a clean cloth and gently scrub the tongue, paying attention to any grooves or crevices where dirt might accumulate. Alternatively, automotive-specific interior cleaners can be used to dissolve sticky or hardened grime. After cleaning, ensure the tongue is completely dry before attempting to buckle it again. This simple cleaning step often resolves minor buckle issues and is a good starting point in seat belt buckle repair.
2. Attempt to Repair the Buckle Without Disassembly
If cleaning the seat belt tongue doesn’t resolve the issue, the next step is to address the buckle itself. Before resorting to disassembly, which can be more complex, try a few non-invasive methods to clear potential obstructions within the buckle mechanism. These techniques are designed to dislodge debris or loosen sticky components without opening the buckle.
Start by using a thin, flat tool, such as a butter knife or a slim screwdriver, to gently probe around the opening of the buckle. Carefully insert the tool and try to dislodge any visible debris that might be lodged inside. Avoid using excessive force to prevent damaging the internal mechanism. After attempting to dislodge any physical obstructions, use compressed air to blow out the buckle. The pressurized air can effectively remove finer particles of dust or dirt that are deeper within the mechanism. Direct the compressed air nozzle into the buckle opening and apply short bursts of air.
Another helpful technique is to apply a small amount of WD-40 or a similar penetrating lubricant into the buckle. WD-40 can help to loosen sticky or jammed internal components and improve the movement of the locking mechanism. Spray a minimal amount of WD-40 directly into the buckle opening. After applying WD-40, repeatedly insert and remove the seat belt tongue several times. This action helps to distribute the lubricant and work it into the mechanism. Following these no-disassembly cleaning and lubrication methods can often restore proper function to a sticky seat belt buckle.
3. Remove and Disassemble the Seat Belt Buckle for Deep Cleaning
If the previous steps haven’t resolved your seat belt buckle problem, a more thorough cleaning involving disassembly may be necessary. This allows you to access the internal components of the buckle and clean them directly. However, it’s essential to proceed with caution and consult your vehicle’s owner’s manual for specific instructions on seat belt buckle removal, as procedures can vary between vehicle models.
The process of removing the seat belt buckle can range from simply unscrewing it from its mounting point to requiring partial seat removal for access. Your vehicle’s owner’s manual is the best resource for detailed instructions specific to your car. Once you have safely removed the buckle, take it to a well-lit workspace for disassembly.
Carefully inspect the buckle for visible screws, typically located around the edges of the buckle housing. Using an appropriately sized screwdriver, remove all accessible screws. After removing the screws, you can carefully pry open the buckle housing. Use a thin, flat tool like a flathead screwdriver or a plastic pry tool. Work slowly and gently around the seam of the buckle housing to avoid cracking or breaking the plastic.
With the buckle open, you can now examine the internal components. Identify the spring tab (the part that locks the tongue) and the internal springs. Test the movement of the spring tab by pressing it – it should compress smoothly and spring back up immediately when released. Similarly, check the springs for free movement. Look for any debris, dirt, or obstructions that might be hindering the movement of these components. Use small pliers, tweezers, or compressed air to carefully remove any obstructions. You can also apply WD-40 sparingly to lubricate the internal mechanisms after cleaning. Once cleaned and lubricated, carefully reassemble the buckle, ensuring all components are correctly positioned, and securely tighten the screws.
4. Addressing a Stuck Seat Belt Buckle That Won’t Release
While the common issue is a seat belt buckle that won’t lock, sometimes you might encounter the opposite problem: a seat belt buckle that becomes stuck in the locked position and refuses to release. This situation can be particularly urgent, especially if a passenger is trapped by the faulty buckle. Fortunately, fixing a jammed seat belt buckle that won’t release can often be resolved just as easily as fixing one that won’t buckle.
In many cases, a stuck release mechanism is caused by a small obstruction jamming the release button or the internal components. Start by attempting to dislodge any potential blockage. Use a thin tool, like a slim screwdriver or a butter knife, to carefully probe around the release button and the surrounding area of the buckle. Gently try to free any stuck particles or debris.
If probing doesn’t work, try applying WD-40 or compressed air, similar to the no-disassembly cleaning method described earlier. Spray a small amount of WD-40 around the release button and into the buckle opening. Alternatively, use compressed air to blow out any potential obstructions. After applying lubricant or air, try pressing the release button firmly and repeatedly. Sometimes, repeated pressing can help to dislodge the obstruction and free the mechanism.
If these methods are unsuccessful and a passenger is trapped, you may need to take more immediate action. If possible, and as a last resort, you can unscrew the entire buckle assembly from the vehicle mounting point to release the passenger from the seat. This will allow you to remove the buckle and work on releasing the tongue in a safer environment. Once the buckle is removed, you can try to manually manipulate the internal mechanism to release the tongue. After releasing the tongue, thoroughly inspect the buckle’s internal mechanism to identify the cause of the jamming and clean or repair it accordingly before reinstallation.
5. Verify Proper Seat Belt Functionality After Repair
After performing any repairs or cleaning on your seat belt buckle, it is absolutely crucial to thoroughly test its functionality to ensure it is working correctly and safely. Seat belts are a critical safety feature, and their proper operation is essential for your protection in the event of a car accident. A seemingly minor issue can have severe consequences if the seat belt fails during a collision. Statistics highlight the importance of seat belts: in 2021, over half of the nearly 50,000 vehicle accident fatalities in the United States could have been prevented with proper seat belt use.
Begin by visually inspecting the entire seat belt system. Check the seat belt webbing for any signs of tears, fraying, cuts, or visible weaknesses. The webbing should be in good condition and free from damage. Next, sit in the seat and fasten the seat belt. Ensure that the buckle engages with a solid click, indicating a secure lock. Try to tug on the buckle to confirm it is firmly fastened and doesn’t release unexpectedly.
Pay attention to the seat belt retraction mechanism. The seat belt should retract smoothly and completely when unbuckled. It should also extend smoothly and without excessive resistance when you pull it out to fasten. Once buckled, ensure the shoulder strap lies snugly across your shoulder and collarbone, across your torso, and towards the buckle at your hip. The lap belt portion should be positioned low across your hips, not your stomach. Both belts should feel taut and secure, holding you firmly against the seat. This proper positioning is crucial for preventing forward movement and submarining (sliding under the lap belt) during a crash.
Finally, test the release mechanism several times. Press the release button firmly, and ensure the buckle releases smoothly and immediately each time. Repeat the buckling and unbuckling process a few times to confirm consistent and reliable operation. If you notice any issues during testing, such as difficulty buckling, unreliable locking, slow retraction, or sticky release, re-examine your repair work or consider seeking professional assistance. Never compromise on seat belt safety; if you have any doubts about the functionality of your seat belt after repair, consult a qualified automotive technician.
Final Thoughts on Fixing a Car Seat Belt Buckle
A malfunctioning seat belt buckle, especially in the driver’s seat, is a significant safety concern that needs immediate attention. Reliable seat belts are not only a legal requirement but a vital safety component of your vehicle. Addressing a broken seat belt buckle promptly is paramount for your safety and the safety of your passengers.
In many instances, fixing a broken seat belt buckle is as simple as cleaning the buckle mechanism and the seat belt tongue. By following the steps outlined in this guide, you can often resolve common buckle issues yourself, saving time and money. However, if these DIY methods fail to restore proper function, it may be necessary to seek assistance from a qualified auto repair technician or consider seat belt buckle replacement. With a bit of effort and attention to detail, you can usually resolve your broken seat belt buckle issue and ensure your vehicle’s safety systems are functioning as intended, providing peace of mind on every journey.


