How to Fix a Cracked Car Dashboard: A Comprehensive Guide
Dashboard cracks are a common problem in vehicles, often indicating more than just surface-level damage. Most dashboards are constructed from durable yet susceptible materials like rigid ABS plastic or vinyl layered over a foam padding. While minor blemishes might be addressed with standard vinyl fillers, significant cracks require a more robust approach. This guide explores how to effectively fix a cracked car dashboard, outlining both DIY repair methods and professional-recommended solutions.
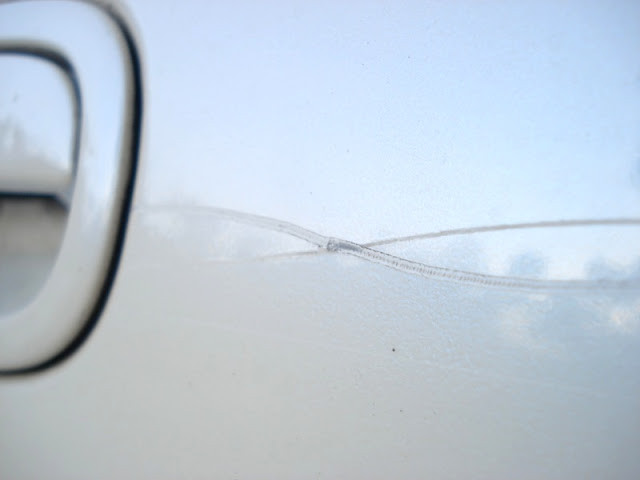
Understanding the Challenge of Dashboard Crack Repair
Repairing a cracked dashboard is not always straightforward. The structural nature of the damage means simply filling the crack might not be a long-lasting solution. The dashboard endures constant exposure to sunlight and temperature fluctuations, causing expansion and contraction that can stress repair work. Therefore, choosing the right materials and techniques is crucial for a successful and durable fix.
DIY Dashboard Crack Repair Using Flexible Epoxy
For those willing to tackle the repair themselves, a flexible epoxy designed for plastics, such as SEM Problem Plastic Epoxy, can be used. However, it’s important to understand that this is a challenging repair that demands patience and precision. Here’s a step-by-step process:
- Preparation is Key: Begin by carefully trimming or shaving away any loose or lifting edges around the crack. This creates a stable base for the epoxy to adhere to.
- Apply the Epoxy: Fill the crack slightly higher than the surrounding surface with the flexible epoxy. Use a plastic card or spreader to smooth the epoxy and ensure it penetrates the crack thoroughly.
- Curing Time: Allow the epoxy to cure for at least one hour. Refer to the product instructions for specific curing times as they may vary.
- Initial Sanding: Once cured, sand the epoxy evenly using 220 grit wet-or-dry sandpaper. Wet sanding helps to reduce dust and create a smoother finish.
- Repeat and Level: Repeat steps 2-4 as necessary until you achieve a level surface that is flush with the surrounding dashboard. Multiple thin layers are often better than one thick layer to minimize shrinkage and ensure a strong bond.
- Fine Sanding: Refine the surface by polishing with 500 grit wet-or-dry sandpaper. This step prepares the surface for texturing and coloring.
- Texturizing for a Seamless Finish: Achieving a consistent texture is crucial for a professional-looking repair. Flexible epoxy generally doesn’t emboss well when uncured, and sanding can easily remove any texturing attempts. A practical solution is to use a spray grain product designed for texture restoration. Alternatively, for a more DIY approach, you can carefully apply tiny dots of super glue, pat them down with a paper towel, and then catalyze them with baking soda for instant hardening. Sand this textured surface lightly before proceeding. Spray grain application over this method will yield the best results.
- Spray Grain Application: Apply thin coats of spray grain, allowing each coat to dry for at least 10 minutes before applying the next. Thin coats prevent runs and ensure even texture. Gently polish with 500 grit sandpaper after the spray grain has dried.
- Coloring and Finishing: Apply color to match your dashboard. Rub ‘n Restore® colors are formulated to dry with a low-luster finish, ideal for dashboards to minimize glare. These colors are self-sealing and generally do not require an additional top coat.
The Simpler, Recommended Solution: Installing a Dash Cap
While DIY epoxy repair is possible, it is labor-intensive and requires a degree of skill to achieve a satisfactory and lasting result. A highly recommended alternative, especially for those seeking a simpler and often more effective solution, is installing a vacuum-molded dash cap.
Dash caps are custom-molded covers designed to fit directly over your existing dashboard. They offer several advantages:
- Ease of Installation: Dash caps are significantly easier to install than performing crack repairs, often requiring just adhesive and minimal tools.
- Durability and Longevity: Made from durable materials, dash caps are designed to withstand temperature changes and UV exposure, providing a long-lasting solution.
- Seamless Appearance: When properly installed, a dash cap can provide a seamless, factory-fresh look, effectively concealing cracks and damage.
- Cost-Effective: In many cases, especially considering the time and materials involved in a complex DIY repair, a dash cap can be a cost-effective solution.
If finding a dash cap in the exact shade of your interior proves difficult, remember that custom color matching services are available to ensure a perfect match. You may also find a wider selection of colors from various online retailers specializing in auto parts.
In Conclusion
While repairing a cracked car dashboard with flexible epoxy is technically feasible, it’s a challenging DIY project best suited for experienced individuals. For most car owners, installing a vacuum-molded dash cap presents a more straightforward, durable, and often more visually appealing solution. Consider your skill level and desired outcome when deciding on the best approach to fix your cracked car dashboard.
Buy SEM® Plastic Repair
Shop Our Colors
As an Amazon Associate, we receive a small commission for referring this product at no additional cost to you. We appreciate you using this link.