How to Fix Your Car’s Timing: A Step-by-Step Guide
You’ve just finished assembling your brand-new engine, and the excitement is palpable. You prime the fuel system, turn the key, and… disappointment. The engine starts, but it runs rough, lacking power when you accelerate, or maybe it’s even pinging and knocking like it’s about to self-destruct. The culprit? Likely, your ignition timing is off.
Even if your engine isn’t exhibiting such dramatic symptoms, incorrect ignition timing can significantly hinder performance. Fine-tuning your timing, particularly on older engines with distributors, can dramatically change how your car performs. If the word “distributor” makes you think of classic muscle cars, then you’re in the right place. Today, we’re diving into the world of vintage engines and getting that timing dialed in.
harmonicbalancer.jpg
Consider me your guide to ignition timing, here to help you restore that spark – both literally and figuratively – to your engine. Let’s get started!
Understanding Ignition Timing Basics
Estimated Time: 1-2 Hours
Skill Level: Intermediate
Vehicle System: Ignition System
 hnet.com-image.gif
What Exactly Is Ignition Timing?
Before making any adjustments, it’s crucial to grasp what ignition timing is and why it’s so important. Incorrect timing can lead to serious engine damage, so understanding the basics is essential.
In a four-stroke engine, the combustion process begins with the spark plug igniting the air-fuel mixture in the cylinder. Ideally, this spark should occur when the piston is at Top Dead Center (TDC) on the compression stroke. This would theoretically maximize the force pushing the piston down on the power stroke.
However, in reality, the air-fuel mixture doesn’t burn instantaneously. It takes a small amount of time for the flame to propagate and fully combust the mixture. To compensate for this burn time, the spark plug needs to fire before the piston reaches TDC. This is called “ignition advance.” By igniting the mixture slightly before TDC, we ensure that peak cylinder pressure from combustion occurs just after TDC, maximizing power output. This is why engines typically have an initial timing setting of around 10 degrees Before Top Dead Center (BTDC).
Initial Timing vs. Total Timing
When we talk about timing, we usually refer to two key settings: initial timing and total timing.
- Initial Timing: This is the base timing setting at idle speed. The 10 degrees BTDC mentioned earlier is an example of initial timing.
- Total Timing: This refers to the maximum timing advance achieved at higher engine speeds. A typical total timing might be around 34 degrees BTDC.
Why does timing need to advance as engine speed increases? Simply put, as the engine RPMs climb, the pistons move faster. Despite the increased piston speed, the air-fuel mixture still takes roughly the same amount of time to burn. To ensure complete combustion and optimal power delivery at higher RPMs, the spark needs to occur even earlier in the compression stroke – hence, the need for timing advance.
The Importance of Total Timing
It’s not enough to just set the initial timing correctly and ignore total timing. Distributor-based ignition systems use a mechanical advance mechanism that adds timing as RPMs increase. This mechanical advance is designed to add a certain amount of advance regardless of your initial setting.
For example, if your engine is designed for 10 degrees initial timing and 34 degrees total timing, the mechanical advance in the distributor will provide 24 degrees of additional advance (34 – 10 = 24).
This might be fine for a stock engine running on the fuel it was originally designed for. However, if you’ve made engine modifications like changing heads, camshafts, or exhaust systems, or if you’re running modern gasoline which often prefers more advance, your timing requirements may have changed.
If you increase your initial timing to, say, 14-16 degrees to improve idle and low-end performance, and your mechanical advance still adds 24 degrees, your total timing could jump to 38-40 degrees. This excessive total timing can lead to engine-damaging detonation or “pinging,” especially at higher RPMs and under load.
Therefore, adjusting ignition timing properly involves more than just twisting the distributor to set the initial timing. You need to consider both initial and total timing and potentially modify the mechanical advance mechanism to achieve optimal performance and prevent engine damage. Don’t worry, we’ll guide you through it.
Mechanical vs. Vacuum Advance: Understanding the Systems
Before you start adjusting anything, it’s vital to understand the two primary methods of timing advance in older engines: mechanical advance and vacuum advance.
- Mechanical Advance: This system uses weights, springs, and limiters inside the distributor to advance the timing as engine RPM increases.
- Vacuum Advance: This system uses engine vacuum to provide additional timing advance, primarily during light-throttle cruising conditions.
Many engines, especially older V8s, utilize both mechanical and vacuum advance. Vacuum advance is primarily designed to improve fuel economy and reduce emissions during cruising by promoting a more complete burn of the air-fuel mixture at light loads.
Engine vacuum is strongest at idle and light throttle and decreases significantly when you open the throttle for acceleration. This is where mechanical advance takes over.
To understand how these systems work together, let’s take a look inside a distributor.
Inside the Distributor: A Mechanical Heart
The distributor is the heart of a traditional ignition system. It not only distributes spark to the correct cylinders but also houses the mechanisms for timing advance.
Inside the distributor, you’ll find a shaft connected to the camshaft. As the camshaft rotates, it turns the distributor shaft, establishing the base (initial) timing. However, the distributor shaft isn’t a single solid piece. It’s segmented to allow the rotor’s position to move independently for timing advance.
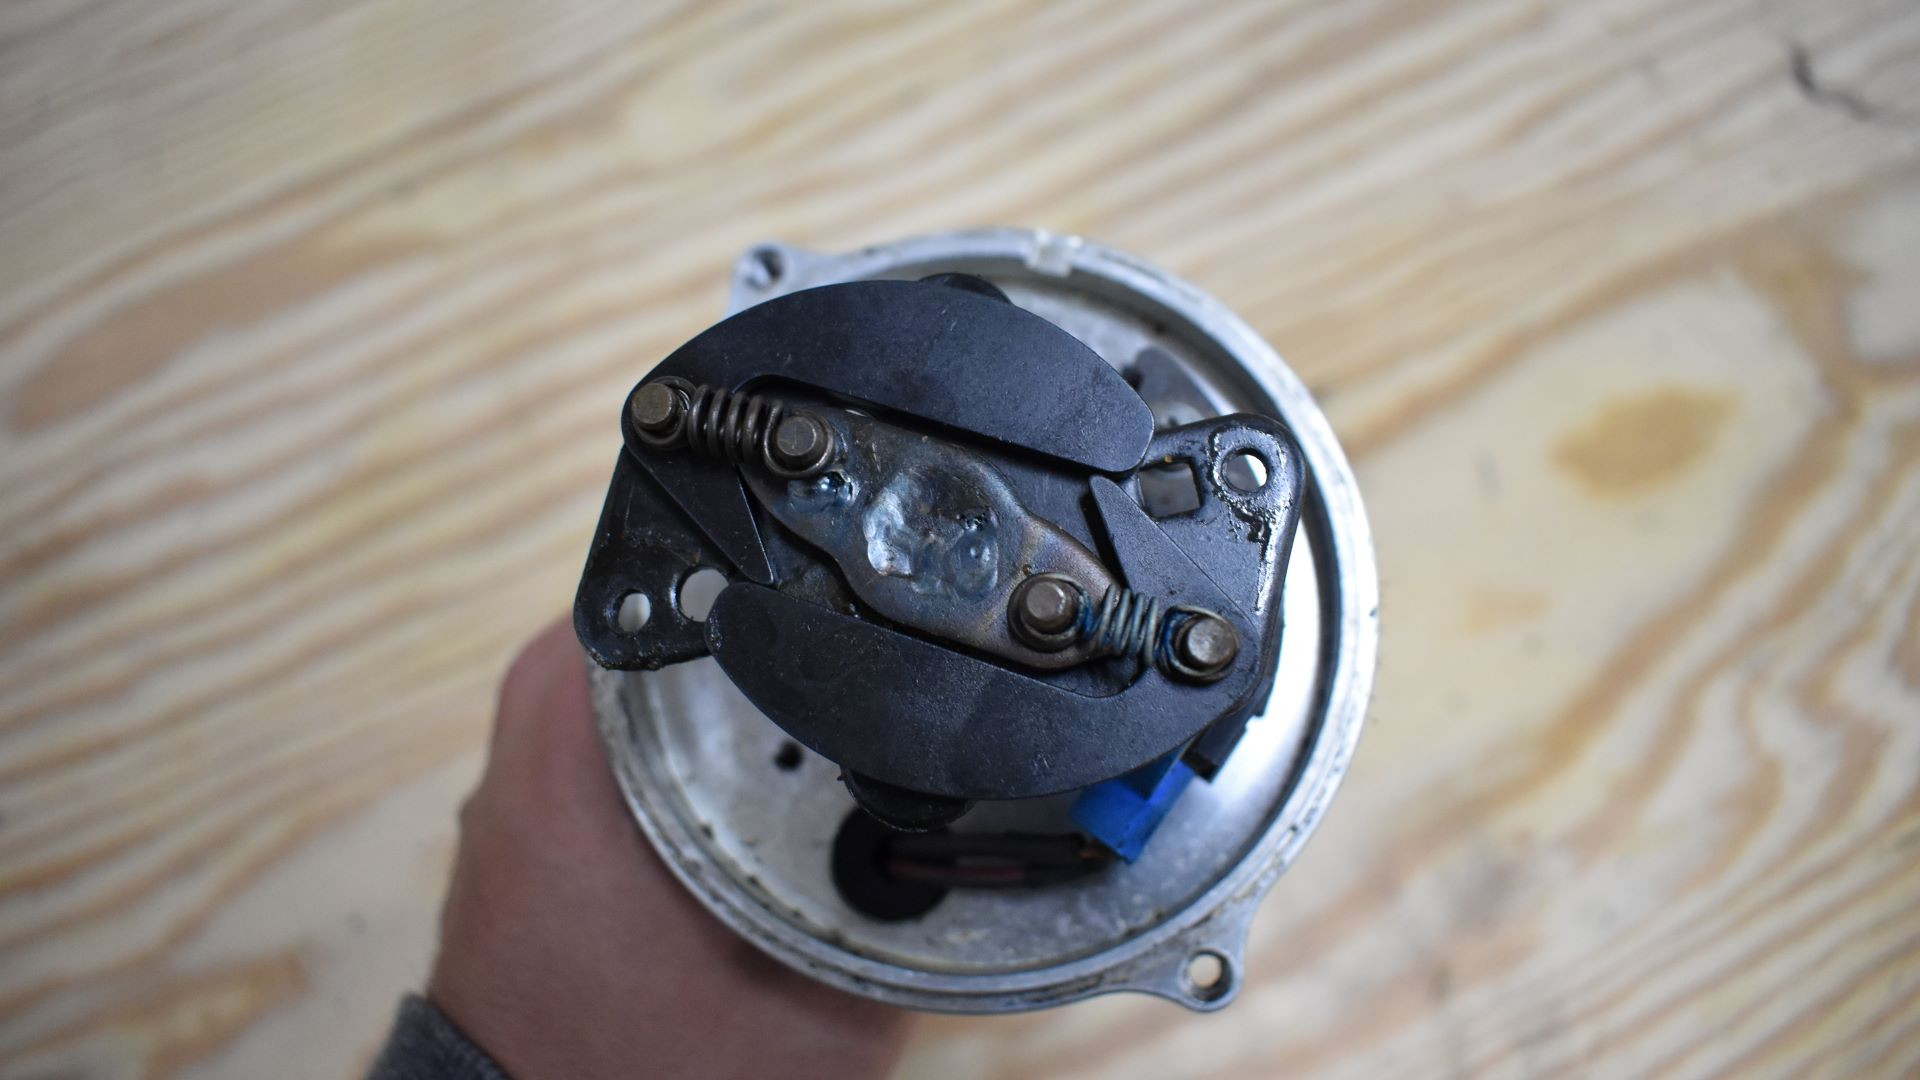
Mechanical Advance Components
The mechanical advance mechanism controls the rotor’s position based on engine speed. It consists of:
- Advance Weights: As engine RPM increases, centrifugal force causes these weights to swing outwards.
- Springs: These springs control the rate at which the advance weights move, influencing how quickly timing advance comes in with increasing RPM. Heavier springs delay the advance; lighter springs bring it in sooner.
- Limiters: These restrict the maximum outward movement of the advance weights, limiting the total mechanical advance.
 hnet-image7.gif
Vacuum Advance Operation
Vacuum advance comes into play during steady-state cruising after acceleration. A vacuum canister mounted on the distributor is connected to manifold vacuum. Inside this canister is a diaphragm linked to the distributor shaft (or the pickup in some electronic distributors).
When engine vacuum is high (during cruising), it pulls on the diaphragm, causing it to move. This movement advances the timing further, beyond what the mechanical advance provides at that RPM. Vacuum advance can add a significant amount of timing, sometimes as much as 10-25 degrees.
This additional advance from the vacuum system promotes a cleaner, more complete combustion at light throttle, improving fuel economy and reducing emissions. However, when you accelerate and throttle vacuum drops, the vacuum advance diminishes, and the timing advance reverts primarily to the mechanical advance curve.
Why Some Disconnect Vacuum Advance
Because vacuum advance adds considerable timing, it can sometimes cause detonation (pinging) under cruising conditions if the total timing becomes excessive. This is why some performance enthusiasts, especially in racing applications where fuel economy isn’t a concern, choose to disconnect or eliminate vacuum advance altogether. Drag cars, for example, rarely use vacuum advance.
However, for street-driven vehicles, vacuum advance is generally beneficial for fuel economy and should be retained. The key is to adjust both mechanical and vacuum advance systems in conjunction to achieve optimal performance across the engine’s operating range, from idle to cruise to full throttle.
Essential Homework: Understanding Your Distributor
Before you start wrenching, some preliminary research is crucial. Different car manufacturers and distributor types employ varying approaches to timing advance. While most older engines use both mechanical and vacuum advance, some might utilize only one or the other. You need to identify what system your vehicle has and how it’s configured.
Furthermore, the components controlling mechanical advance can differ significantly between distributors.
HEI and MSD-Type Distributors:
If you have an HEI (High Energy Ignition) or an MSD-type distributor, you’re in luck. These distributors are designed for easier timing adjustments. The mechanical advance mechanism, consisting of weights, springs, and bushings (or limiters), is typically located directly under the distributor rotor and cap, making it easily accessible. Changing springs and bushings to modify the advance curve is relatively straightforward with these distributors.
 distributorweights.jpg
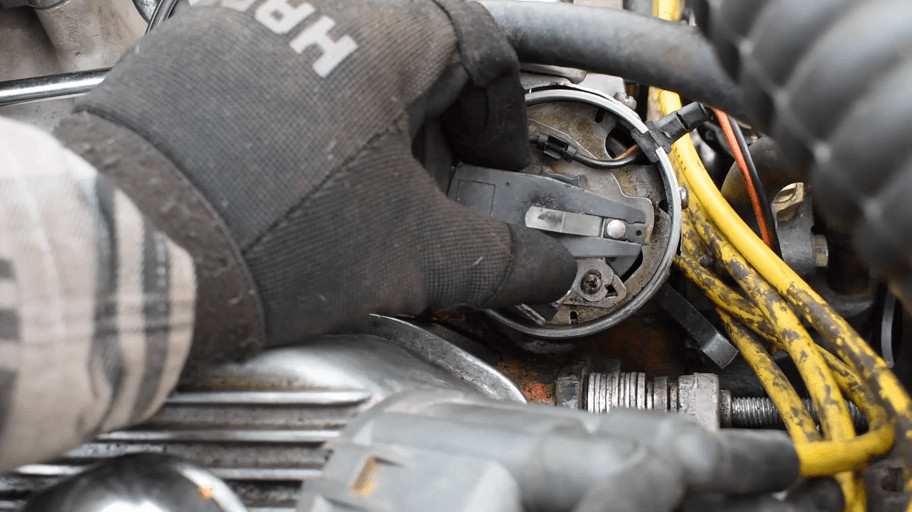
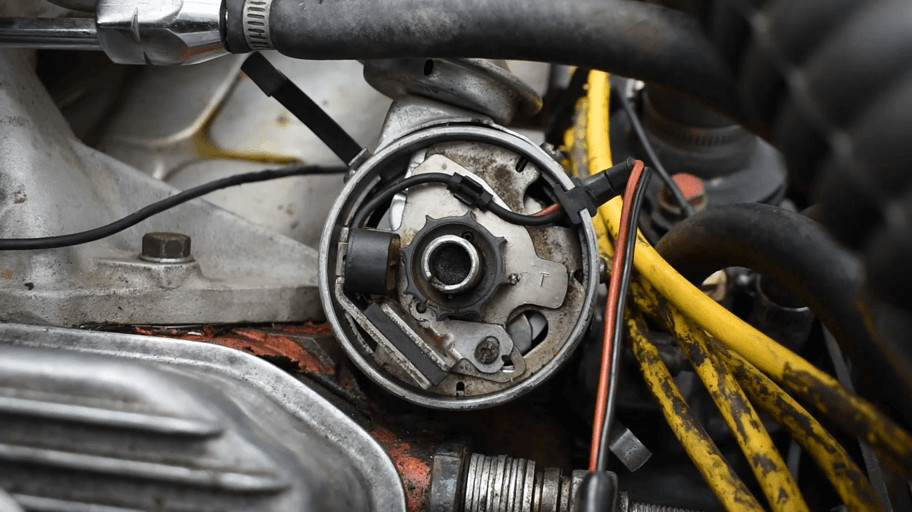
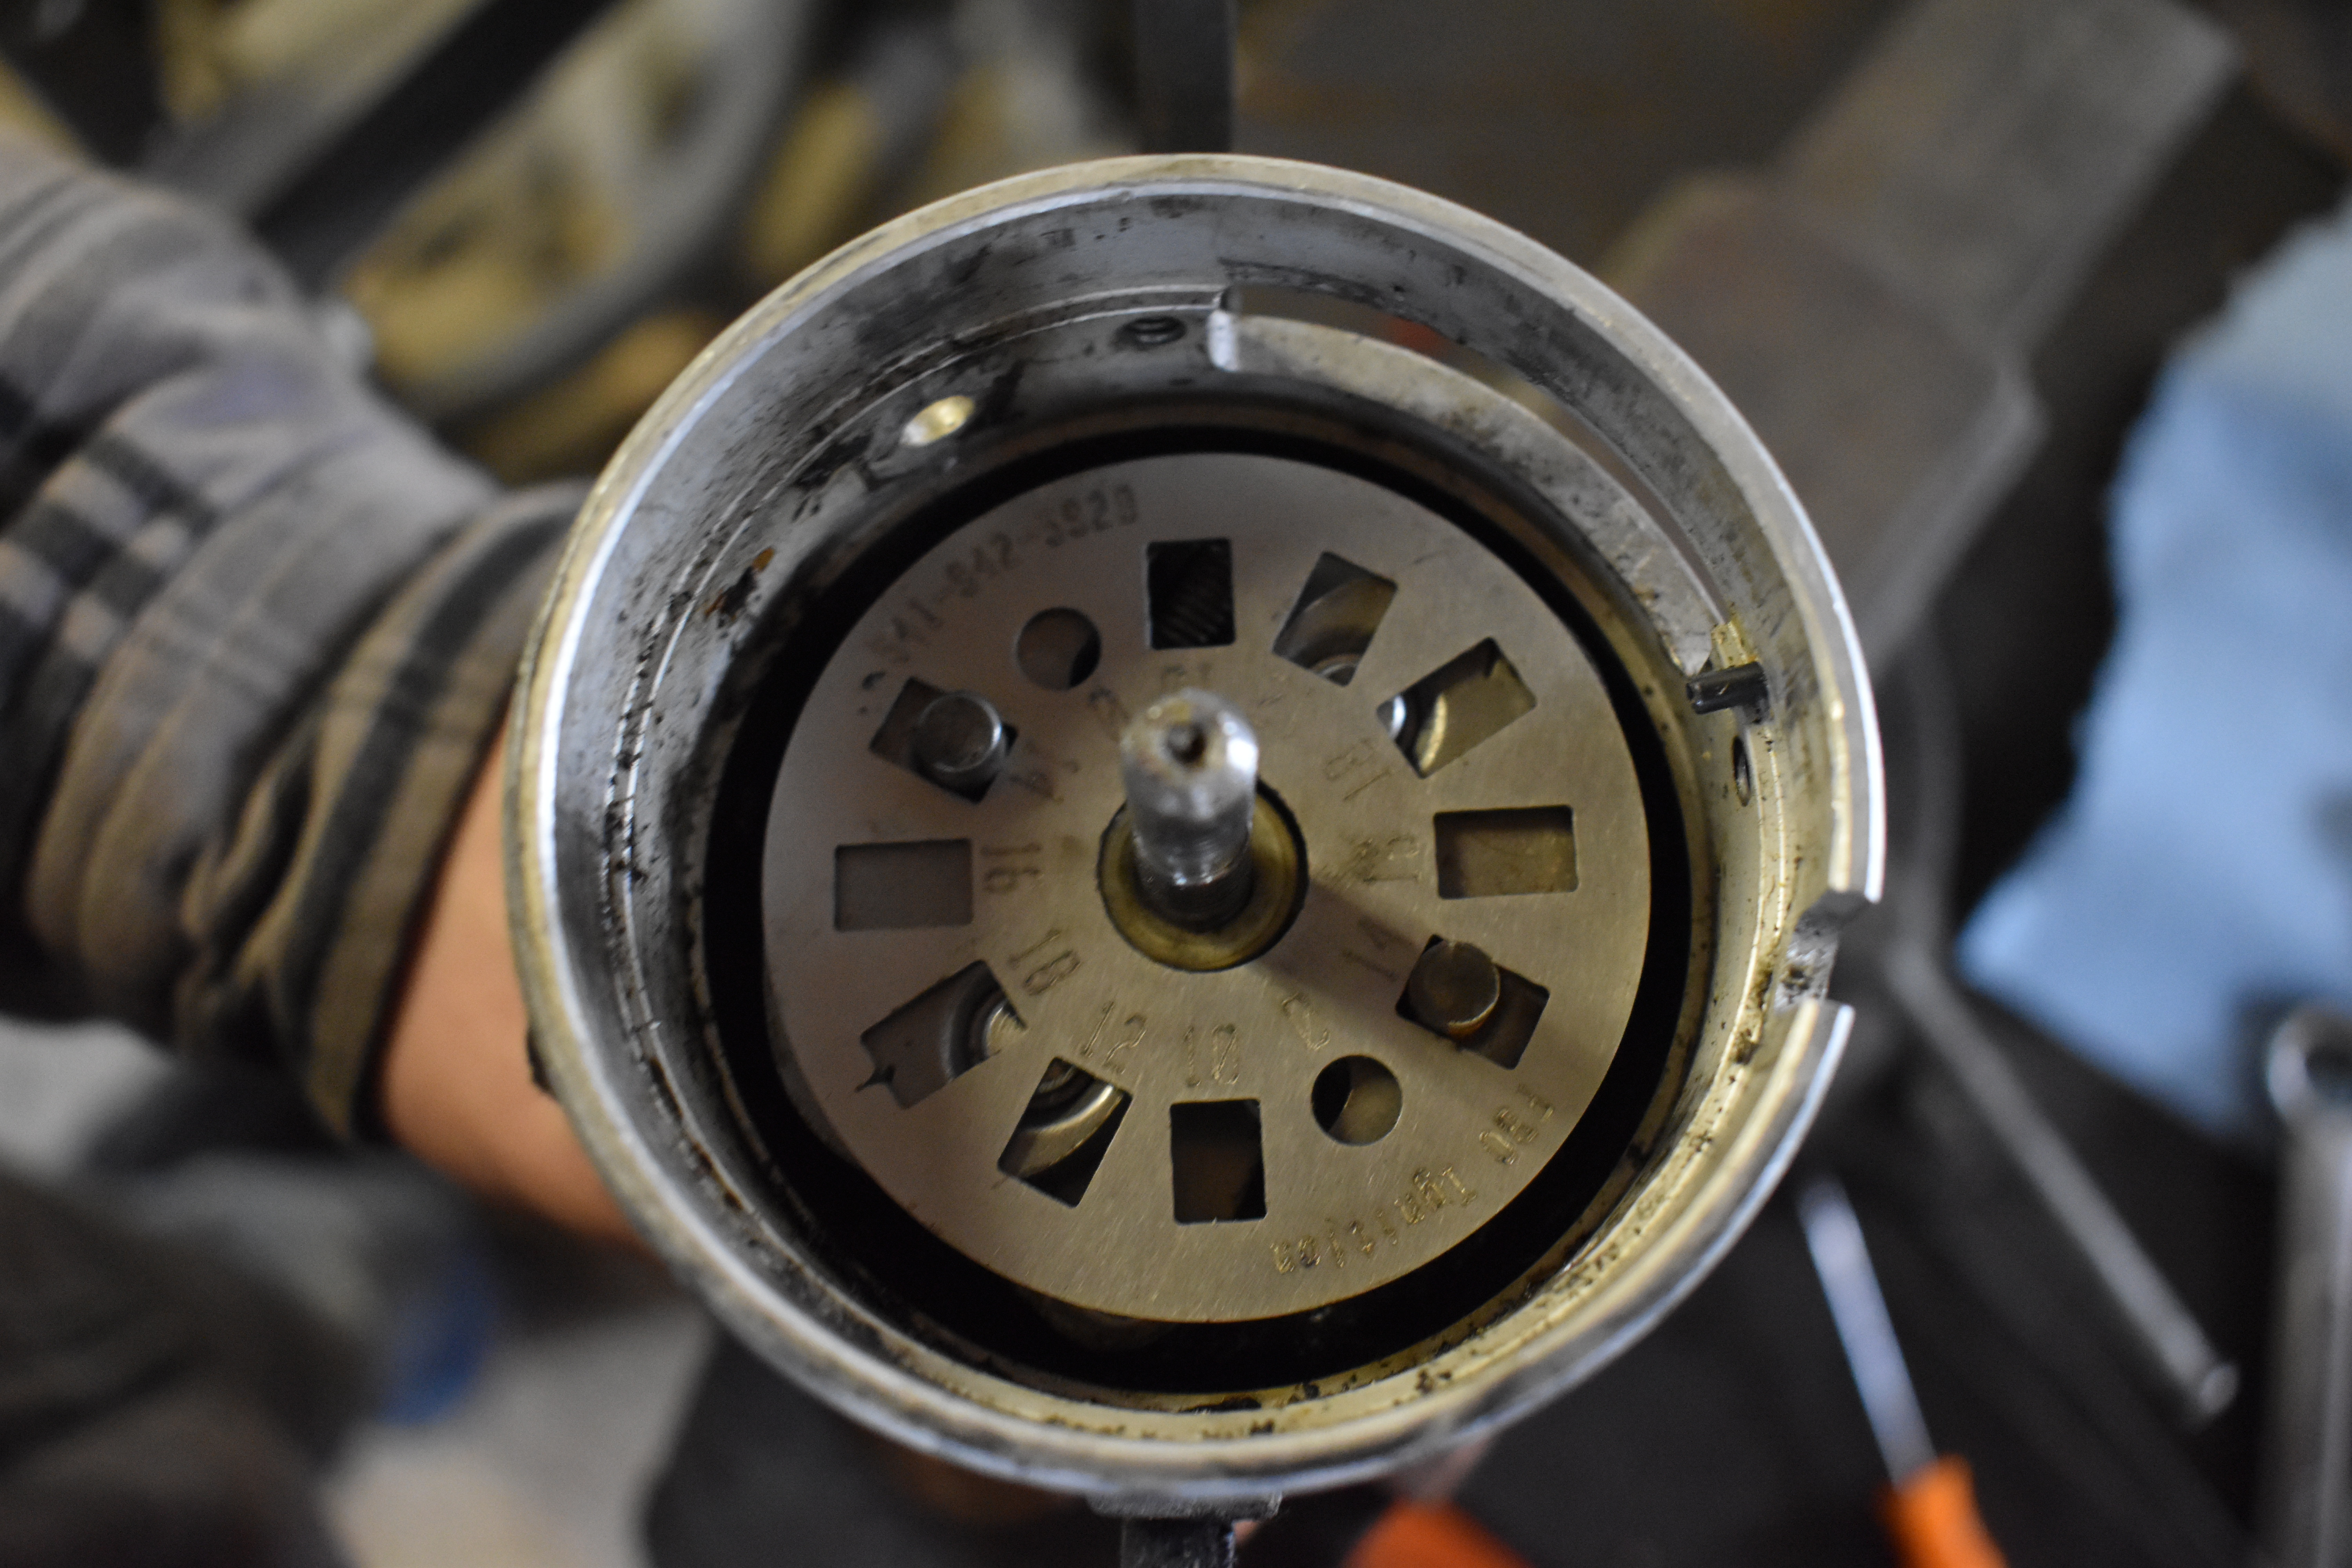
Traditional Point-Type Distributors (e.g., Mopar):
For those with older point-type distributors, like those found in classic Mopars, adjustments can be a bit more involved. While they also use weights and springs for mechanical advance, accessing and modifying these components, as well as limiting total advance, can be less straightforward.
For example, in Mopar distributors, accessing the advance weights and springs often requires removing the distributor from the engine. Moreover, limiting total mechanical advance isn’t typically done with bushings like in HEI distributors. Instead, Mopar distributors often use slots in a plate where rods attached to the weights travel. The length of these slots determines the maximum mechanical advance.
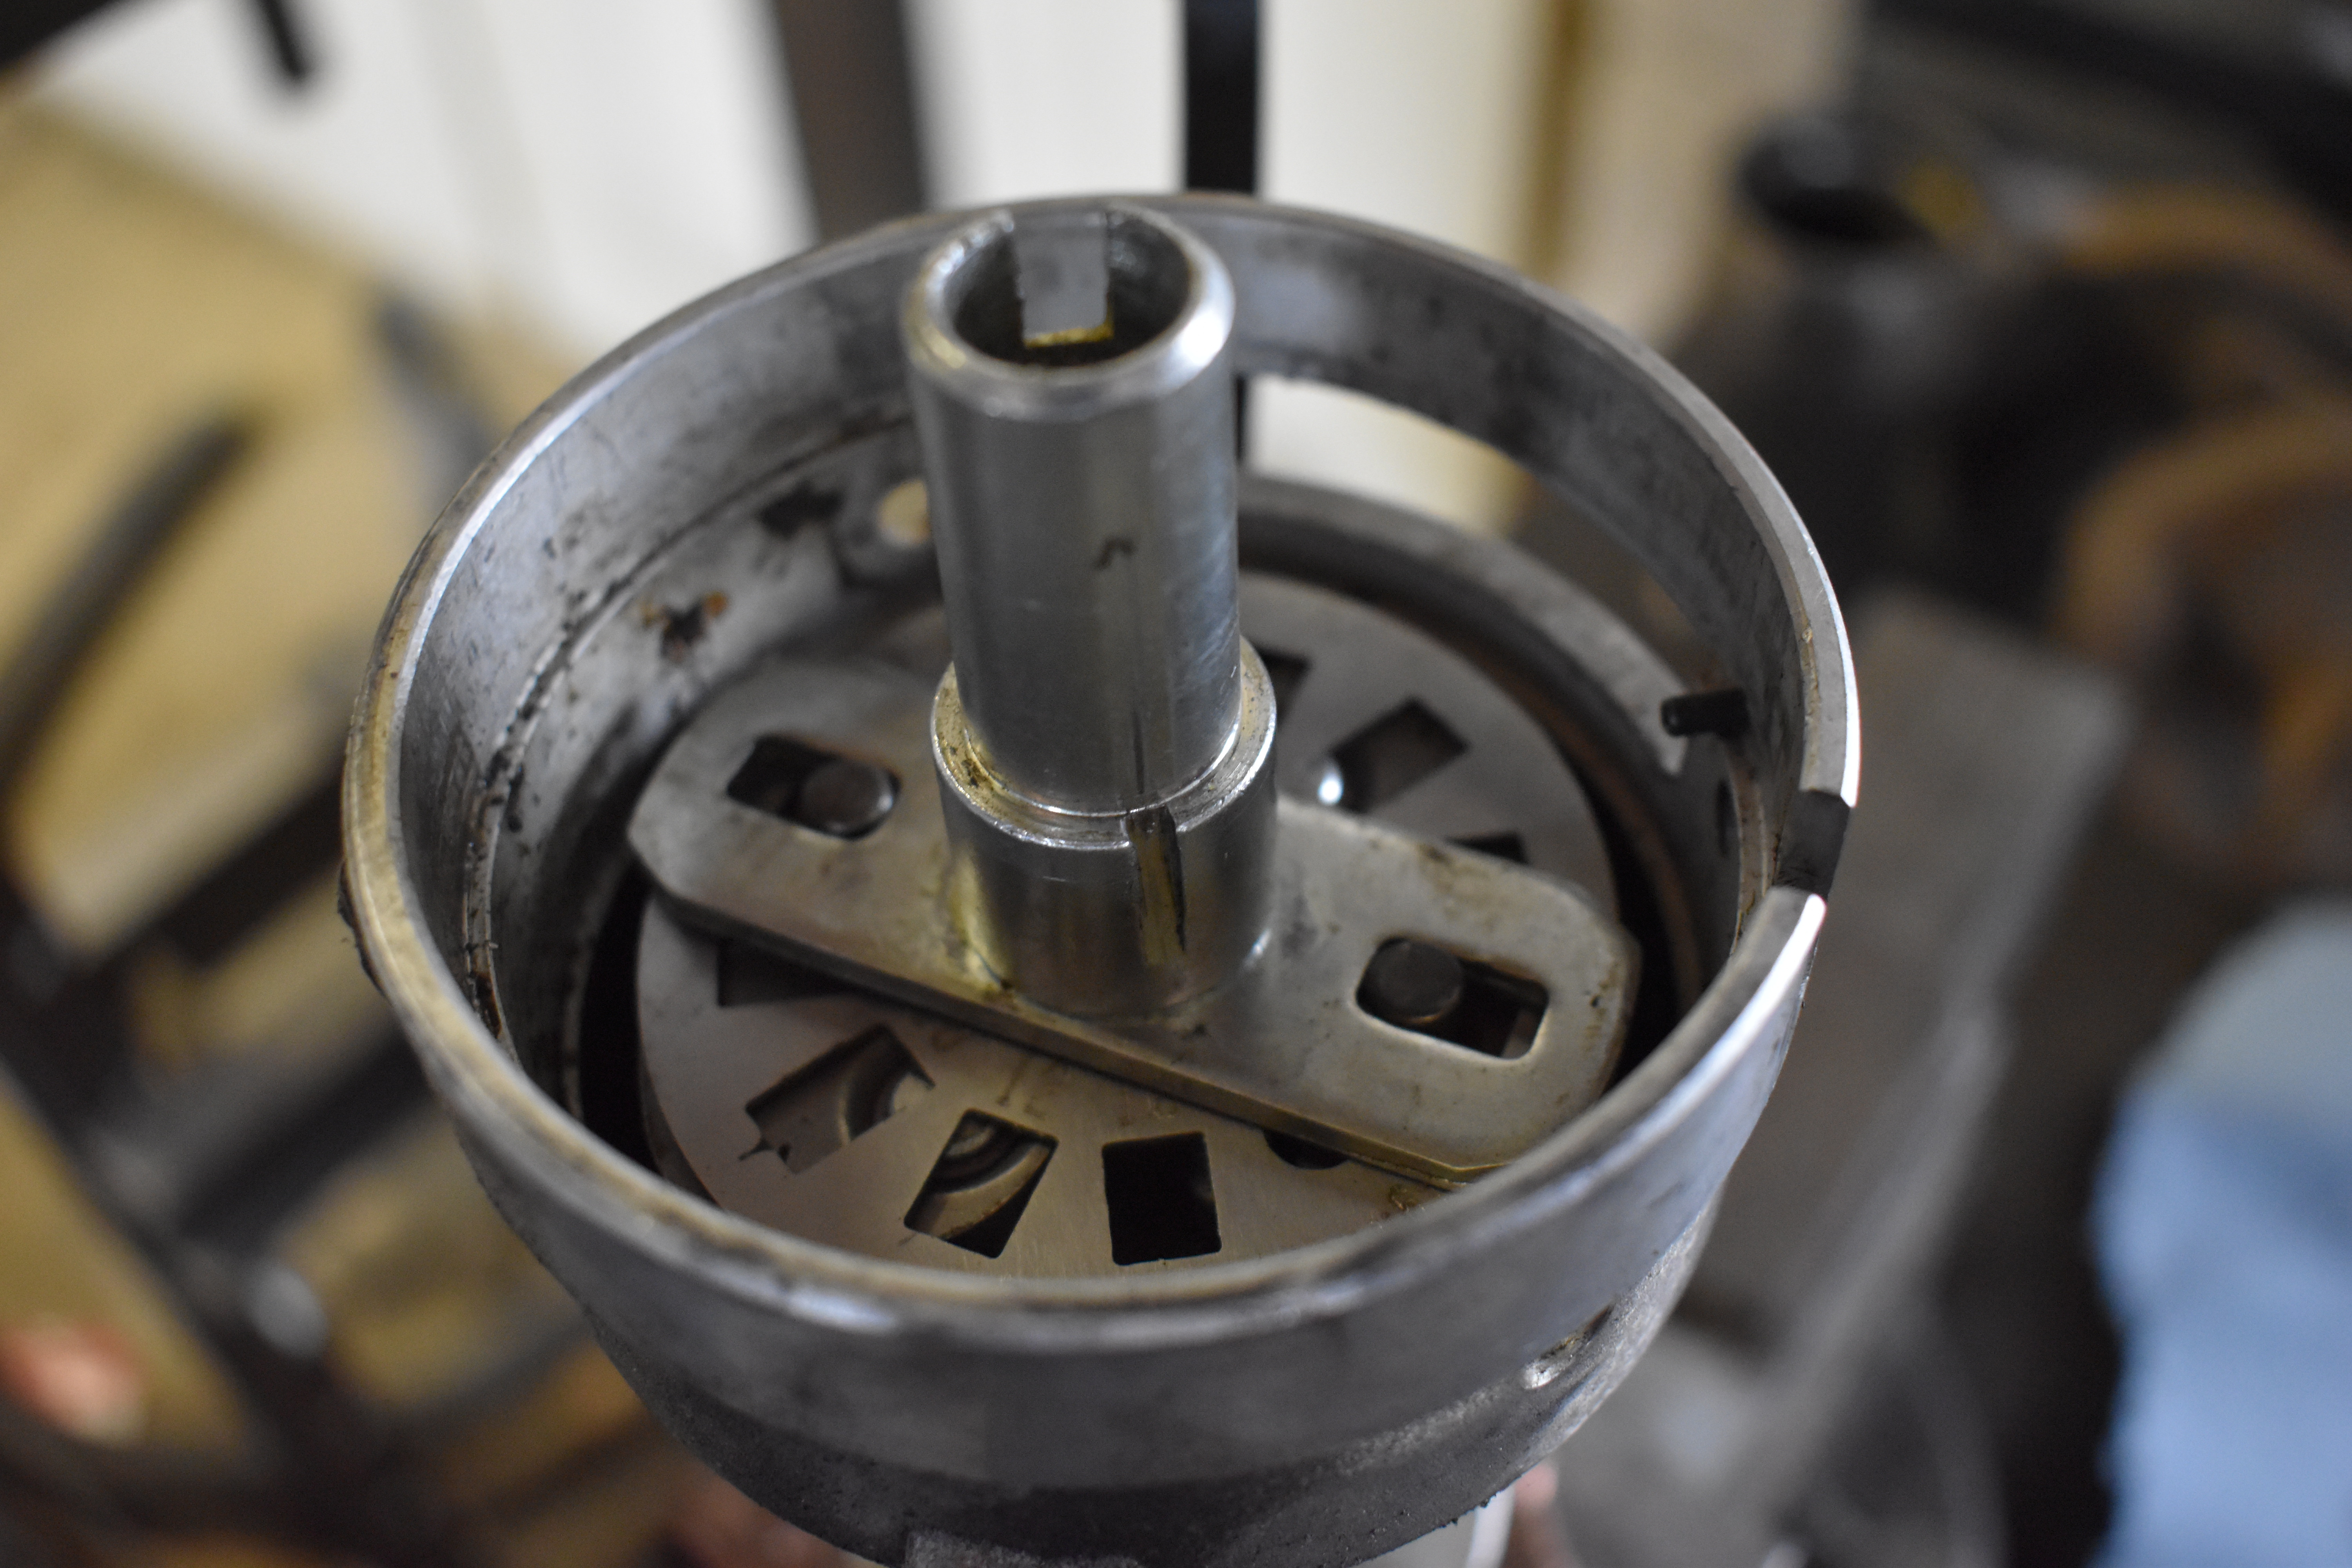
Limiting Total Advance in Traditional Distributors:
To limit total advance in such systems, you have a couple of options:
-
Welding (Traditional Method): Traditionally, mechanics would weld the slots in the distributor plate to shorten them, thus restricting the weights’ travel and reducing total advance. This method requires welding and grinding skills and is less easily reversible.
-
Advance Limiter Plates (Bolt-In Solution): A more modern and user-friendly approach is to use aftermarket advance limiter plates. These plates bolt over the existing weights and feature different sized slots that precisely limit the mechanical advance. Companies like FBO Systems offer these plates for various distributors, including Mopar. They eliminate the guesswork and mess of welding and grinding, offering a much cleaner and adjustable solution.
 dsc_0465.jpg
 dsc_0468.jpg
Determining Ideal Timing Settings:
Before making adjustments, you’ll need to estimate your engine’s optimal initial and total timing requirements. Without access to a dynamometer, this can be challenging. A good starting point is to research online forums and communities dedicated to your engine type and modifications. See what timing settings others with similar setups are running successfully.
Remember, total timing usually remains relatively consistent for a given engine architecture, while initial timing and the RPM at which total timing is reached are more commonly adjusted to fine-tune performance for specific modifications and fuel types.
Timing Safety: Precautions When Working on a Running Engine
Adjusting ignition timing involves working under the hood with the engine running. Safety should always be your top priority. Here are some essential safety tips:
- Eye and Hand Protection: Wear safety glasses to protect your eyes from debris and potential splashes. Gloves will protect your hands from heat and sharp edges.
- Beware of the Fan: Running engines have rapidly spinning fans. Keep your hands, clothing, timing light wires, and anything else well clear of the fan blades to prevent serious injury or damage.
- Hot Surfaces: Engine components, especially exhaust manifolds and headers, get extremely hot very quickly. Be mindful of hot surfaces to avoid burns. Stay focused and avoid reaching blindly into the engine bay while the engine is running.
Tools and Parts for Timing Adjustment
To adjust your car’s timing, you’ll need a few specialized tools and potentially some replacement parts. The cost of these tools is easily justified by the performance gains and satisfaction of tuning your engine yourself.
Tool List:
- Timing Light: Essential for accurately measuring ignition timing. Inductive timing lights are recommended as they simply clamp onto the spark plug wire and don’t require disconnecting anything.
- Wrench for Distributor Clamp: To loosen and tighten the distributor clamp. The size will vary depending on your vehicle.
- Allen Keys (for Vacuum Advance Adjustment): If you have adjustable vacuum advance, you’ll need Allen keys (hex keys) to make adjustments. T-handle Allen keys are particularly convenient.
- Tachometer (Engine Speed Meter): While many timing lights have built-in tachometers, a separate tachometer can be helpful for verifying engine RPM, especially when checking total timing.
- Timing Tape or Timing Marks: If your harmonic balancer timing marks are limited (e.g., only up to 10 or 15 degrees BTDC), you’ll need timing tape marked in degrees to measure total timing accurately. Alternatively, you can use paint to extend the existing timing marks.
Part List (Potentially):
- Advance Springs and Bushings (for HEI/MSD): To modify the mechanical advance curve (lighter springs for faster advance, heavier springs for slower advance, bushings/limiters to control total advance).
- Advance Limiter Plate (for Traditional Distributors): To limit total mechanical advance in distributors like Mopar point-type distributors.
- Vacuum Advance Adjustment Tool (Allen Key): If your vacuum advance is adjustable.
- Spark Plugs (Optional): If your spark plugs are old or fouled, it’s a good time to replace them while you’re working on the ignition system.
Having your tools and parts organized and within easy reach will make the timing adjustment process smoother and faster. Ensure you have a safe and level workspace, such as a garage floor or driveway.
Step-by-Step Guide: How to Adjust Ignition Timing
Let’s get down to the practical steps of adjusting your ignition timing. We’ll cover both mechanical and vacuum advance adjustments.
Adjusting Mechanical Advance: Setting Initial and Total Timing
-
Prepare the Harmonic Balancer: If your harmonic balancer only has limited timing marks (e.g., 0-10 degrees), apply timing tape marked in degrees to the balancer. Alternatively, use white paint to extend the existing timing marks to cover the range you’ll be measuring (e.g., up to 40 degrees BTDC).
-
Warm Up the Engine: Start the engine and let it reach its normal operating temperature. A warm engine will provide a more stable and accurate timing reading. If the engine has difficulty idling due to significantly incorrect timing, address those issues first before proceeding.
-
Connect the Timing Light: Connect your timing light according to its instructions. Typically, this involves connecting power leads to the battery (positive and negative terminals) and the inductive pickup clamp to the number one spark plug wire.
-
Loosen the Distributor Clamp: Locate the distributor clamp bolt or nut and loosen it just enough so that you can rotate the distributor housing by hand, but it still has some friction to stay in place.
-
Disconnect and Plug Vacuum Advance (if applicable): If your distributor has a vacuum advance canister, disconnect the vacuum advance hose from the canister. Plug the open vacuum line to prevent vacuum leaks. A golf tee, a small bolt, or even a piece of tape can be used to plug the vacuum line.
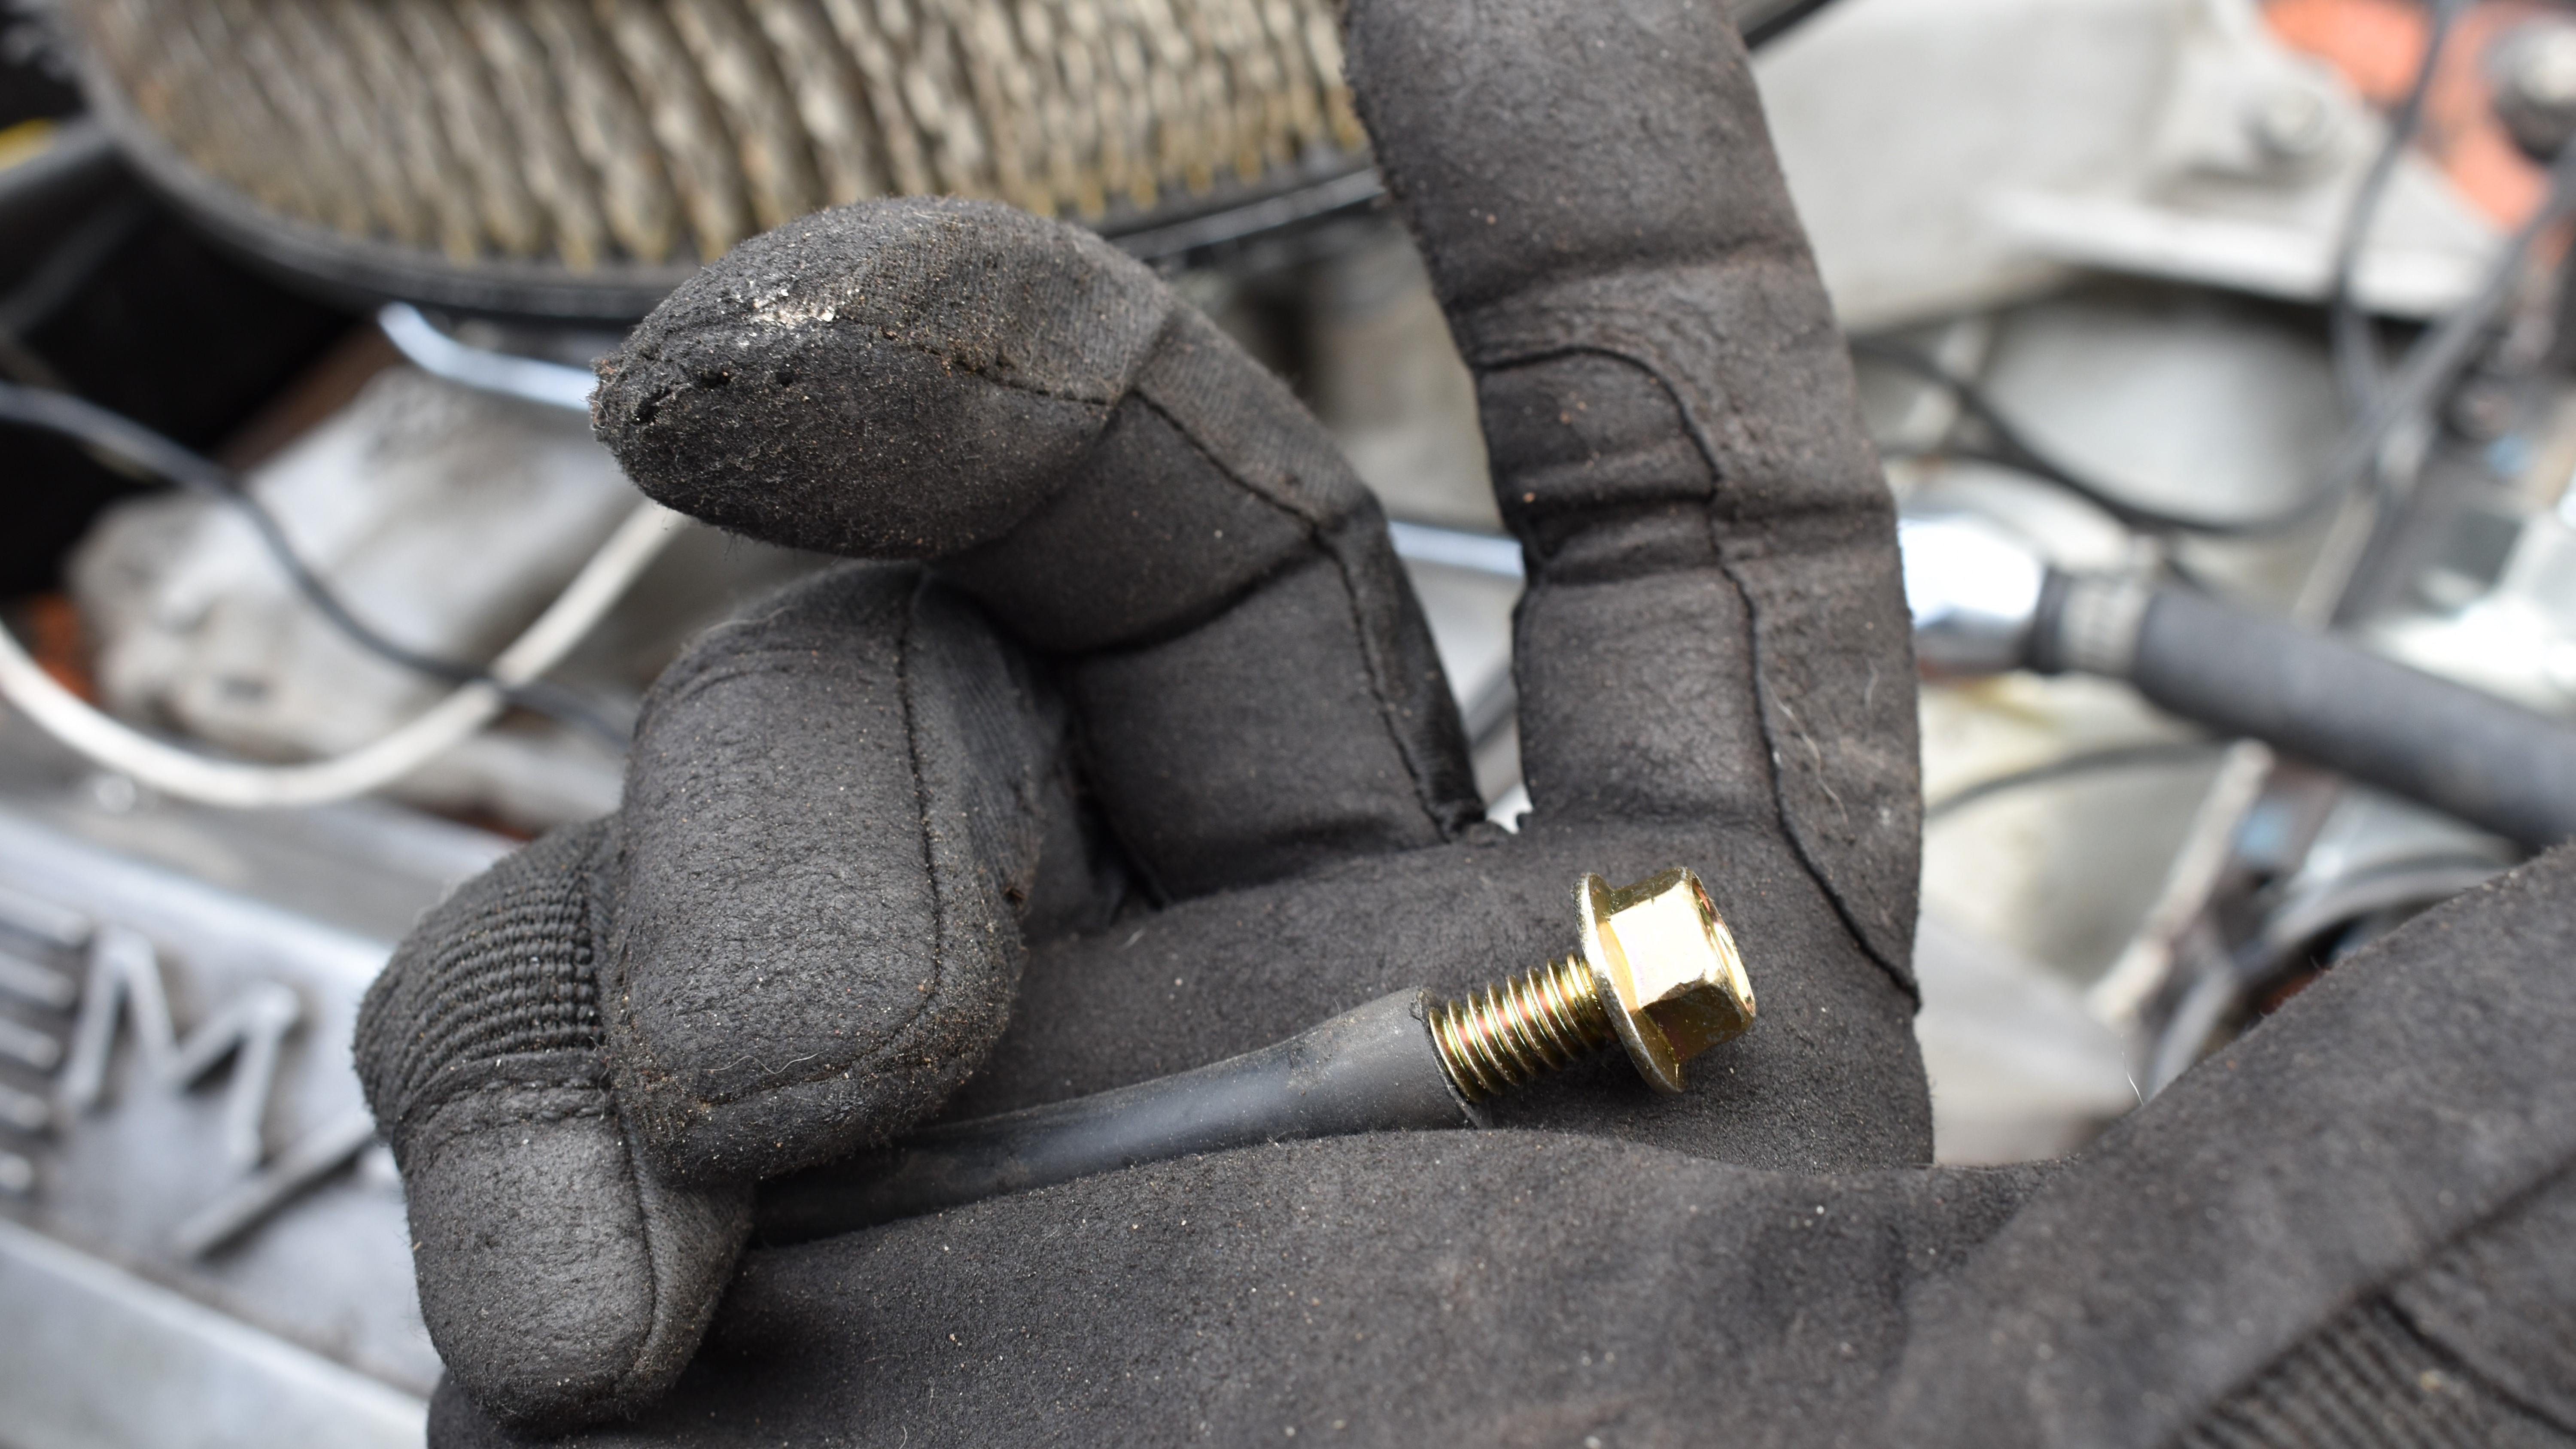 pluggedline.jpg
- Aim and Read Initial Timing: Start the engine (if it’s not already running) and let it idle. Point the timing light at the harmonic balancer and timing tab or marks. Trigger the timing light. The strobe light will illuminate the timing marks. Read the initial timing value where the timing mark on the balancer aligns with the timing tab or tape. For example, you might be aiming for 10-15 degrees BTDC initial timing.
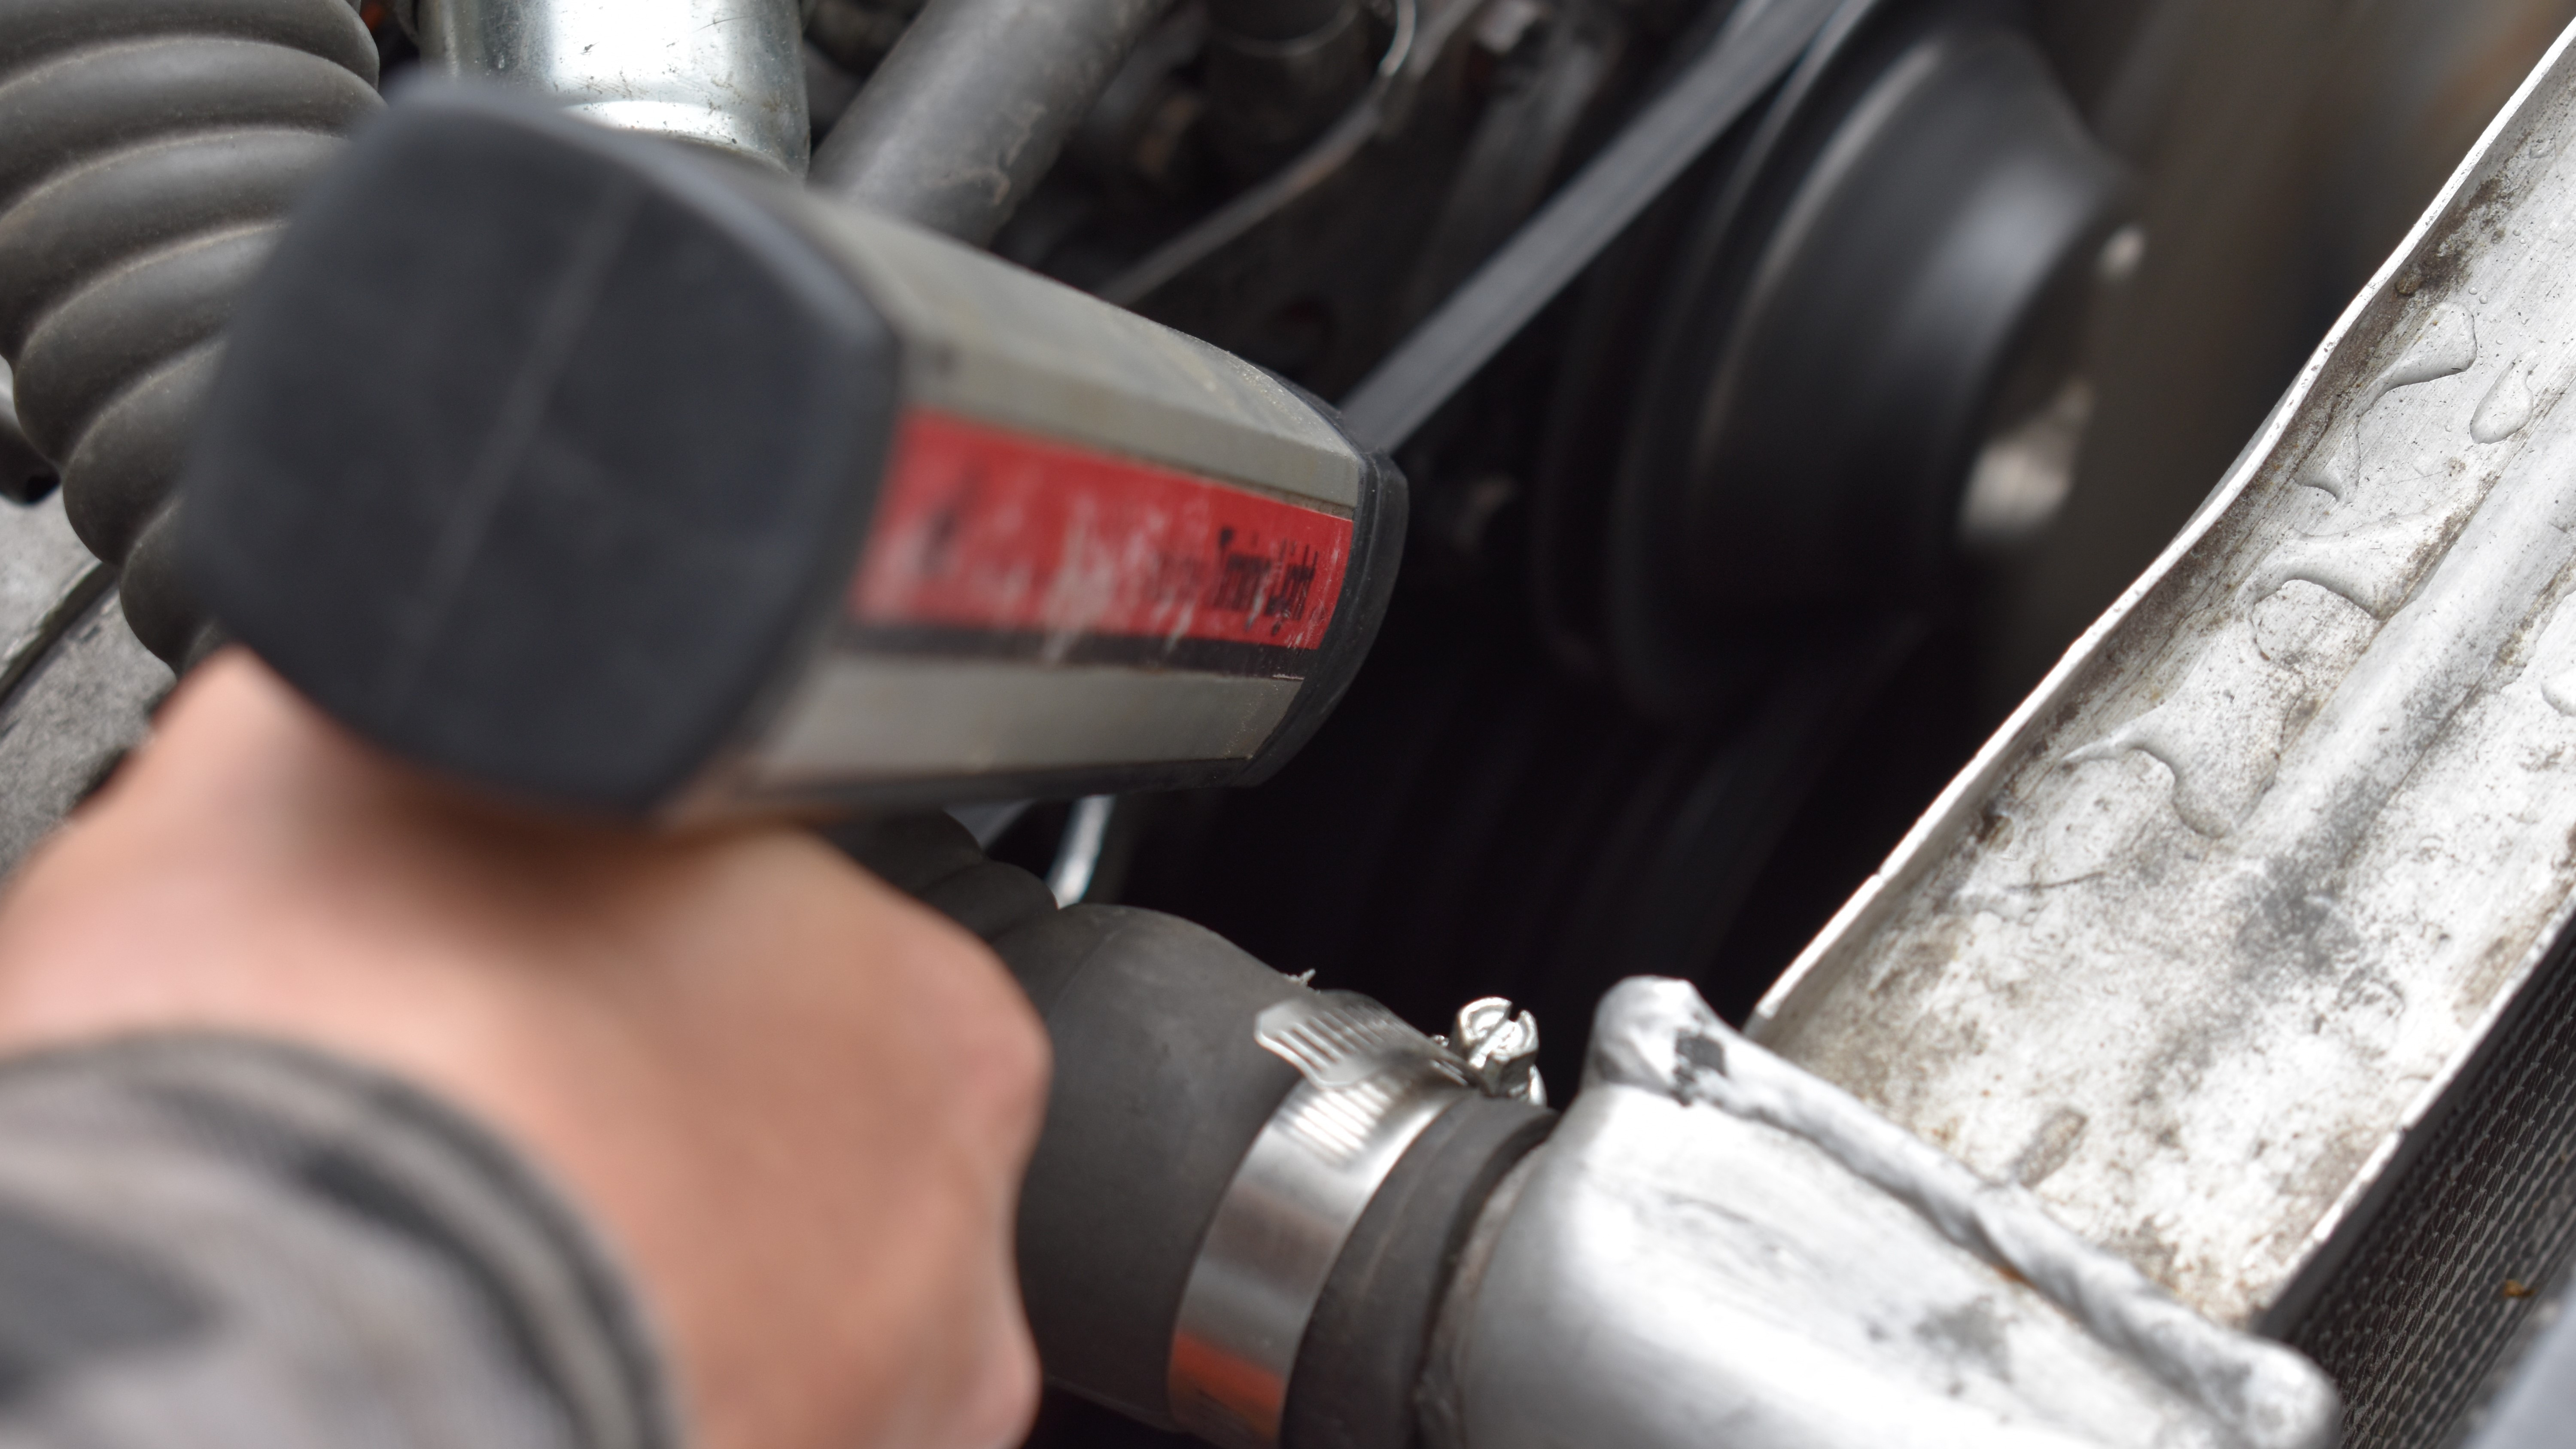 shootingtiming.jpg
-
Adjust Initial Timing: To adjust the initial timing, slowly rotate the distributor housing clockwise or counterclockwise while observing the timing marks with the timing light. Rotating the distributor in one direction will advance the timing (increase the BTDC value), and rotating it in the opposite direction will retard the timing (decrease the BTDC value). Continue rotating until the desired initial timing value is achieved.
-
Set and Secure Distributor: Once you have set the desired initial timing, carefully tighten the distributor clamp bolt or nut to secure the distributor in place. Be careful not to rotate the distributor while tightening the clamp.
-
Check Total Timing: With the initial timing set and the distributor clamp tightened, have a helper slowly increase the engine RPM while you continue to monitor the timing marks with the timing light. Observe how far the timing advances as RPM increases. Note the maximum timing value (total timing) reached and the RPM at which it occurs. Total timing should typically plateau or stop advancing around 2500-3000 RPM.
-
Evaluate and Adjust Mechanical Advance Curve (if needed): Compare your measured total timing and advance curve (how quickly timing advances with RPM) to your target values. If the total timing is too high or too low, or if the advance curve is not optimal (e.g., timing comes in too quickly or too slowly), you may need to adjust the mechanical advance mechanism inside the distributor by changing springs, bushings, or installing an advance limiter plate (depending on your distributor type). This usually involves removing the distributor cap and rotor. Refer to your distributor’s service manual or online resources for specific instructions on adjusting the mechanical advance.
-
Verify Timing After Adjustments: After making any adjustments to the mechanical advance, restart the engine, and re-check both initial and total timing to confirm that your changes have had the desired effect.
-
Test Drive: Take the car for a test drive under various driving conditions (idle, cruising, acceleration). Listen for any signs of detonation (pinging or knocking), especially under load or during acceleration. If you hear detonation, it indicates that your timing is likely too advanced, and you may need to reduce total timing or adjust the advance curve. If the engine feels sluggish and lacks power, the timing might be too retarded. Repeat the adjustment process as needed until you achieve optimal performance without detonation.
Adjusting Vacuum Advance (If Applicable and Adjustable)
If you are experiencing lean cruising conditions or suspect your vacuum advance is contributing to detonation at cruising speeds, you may need to adjust your vacuum advance. Some vacuum advance canisters are adjustable.
-
Locate Vacuum Advance Adjustment Screw: Look for a small adjustment screw or Allen screw on the vacuum advance canister. It’s often located inside the vacuum hose connection port.
-
Disconnect Vacuum Hose: Disconnect the vacuum hose from the vacuum advance canister.
-
Insert Allen Key (if adjustable): Insert the appropriate size Allen key into the adjustment screw. You may need to gently probe to find the keyway.
-
Adjust Vacuum Advance: Most adjustable vacuum advance systems work on the principle of rotating the adjustment screw counter-clockwise to reduce vacuum advance and clockwise to increase it. However, it’s always best to verify the specific adjustment direction for your particular vacuum advance unit through online research or a service manual if available. Make small adjustments at a time (e.g., 1/4 turn).
-
Test and Repeat: Reconnect the vacuum hose. Take the car for a test drive, paying attention to cruising performance and listening for detonation or pinging at steady cruising speeds. If you still hear detonation, reduce vacuum advance further by rotating the adjustment screw counter-clockwise again. Repeat this process until detonation disappears at cruising speeds. If you find the engine becomes sluggish or fuel economy decreases excessively at cruise, you may have reduced vacuum advance too much.
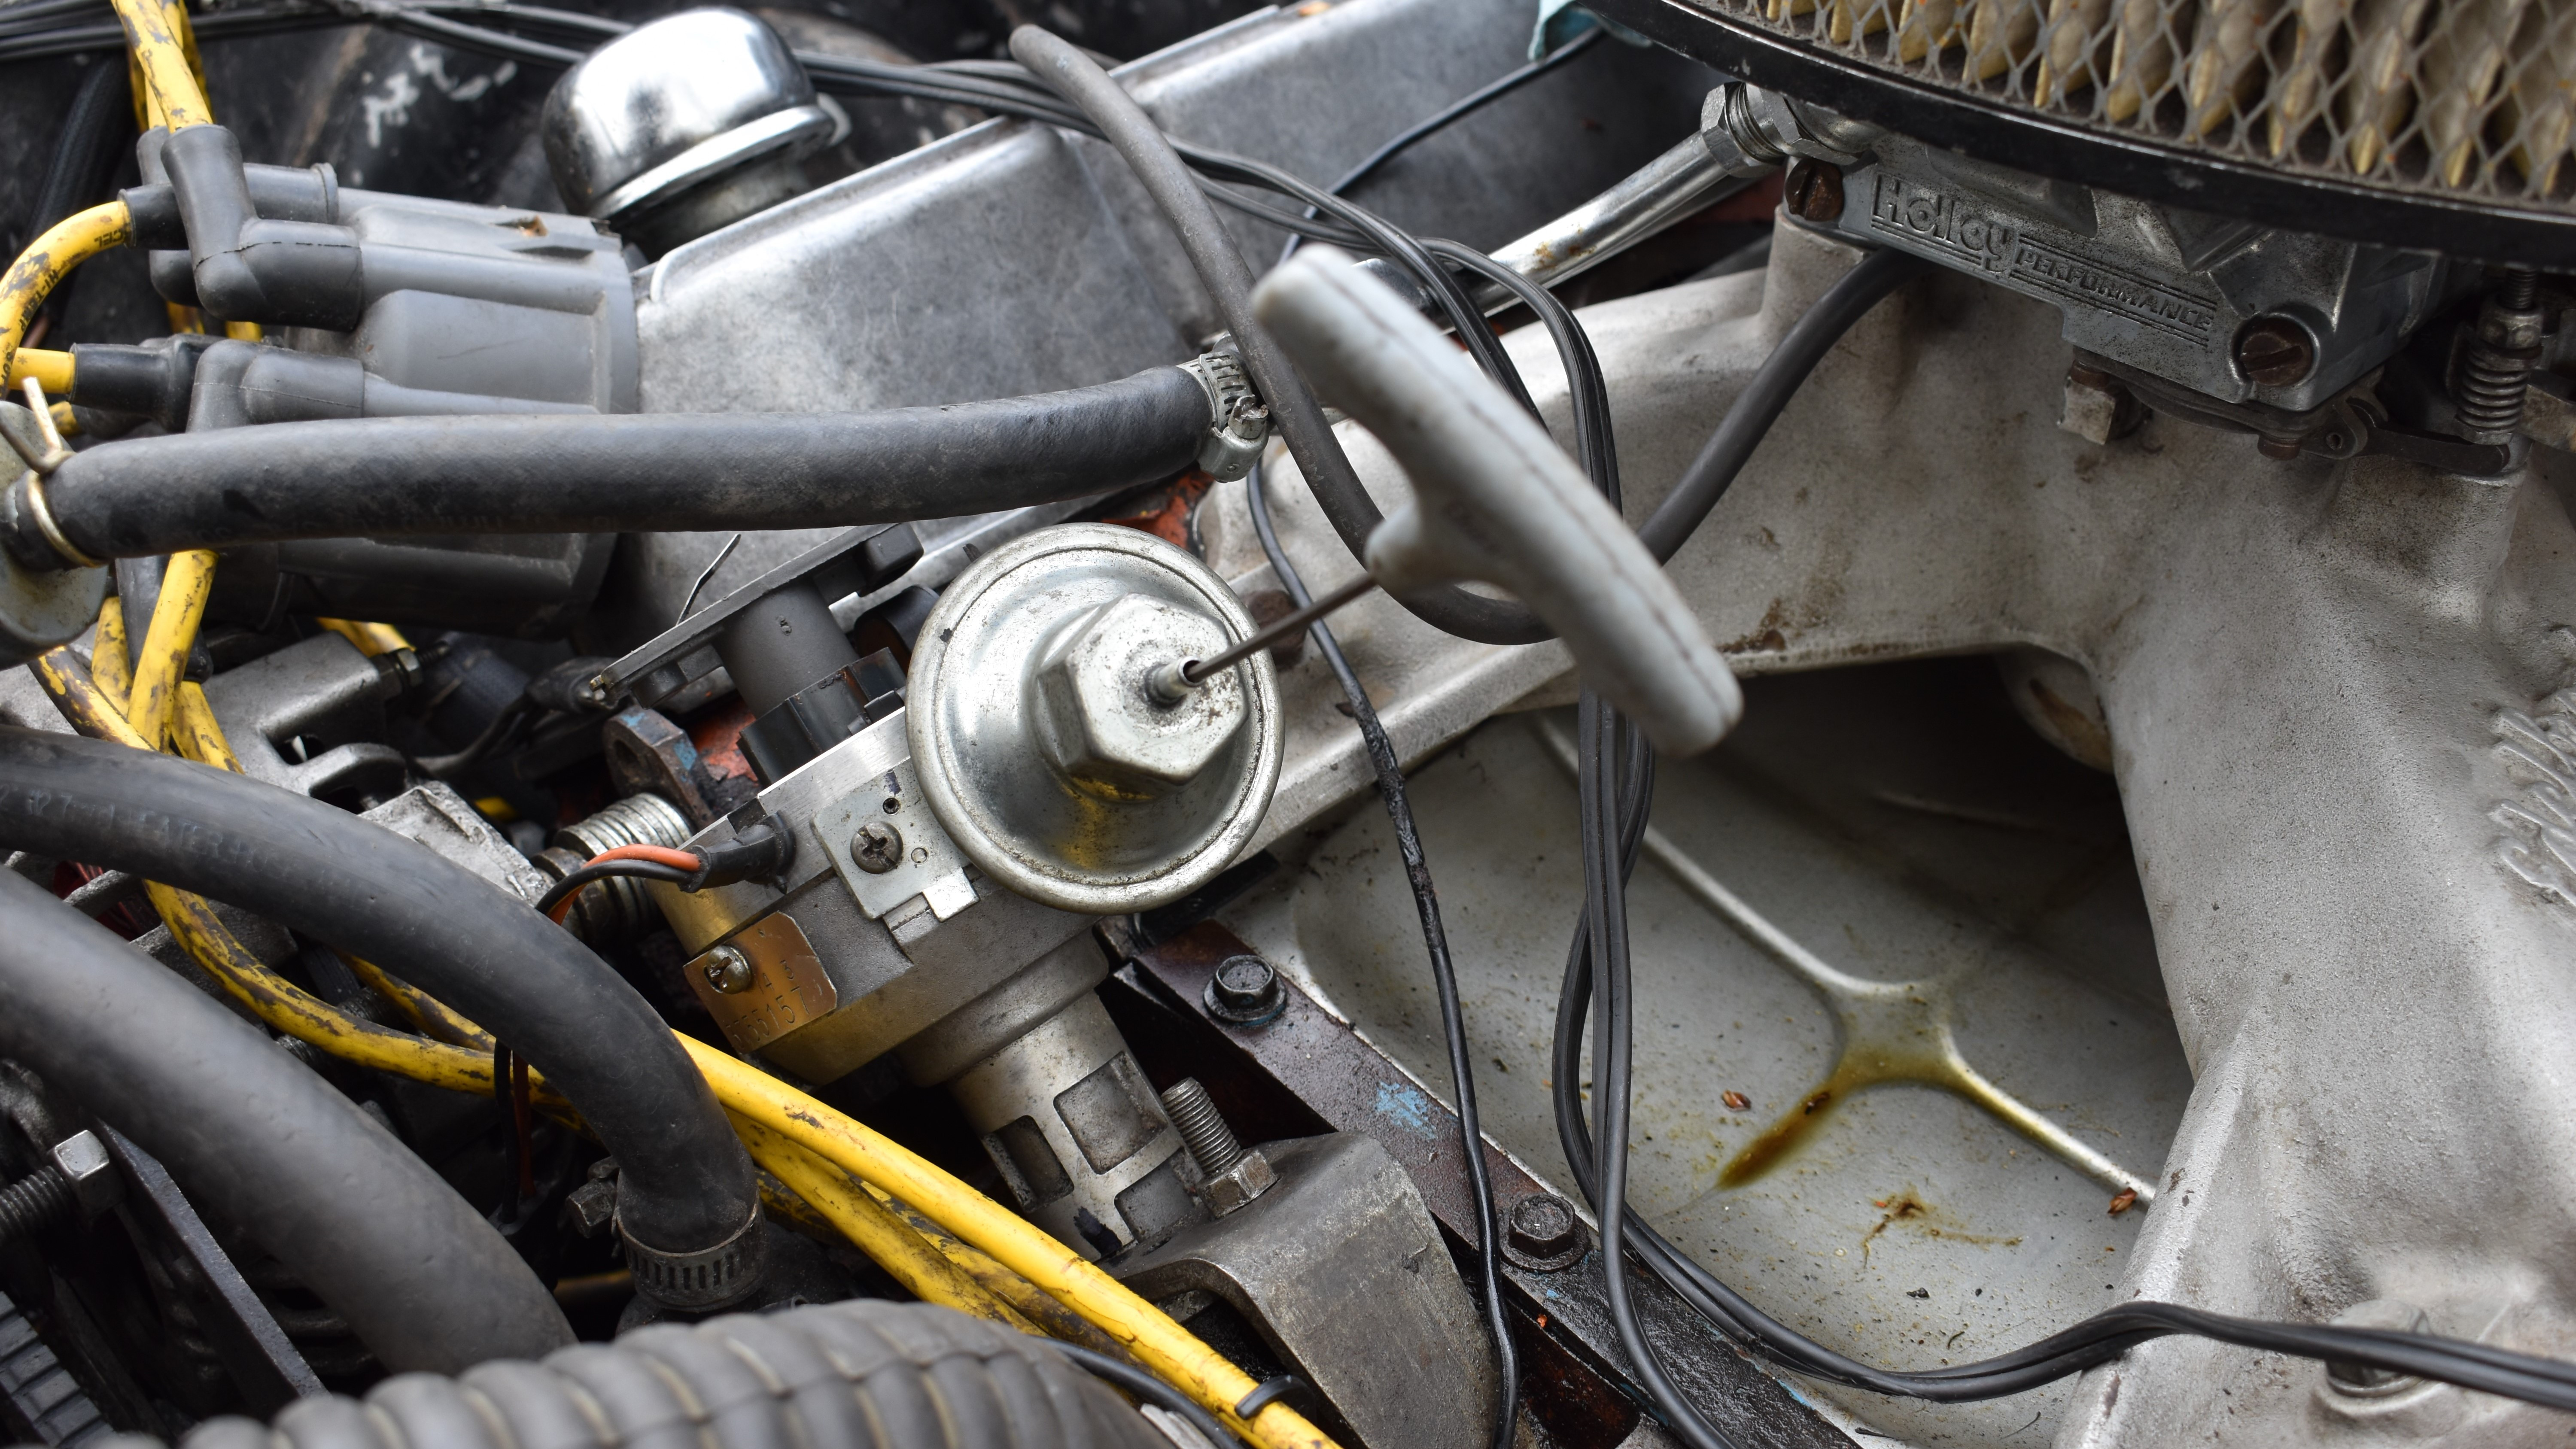 vacuumadvance.jpg
Monitoring Your Timing Adjustments: Timing Light and Marks
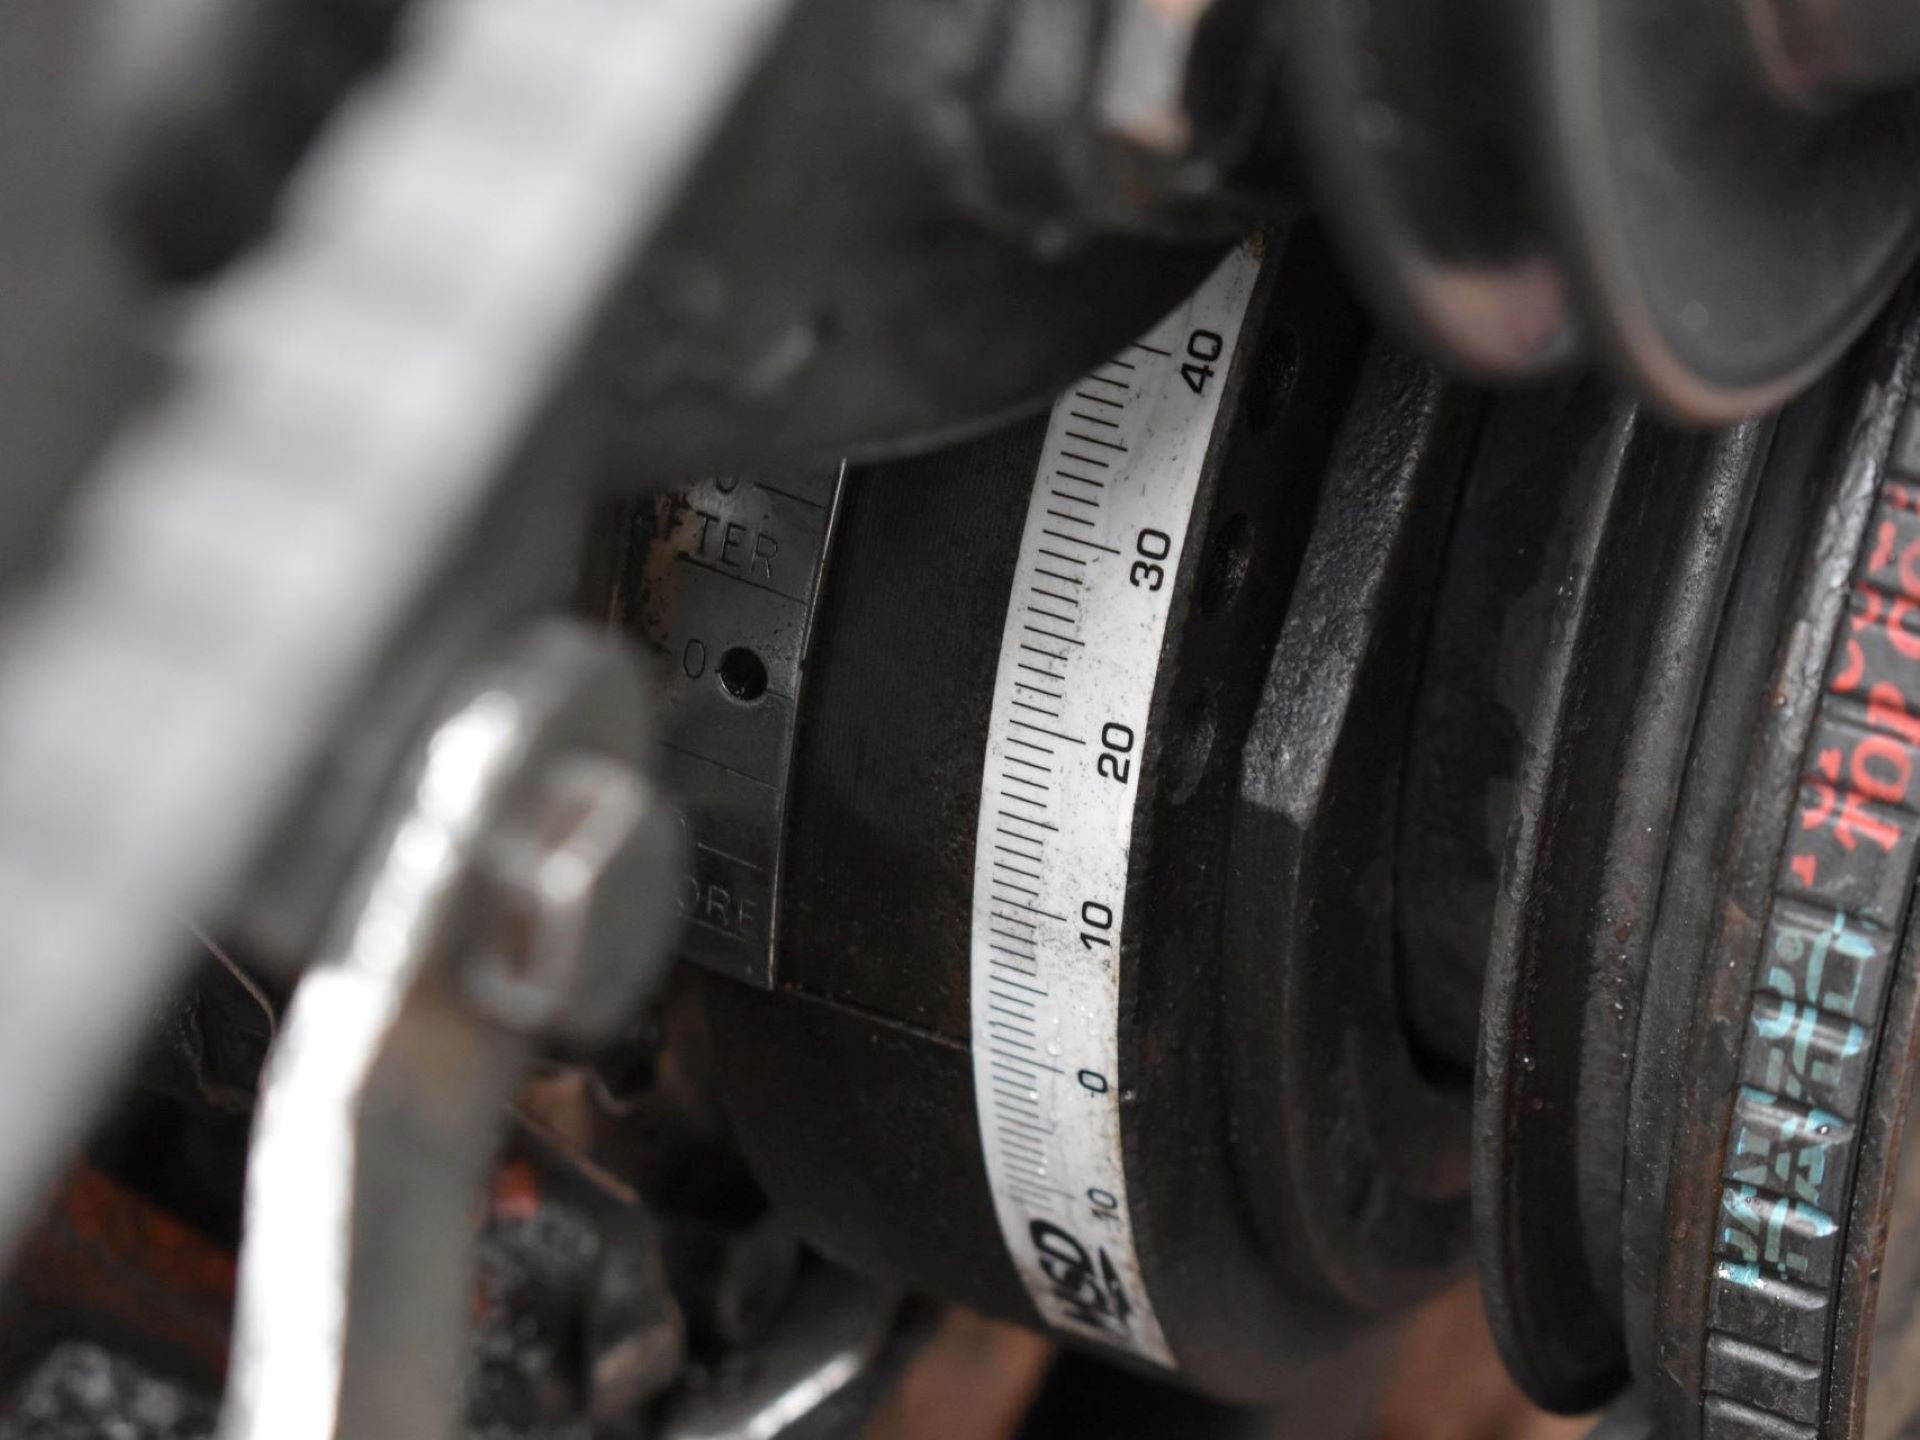
The key to accurately adjusting ignition timing is using a timing light and clear timing marks on your harmonic balancer and timing tab.
- Timing Light: The timing light is your essential tool for “seeing” the ignition timing while the engine is running. It flashes synchronously with the spark plug firing in cylinder number one, allowing you to observe the position of the timing marks.
- Timing Marks: The harmonic balancer usually has a timing mark (a notch or line) that indicates TDC. The timing tab or timing tape attached to the engine block provides a scale in degrees BTDC and ATDC (After Top Dead Center).
By aiming the timing light at the timing marks while the engine is running, you can directly read the ignition timing in degrees. Painting the timing mark on the harmonic balancer with white paint can make it easier to see in the strobe light.
For timing tabs that only go to 10 or 15 degrees BTDC, timing tape applied to the harmonic balancer is necessary to measure total timing accurately, which can be 30-40 degrees or more. With timing tape, you observe which degree marking on the tape aligns with the “zero” mark on the timing tab to determine the timing advance.
Pro Tips for Timing Adjustment
- Cam Timing vs. Ignition Timing: Don’t confuse cam timing with ignition timing. While both affect engine performance and throttle response, they are distinct adjustments. Cam timing involves adjusting the camshaft’s position relative to the crankshaft, while ignition timing is about when the spark plugs fire.
- Mark Your Balancer (Permanently): Timing tape can peel off over time. Once you’ve determined your ideal total timing setting, create a permanent mark on the harmonic balancer at that degree mark using a file or grinder and touch it up with white paint. This allows you to quickly double-check your total timing even without timing tape.
- Listen to Your Engine: Timing is not a one-size-fits-all setting. While recommendations from forums and other sources are helpful starting points, always “listen” to your engine. Pay attention to how it runs, feels, and sounds. Fine-tune the timing based on your engine’s specific needs and your driving preferences.
- Check Harmonic Balancer Condition: An old, worn harmonic balancer with deteriorated rubber can slip, causing inaccurate timing readings. Inspect your balancer for signs of wear or damage before adjusting timing. If in doubt, replace it.
- Faster Advance Isn’t Always Better: Bringing total timing in too quickly (using very light advance springs) can improve throttle response but might make the engine more sensitive to detonation and harder to control on the street. Experiment with different spring combinations to find the best balance of responsiveness and drivability for your application.
FAQs About Ignition Timing
Q: What happens if engine timing is off?
A: The symptoms depend on how far off the timing is and whether it’s too advanced or too retarded. Severely incorrect timing can prevent the engine from starting at all. If timing is too advanced, you may experience overheating, detonation (pinging), and backfiring through the carburetor. If timing is too retarded, the engine will run sluggishly, lack power, and may backfire through the exhaust.
Q: How long does it take to fix timing on a car?
A: Setting the timing back to factory specifications can be relatively quick, often taking only a few minutes once you’re familiar with the process. However, if you’re making more involved adjustments to the distributor’s mechanical advance curve, it can take an hour or two, especially if it involves experimentation and test drives.
Q: Does advancing timing make more power?
A: Yes, in many cases, advancing timing can increase power, up to a certain point. Optimizing ignition timing ensures a more complete and efficient combustion process. However, excessive advance can lead to detonation and power loss. Finding the “sweet spot” for your engine is key.
Q: How do you check timing without a timing light?
A: You cannot accurately check ignition timing without a timing light. While you can estimate initial timing based on distributor position relative to cylinder number one, you cannot reliably measure total timing or the advance curve without a timing light. Attempting to set timing without a timing light is essentially guesswork and can lead to poor performance or engine damage.
Q: How does retarding the timing affect the engine?
A: Retarding the timing means making the spark plugs fire later in the compression stroke (closer to or even after TDC). Retarding timing can be used to reduce detonation, especially in engines running on lower octane fuel or experiencing overheating. However, excessively retarded timing will reduce power, fuel economy, and can cause the engine to run hotter due to incomplete combustion extending into the exhaust stroke.
Helpful Video Resource
Sometimes, seeing the process visually can make things clearer. Here’s a helpful video that further explains ignition timing and adjustment:
 Ignition Timing Explained – YouTube
Let’s Discuss: Share Your Timing Tips and Questions!
We hope this guide has demystified the process of adjusting your car’s timing. Do you have any pro timing tips to share? Or perhaps you have a specific timing question for your engine? Leave a comment below, and let’s discuss! We’re here to help you master your garage skills.


