How to Fix a Paint Scratch on Your Car: A Comprehensive Guide

Your car’s paint job is often the first thing people notice. It’s a statement about your vehicle and, by extension, you. That’s why discovering a scratch can be a real downer. Whether it’s a minor brush against a bush or something more significant, paint scratches are an unfortunate part of car ownership. But before you resign yourself to living with unsightly marks or paying for expensive professional repairs, know that many scratches can be fixed at home.
This guide from CARDIAGTECH, your trusted source for automotive expertise, will walk you through the process of identifying, assessing, and repairing car paint scratches. We’ll cover different types of scratches, the tools you’ll need, and step-by-step instructions to restore your car’s finish to its former glory. Let’s get started on making those scratches disappear and keeping your car looking its best.
Understanding the Types of Car Paint Scratches
Before you grab any repair products, it’s crucial to understand the type of scratch you’re dealing with. Car paint is composed of several layers, and the depth of the scratch will determine the repair method. The three main types are:
1. Clear Coat Scratches: The Surface Level Damage
These are the most common and least severe type of scratch. They only affect the clear coat, which is the top, protective layer of your car’s paint. Think of it as a superficial blemish. Clear coat scratches are often caused by:
- Minor abrasions: Branches brushing against your car, light scrapes from shopping carts, or even improper car washing techniques.
- Road debris: Small pebbles and road grit kicked up while driving.
The good news? Clear coat scratches are usually shallow and can often be removed with basic DIY methods.
2. Base Coat Scratches: Deeper into the Color
Base coat scratches go a step further, penetrating through the clear coat and into the base coat – the layer that gives your car its color. These are more noticeable and require a slightly more involved repair process. Common causes include:
- Larger debris: Larger stones or road debris impacting the car at higher speeds.
- Vandalism: Keys or sharp objects intentionally scratching the paint.
Repairing base coat scratches requires addressing both the clear coat and the underlying color layer.
3. Primer Coat Scratches (Deep Scratches): Reaching the Metal
Primer coat scratches are the most serious type. They cut through the clear coat, base coat, and even the primer layer, potentially exposing the bare metal underneath. These scratches are typically caused by:
- Accidents: Collisions, impacts with objects, or significant scrapes.
- Severe damage: Deep gouges from sharp objects.
Deep scratches require more extensive repair to prevent rust and fully restore the paint finish. In some cases, professional help may be necessary.
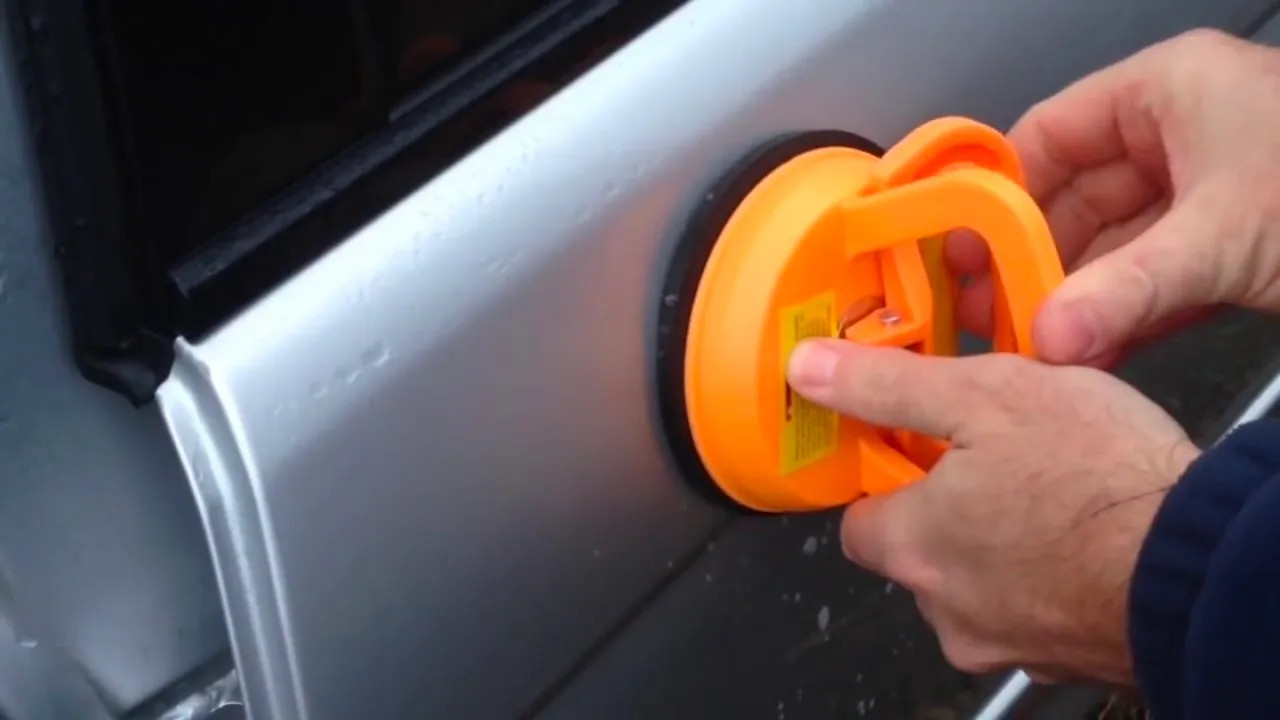
 Car Scratch
Understanding different types of car scratches is crucial for effective DIY paint scratch repair.
How to Identify the Type of Scratch on Your Car
Knowing the scratch type is the first step in choosing the right repair strategy. Here are two simple methods to help you determine the depth of the scratch:
1. The Fingernail Test:
This is a quick and easy way to gauge scratch depth.
- Clean the area: Wipe the scratched area with a clean, dry microfiber cloth to remove any dirt or debris.
- Run your fingernail: Gently run your fingernail across the scratch, perpendicular to its direction.
- Assess the catch:
- If your fingernail doesn’t catch: The scratch is likely a clear coat scratch.
- If your fingernail catches slightly: It’s probably a base coat scratch.
- If your fingernail catches deeply and significantly: You’re dealing with a primer or deep scratch.
2. The Polish Test:
This method uses car polish to help identify clear coat scratches.
- Apply polish: Put a small amount of good quality car polish on a clean microfiber cloth.
- Rub on scratch: Gently rub the polish onto the scratched area using circular motions.
- Observe:
- Scratch disappears: If the scratch vanishes after polishing, it was a clear coat scratch. The polish has filled or removed the shallow imperfection.
- Scratch remains: If the scratch is still visible, it’s likely a base coat or primer scratch, meaning it’s deeper than the clear coat.
Step-by-Step Guide to Removing Car Scratches
Now that you’ve identified the type of scratch, let’s move on to the repair process. Remember to always work in a shaded area and on a cool car surface.
Repairing Clear Coat Scratches: A Simple Fix
Clear coat scratches are the easiest to fix and often require minimal tools.
Tools you’ll need:
- Car wash soap and water
- Microfiber cloths (clean and soft)
- Scratch remover compound (specifically for clear coat scratches)
- Car polish
Step 1: Thoroughly Clean the Scratched Area
Begin by washing the area around the scratch with car wash soap and water. This removes any dirt, grime, or wax that could interfere with the repair process. Rinse thoroughly and dry completely with a clean microfiber cloth.
Step 2: Apply Scratch Remover Compound
Apply a small amount of scratch remover compound to a clean microfiber cloth. Gently rub the compound onto the scratch using circular motions. Apply light to medium pressure and continue buffing until the scratch appears to disappear. The abrasives in the compound work to level out the clear coat, removing the shallow scratch.
Step 3: Polish for Shine
After the scratch is removed, use a clean microfiber cloth to apply a small amount of car polish to the area. Buff gently in circular motions to restore the clear coat’s shine and enhance the overall finish. This step refines the surface and leaves a smooth, glossy look.
Repairing Base Coat Scratches: Touch-Up and Blending
Base coat scratches require a bit more attention as they go deeper into the paint.
Tools you’ll need:
- Car wash soap and water
- Microfiber cloths (clean and soft)
- Touch-up paint (matching your car’s color code)
- Toothpick or fine-tipped brush
- 2000-grit sandpaper (automotive grade, wet/dry)
- Rubbing compound
- Car polish
Step 1: Clean the Area First
Just like with clear coat scratches, start by cleaning the scratched area with car wash soap and water. Dry it completely.
Step 2: Apply Touch-Up Paint Carefully
Using a toothpick or a fine-tipped brush, carefully apply a very small amount of touch-up paint directly into the scratch. Apply thin coats, allowing each coat to dry completely before applying the next. Avoid applying too much paint at once, as this can lead to drips and an uneven finish. You want to fill the scratch to be level with the surrounding paint.
Step 3: Level with Sandpaper (Wet Sanding)
Once the touch-up paint is completely dry (refer to the paint manufacturer’s drying time recommendations), lightly wet the 2000-grit sandpaper and gently sand the area. Use light, even strokes and keep the sandpaper and area wet. The goal is to level the touch-up paint with the surrounding clear coat. Be cautious not to sand too aggressively and remove surrounding paint.
Step 4: Rubbing Compound for Blending
Apply a small amount of rubbing compound to a microfiber cloth. Rub the compound onto the sanded area using circular motions and medium pressure. This step helps to blend the touch-up paint with the original paint and remove any sanding marks.
Step 5: Polish to Restore Gloss
Finish by applying car polish to a clean microfiber cloth and buffing the area to restore the shine and achieve a seamless repair.
Repairing Primer Coat Scratches (Deep Scratches): When to Consider Professional Help
Primer coat scratches are the most challenging to repair at home, especially if they are extensive or have exposed bare metal. While you can attempt a DIY repair for small primer scratches, for larger or more complex damage, professional auto body repair is often recommended to ensure proper rust prevention and a flawless finish.
For minor primer scratches, you can try these steps:
Tools you’ll need:
- Car wash soap and water
- Microfiber cloths (clean and soft)
- 1000-grit sandpaper and 2000-grit sandpaper (automotive grade, wet/dry)
- Touch-up paint
- Toothpick or fine-tipped brush
- Rubbing compound
- Car polish
- Primer (optional, for bare metal exposure)
Step 1: Clean the Area
Clean the scratched area thoroughly with car wash soap and water and dry it.
Step 2: Sand to Smooth Edges
If there are rough edges or rust (if metal is exposed), start by lightly sanding the area with 1000-grit sandpaper to smooth them out. Then, switch to 2000-grit sandpaper to further refine the surface. Wet sanding is recommended for a smoother finish.
Step 3: Apply Primer (If Necessary)
If the scratch has exposed bare metal, consider applying a thin layer of automotive primer to the exposed metal areas. This helps prevent rust and provides a better surface for the touch-up paint to adhere to. Let the primer dry completely.
Step 4: Apply Touch-Up Paint (Multiple Thin Coats)
Apply touch-up paint in thin, even coats, just like with base coat scratches. Allow each coat to dry completely. Build up the paint level to be slightly above the surrounding paint.
Step 5: Sand to Level (Wet Sanding)
Once the touch-up paint is fully dry, use 2000-grit wet sandpaper to carefully level the touch-up paint with the surrounding paint.
Step 6: Rubbing Compound for Blending
Use rubbing compound to blend the touch-up paint and remove sanding marks, using circular motions.
Step 7: Polish for Final Shine
Finish with car polish to restore the gloss and create a smooth, even finish.
When to Seek Professional Help:
- Large or deep scratches: If the scratch is very wide, deep, or covers a significant area.
- Rust: If there is rust present, professional rust removal and repair are crucial.
- Uncertainty: If you are uncomfortable with any of the steps or unsure about the scratch type, it’s best to consult a professional auto detailer or body shop.
Proactive Scratch Prevention Tips
Prevention is always better than cure. While you can’t entirely eliminate the risk of scratches, you can significantly reduce it by following these tips:
-
Wax Regularly: Apply a quality car wax regularly (every 2-3 months). Wax provides a protective layer over the clear coat, making it more resistant to minor scratches and environmental damage.
-
Park Smart: When possible, park in garages or carports to shield your car from the elements and potential hazards like tree branches or bird droppings.
-
Distance from Vegetation: Avoid parking too close to trees, bushes, or shrubs that could brush against your car and cause scratches.
-
Wash Your Car Frequently and Properly: Regular car washes remove dirt, grit, and contaminants that can scratch your paint over time. Use quality car wash soap, a microfiber wash mitt, and gentle washing techniques.
-
Microfiber for Washing and Drying: Always use microfiber cloths for washing and drying your car. Microfiber is soft and non-abrasive, minimizing the risk of swirl marks and scratches.
-
Avoid Automatic Brush Car Washes: Automatic car washes with brushes can be abrasive and cause scratches, especially swirl marks. Opt for touchless car washes or hand washing.
-
Use a Car Cover: If you frequently park outdoors, consider using a car cover, especially in areas prone to dust, tree sap, or bird droppings. Choose a breathable, soft car cover designed for your vehicle.
Final Thoughts on DIY Car Scratch Repair
Fixing paint scratches on your car at home is achievable and can save you money compared to professional repairs, especially for minor scratches. By understanding the types of scratches, using the right techniques, and taking your time, you can effectively restore your car’s paint finish.
However, remember that for deep scratches or if you’re uncomfortable with the DIY process, professional auto detailing services are always an option. For those in California or Washington looking for expert car care, Big’s Mobile Detailing offers a range of services, including scratch removal and paint correction, ensuring your car receives the best possible treatment. You can reach them at 425-243-9155 or schedule an appointment online for a pristine car finish.