How to Fix Broken Car Electrical Connectors: A Comprehensive Guide
Modern vehicles rely heavily on intricate electrical systems to operate everything from headlights to advanced safety features. Electrical connectors are the unsung heroes of these systems, ensuring power and signals are transmitted reliably throughout your car. However, these connectors, especially those in high-flex areas like doors or trunk lids, can become damaged over time, leading to frustrating electrical problems. This guide will walk you through the process of diagnosing and fixing broken car electrical connectors, empowering you to tackle this common automotive issue effectively.
Car electrical connectors are designed to withstand the harsh conditions under the hood and within the vehicle’s body. They are typically made from durable plastics and metals, engineered to resist vibration, moisture, and temperature changes. However, constant flexing, exposure to the elements, and even accidental damage can lead to connector failure. Understanding the common causes of these failures is the first step in effective repair.
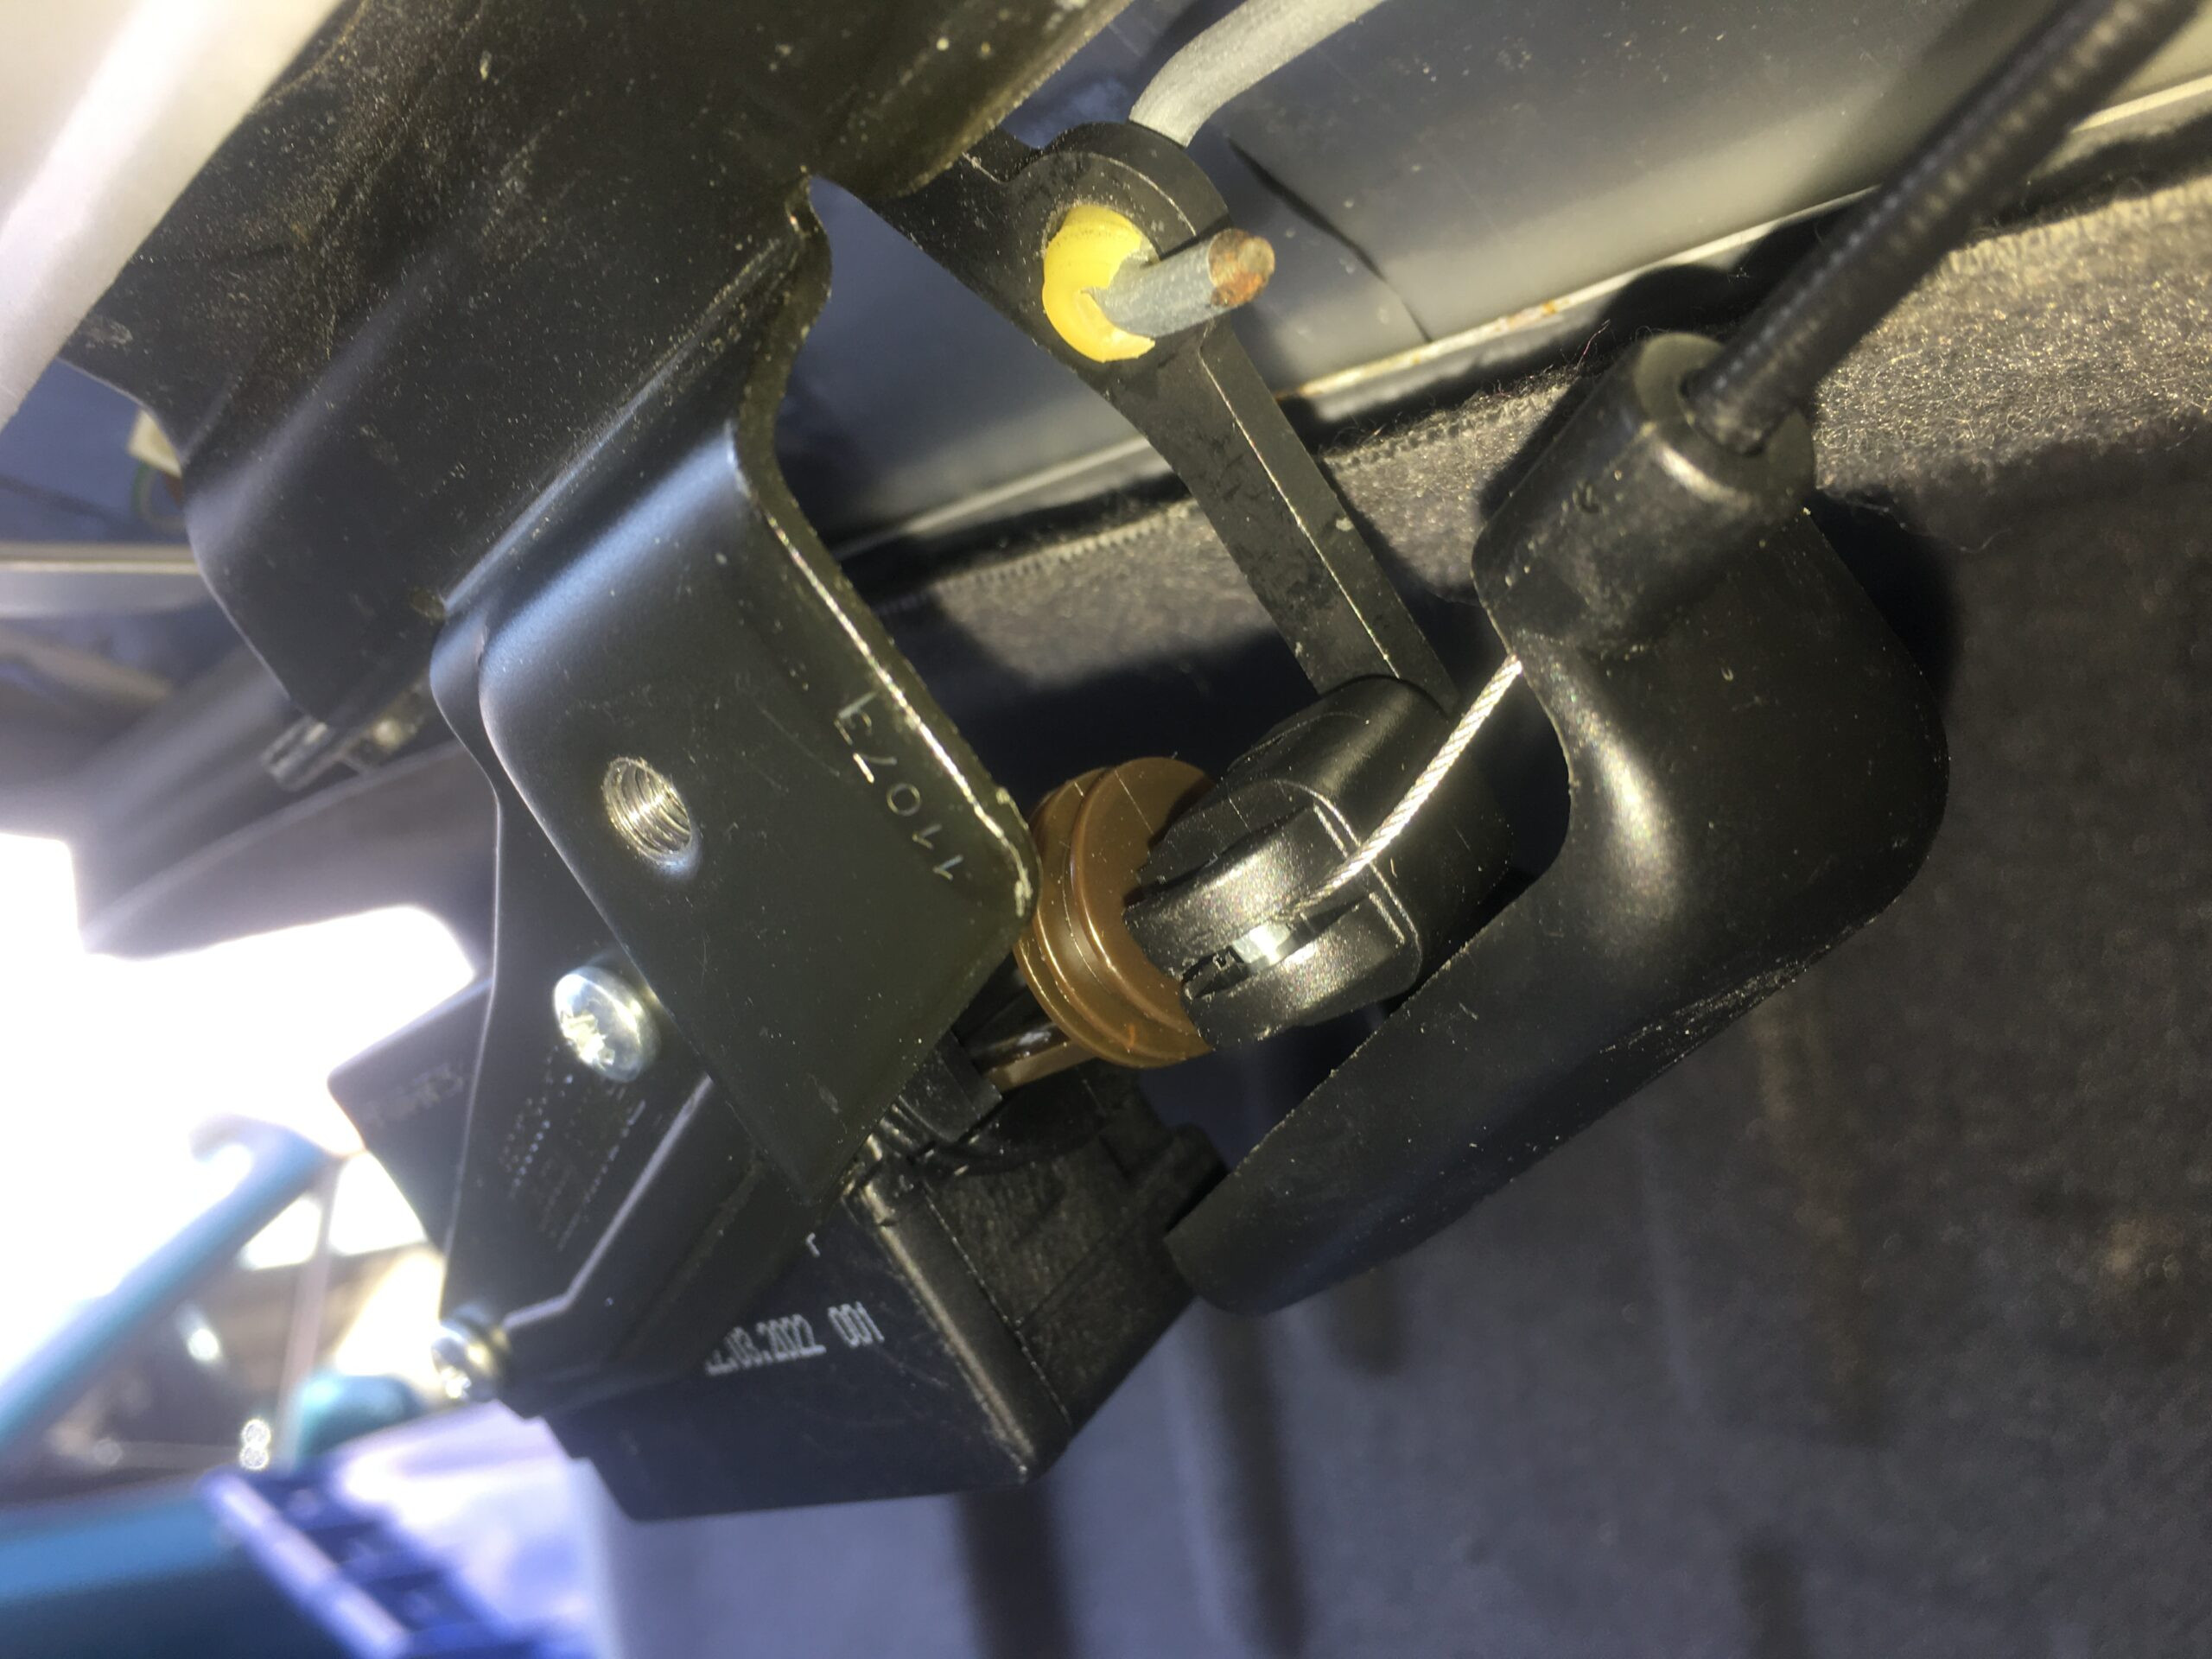
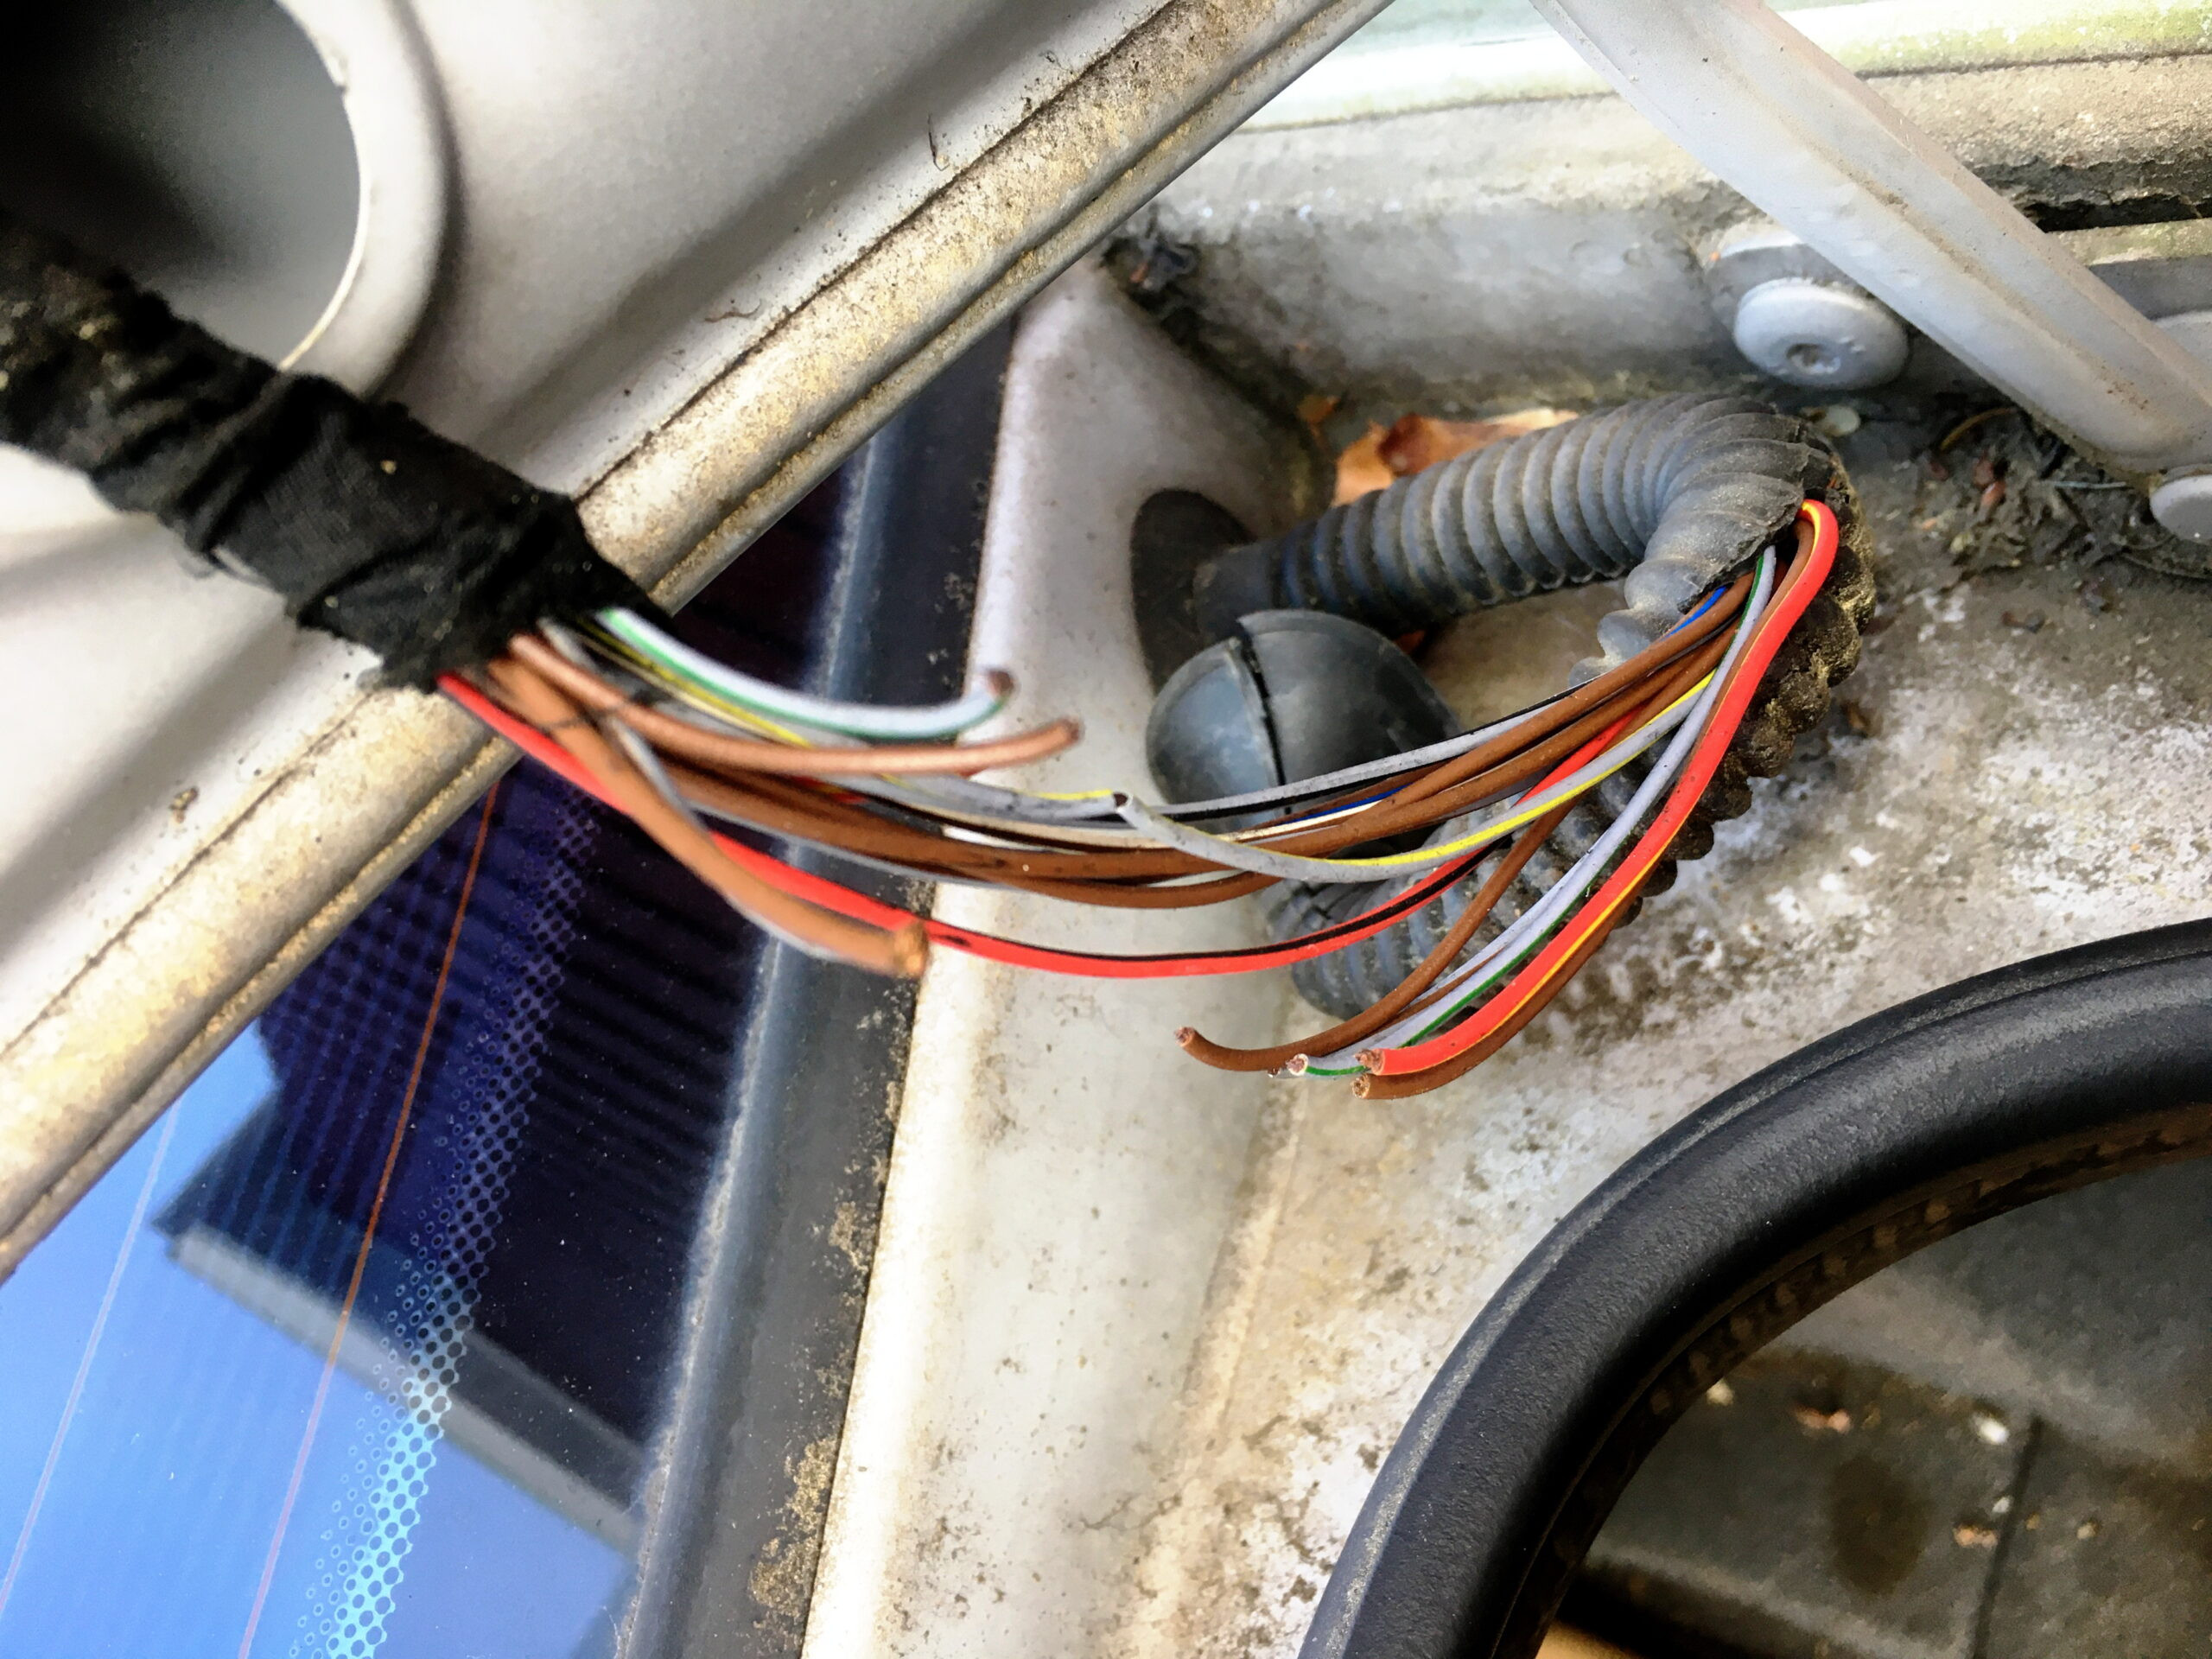
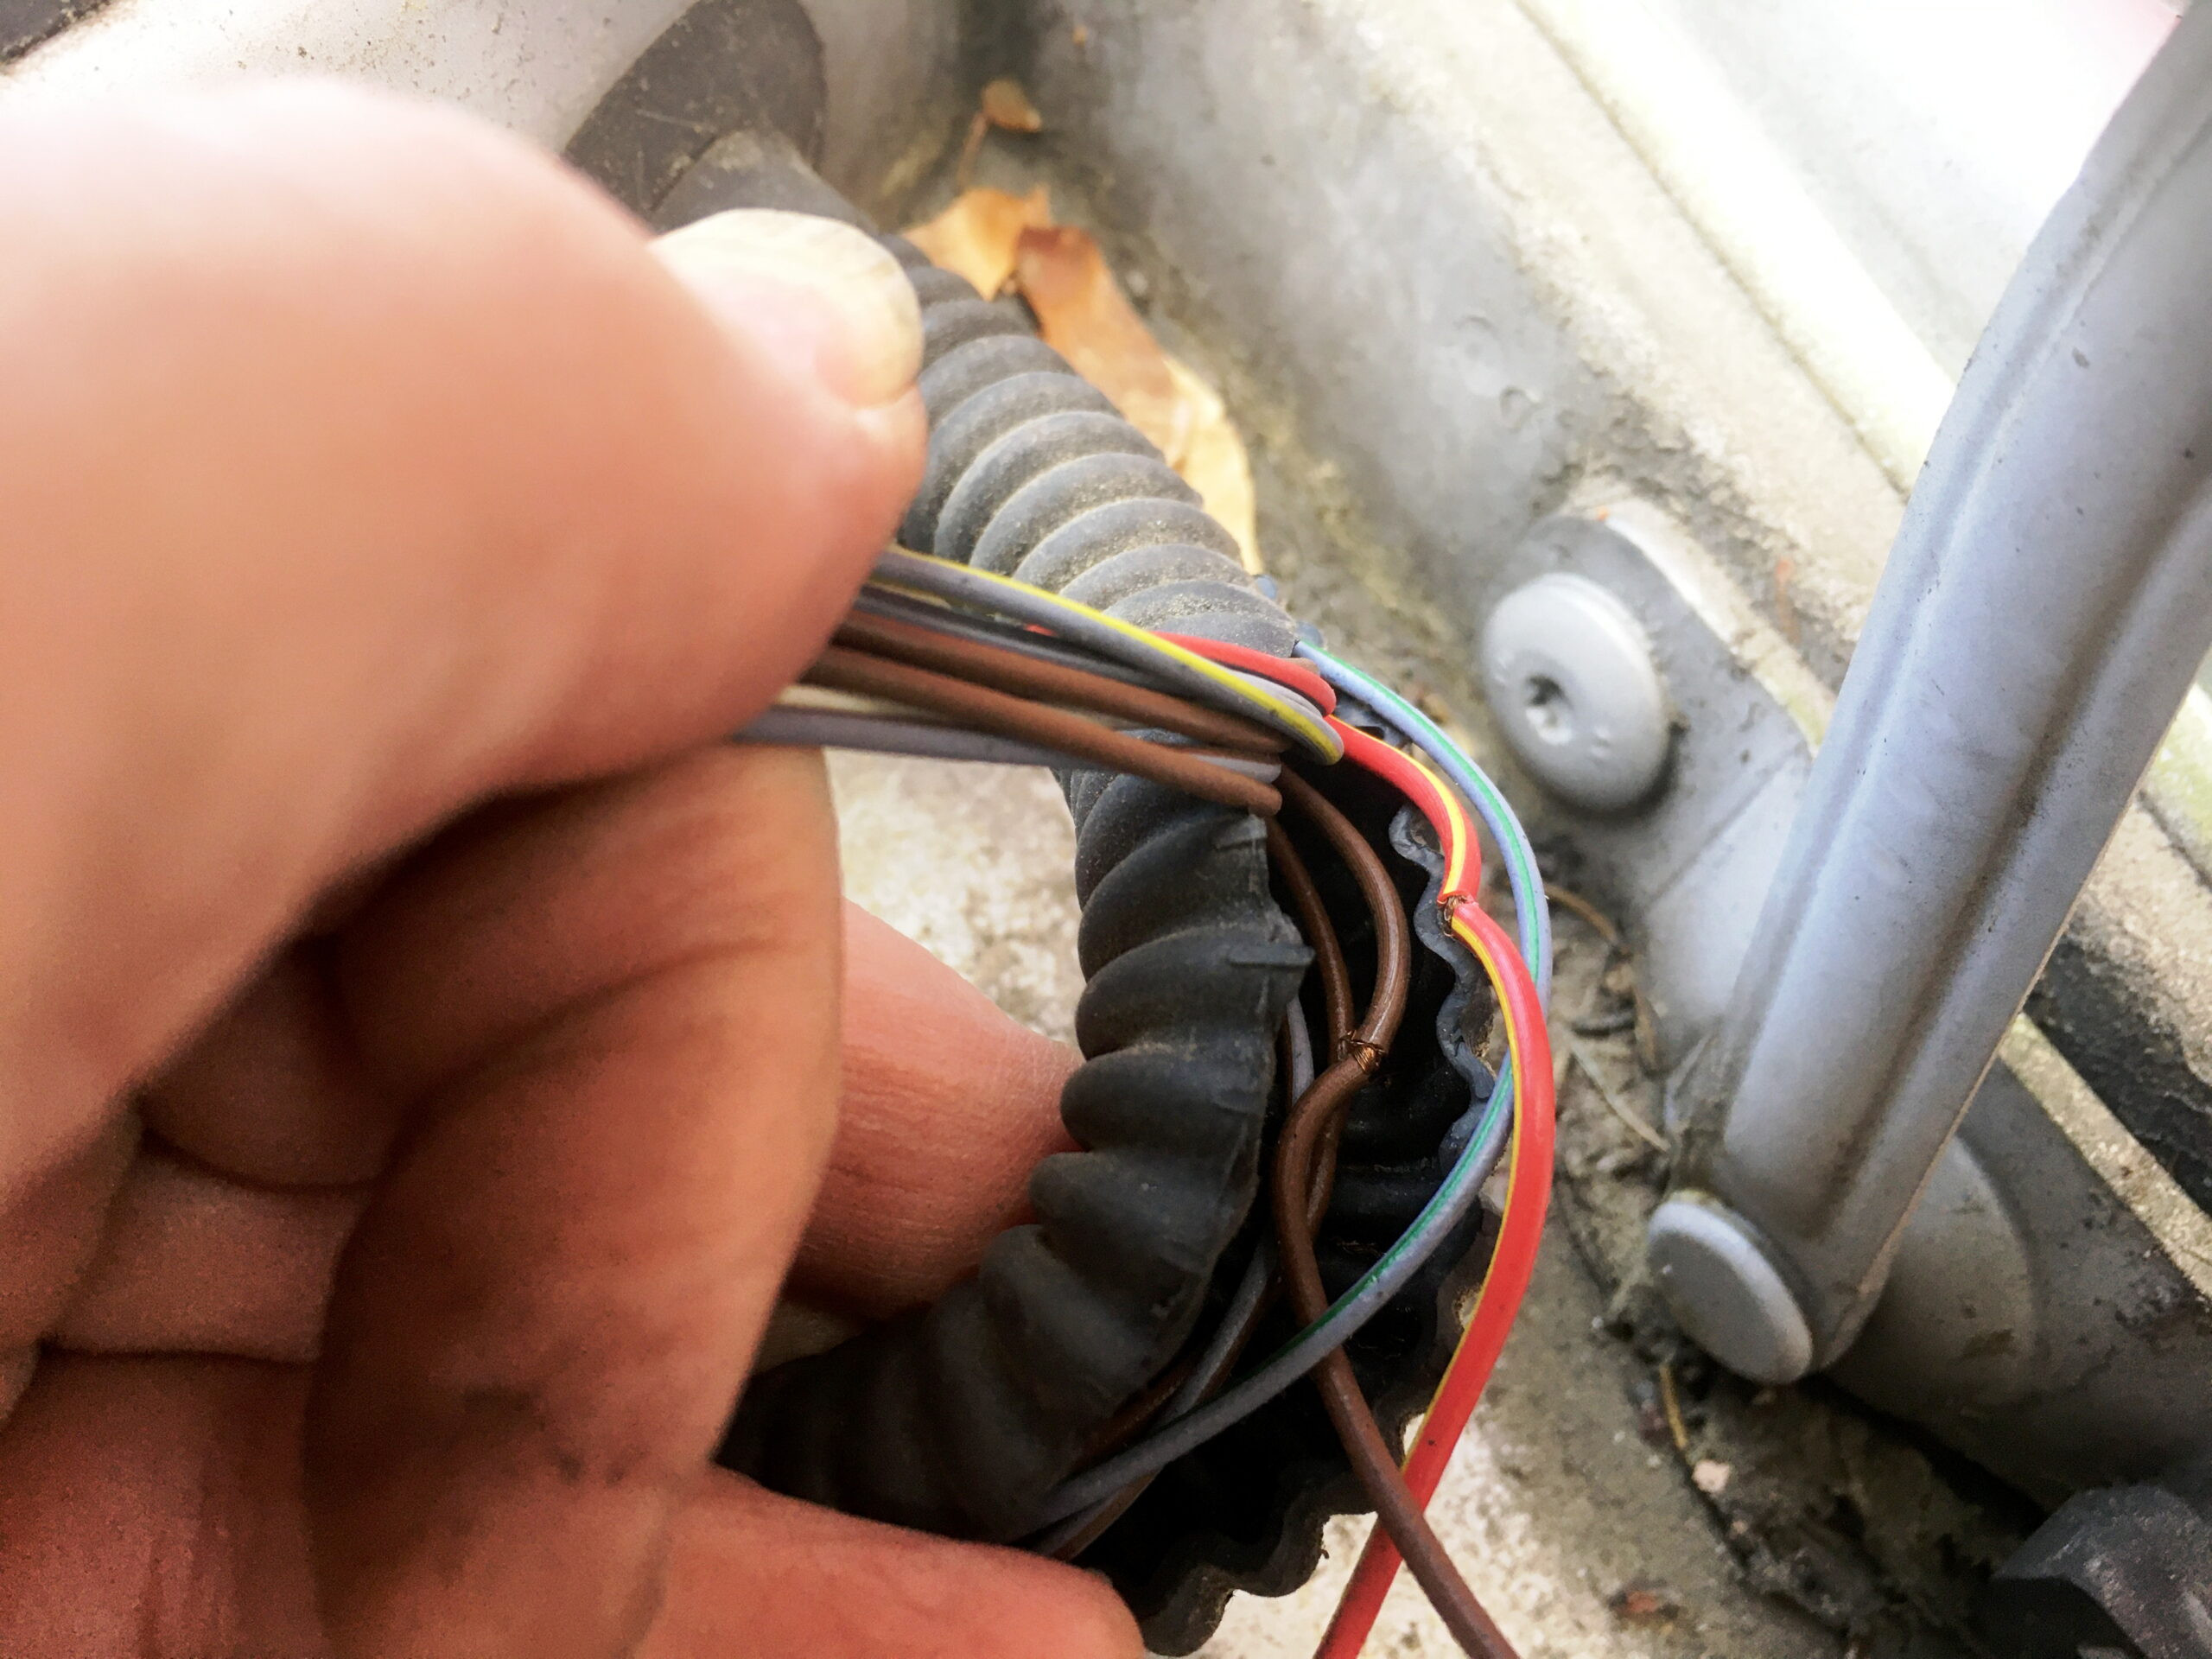
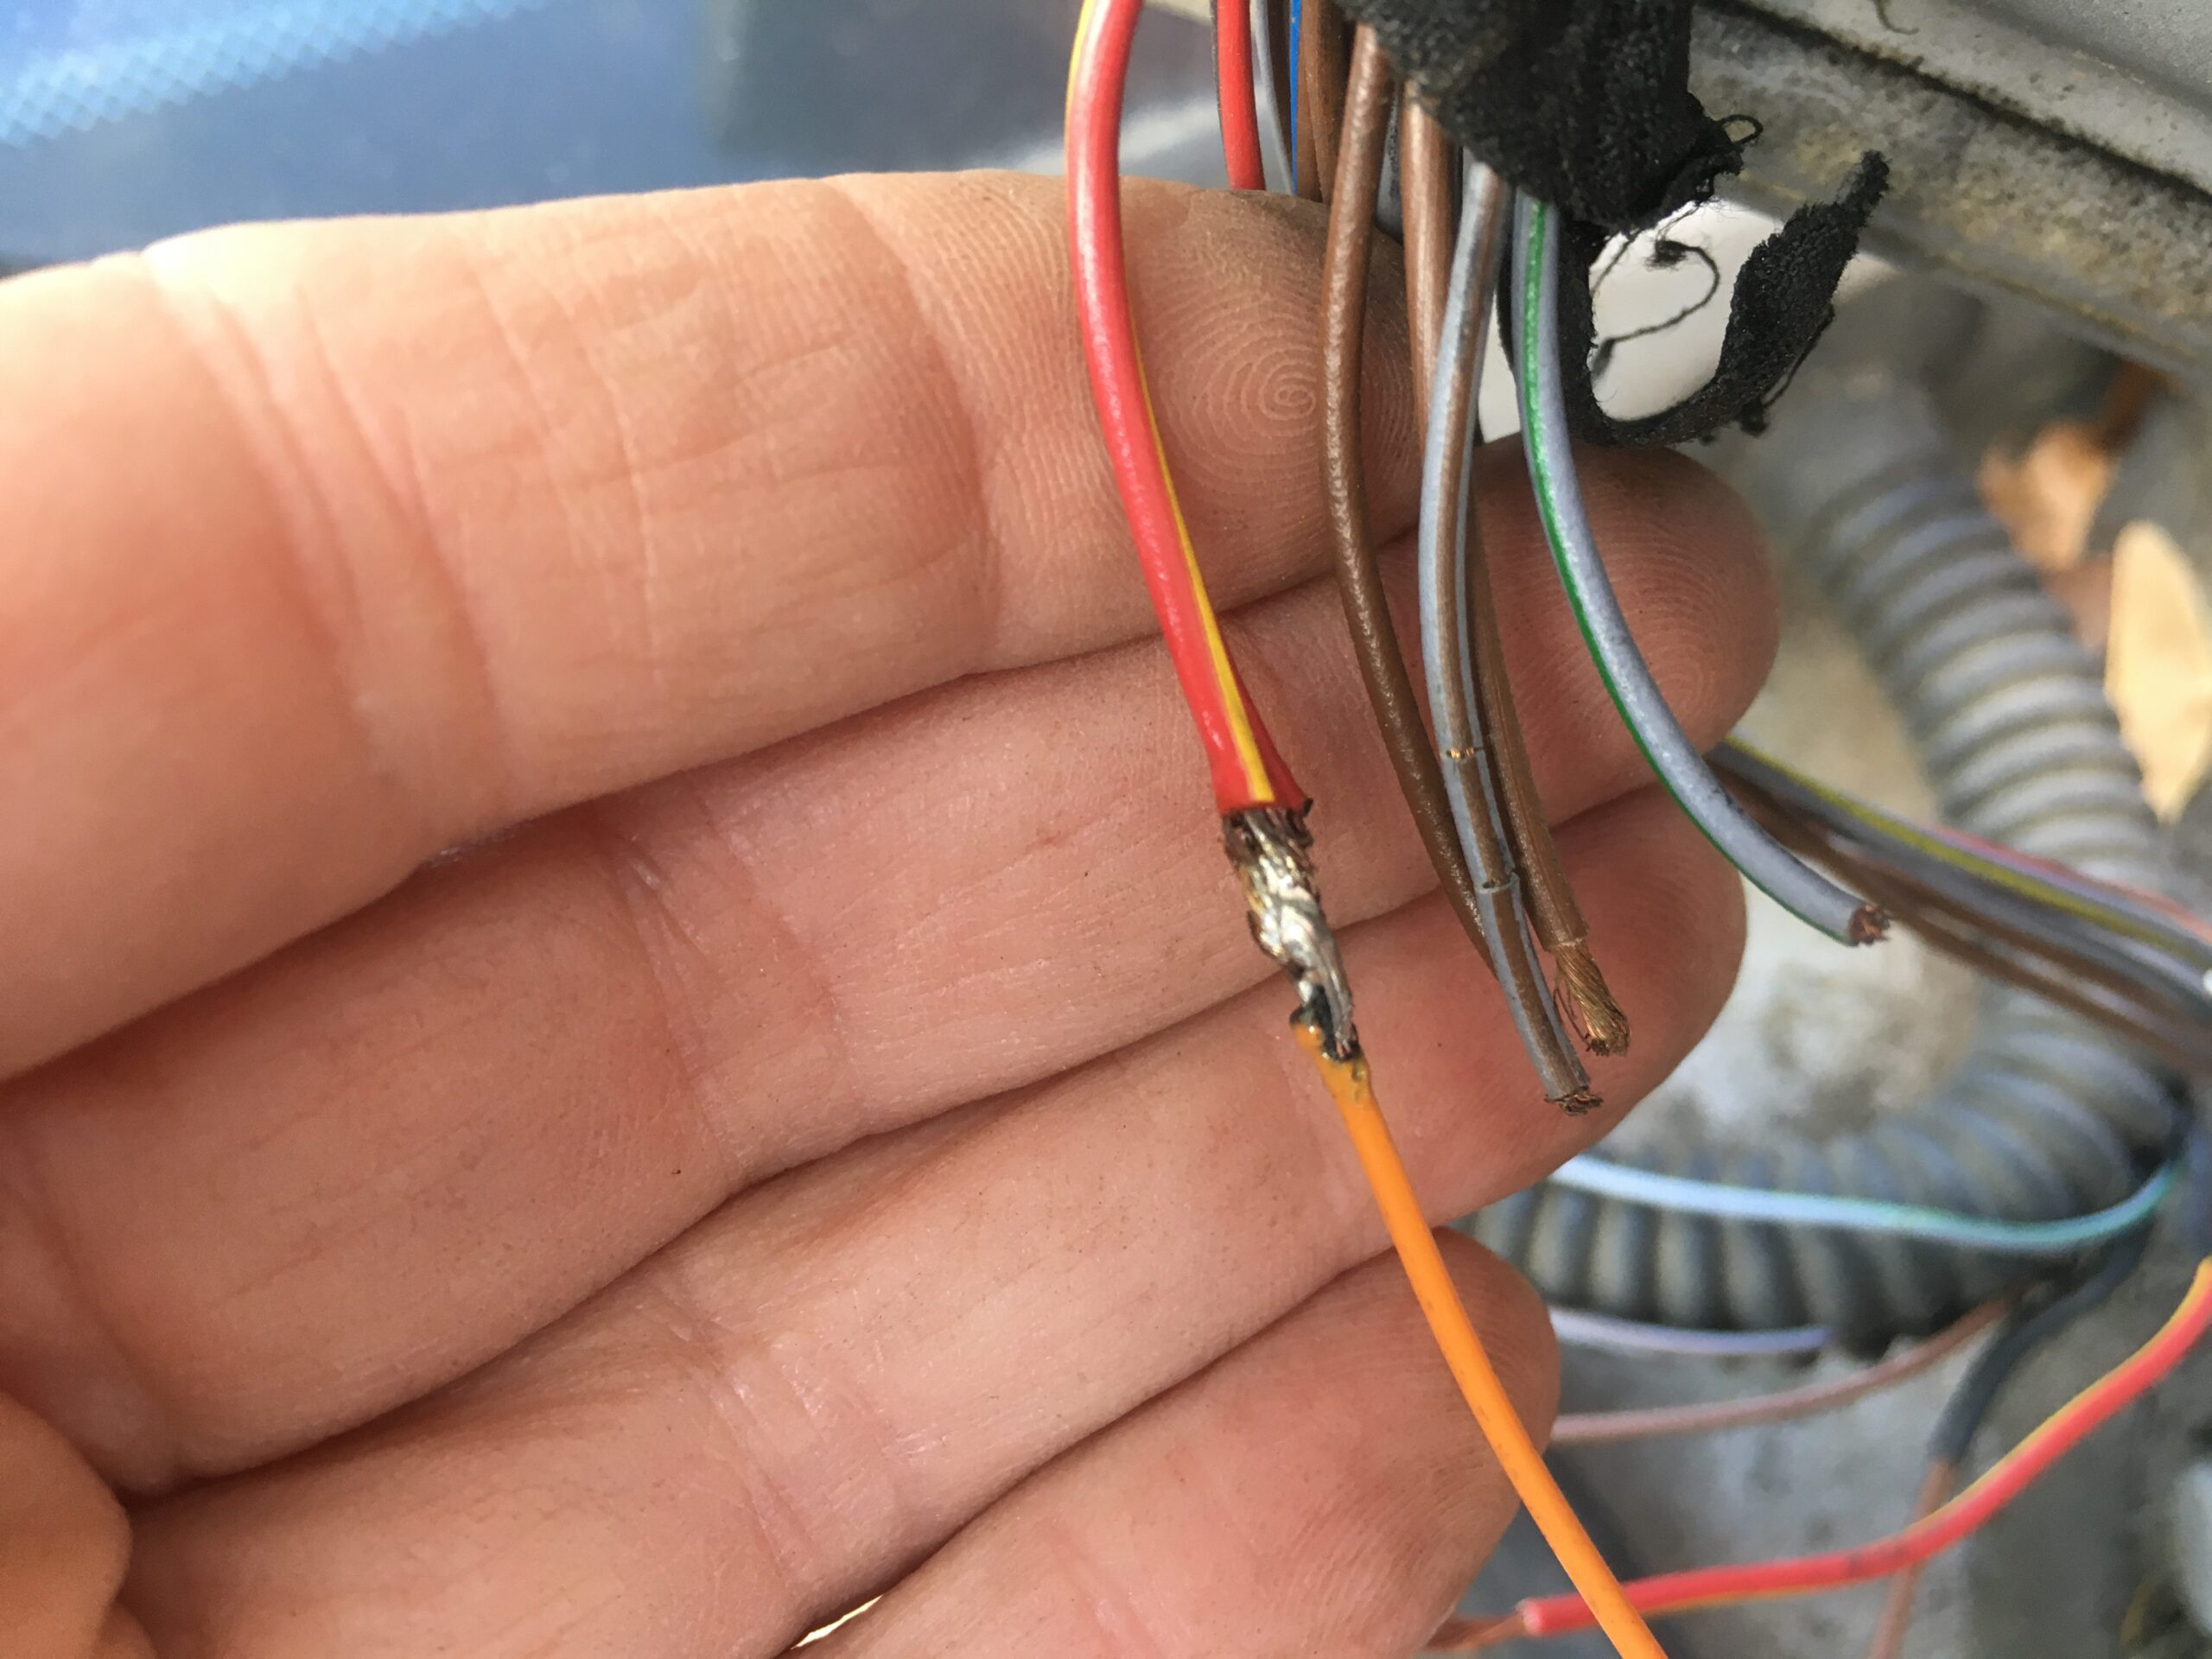
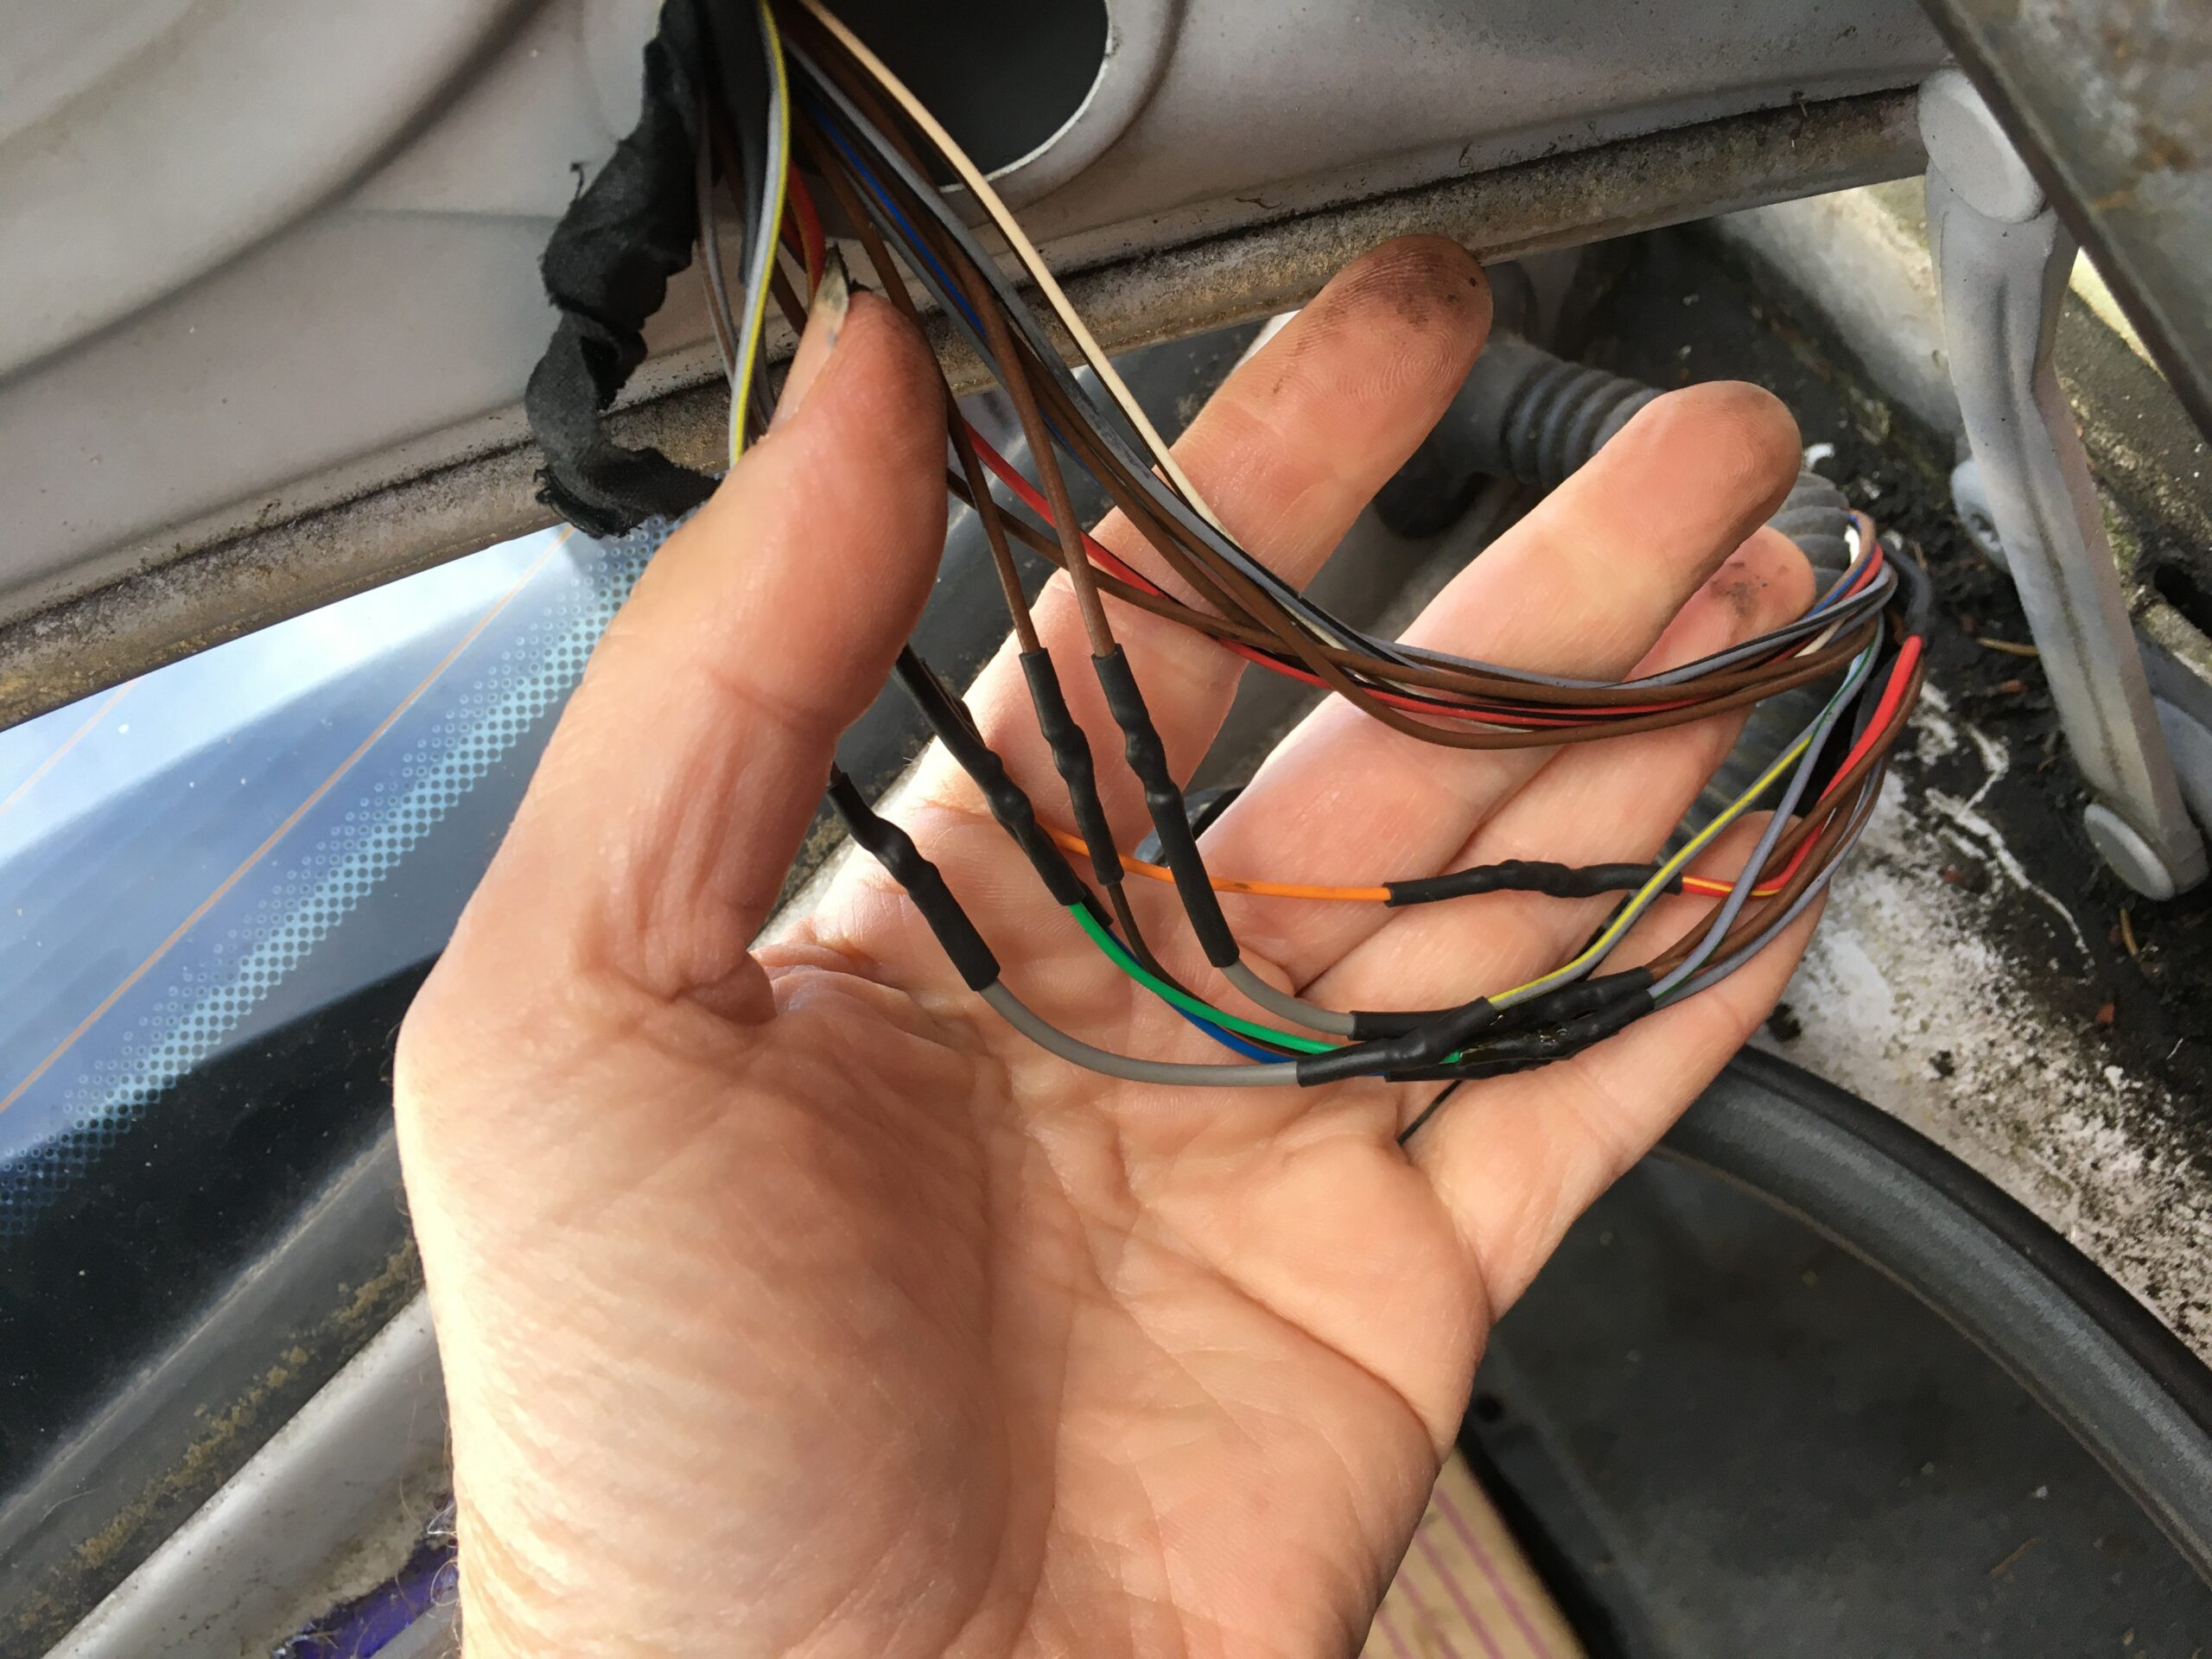
One of the primary culprits behind broken car electrical connectors is physical stress. Connectors located in areas that experience frequent movement, such as door harnesses or trunk lid wiring, are particularly susceptible. The repeated bending and flexing of wires at the connector point can cause the wires to fatigue and eventually break, either within the connector itself or just outside of it. This is precisely what happened in the original author’s BMW trunk wiring, a common issue in many vehicles.
Environmental factors also play a significant role. Exposure to extreme temperatures, moisture, and road salt can accelerate the degradation of connector materials. Plastic connectors can become brittle and crack, while metal terminals can corrode, leading to poor electrical contact or complete failure. Engine compartments, with their high heat and fluid exposure, present a particularly challenging environment for electrical connectors.
Accidental damage is another common cause. During maintenance or repair work, connectors can be inadvertently broken, terminals can be bent, or wires can be pulled out. It’s crucial to handle connectors with care and use the correct procedures for disconnecting and reconnecting them. Forcing a connector can easily lead to damage, making proper technique essential.
Identifying a broken car electrical connector often starts with recognizing the symptoms of an electrical malfunction. Since connectors are critical for signal and power transmission, a failure can manifest in various ways depending on the circuit affected.
Intermittent electrical issues are a classic sign of a faulty connector. You might notice lights flickering, sensors working erratically, or components cutting in and out unexpectedly. These intermittent problems often occur when vibrations or movement temporarily break or re-establish contact within a partially damaged connector. For example, a flickering headlight could be due to a loose or corroded connector in the headlight circuit.
Complete electrical failure of a component is another clear indicator. If a system or component suddenly stops working entirely, and fuses are intact, a broken connector is a prime suspect. In the original article, the trunk lock actuator, trunk light, and trunk open warning all failed, pointing towards a systemic issue likely related to the wiring harness connector.
Visible signs of damage are also crucial clues. Carefully inspect connectors for cracks, broken plastic housings, bent or corroded terminals, and wires that are pulled out or broken near the connector. Sometimes, visual inspection alone can pinpoint the problem. Look for discoloration or melting around the connector, which could indicate overheating due to poor contact or excessive current.
Before you begin any repair work, safety is paramount when dealing with car electrical systems. Always disconnect the negative terminal of your car battery before working on any electrical components. This prevents accidental shorts and potential electrical damage or injury. Wait a few minutes after disconnecting the battery to allow any residual charge in the system to dissipate.
To effectively fix a broken car electrical connector, you’ll need a few essential tools and materials.
- Multimeter: A multimeter is indispensable for diagnosing electrical problems. It allows you to test for voltage, continuity, and resistance, helping you pinpoint breaks in the circuit and identify faulty connectors.
- Wire Strippers and Crimpers: These tools are necessary for preparing wires for splicing and crimping new terminals. Choose quality wire strippers that can handle different wire gauges without damaging the conductors. A good crimping tool ensures secure and reliable connections.
- Soldering Iron and Solder (Optional): Soldering provides a robust and long-lasting connection, especially for wires exposed to vibration and moisture. While crimping is often sufficient, soldering offers a more professional and durable repair.
- Heat Shrink Tubing: Heat shrink tubing is essential for insulating and protecting wire splices. It provides a weatherproof seal and strengthens the repair. Choose heat shrink tubing that shrinks to the appropriate size for the wires you are working with.
- Electrical Tape: While heat shrink tubing is preferred for splices, electrical tape can be useful for temporarily insulating connections or securing wiring harnesses. Use high-quality electrical tape designed for automotive applications.
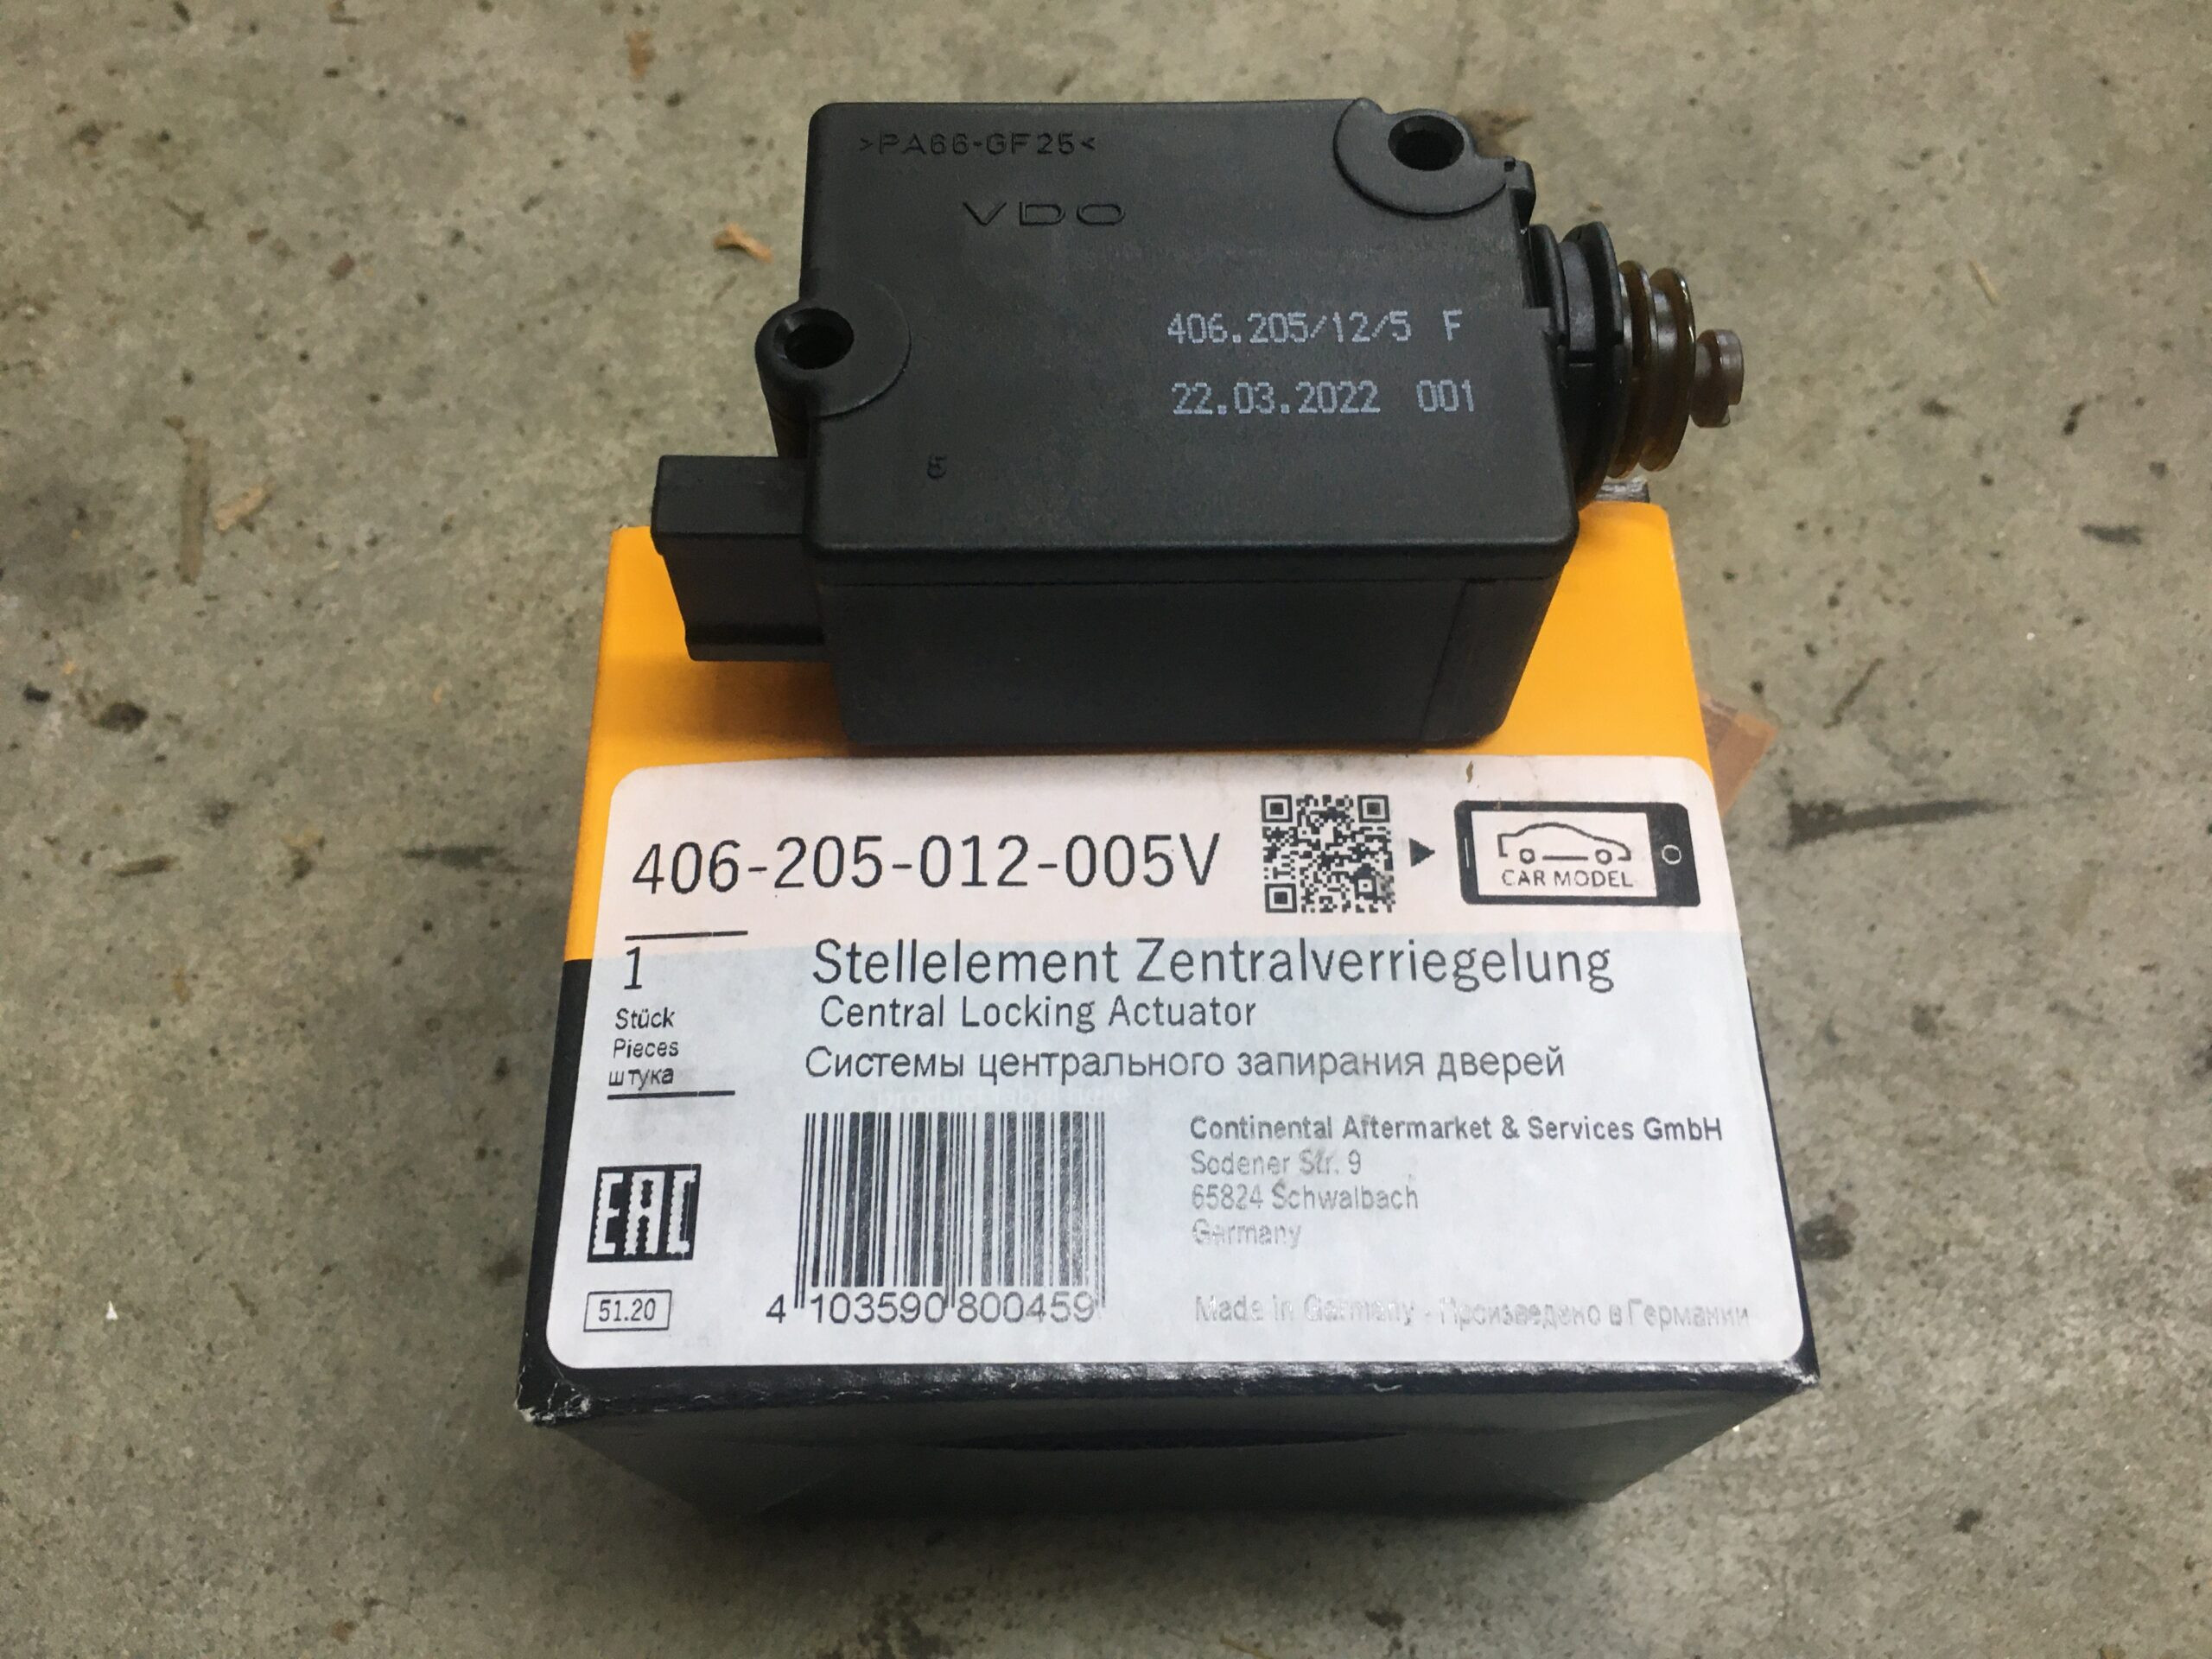
- Replacement Connectors and Terminals: Depending on the damage, you may need to replace the entire connector or just individual terminals. Source high-quality replacement parts that match the original specifications. Online automotive parts suppliers and dealerships are good sources for these components.
- Wiring Diagram (Recommended): A wiring diagram for your vehicle is an invaluable resource. It shows the layout of the electrical system, wire colors, and connector locations, making troubleshooting and repair much easier. You can often find wiring diagrams in your car’s repair manual or online subscription services.
- Pick and Terminal Release Tools: Many car electrical connectors have locking mechanisms that require specialized pick or terminal release tools to disconnect them without damage. Using the correct tool prevents breaking the connector housing or bending terminals.
The first step in fixing a broken car electrical connector is accurate diagnosis. Use your multimeter to test for continuity along the circuit leading to the faulty component.
- Visual Inspection: Begin with a thorough visual inspection of the connector and surrounding wiring. Look for any of the visible signs of damage mentioned earlier – cracks, corrosion, broken wires, or loose terminals. Pay close attention to the wire entry points into the connector, as this is a common stress point.
- Continuity Testing: Set your multimeter to the continuity setting (often indicated by a beep symbol or a diode symbol). With the circuit de-energized (battery disconnected), place one probe of the multimeter on one end of the wire leading into the connector and the other probe on the corresponding wire on the other side of the connector. If the multimeter beeps or shows a low resistance reading, continuity is good. If there is no beep or a very high resistance reading, there is a break in the circuit, likely within the connector or at the wire termination point.
- Voltage Testing (If Necessary): In some cases, you might need to check for voltage at the connector. With the battery reconnected and the circuit energized, use your multimeter to carefully measure voltage at the connector terminals. Refer to a wiring diagram to identify the correct terminals for voltage testing. Be extremely cautious when testing live circuits to avoid shorts or electrical shock.
Once you’ve diagnosed a broken connector, you have several repair options depending on the nature and extent of the damage.
- Terminal Repair or Replacement: If the connector housing is intact but a terminal is bent, corroded, or broken, you may be able to repair or replace just the terminal. Specialized terminal tools can be used to carefully straighten bent terminals. Corroded terminals can sometimes be cleaned with a wire brush or electrical contact cleaner, but replacement is often the more reliable solution. To replace a terminal, you’ll need to remove the old terminal from the connector housing using a terminal release tool and crimp a new terminal onto the wire.
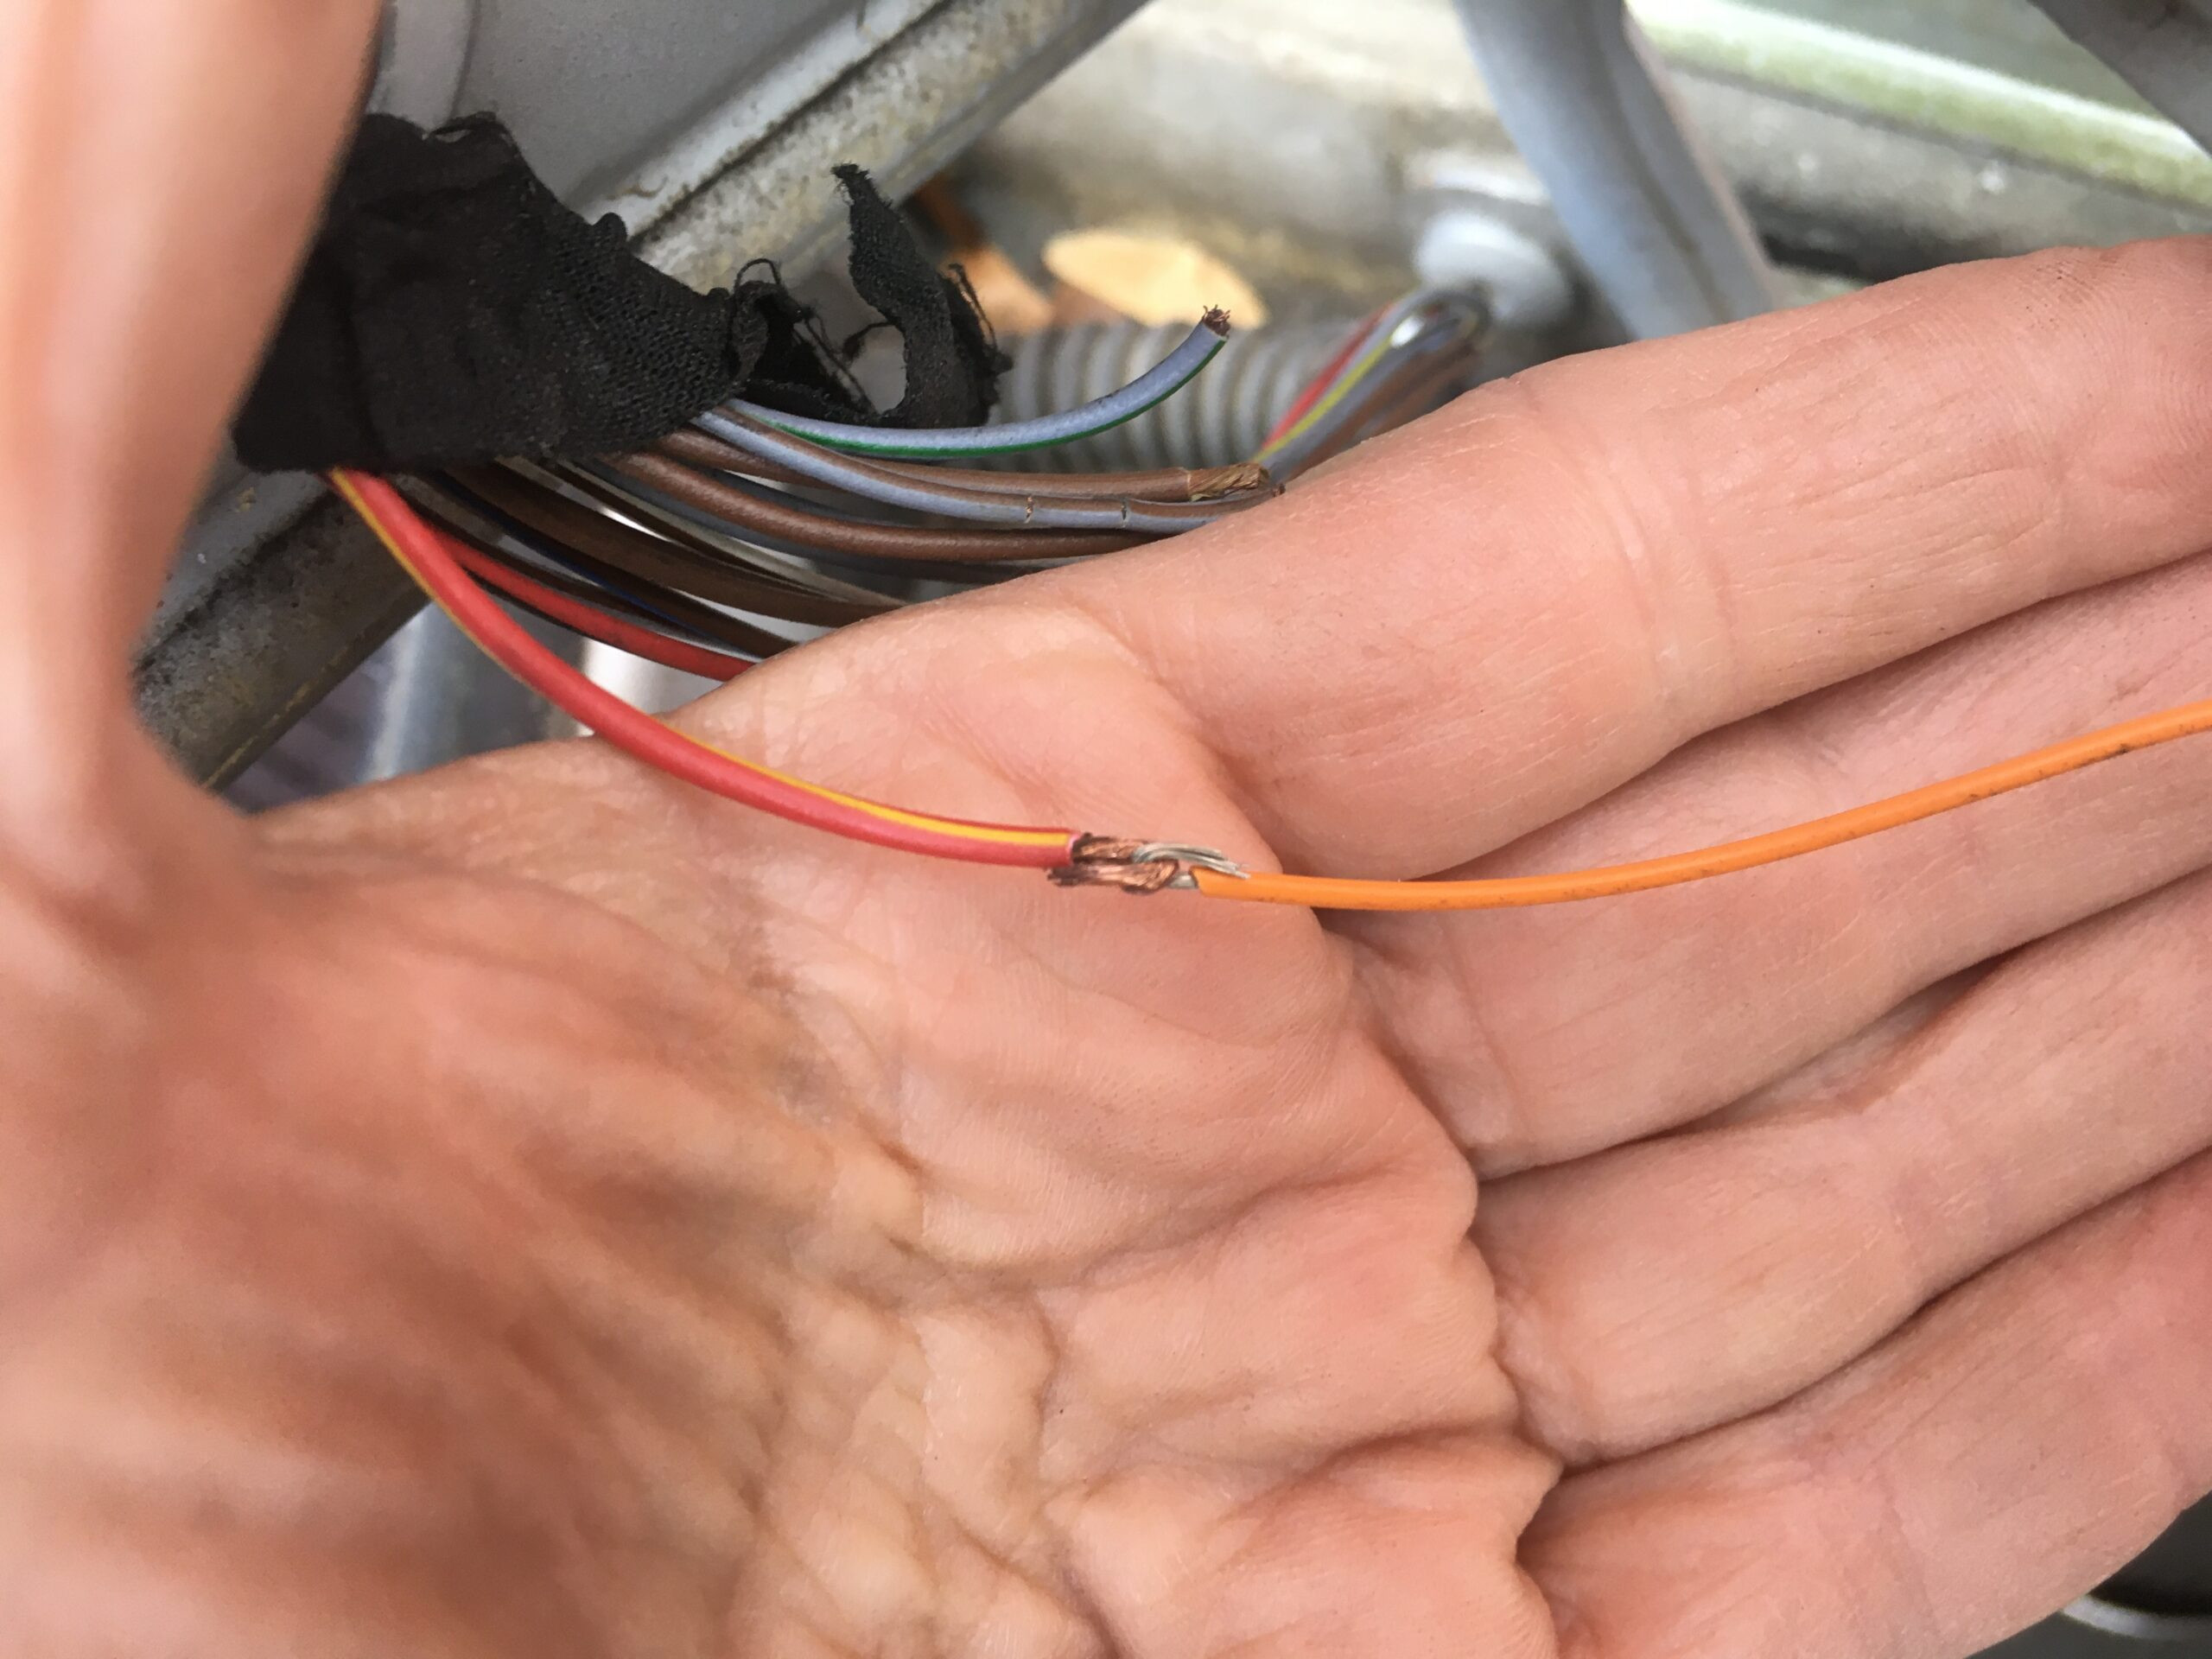
- Wire Splicing: If the wires are broken near the connector, as in the original article’s example, splicing is necessary. Cut back the damaged wire sections to expose clean wire. Use wire strippers to carefully remove insulation from the wire ends. There are several splicing methods:
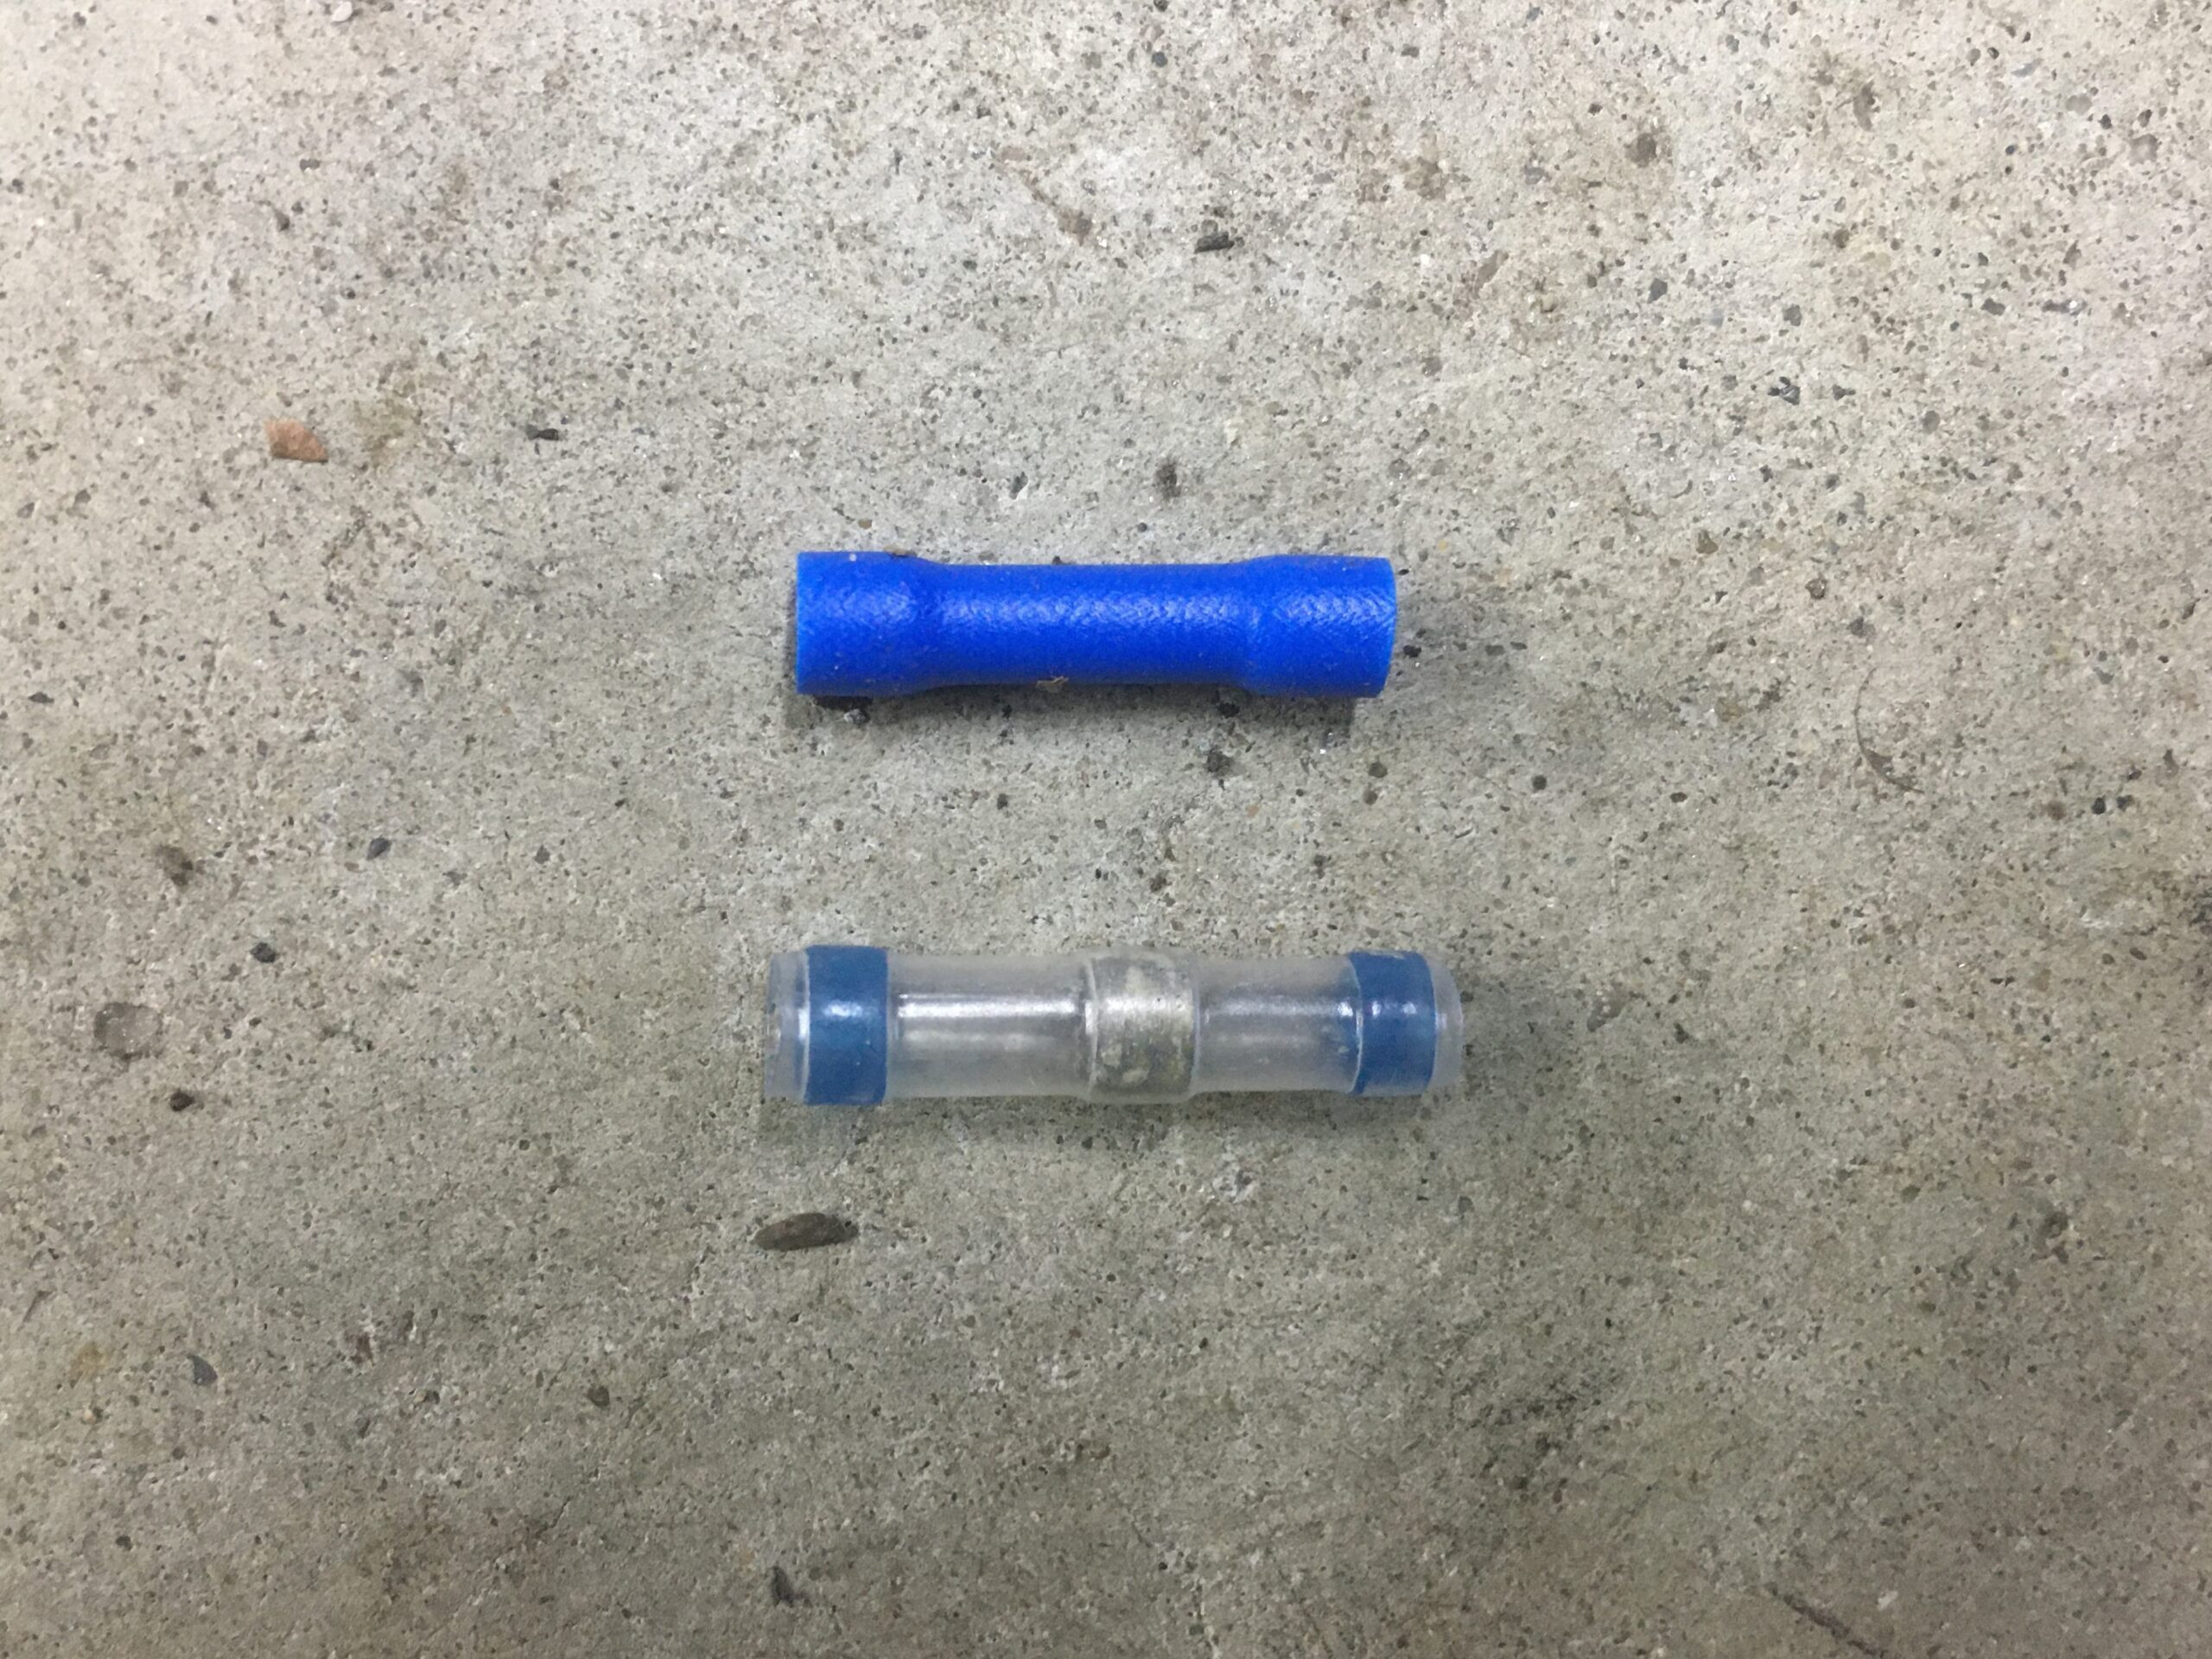
- Butt Splice Connectors: Butt splice connectors provide a quick and easy way to join two wires. Insert the stripped wire ends into the connector and crimp firmly using a crimping tool. For automotive applications, use insulated and preferably waterproof butt connectors.
- Solder and Heat Shrink Tubing: Soldering provides a stronger and more environmentally resistant splice. Twist the stripped wire ends together for a mechanical connection. Heat the joint with a soldering iron and apply solder until it flows smoothly into the wires. Allow the joint to cool, then slide heat shrink tubing over the splice and heat it with a heat gun until it shrinks tightly, creating a sealed and insulated repair. This method is highly recommended for long-lasting repairs, especially in harsh environments.
- Heat Shrink Solder Sleeves: These connectors combine soldering and heat shrinking in one step. Insert the stripped wire ends into the sleeve so they meet within the solder ring. Apply heat with a heat gun. The solder will melt and flow, and the tubing will shrink, creating a soldered and insulated splice. These are convenient and provide a good balance of ease and durability.
- Connector Replacement: If the connector housing itself is severely damaged – cracked, broken, or melted – or if multiple terminals are damaged, it’s best to replace the entire connector. Identify the correct replacement connector for your vehicle. Carefully remove the wires from the old connector, either by releasing the terminals or cutting the wires close to the connector. If releasing terminals, make sure to note the wire order. If cutting wires, strip the wire ends and splice them to the new connector using your preferred method (butt connectors, solder, or solder sleeves). Ensure the new connector is properly seated and locked in place.
After completing the repair, it’s essential to test your work and ensure the electrical system is functioning correctly. Reconnect the negative battery terminal. Turn the ignition to the “on” position (without starting the engine) and test the repaired component or circuit. Check for proper operation and ensure there are no warning lights or error codes related to the repair. If everything works as expected, congratulations – you’ve successfully fixed a broken car electrical connector!
To prevent future connector problems, consider these preventative measures:
- Regular Inspection: Periodically inspect accessible connectors, especially in high-stress areas like doors and trunk lids, for signs of damage or corrosion.
- Proper Wiring Routing and Securing: Ensure wiring harnesses are properly routed and secured to prevent chafing and excessive flexing. Use cable ties or clips to keep wires in place and away from moving parts or sharp edges.
- Weatherproofing: In exposed areas, use dielectric grease on connector terminals to prevent moisture and corrosion. Ensure weather seals on connectors are intact and functioning properly.
- Gentle Handling: When working on your car’s electrical system, handle connectors with care. Use the correct tools for disconnection and reconnection, and avoid forcing or pulling on connectors.
Fixing broken car electrical connectors is a manageable DIY task with the right knowledge and tools. By understanding the causes of connector failure, learning to diagnose problems effectively, and mastering proper repair techniques like splicing and soldering, you can save money, gain valuable skills, and keep your car’s electrical systems running smoothly. Remember to prioritize safety, take your time, and don’t hesitate to consult a wiring diagram or seek professional help if needed. With a little patience and effort, you can confidently tackle this common automotive repair and enjoy the satisfaction of fixing it yourself.
relay part
 relay cable
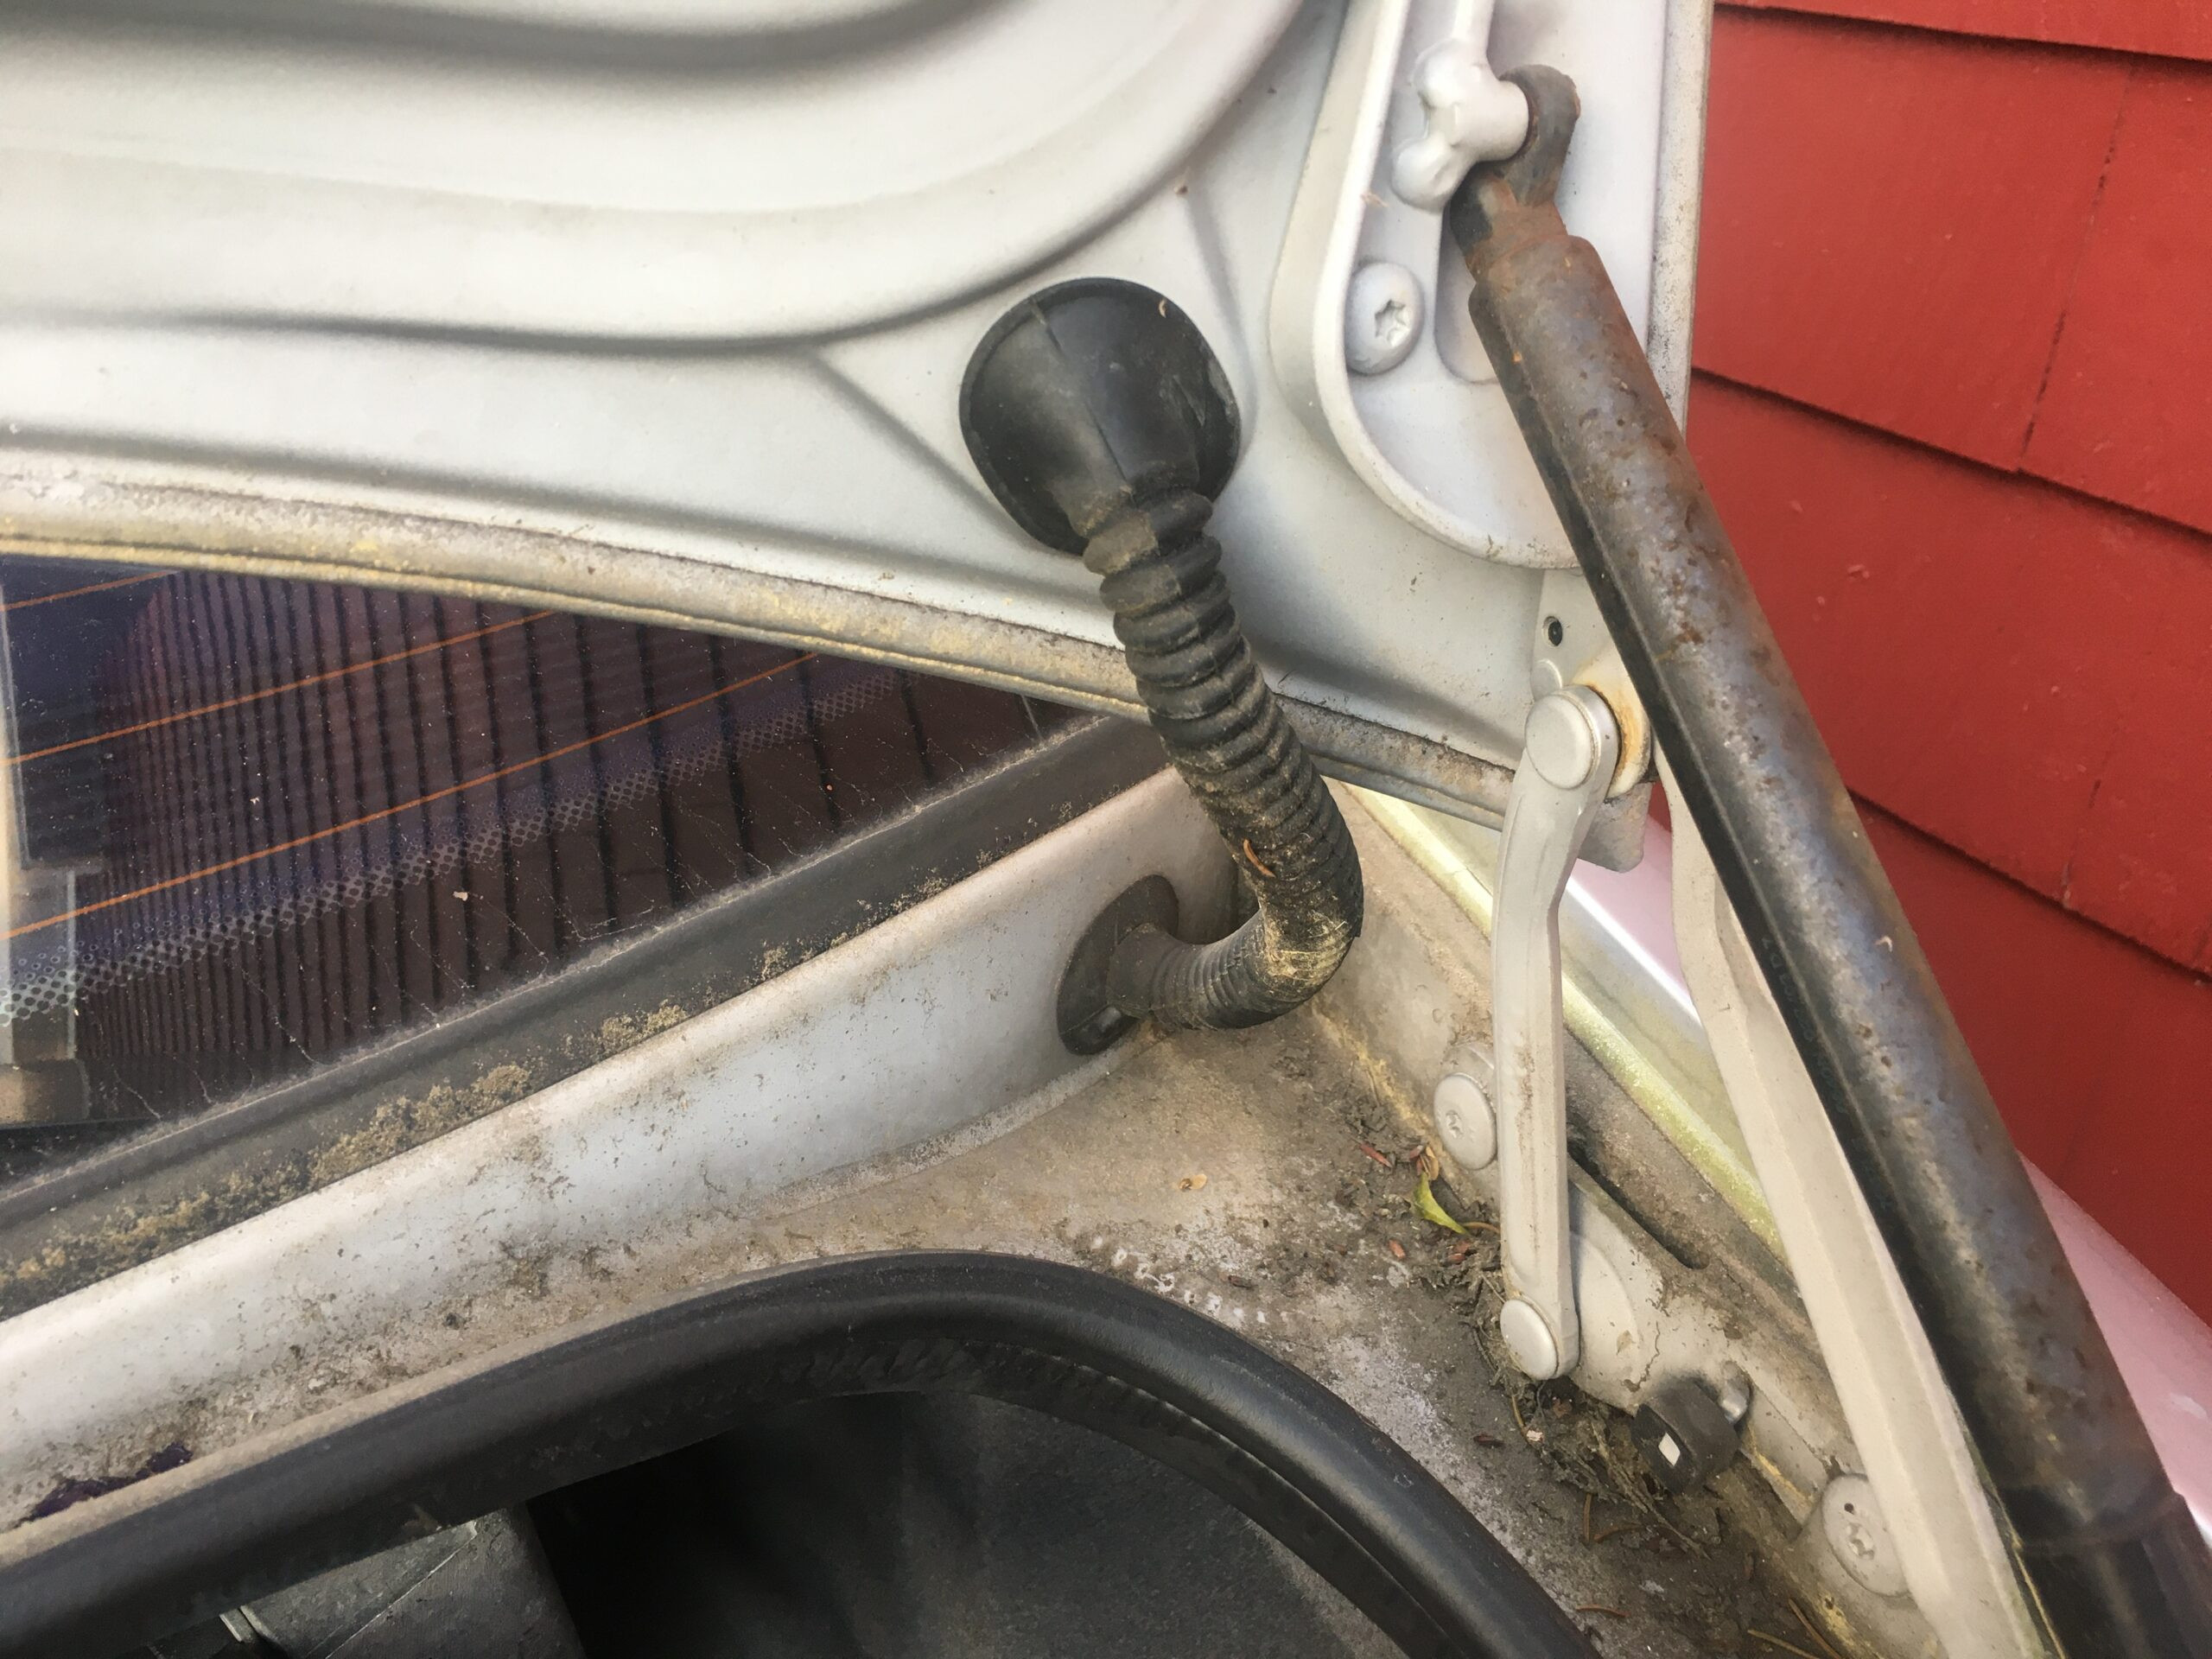 conduit trunk
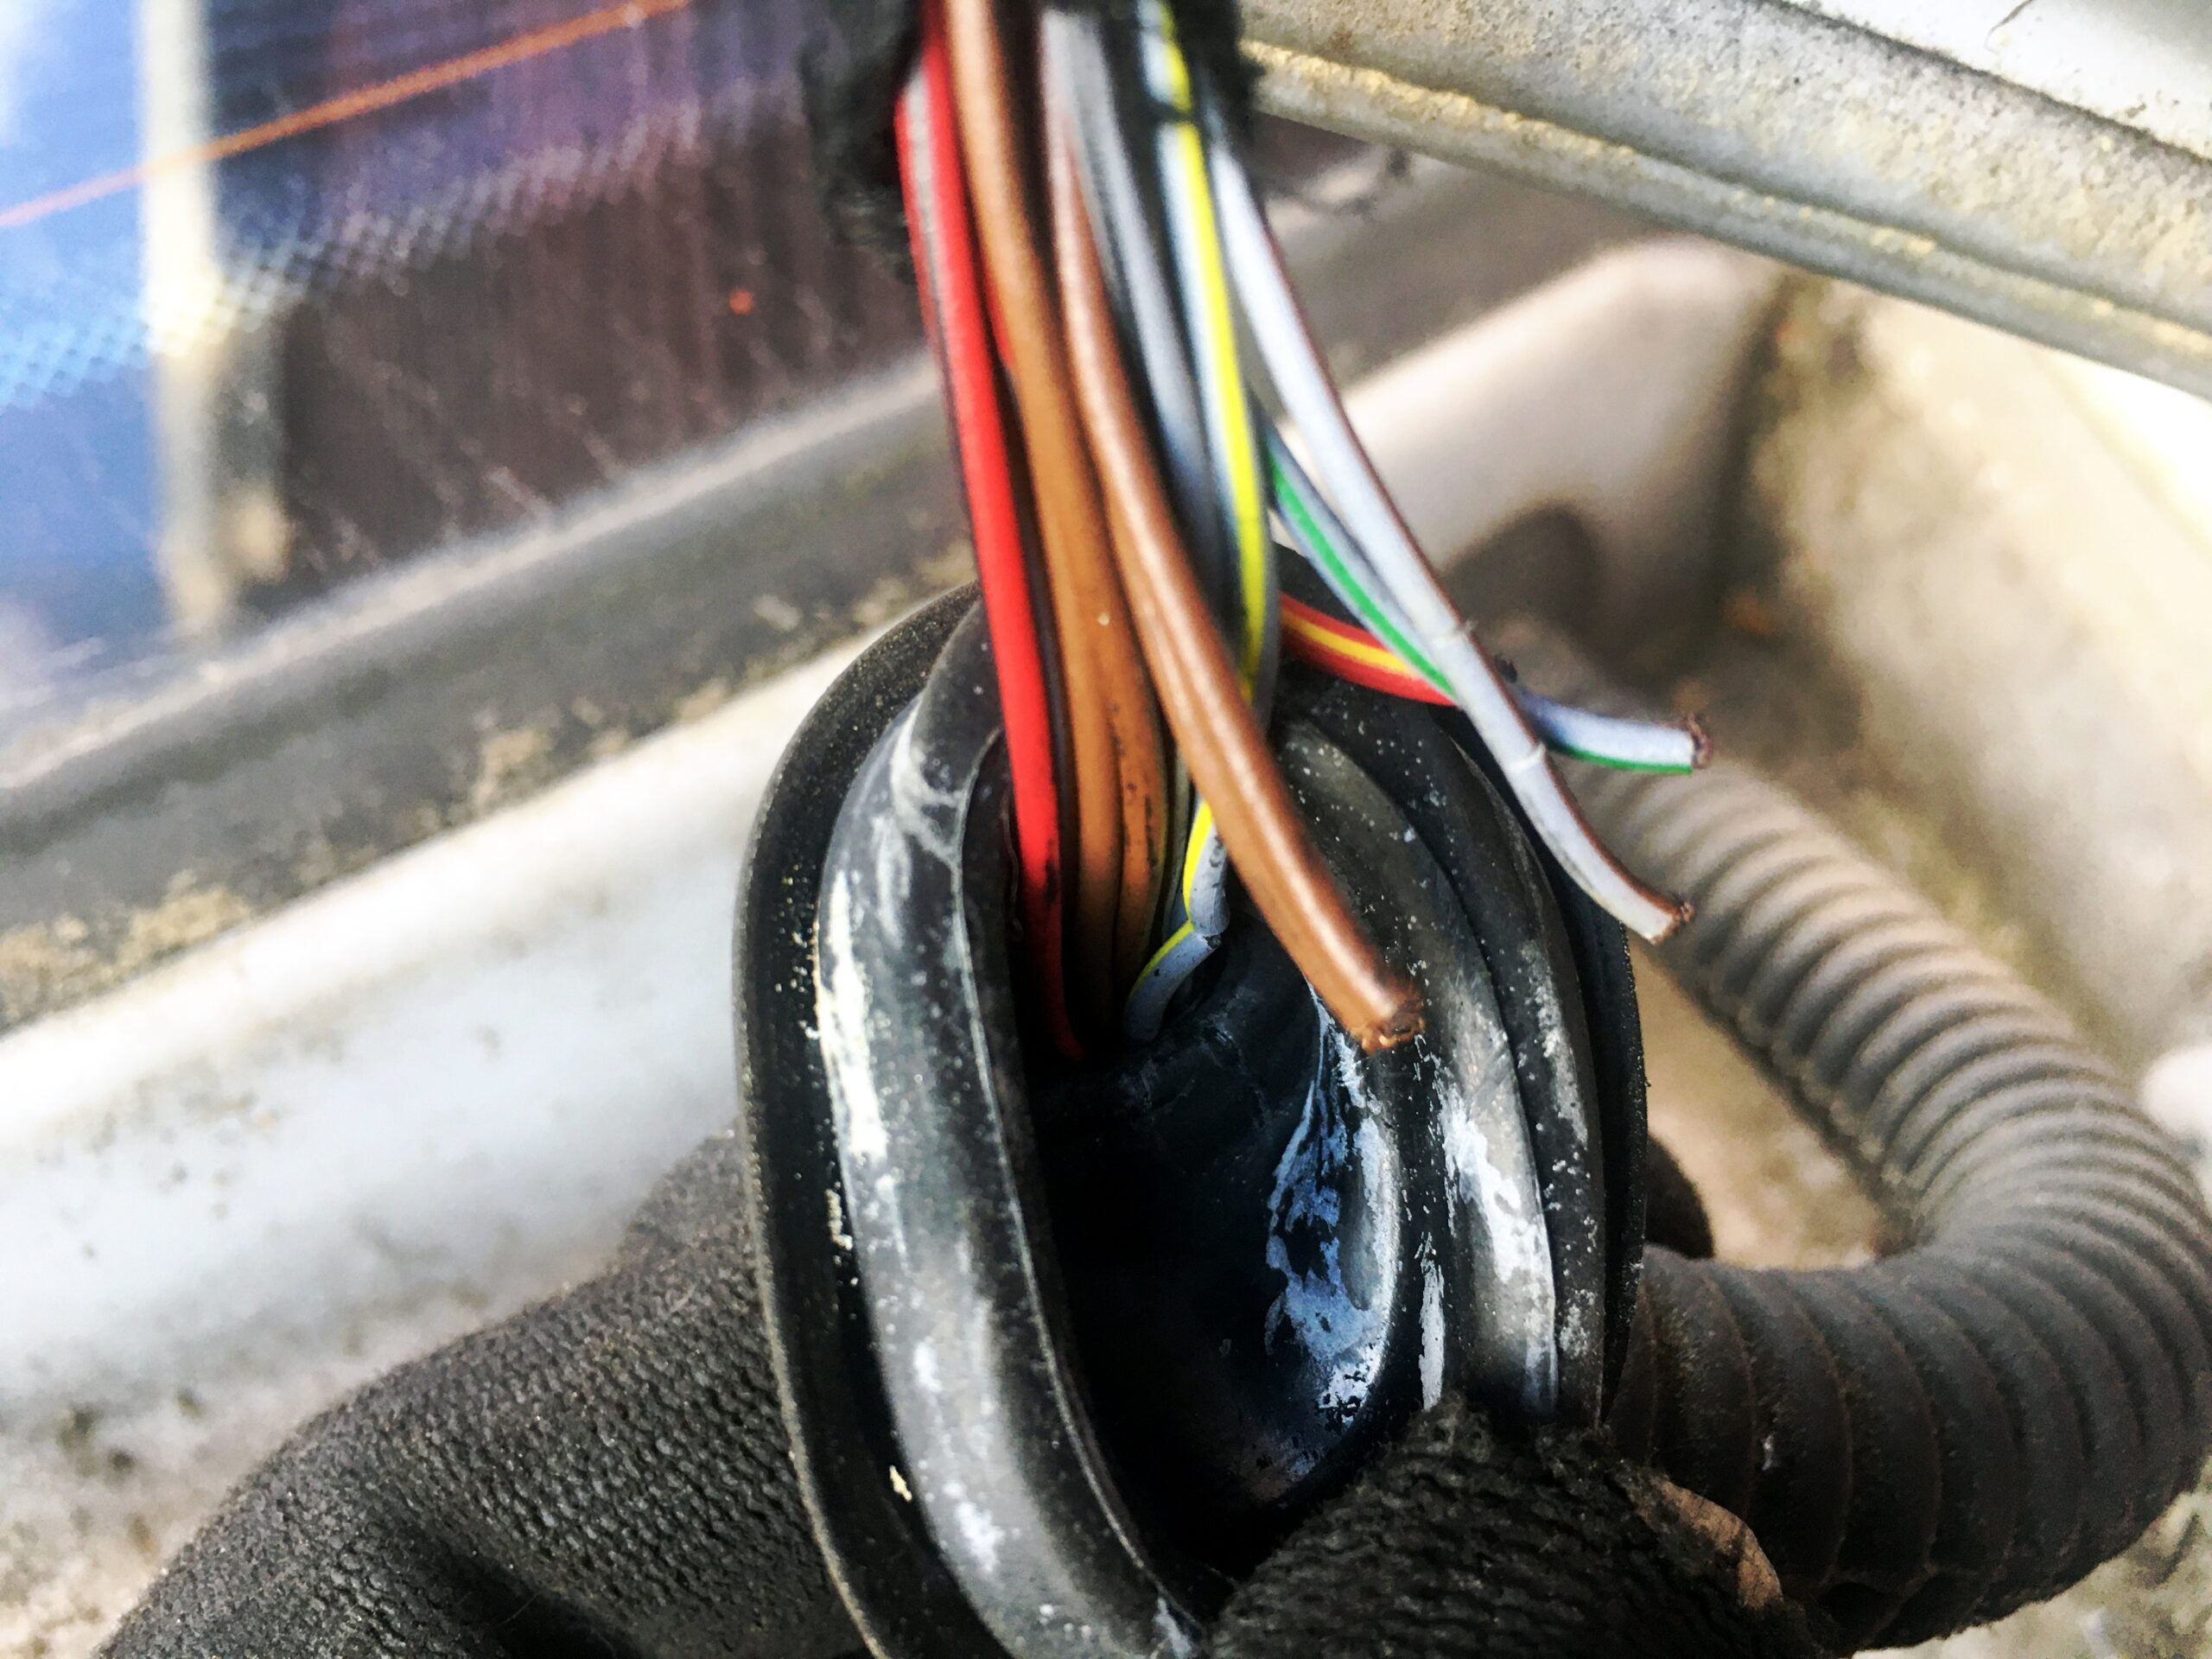 car wiring closeup
 car wiring cut closeup
 car wiring conduit closeup
 car wiring connector
 car wiring splice tie
 car wiring solder closeup
 car wiring shrink heat gun closeup
 car wiring connections heat shrink
 car wiring connections in new conduit