How to Fix Clear Coat Chipping on Your Car: A Comprehensive Guide
Clear coat chipping is a common issue that plagues car owners, detracting from their vehicle’s appearance. When your car’s paint job starts to show these unsightly blemishes, it’s natural to seek a solution. Taking your car to a professional paint shop is often the recommended route, especially for achieving a flawless finish. But what exactly happens when you entrust your vehicle to the experts for clear coat repair? This guide delves into the detailed process of professional clear coat chip repair, helping you understand what’s involved and why it comes with a certain price tag.
Understanding the Professional Clear Coat Repair Process
When you bring your car to a reputable auto body shop to address clear coat chipping, the technicians follow a meticulous process to ensure a high-quality and lasting repair. This isn’t a simple touch-up job; it requires expertise, specialized tools, and a controlled environment to restore your car’s paint to its former glory. Here’s a breakdown of the typical steps involved:
Preparation: Washing and Masking for Optimal Access
The first step is thorough preparation. The panel affected by clear coat chipping, whether it’s a door, fender, hood, or any other part, needs to be meticulously cleaned. This begins with a comprehensive wash to remove any dirt, grime, waxes, or contaminants that could interfere with the paint adhesion and finish quality.
Depending on the location and severity of the damage, the panel might be removed from the vehicle. Detaching parts like the hood or trunk lid allows for easier access and more precise work in the paint booth. If removal isn’t practical, or for larger areas, the surrounding panels and sometimes even the entire car are carefully masked. This masking process is crucial to protect adjacent areas from overspray, ensuring a clean and professional paint application.
Sanding and Surface Leveling: Creating a Smooth Foundation
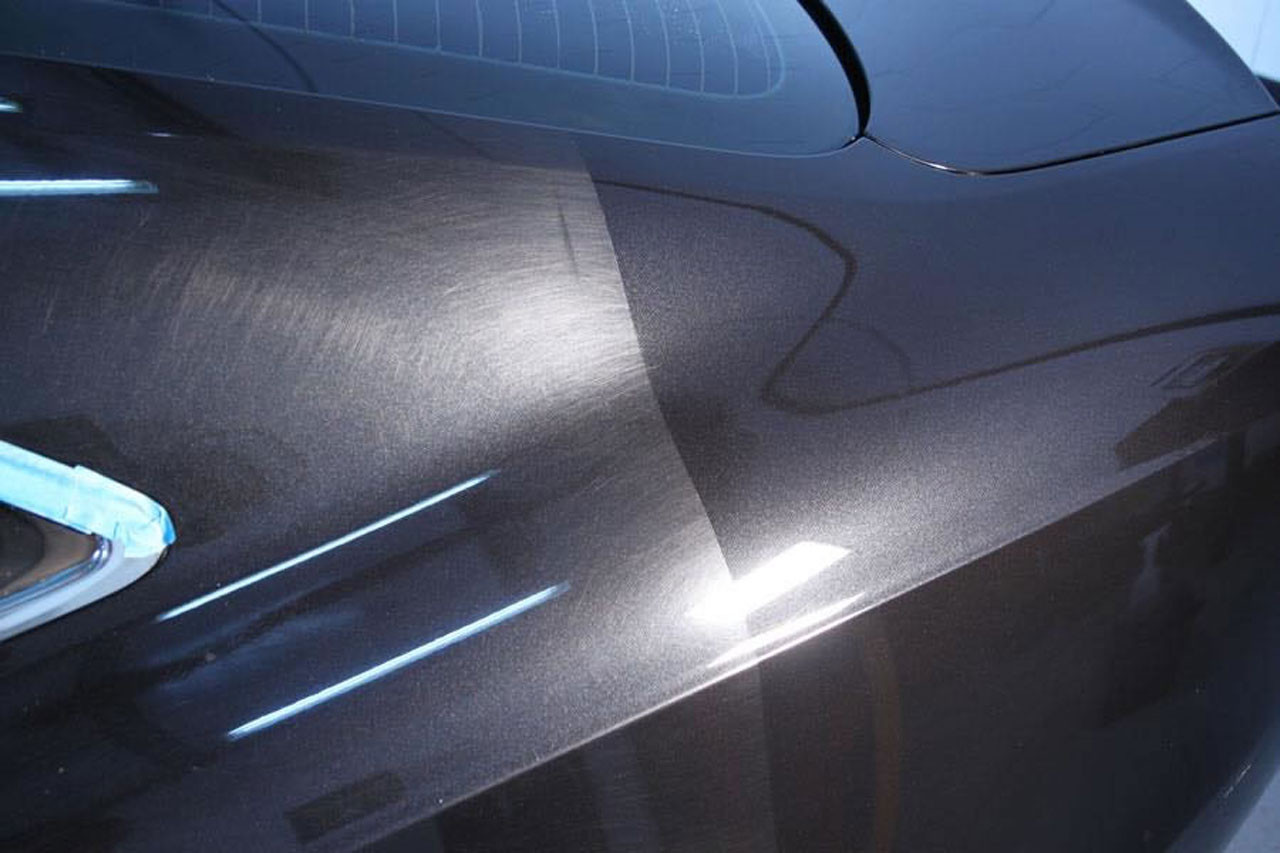
Once prepped and masked, the next critical stage is sanding. Painters will sand down the entire panel to eliminate the existing clear coat and level the underlying base coat. This step is vital for removing any oxidation, minor scratches, and imperfections in the original paint that may have contributed to or resulted from the clear coat chipping.
For typical clear coat issues, technicians often start with 400 to 600-grit sandpaper. This grade is abrasive enough to remove the clear coat and smooth the base coat without being overly aggressive. However, if the paint damage is more extensive, reaching down to the primer layer, coarser sandpaper like 220-grit may be used initially. From there, they progressively use finer grits, working their way up to achieve an impeccably smooth surface ready for refinishing.
Cleaning and Degreasing: Ensuring Paint Adhesion
After sanding, any residue is thoroughly washed away, typically with water. Following the wash, a degreaser is applied to remove any remaining oils, silicones, or contaminants from the sanding process or handling. Finally, the panel is wiped down with a solution of isopropyl alcohol and water. This final wipe-down is critical for surface preparation, ensuring the panel is perfectly clean and provides optimal adhesion for the primer, base coat, and clear coat layers to come.
Primer Application: Building a Solid Base (When Necessary)
If the sanding process has gone deep enough to expose the primer layer, or if the original primer is compromised, a new primer application becomes necessary. Primer serves as a foundational layer that promotes adhesion between the bare panel and the subsequent paint layers. It also helps to create a uniform surface for color application and enhances paint durability.
After the primer is applied, it needs to cure completely according to the manufacturer’s instructions. Once cured, the primed area is sanded again, typically with a fine 1500-grit sandpaper. This sanding step ensures the primer surface is perfectly level and smooth, creating an ideal base for the color coat.
Color Matching and Application: Achieving Seamless Integration
Achieving a seamless repair hinges on accurate color matching. For factory car colors, paint shops rely on manufacturer-provided color codes. These codes enable them to precisely replicate the original vehicle color, ensuring a perfect match.
However, custom colors or older vehicles where paint may have faded present a greater challenge. In these cases, paint technicians use their expertise and color matching tools to carefully mix and adjust the paint until it perfectly matches the surrounding original paint. This often involves a degree of trial and error, requiring a skilled eye and meticulous adjustments.
Once the color is matched, several coats of the base color are sprayed onto the prepared panel. While the minimum is often two coats, more layers might be applied, especially if the panel was sanded down to the primer. Multiple coats ensure uniform color coverage and depth.
The application of paint itself is a refined skill. Achieving a consistent, high-quality finish depends on numerous factors, including proper compressor settings, paint gun nozzle selection, maintaining the correct distance from the surface, precise spray pattern overlap, and allowing adequate flash times between coats. The painter’s steady hand and expertise are paramount in this stage.
Clear Coat Application: Protecting and Enhancing the Finish
The final and crucial step is the application of the clear coat. A polyurethane clear coat is typically used for automotive finishes due to its durability, UV protection, and gloss properties. This clear coat is mixed with precise ratios of reducer and hardener. The reducer thins the clear coat for optimal spraying, while the hardener ensures it cures to a solid, protective layer.
Typically, three coats of clear coat are applied. The first two coats are usually medium wet coats, followed by a slightly heavier final coat. This heavier final coat ensures complete coverage and sealing of the entire painted surface, providing maximum protection and a deep, glossy finish. Each coat is allowed to flash, or partially dry, for 5 to 10 minutes before the next is applied. This flash time is essential for proper adhesion and preventing runs or sags in the clear coat.
Curing and Post-Treatment: Allowing for a Durable Finish
After the clear coat application, the panel or vehicle is allowed to cure. While the clear coat may be touch-dry relatively quickly, full curing takes time. Typically, after 24 to 48 hours, the clear coat will have cured sufficiently for the car to be returned to the customer. However, full curing, where the clear coat reaches its maximum hardness and durability, can take up to 7 days.
During this curing period, and for several weeks following, it’s crucial to avoid using any waxes, ceramic coatings, or paint protection films on the newly painted area. This waiting period allows for complete off-gassing of the paint and clear coat, ensuring the longevity and integrity of the finish. Applying these products too soon can trap solvents and hinder the curing process, potentially leading to issues down the line.
The Cost of Professional Clear Coat Repair
As you can see, repairing clear coat chipping professionally is a labor-intensive and complex process involving multiple steps, specialized materials, and skilled technicians. This complexity is reflected in the cost. You can expect to pay at least a few hundred dollars to have a single body panel repainted. If the damage is extensive, requiring work on multiple panels or even a complete vehicle repaint, the cost can easily escalate into the thousands of dollars.
While the price may seem significant, it reflects the expertise, materials, and time invested in restoring your car’s finish to a high standard. For those seeking a flawless and durable repair, entrusting the job to professionals remains the most reliable approach.