How to Fix Stress Cracks in Car Paint: A DIY Guide
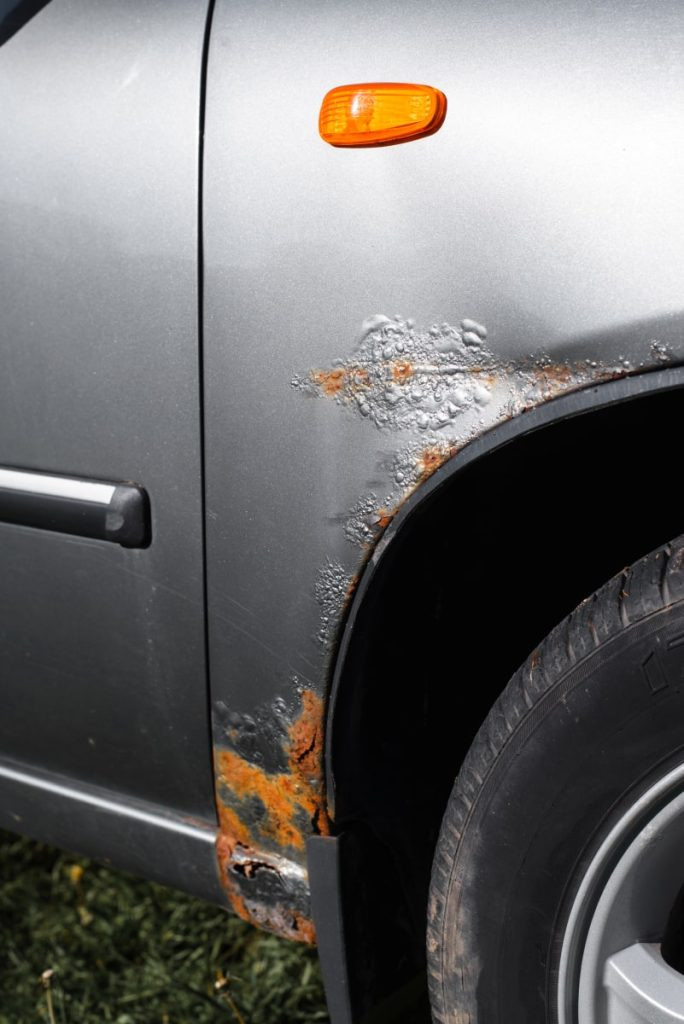
Stress cracks in your car’s paint, especially if it’s an older acrylic lacquer finish, can be an unsightly issue that detracts from your vehicle’s appearance. These fine lines, often appearing due to age, use, and temperature fluctuations, might seem like a major problem. However, the good news is that fixing stress cracks in car paint is a straightforward process you can tackle yourself. This guide will walk you through a simple yet effective method to repair those cracks permanently, restoring your car’s paintwork and preventing the cracks from reappearing.
Materials You’ll Need
Before you begin, gather these essential materials:
- Single-edge razor blade
- Krazy Glue (Cyanoacrylate adhesive)
- Baking soda
- 400-grit sandpaper
- Touch-up acrylic lacquer paint (matched to your car’s color)
- Small brush (if not using spray paint)
- 1500-grit wet-and-dry sandpaper
- Polishing compound
- Wax
- Small block of wood (for sanding)
- 3M Scotch Brite abrasive pad (fine) (optional, for spray paint touch-up)
- Degreaser (optional, for spray paint touch-up)
- Spray gun (optional, for spray paint touch-up)
Step-by-Step Guide to Fixing Stress Cracks
Follow these steps carefully to effectively repair stress cracks in your car paint:
Step 1: Prepare the Crack Area
Begin by meticulously cleaning the area around the stress crack. Use soap and water to remove any dirt, wax, or contaminants. Once clean, thoroughly dry the area.
Using a single-edge razor blade, carefully cut along the stress crack, widening it slightly down to the bare metal. The goal here is to remove any loose or flaking paint and create a clean channel for the adhesive. Bevel the edges of the crack to increase the bonding surface for the Krazy Glue. Aim for a cut that is approximately 1/16″ wide. Remove any loose paint chips from the area.
Preparing stress crack with razor blade
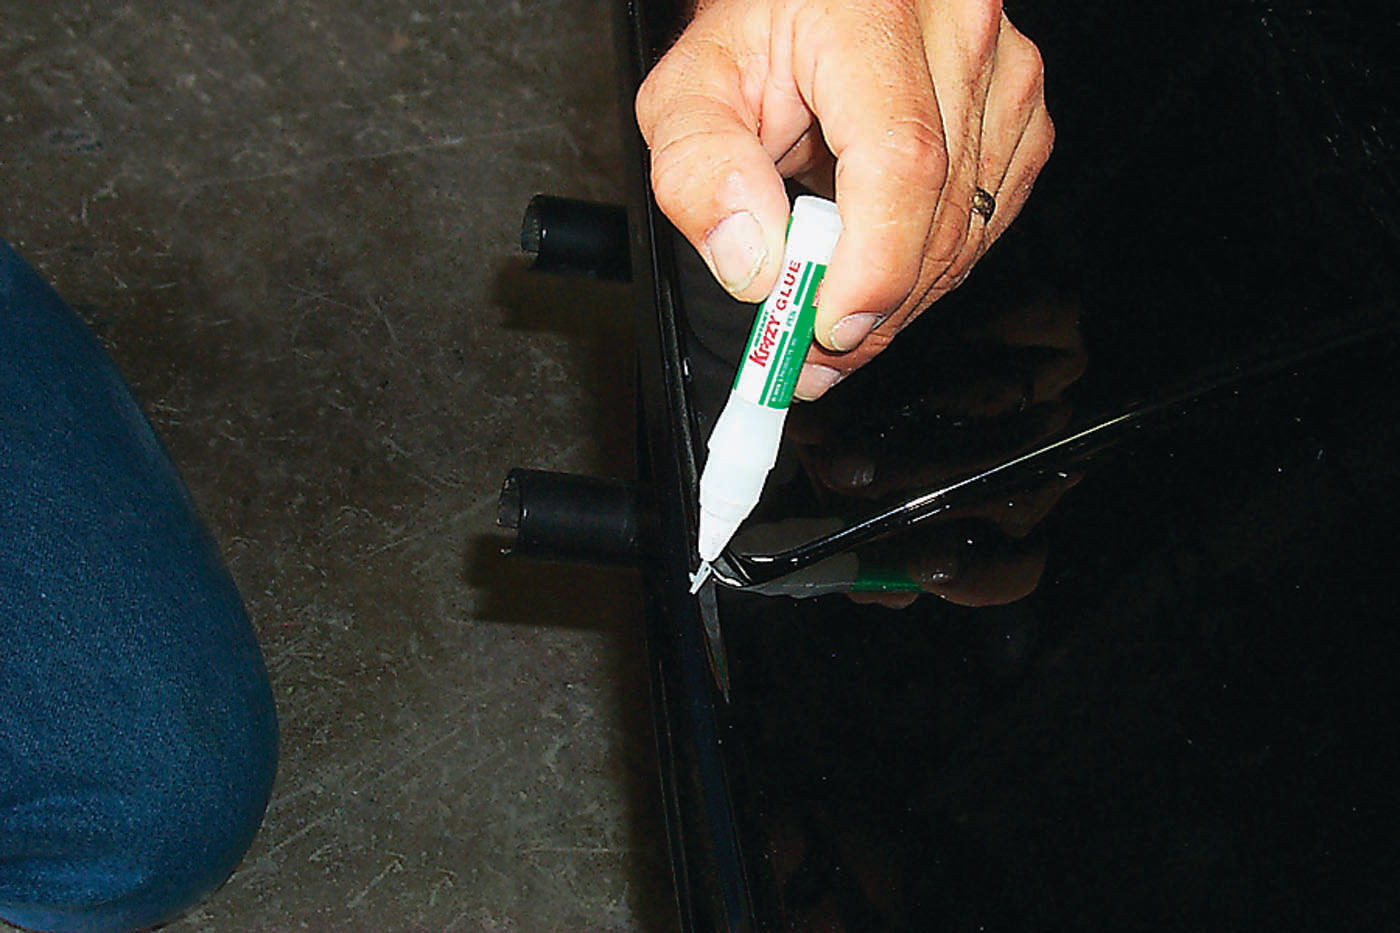
Step 2: Apply Krazy Glue
Open your tube of Krazy Glue. Apply a line of Krazy Glue directly into the center of the prepared crack. Slightly overfill the crack, ensuring the glue reaches all areas of the crevice. Krazy Glue is ideal for this task because of its strong bonding capabilities and flexibility, which allows it to withstand vibrations and stress without cracking again.
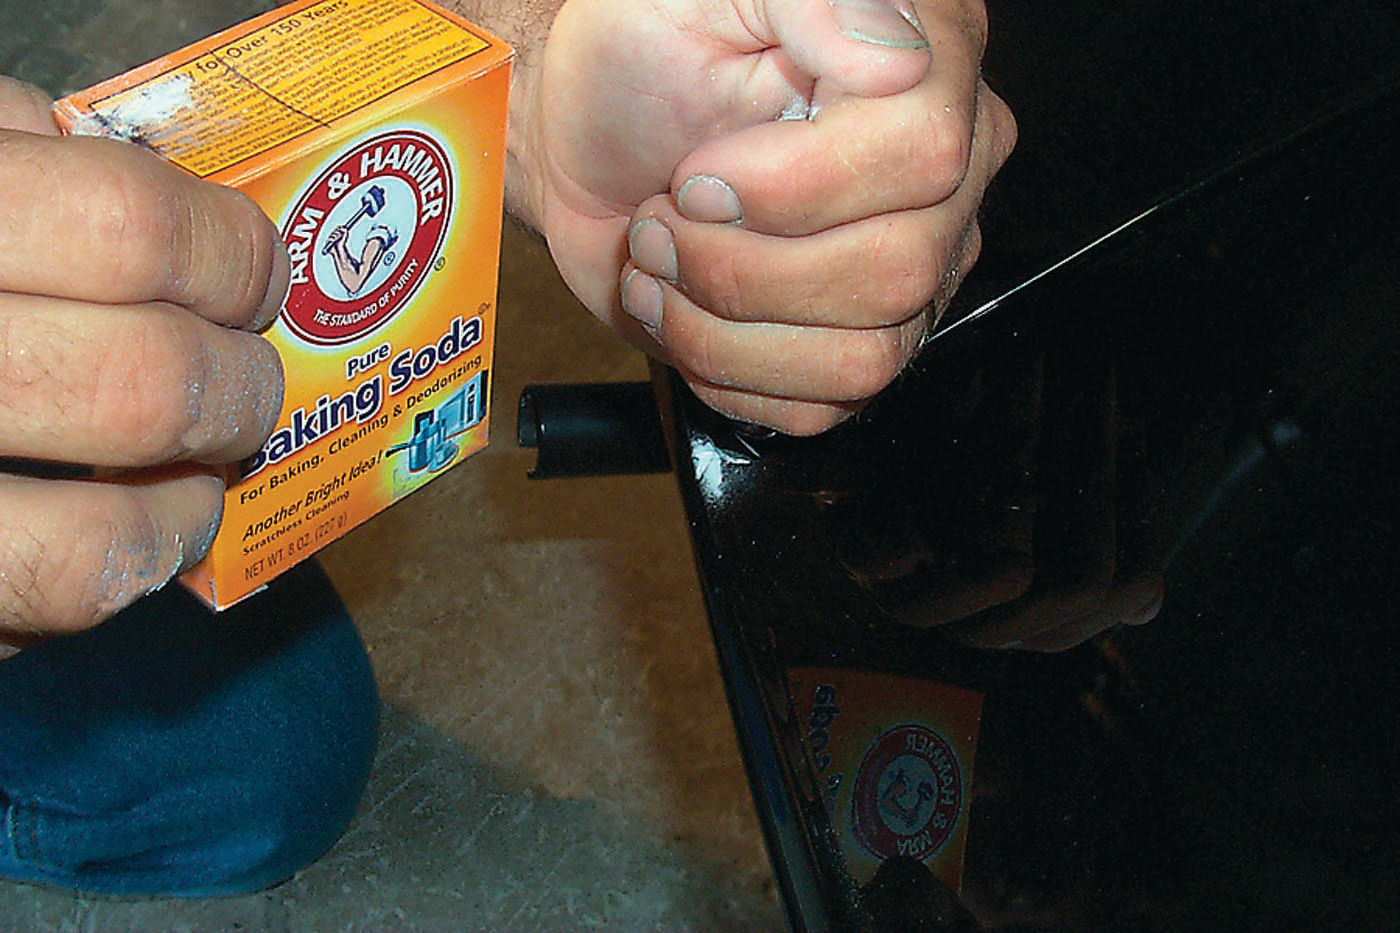
Step 3: Apply Baking Soda
Immediately after applying the Krazy Glue, lightly dust baking soda over the wet glue. The baking soda acts as an activator, causing the Krazy Glue to cross-link and harden rapidly. This reaction creates a very strong and durable filler. Allow a few minutes for the mixture to set and harden completely. You can work on other cracks while waiting for each repair to cure. The chemical reaction between Krazy Glue and baking soda essentially knits the paint back together, often making the repaired area even stronger than the original paint.
 Filling stress crack with Krazy Glue and baking soda
Step 4: Sand the Repair
Once the Krazy Glue and baking soda mixture has fully hardened, brush off any excess baking soda from the repaired area. Take a small piece of 400-grit sandpaper and wrap it around a small, flat block of wood. Gently sand the repaired area to level it with the surrounding paint. The block helps ensure you sand evenly and avoid creating uneven surfaces.
Step 5: Touch-Up Painting
Now it’s time to touch up the repaired area with paint. Ideally, you should have touch-up acrylic lacquer paint that matches your car’s color. If you don’t have any, an automotive paint dealer can usually provide a custom match using computer color matching technology.
For Brush Application: If you don’t have spray painting equipment, use a small brush to carefully dab the touch-up paint over the repaired area. Apply thin coats and allow each coat to dry thoroughly before applying the next. Let the paint dry completely for a few days to ensure it hardens properly before proceeding further.
For Spray Application (Optional): If you have a spray gun and are comfortable using it, you can achieve a smoother finish. Lightly scuff the repaired area with a fine 3M Scotch Brite abrasive pad. Clean the area thoroughly with a degreaser to remove any residues. Then, apply a thin coat of primer followed by thin coats of the color coat, blending it into the surrounding paint.
Step 6: Final Sanding and Polishing
After the touch-up paint is completely dry, you may need to further refine the finish. If you used a brush, or if the spray paint has any slight orange peel texture, use a small block of wood and 400-grit wet-and-dry sandpaper to carefully smooth the repaired area. Follow this with 1500-grit wet-and-dry sandpaper to remove any scratches left by the 400-grit paper. For spray painted areas with minimal texture, you might start directly with 2000-grit wet-and-dry sandpaper.
Finally, use a fine polishing compound to polish the repaired area to restore the shine and blend it seamlessly with the surrounding paint. Finish by applying wax to protect the repaired spot and enhance the gloss.
Conclusion
By following these steps, you can effectively fix stress cracks in your car paint and achieve a lasting repair. This DIY method using Krazy Glue and baking soda is not only easy to perform but also provides a robust and flexible fix that prevents cracks from reappearing. With a little patience and attention to detail, you can restore your car’s paintwork and maintain its flawless appearance for years to come.