How to Fix a Crack in Your Car Bumper: A Step-by-Step Guide
A cracked car bumper isn’t just an eyesore; it can compromise your vehicle’s structural integrity over time. Whether you’ve misjudged a parking space, been in a minor fender bender, or encountered road debris, bumper damage is a common headache for car owners. Body shops are frequently called upon to address these issues, guiding customers on the most effective solutions to get them back on the road swiftly and safely.
This guide will delve into the crucial decision points of bumper repair versus replacement and provide a comprehensive, step-by-step method on how to fix a crack in your car bumper. From reinforcing structural integrity to flawlessly refinishing the paintwork, we’ll equip you with the knowledge to tackle this repair with confidence.
Repairing vs. Replacing a Bumper: When to Choose Which?
The question on every car owner’s mind when facing a cracked bumper is: repair or replace? The good news is, a crack doesn’t automatically necessitate a full bumper replacement. Modern automotive manufacturing increasingly utilizes plastics in vehicle construction, and advancements in automotive plastic repair techniques mean that many bumper damages can be effectively repaired. For auto body professionals, and even savvy DIYers, repair should always be the initial consideration when a vehicle with a cracked bumper rolls in.
However, replacement is sometimes unavoidable. Certain vehicle manufacturers, for example, may advise against repairs on specific models, mandating bumper replacement instead. Bumpers with extensive damage, multiple cracks, or damage that has been neglected for a prolonged period might also be beyond repair and require replacement. A thorough assessment is crucial to determine the most appropriate course of action.
For minor cracks or dents that haven’t penetrated deeply into the bumper’s structure, SMART repairs (Small to Medium Area Repair Technology) can be an excellent option. These localized repairs can often be performed without removing the bumper, offering a significantly more cost-effective and time-saving solution compared to full replacement.
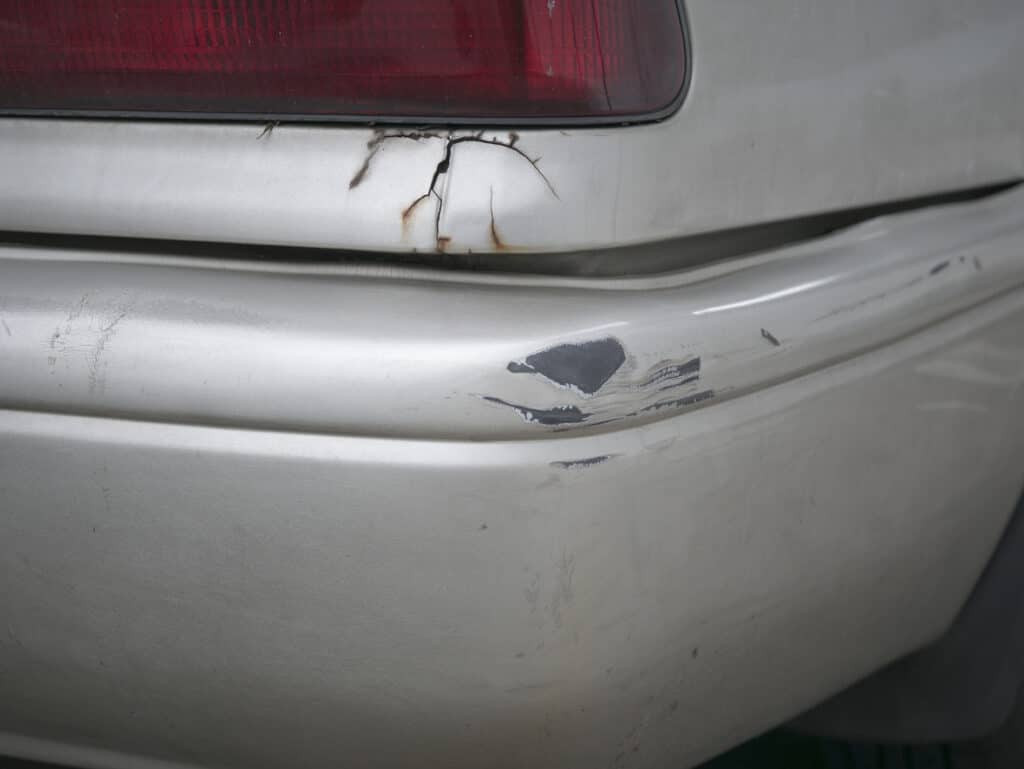
Close-up of a cracked car bumper, illustrating typical damage requiring repair.
Assessing the Damage: Is Repair Possible?
To accurately decide between repair and replacement, a case-by-case evaluation of the damage is essential. Consider these key questions during your assessment:
Is it structurally repairable?
Begin by carefully examining the extent of the crack. Consult the vehicle manufacturer’s guidelines to ascertain if bumper repairs are permissible for your specific make and model, as some manufacturers stipulate replacement. Evaluate the crack’s size and depth. Severe cracks may compromise the bumper’s structural integrity to a degree that repair is not feasible or recommended.
Is it safe to repair?
Safety is paramount when dealing with any auto repair, especially bumpers, which are critical safety components. If repair is chosen, rigorously assess whether the bumper’s structural integrity can be restored to its original safety standards. Bumpers are designed to absorb impact and protect occupants; compromised structural integrity due to improper repair could pose a safety risk in future incidents.
Adhere strictly to manufacturer guidelines regarding repair versus replacement. Replacement is mandatory if manufacturer recommendations dictate it, if the underlying bumper structure is damaged, or if repairs could negatively impact the functionality of vehicle safety systems or sensors.
Is repair an efficient solution?
For isolated, minor cracks or superficial damage, repair is typically the most efficient route. However, extensive cracking or widespread bumper damage can significantly lengthen repair times, potentially making full replacement a more time-efficient option.
A qualified Vehicle Damage Assessor (VDA) can provide an estimate of the labor hours required for repair. This estimate should be weighed against the cost of a new bumper, considering parts availability and delivery lead times. This comparison will illuminate the most cost-effective and efficient solution.
Is repair the best option for the customer?
Prioritizing the customer’s best interests is crucial. If a repair offers only a temporary fix to a more significant underlying issue, transparency and clear communication with the customer are key. SMART repairs may be ideal for customers seeking a quick, economical solution for minor cosmetic damage. Conversely, more substantial damage might necessitate repair or replacement for long-term durability and safety. Engage in open dialogue with the customer to understand their priorities, time constraints, and budget, presenting all viable options transparently.
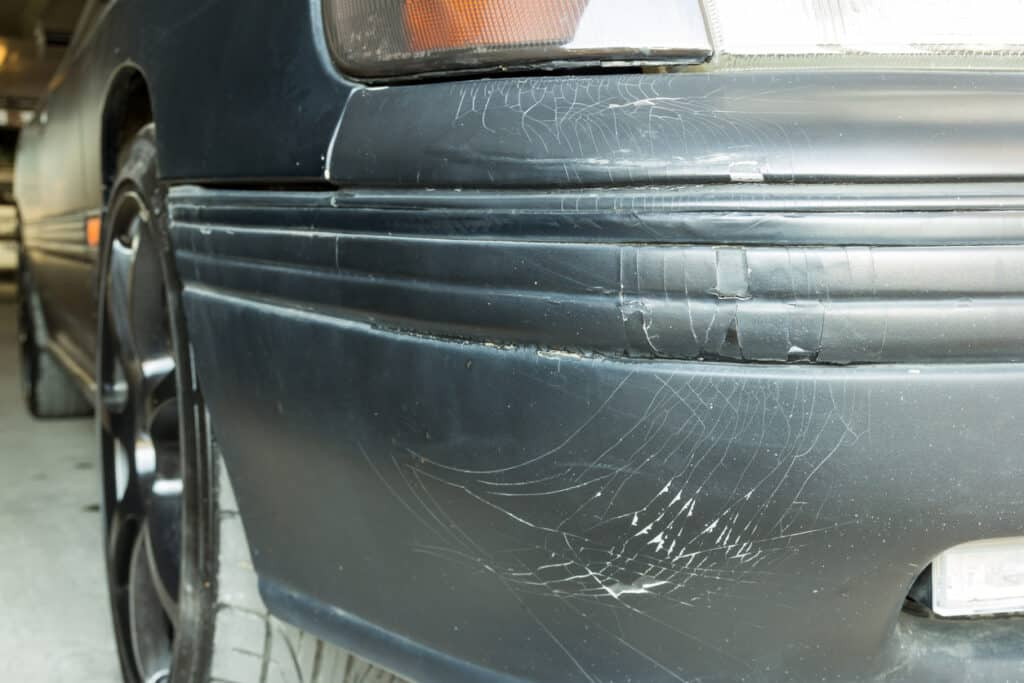 Front car bumper damage assessment: deciding between repair and replacement.
Step-by-Step Guide: How to Fix a Crack in Your Car Bumper
Once you’ve determined that repairing the cracked bumper is the right course of action, follow these detailed steps for a professional-quality repair. While removing the bumper might be necessary in some cases, attempt to perform the repair in situ whenever possible to minimize labor.
Step 1: Thoroughly Assess the Damage
Begin by meticulously evaluating the damage. For a comprehensive assessment, removing the bumper is advisable. This allows you to fully visualize the crack’s extent, identify any hidden cracks, and definitively decide whether repair or replacement is the appropriate path.
Step 2: Protect Adjacent Areas with Masking Tape
To safeguard surrounding panels and vehicle areas from drilling, sanding, and painting byproducts, apply JTAPE Premium Cloth Protection Tape to the edges adjacent to the bumper. This robust automotive cloth protection tape acts as a barrier against unintended damage and paint overspray, ensuring a clean, professional finish.
 Auto technician using masking tape to protect car bumper area before repair.
Step 3: Drill Stop Holes to Prevent Crack Propagation
Using a drill, create two small holes, approximately 6mm in diameter, one at each end of the crack. These “stop holes” act as stress relief points, preventing the crack from spreading further during the repair process and in the future.
Step 4: V-Groove the Crack for Better Bonding
To maximize the bonding surface area for repair materials, carve a V-shaped groove along the crack’s length on the bumper’s exterior. Employ a grinder and a sharp knife to carefully remove plastic debris and create the V-groove pattern. This wider groove enhances adhesion and the strength of the repair.
Step 5: Sand the Repair Area for Adhesion
Sand both the front and back surfaces of the damaged area using medium-grit sandpaper. Sanding not only smooths out some of the damage but also creates microscopic scratches (micro-abrasions). These micro-abrasions significantly improve the effectiveness of the plastic adhesion promoter and ensure proper paint adhesion later.
Step 6: Apply Plastic Adhesion Promoter
Proper surface preparation is critical for achieving a durable and seamless repair. Apply a plastic adhesion promoter spray to both the front and back of the sanded repair area. This promoter chemically prepares the plastic surface, allowing the epoxy and body filler to bond effectively, resulting in a smooth, long-lasting finish.
Step 7: Apply Epoxy for Structural Strength
Apply epoxy to both sides of the bumper crack, allowing adequate drying time as per the product instructions. Begin with the back side, smoothing the epoxy with a spreader. Then, address the front side, which is more visually prominent. Epoxy provides structural reinforcement to the cracked area before applying body filler for cosmetic refinement.
Step 8: Sand and Prepare for Body Filler
Once the epoxy has fully hardened, sand the repair area again to create a smooth foundation for the body filler. Feather the edges of the repaired area, creating a slight depression where the crack was. This recessed surface will accommodate the body filler, ensuring a level finish.
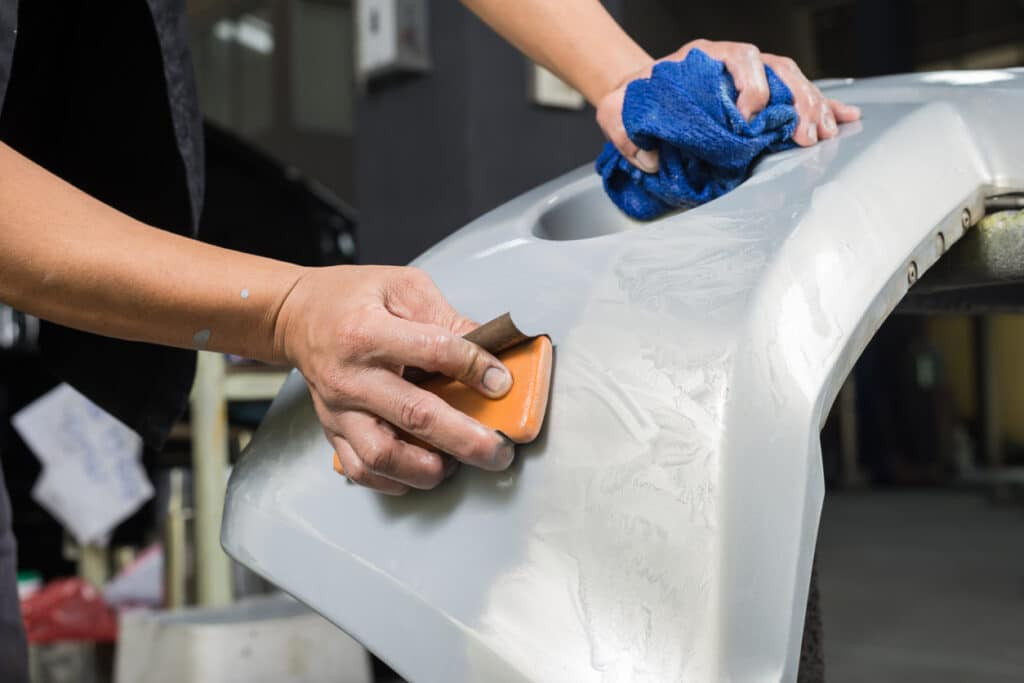 Hands cleaning car bumper surface in preparation for crack repair.
Step 9: Apply and Sand Body Filler for Smoothness
Take pre-mixed automotive body filler and apply it evenly over the prepared repair area. Carefully shape the filler to match the bumper’s original contours and curves, using a spreader for smooth application. This step is crucial for achieving a professional, undetectable repair. After the body filler dries completely, lightly sand it to prepare the surface for painting.
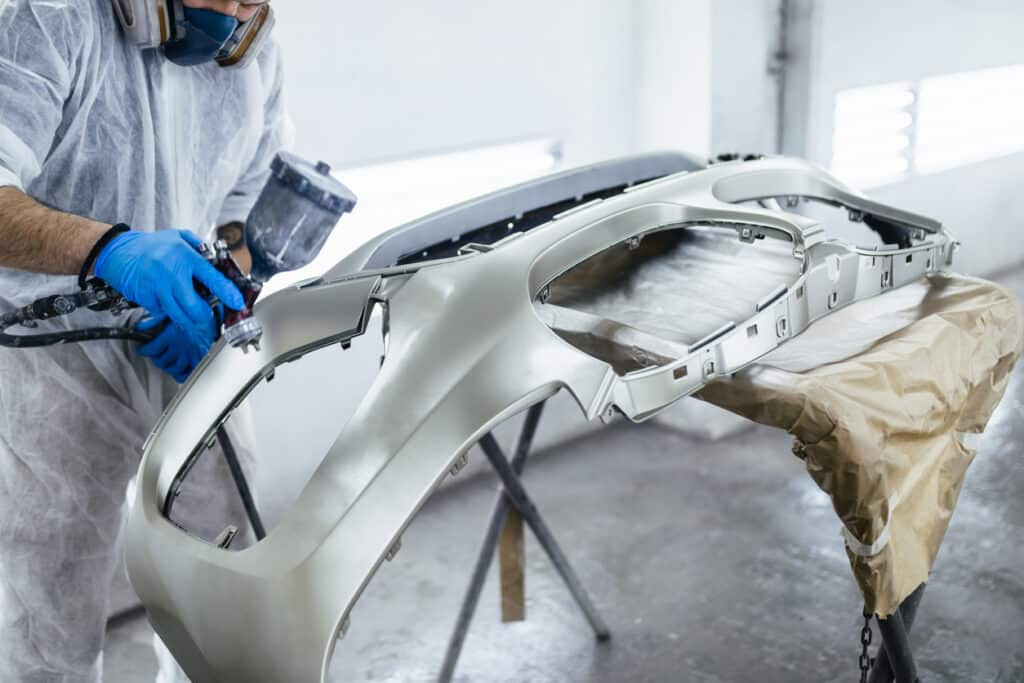
Step 10: Painting for a Perfect Finish
The final step is to paint the plastic bumper to restore its original appearance. JTAPE Foam Masking Tapes are ideal for masking surrounding panels, creating a soft paint edge that seamlessly blends the new paintwork with the existing finish.
With adjacent areas properly masked, begin painting by applying a uniform coat of primer. Allow the primer to dry thoroughly before applying several coats of the base color, ensuring each coat dries before the next. Finish with multiple clear coat layers for protection and shine. After the paint cures fully, remove the foam masking tape to reveal a flawlessly blended, high-quality finish that will satisfy any customer.
For minor scuffs, scratches, and hairline cracks, bumper removal might be unnecessary. However, for more extensive damage or suspected damage on the bumper’s backside, removal provides better access and a more thorough repair.
If bumper removal is required, safely elevate the vehicle with a jack and locate the fasteners (pins, latches, screws) securing the bumper. These are commonly found within the wheel arches, near the bumper edges. Remove all fasteners and any electrical connectors or screws holding the bumper in place.
Importantly, if a crack extends to the bumper’s edge, replacement is generally recommended due to potential structural weakening.
While repair is often feasible, bumper replacement is sometimes the most practical solution. The ultimate decision rests on the judgment of experienced auto body professionals, prioritizing customer satisfaction and efficient, safe repairs.
For over two decades, JTAPE has been a trusted provider of automotive masking solutions for repair and refinishing. Explore our blog for more expert tips and advice: JTAPE Blog.

