How to Fix a Broken Car Heater: Troubleshooting and DIY Solutions
As the colder months approach, a functioning car heater becomes essential for driving comfort and safety. If you’re suddenly experiencing a chilly cabin despite cranking up the heat, you’re likely dealing with a broken car heater. Fortunately, diagnosing and fixing a car heater problem isn’t always as daunting as it seems. Many issues are straightforward to identify and can be resolved with basic tools and a bit of know-how.
This guide from CARDIAGTECH, your trusted auto repair experts, breaks down the common reasons why your car heater might not be working and provides step-by-step instructions on how to fix some of the most frequent culprits yourself. Let’s get your car heater blowing hot air again!
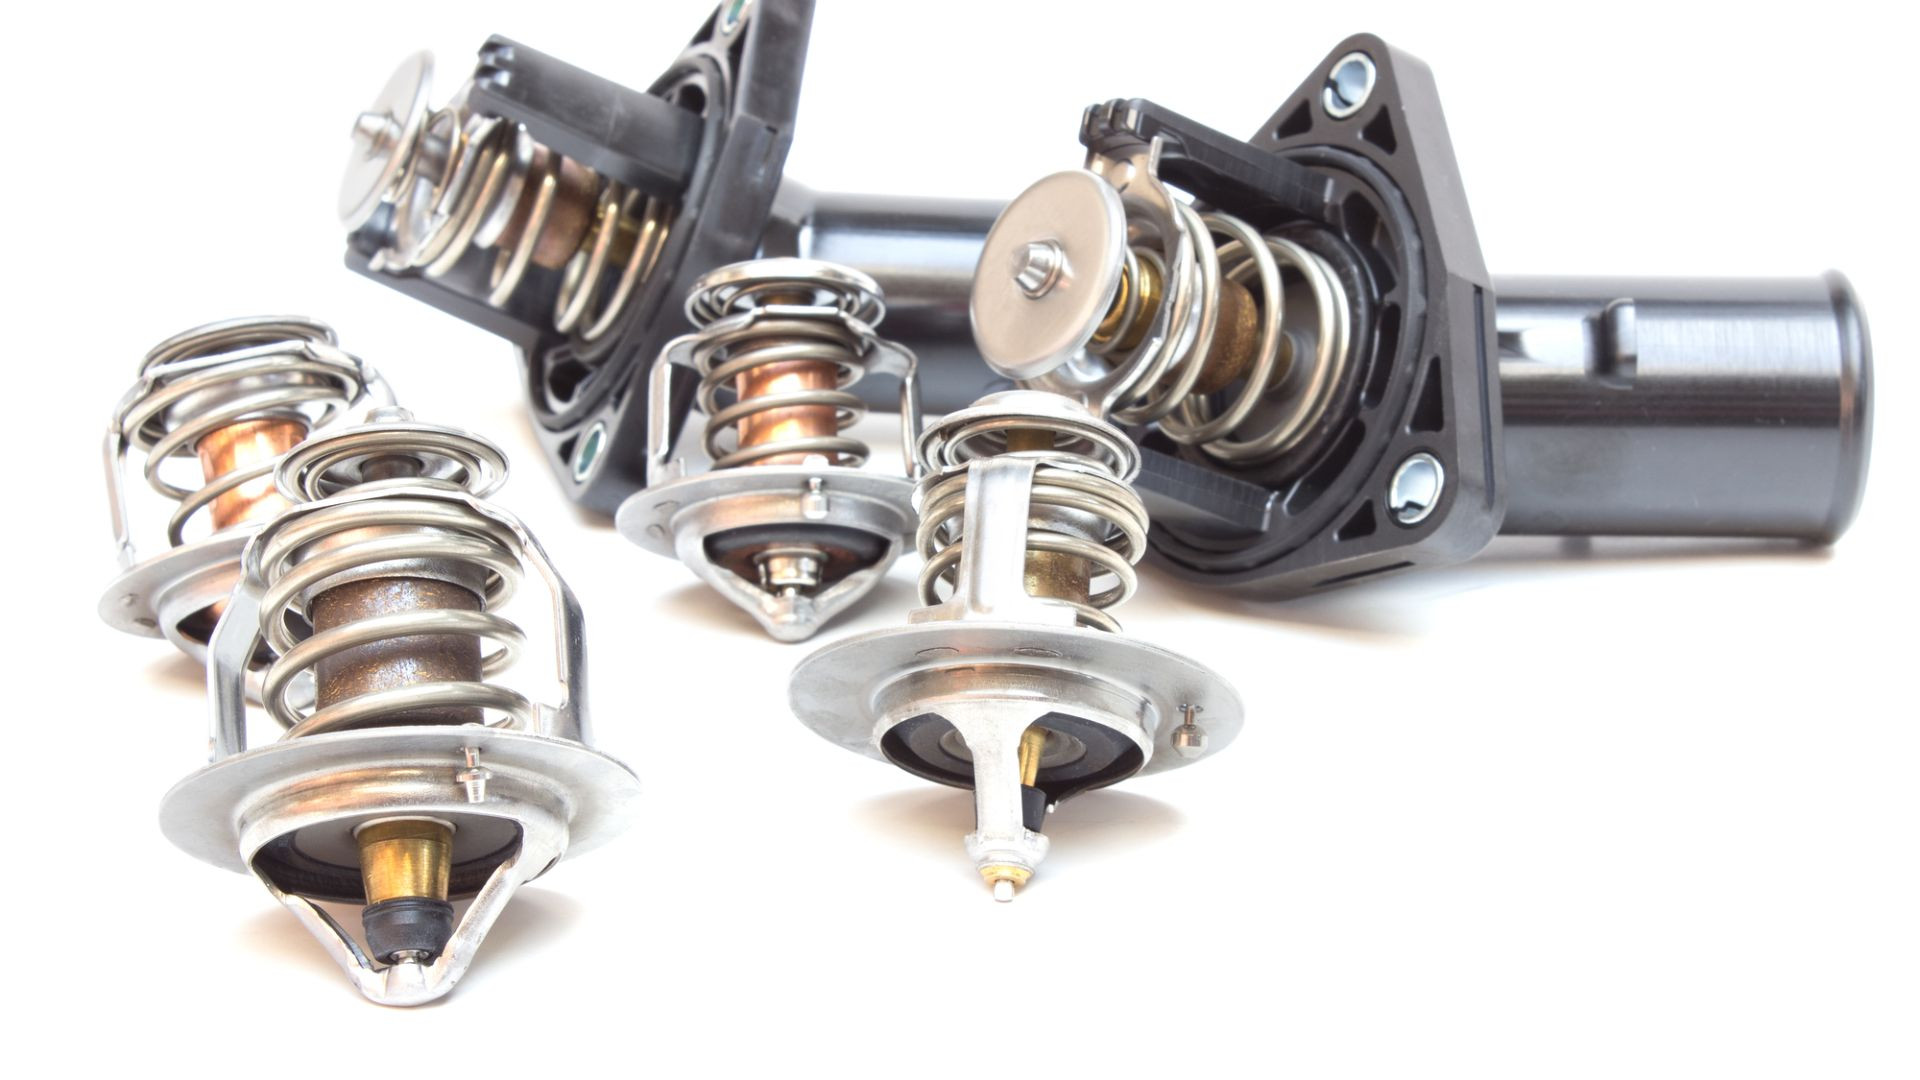
A collection of car thermostats, essential components for regulating engine temperature and heater function.
7 Common Reasons Why Your Car Heater Isn’t Working
Several factors can lead to a malfunctioning car heater. Pinpointing the exact cause is the first step toward effective repair. Here are seven of the most common reasons for car heater failure:
1. Faulty Thermostat
A malfunctioning thermostat is often the primary suspect when your car heater stops working. The thermostat regulates engine temperature by controlling coolant flow. If it’s stuck open, the engine might not reach optimal operating temperature, preventing the coolant from getting hot enough to warm the heater core. Conversely, a thermostat stuck closed can cause overheating issues, but less likely to directly impact heater function in the short term compared to being stuck open. A faulty thermostat can disrupt both your heating and cooling systems.
2. Low Coolant/Antifreeze Levels
Insufficient coolant or antifreeze is another very common cause of heater problems. The heater core, which is like a small radiator for your cabin heat, relies on hot coolant to generate warmth. If coolant levels are low, hot fluid might not reach the heater core adequately, resulting in little to no heat inside your car. Low coolant can be due to leaks, evaporation, or insufficient filling after maintenance.
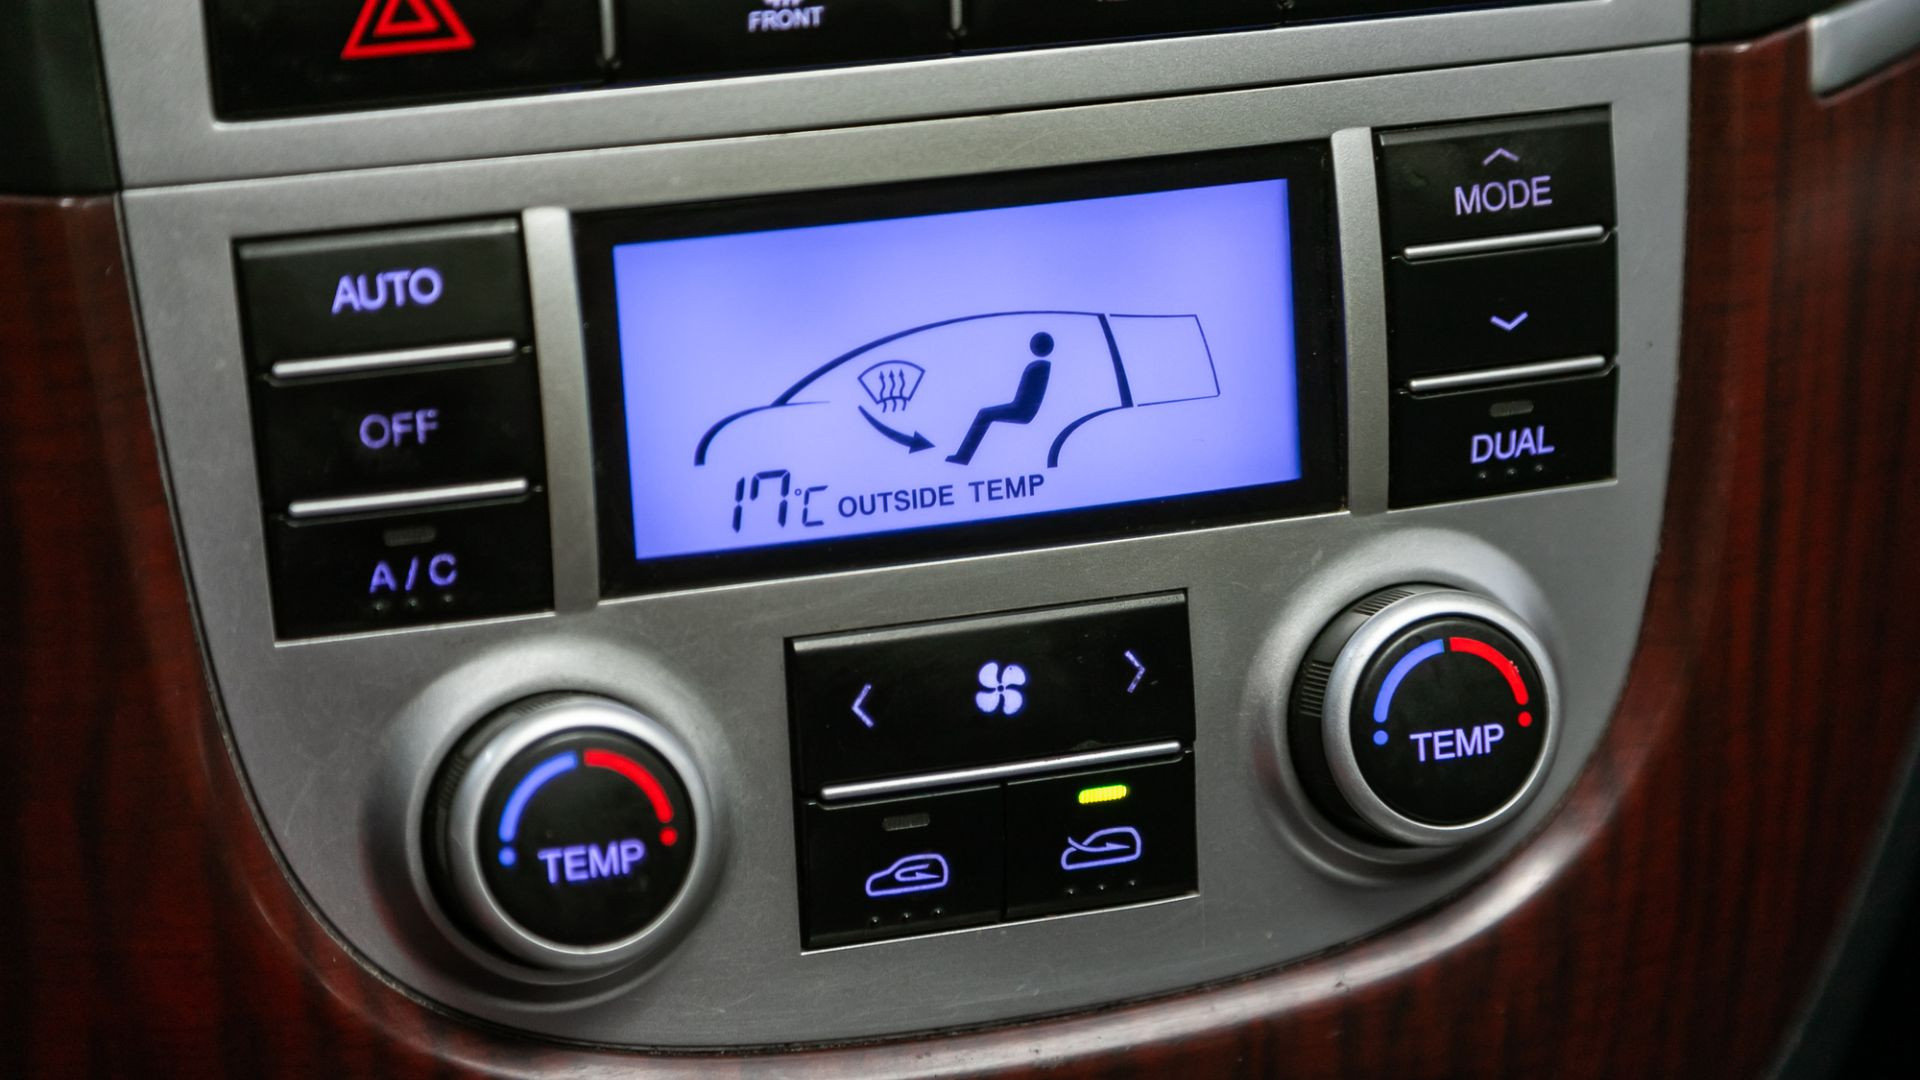 A detailed view of car HVAC controls, highlighting the interface for adjusting temperature and airflow for the vehicle's heating and cooling system.
3. Faulty Heater Fan
Even if hot coolant is circulating through the heater core, you need the heater fan to blow that heat into the car cabin. A broken heater fan, or blower motor, will prevent warm air from circulating. This could be due to a motor failure, wiring issues, or a problem with the fan switch itself.
4. Faulty Blower Motor Resistor
The blower motor resistor controls the speed of your heater fan. If this resistor fails, you might lose the ability to adjust fan speed, or the fan might not work at all. You may find that only one fan speed setting works (typically high), or that no air blows regardless of the setting.
5. Clogged Heater Core
Over time, debris, rust, and scale can accumulate in the coolant system and clog the heater core. This blockage restricts coolant flow, reducing the heater core’s ability to produce heat. A clogged heater core might require professional cleaning or replacement.
6. Leaky Radiator
A radiator leak can lead to low coolant levels, which, as mentioned earlier, directly impacts heater performance. Furthermore, a significant radiator leak can cause engine overheating, which is a serious issue. Addressing radiator leaks promptly is crucial for both engine health and heater function.
7. Faulty HVAC Controls
The controls on your dashboard, whether they are knobs, buttons, or touchscreens, send signals to the car’s heating system. If these controls are faulty due to electrical shorts, broken dials, or touchscreen malfunctions, they might not properly engage the heater.
8. Faulty Wiring or Blown Fuses
Like any electrical system in your car, the heater system relies on wiring and fuses. Damaged wiring, shorts, or blown fuses can interrupt the electrical signals needed to activate the heater fan, blower motor, or other components.
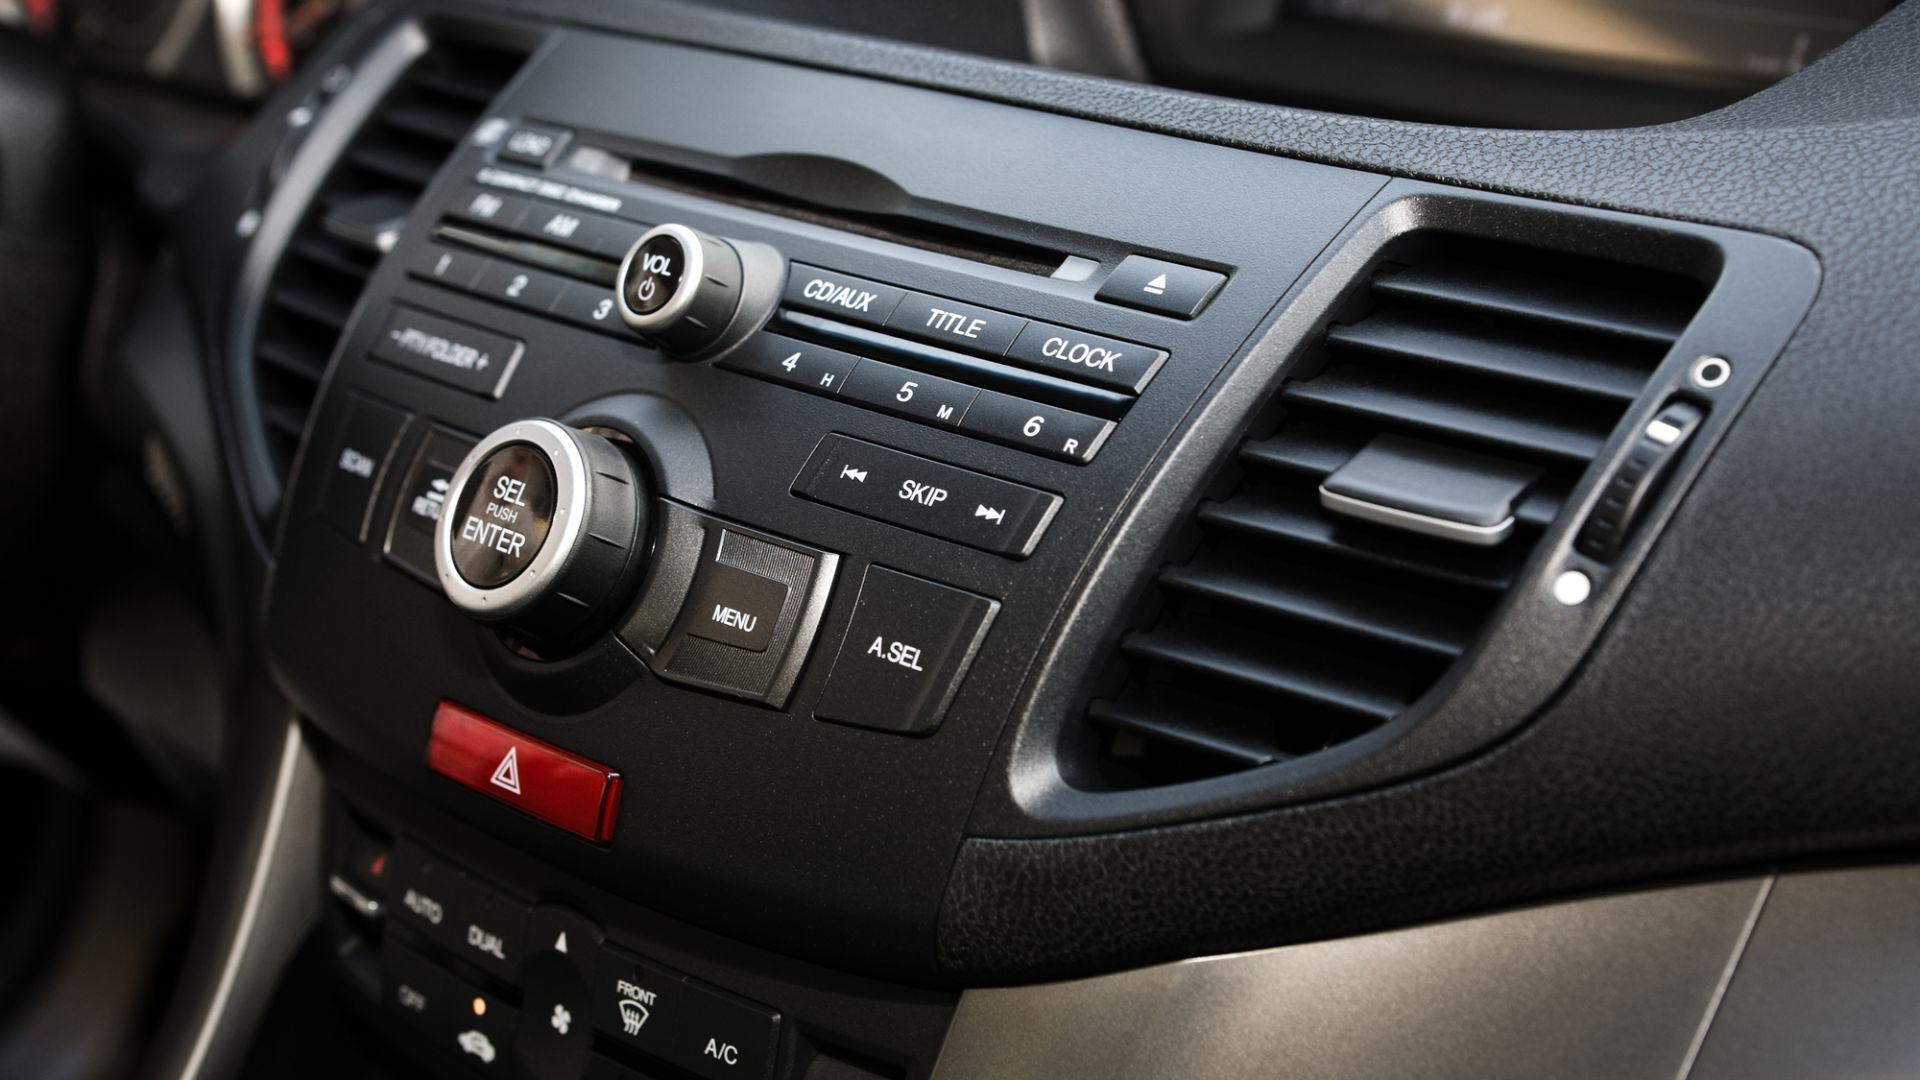 Car heater vents, showcasing the dashboard outlets through which warm air is circulated into the vehicle cabin.
DIY Fixes for Common Car Heater Problems
Fortunately, some common car heater issues have relatively straightforward DIY solutions. Here are guides for fixing a faulty thermostat and low coolant levels:
How to Fix a Broken Thermostat
Safety First: Working on your car’s cooling system involves hot fluids and engine components. Ensure the engine is completely cool before starting any work to prevent burns. Wear safety glasses and gloves.
Tools and Parts You’ll Need:
- New thermostat (ensure it’s the correct type for your vehicle)
- New coolant/antifreeze (check your car’s specifications for the correct type)
- Drain bucket
- Wrench set
- Jack and jack stands (optional, for easier access)
Steps to Replace a Thermostat:
- Let the Engine Cool: Allow your car to cool down for at least 15-20 minutes after running.
- Locate the Thermostat Housing: The thermostat is usually housed where the upper radiator hose connects to the engine block. Follow the top radiator hose to find the thermostat housing.
- Remove the Radiator Cap (Carefully): Slowly and carefully remove the radiator cap to relieve any pressure in the system.
- Drain Coolant: Place a drain bucket under the radiator. Locate the radiator drain plug (usually at the bottom) or detach the lower radiator hose to drain the coolant. Dispose of old coolant responsibly.
- Remove Thermostat Housing: Unbolt the thermostat housing. Note the orientation of the thermostat as you remove it for correct installation of the new one.
- Replace Thermostat: Remove the old thermostat and install the new one in the same orientation. Ensure the rubber gasket (if present) is correctly positioned.
- Reinstall Thermostat Housing: Reattach the thermostat housing and tighten the bolts to the manufacturer’s specified torque.
- Reattach Radiator Hose (if detached): If you detached the lower radiator hose to drain coolant, reattach and secure it.
- Refill Coolant: Refill the cooling system with new coolant to the correct level. Refer to your car’s owner’s manual for coolant type and filling instructions.
- Bleed the System: Start the engine with the radiator cap off (or expansion tank cap off). Let the engine run and warm up, allowing air bubbles to escape. You may need to gently squeeze radiator hoses to help release trapped air. Add more coolant as needed to maintain the correct level.
- Replace Radiator Cap: Once the system is bled and coolant level is stable, replace the radiator cap.
- Test Drive: Take a short test drive and monitor the temperature gauge to ensure the engine is heating and cooling correctly and that your heater is now working.
- Check Coolant Level Again: After the test drive and engine cools down, check the coolant level again and top off if necessary.
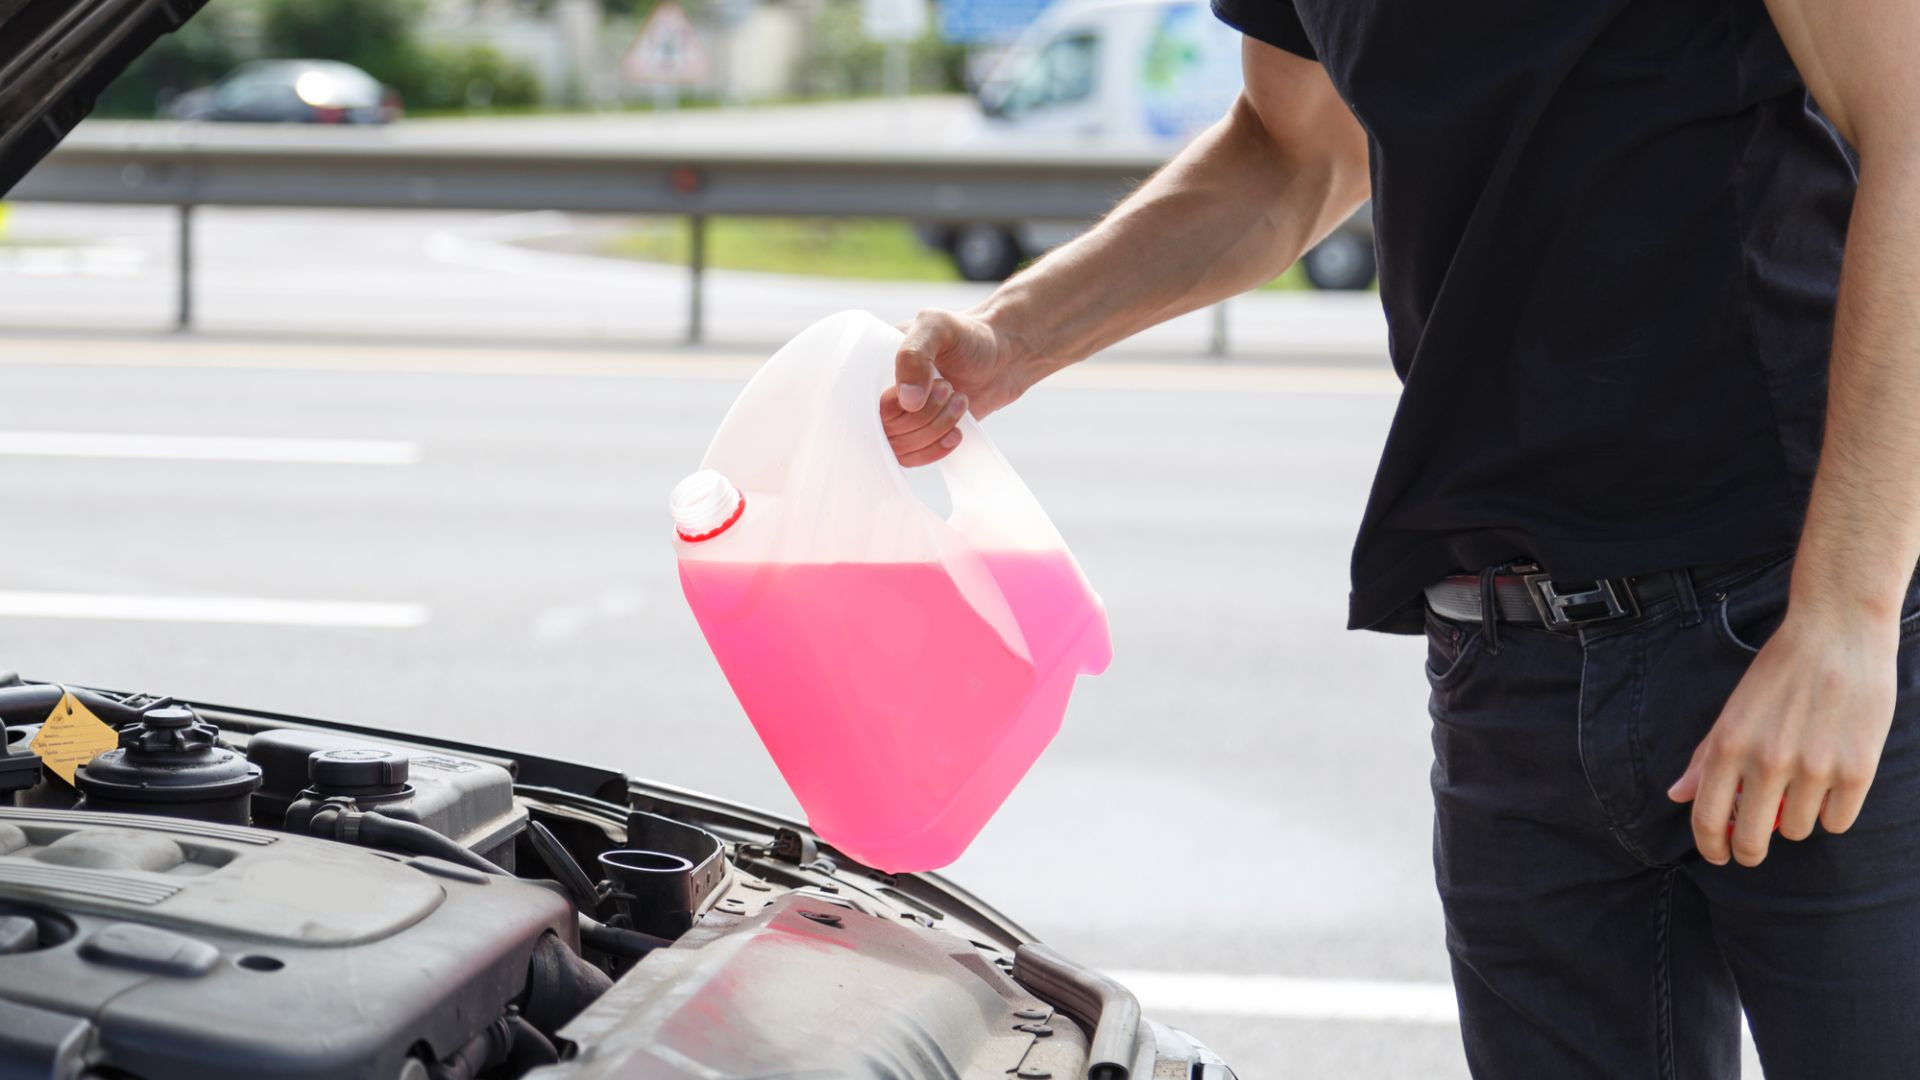 A person adding antifreeze to a car radiator, demonstrating a simple maintenance task to ensure proper engine cooling and heating.
How to Fix Low Antifreeze/Coolant
Fixing low coolant is usually a simpler process:
Tools and Parts You’ll Need:
- New coolant/antifreeze (correct type for your vehicle)
- Funnel
Steps to Add Coolant:
- Let the Engine Cool: Ensure the engine is cool before removing the radiator cap.
- Locate the Radiator Cap or Coolant Reservoir: Identify either the radiator cap directly on the radiator or a separate coolant reservoir (expansion tank).
- Remove Cap (Carefully): Slowly remove the cap to release pressure.
- Add Coolant: Using a funnel, carefully pour new coolant into the radiator or reservoir until it reaches the “full” mark.
- Check for Leaks: After filling, inspect for any visible leaks around hoses, the radiator, or the engine. If you notice significant leaks, they need to be addressed.
- Replace Cap: Securely replace the radiator cap or reservoir cap.
- Test Heater: Start the car and check if the heater is now working. Monitor the coolant level after a drive and top off if needed.
Can You Heat Your Car Without a Heater System?
Attempting to heat your car with alternative methods like space heaters is extremely dangerous and not recommended. These methods pose fire hazards and are not designed for vehicle use. Always ensure your car’s built-in heater system is functioning correctly for safe and comfortable driving in cold weather.
How Often Should You Flush Your Car’s Coolant?
A general guideline is to flush your car’s coolant every 5 years or 100,000 miles, whichever comes first. However, consult your car’s owner’s manual for specific recommendations, as intervals can vary between vehicle makes and models. Regular coolant flushes help maintain the health of your cooling system and can prevent issues that impact heater performance.
Video Resource
For a visual guide to diagnosing car heater problems, check out this helpful video from O’Reilly Auto Parts:
 Video thumbnail for diagnosing car heater issues.
Further Car Maintenance and Repair Guides from CARDIAGTECH
Stay tuned to CARDIAGTECH for more expert guides, tips, and solutions to keep your car running smoothly. We’re dedicated to providing you with the knowledge and resources you need to master car maintenance and repair. Explore our other guides for more proven tips and techniques!