How to Fix a Scratch on Your Car: A Comprehensive Guide

Your car represents a significant investment and often reflects your personality and care. Discovering a scratch on your car can be irritating. Fortunately, minor scratches don’t have to be a permanent blemish. With the proper methods and tools, you can effectively tackle car scratches and bring back your vehicle’s pristine look.
This guide will walk you through understanding different types of car scratches and provide step-by-step instructions on how to remove scratches from your car yourself, saving you time and money.
Essential Tools for Car Scratch Repair
Before diving into the techniques, gather these tools to ensure a smooth and efficient scratch repair process:
- Car Wash Soap and Water: For cleaning the affected area.
- Microfiber Cloths: Soft cloths for cleaning, applying products, and buffing without causing further scratches.
- Scratch Remover Compound: Specifically designed to remove minor clear coat scratches.
- Car Polish: To restore shine and smoothness after scratch removal.
- Touch-Up Paint (matching your car’s color code): Needed for deeper base coat and primer scratches.
- Fine-Tip Applicator or Toothpick: For precise application of touch-up paint.
- 2000-Grit Sandpaper: For leveling touch-up paint and smoothing rough edges.
- 1000-Grit Sandpaper: For initial sanding on deeper primer scratches.
- Rubbing Compound: More abrasive than scratch remover, used for leveling touch-up paint and addressing base coat scratches.
- Detailing Clay Bar (optional): To remove contaminants before polishing for a better finish.
- Spray Bottle with Water (and a drop of car soap – optional): For wet sanding.
- Masking Tape: To protect surrounding areas when sanding or applying touch-up paint.
Understanding the Types of Car Scratches
Identifying the type of scratch is crucial for choosing the correct repair method. Car paint typically consists of three main layers:
- Clear Coat: The outermost, transparent layer that provides shine and protection against UV rays and environmental damage.
- Base Coat (Color Coat): The layer that gives your car its color.
- Primer Coat: The undercoat that bonds the paint to the metal body and prevents corrosion.
Scratches are categorized based on which layer they penetrate:
1. Clear Coat Scratches: Surface Level Imperfections
Clear coat scratches are the most superficial and common type. They only affect the top clear coat layer and are usually caused by:
- Minor Scrapes: Brushing against bushes, clothing zippers, or shopping carts.
- Light Abrasion: Improper car washing techniques, using dirty cloths, or automated car washes with harsh brushes.
- Road Debris: Small pebbles or sand kicked up while driving.
These scratches appear as fine lines on the surface and often look white or hazy. They are usually the easiest to fix.
2. Base Coat Scratches: Penetrating the Color Layer
Base coat scratches are deeper, extending through the clear coat and into the colored base coat layer. They are typically caused by:
- Deeper Scrapes: More forceful contact with objects.
- Larger Road Debris: Larger stones or gravel hitting the car at higher speeds.
- Vandalism: Keying or intentional scratching.
These scratches are more noticeable, often revealing the color beneath the clear coat and appearing in the color of your car, or sometimes even showing a hint of grey if the primer is close.
3. Primer Coat Scratches (Deep Scratches): Reaching the Undercoat
Primer coat scratches are the most severe type, penetrating all the way through the clear coat, base coat, and reaching the primer layer. These are often caused by:
- Accidents: Collisions, impacts with objects.
- Severe Vandalism: Deep keying or deliberate damage.
- Significant Abrasion: Heavy scraping against rough surfaces.
Deep scratches are easily identifiable as they are wide, deep, and often expose the grey or dark primer layer beneath the paint. Repairing these types of scratches can be more complex and sometimes requires professional intervention.
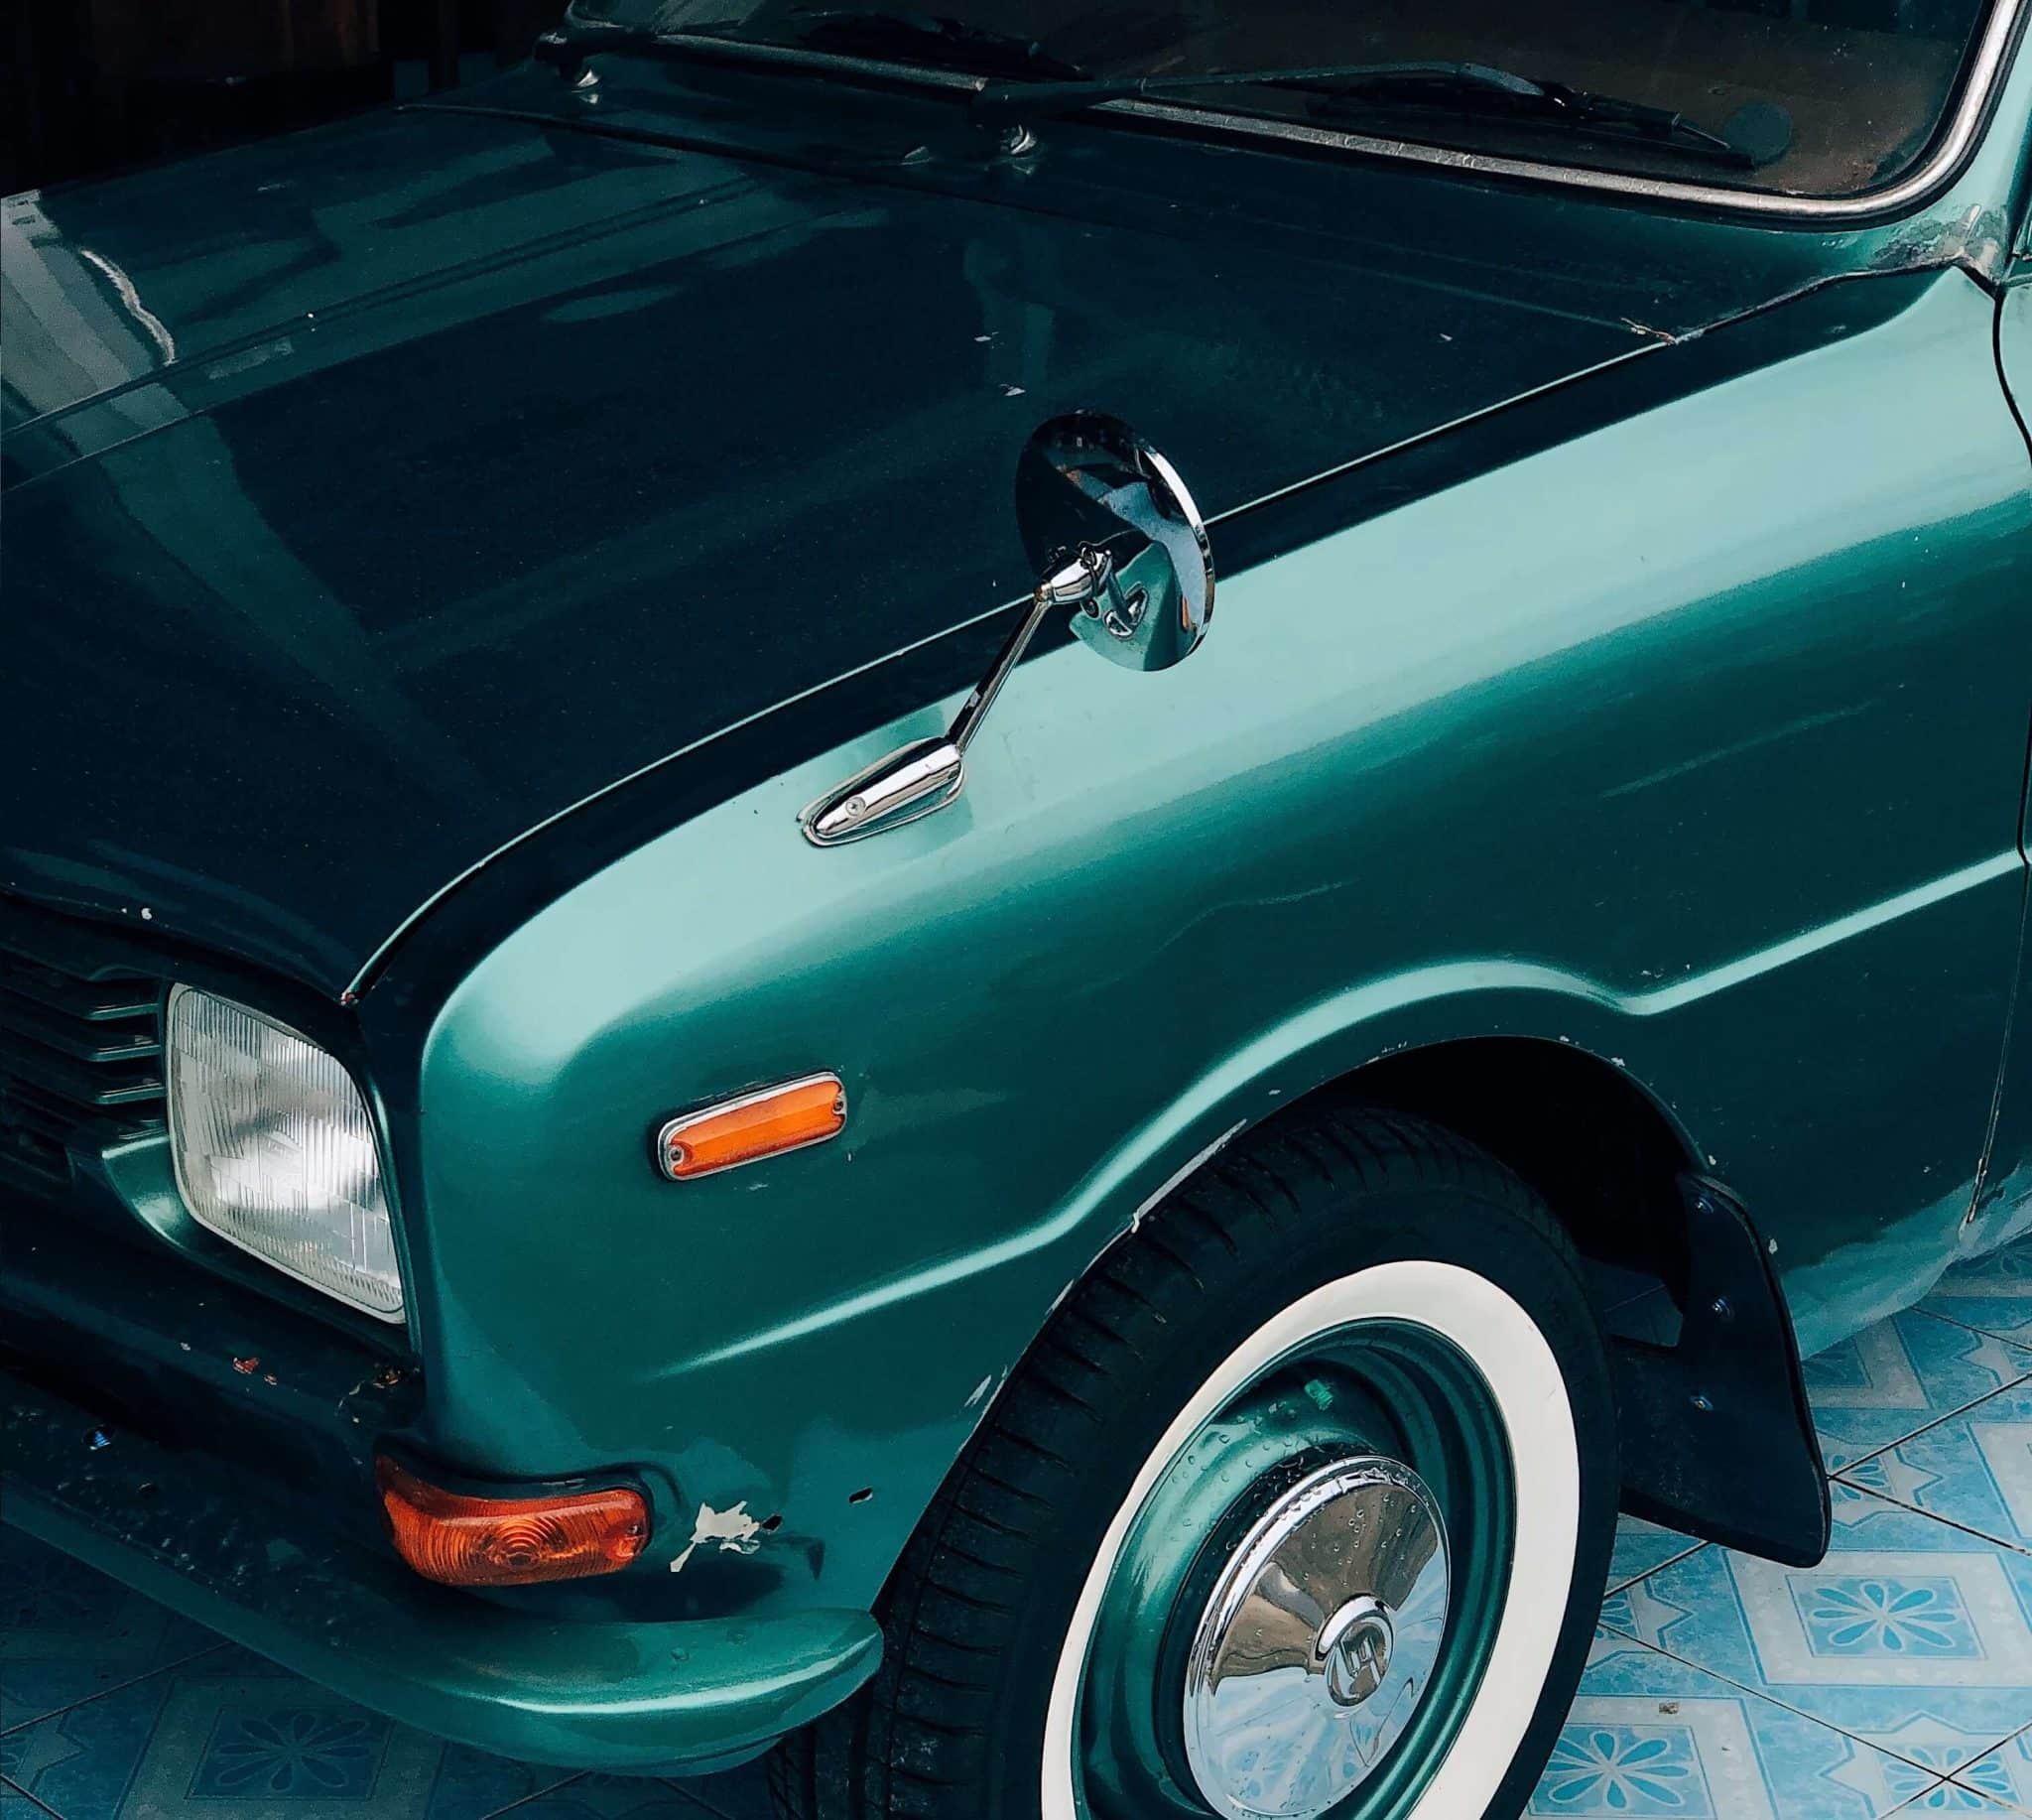 Car Scratch
A close-up view highlighting the depth and visibility of a car scratch, emphasizing the need for effective repair techniques to restore the vehicle’s paintwork.
How to Determine the Depth of a Car Scratch
Accurately identifying the scratch type is crucial for choosing the right repair approach. Here are two simple methods to help you determine the depth:
1. The Fingernail Test:
- Method: Carefully run your fingernail across the scratch, perpendicular to its direction.
- Clear Coat Scratch: If your fingernail does not catch on the scratch and glides smoothly over it, it’s likely a clear coat scratch.
- Deeper Scratch (Base Coat or Primer): If your fingernail catches or gets stuck in the scratch, it indicates that the scratch is deeper and has penetrated beyond the clear coat, possibly into the base coat or even the primer. The more pronounced the catch, the deeper the scratch.
2. The Polish Test:
- Method: Apply a small amount of car polish to a microfiber cloth. Gently rub the polish onto the scratched area using circular motions.
- Clear Coat Scratch: If the scratch disappears or significantly diminishes after polishing, it confirms that it was a clear coat scratch. The polish effectively works to level out the minor imperfections in the clear coat.
- Deeper Scratch (Base Coat or Primer): If the scratch remains visible after polishing, it means the scratch is deeper than the clear coat, and polishing alone will not remove it. You’ll need more involved repair methods like touch-up paint or professional help.
Step-by-Step Guides to Fixing Car Scratches
Once you’ve identified the type of scratch, follow these detailed steps for effective DIY repair:
Repairing Clear Coat Scratches: Surface Scratch Removal
Clear coat scratches are often the easiest to fix at home. Here’s how:
Step 1: Thoroughly Clean the Area
- Wash the scratched area and the surrounding panel with car wash soap and water. This removes dirt, grime, and any loose particles that could further scratch the paint during the repair process.
- Rinse thoroughly with clean water and dry the area completely using a clean microfiber cloth. Ensure no water is trapped in crevices.
Step 2: Apply Scratch Remover Compound
- Apply a small, pea-sized amount of scratch remover compound to a clean microfiber applicator pad or cloth.
- Using circular motions and light to medium pressure, rub the compound into the scratch. Work in small sections, overlapping each pass.
- Continue buffing for a few minutes. The mild abrasives in the scratch remover will gently level the edges of the clear coat scratch.
- Wipe off any excess compound with a clean microfiber cloth.
Step 3: Polish for Shine and Protection
- Apply a small amount of car polish to a clean microfiber cloth.
- Buff the polished area using circular motions until the polish becomes clear and the surface is glossy. This step restores the shine and smoothness to the repaired area and provides additional protection.
- Wipe away any polish residue with a fresh microfiber cloth.
Repairing Base Coat Scratches: Addressing Deeper Paint Damage
Repairing base coat scratches requires a bit more attention and the use of touch-up paint:
Step 1: Clean and Prepare the Scratch
- Wash the area around the scratch with car wash soap and water and dry it thoroughly.
- For deeper base coat scratches, you might consider using a detailing clay bar on the surrounding area to remove any embedded contaminants that could interfere with the touch-up paint application.
Step 2: Apply Touch-Up Paint Carefully
- Shake the touch-up paint bottle well to ensure the paint is properly mixed.
- Using a fine-tip applicator brush or a toothpick, carefully apply thin layers of touch-up paint directly into the scratch. The goal is to fill the scratch to be level with the surrounding paint.
- Apply multiple thin coats rather than one thick coat, allowing each coat to dry for the time recommended by the touch-up paint manufacturer (usually 10-30 minutes). This prevents drips and ensures proper curing.
- Avoid applying paint outside the scratch. Use masking tape to carefully outline the scratch if needed, especially for larger or irregular scratches.
Step 3: Level the Touch-Up Paint with Sandpaper
- Once the touch-up paint is completely dry (allow to dry for at least 24-48 hours for full curing), wet sand the area gently using 2000-grit sandpaper. Wrap the sandpaper around a small, flat block for even pressure.
- Keep the sandpaper and the area wet using a spray bottle with water (a drop of car soap can improve lubrication). Sand lightly in a back-and-forth motion, focusing on leveling the touch-up paint with the surrounding clear coat. Avoid sanding the surrounding clear coat as much as possible.
- Check your progress frequently by wiping the area dry. Stop sanding when the touch-up paint is level with the surrounding paint.
Step 4: Refine with Rubbing Compound
- Apply a small amount of rubbing compound to a microfiber cloth.
- Rub the compound over the sanded area using circular motions and medium pressure. Rubbing compound is more abrasive than scratch remover and will help to remove the fine sanding marks and further level the touch-up paint.
- Continue buffing until the area becomes smoother and the sanding marks disappear.
- Wipe off any excess rubbing compound.
Step 5: Polish to Restore Shine
- Apply car polish to a clean microfiber cloth.
- Buff the area with polish using circular motions to restore the gloss and shine to match the surrounding paint.
- Wipe off any polish residue.
Repairing Primer Coat Scratches (Deep Scratches): When to Seek Professional Help
Primer scratches are the most challenging to repair and often benefit from professional attention. However, for minor primer scratches, you can attempt a DIY repair with extra care:
Step 1: Thorough Cleaning and Preparation
- Wash the area thoroughly with car wash soap and water and dry completely.
- Use a detailing clay bar to clean the surrounding area and remove any contaminants.
- If there is any rust present (especially if the scratch has reached bare metal), gently remove it using a rust remover or a specialized rust eraser before proceeding.
Step 2: Initial Sanding to Smooth Edges
- Start with 1000-grit sandpaper (wet or dry, used wet is recommended) to carefully sand down any rough edges or raised areas around the scratch. Keep the sandpaper wet and sand lightly.
- Follow with 2000-grit sandpaper (wet) to further smooth the area and prepare it for touch-up paint.
Step 3: Apply Touch-Up Paint in Thin Layers
- Apply touch-up paint using the same technique as for base coat scratches – multiple thin layers, allowing each to dry completely. Fill the scratch until it is slightly higher than the surrounding paint to account for sanding and leveling.
Step 4: Sand to Level the Touch-Up Paint
- After the touch-up paint is fully cured, wet sand the area with 2000-grit sandpaper, just as you did for base coat scratches, until the touch-up paint is level with the surrounding paint. Take extra care and work slowly and patiently to avoid sanding into the surrounding good paint.
Step 5: Refine with Rubbing Compound and Polish
- Use rubbing compound and then car polish, as described in the base coat scratch repair, to remove sanding marks and restore the shine and gloss.
When to Consider Professional Help:
- Large or Deep Primer Scratches: If the scratch is very wide, deep, or extends over a large area, professional repair is highly recommended. Professionals have specialized tools and techniques to achieve seamless repairs, especially for deeper damage.
- Damage to Multiple Panels: If the scratch damage affects multiple body panels or complex areas of the car, professional body shop repair is usually necessary.
- Lack of Confidence or Experience: If you are uncomfortable with sanding or using touch-up paint, or if you are concerned about potentially damaging your car’s paint, it’s best to consult with a professional auto detailer or body shop. They can assess the damage and provide the most appropriate repair solution.
Essential Tips for Preventing Car Scratches
While knowing how to fix scratches is helpful, preventing them in the first place is even better. Here are some proactive tips to minimize the risk of car scratches and maintain your car’s flawless finish:
-
Regular Waxing: Apply a coat of car wax every few months. Wax creates a protective barrier over the clear coat, making it more resistant to minor scratches and environmental contaminants. High-quality car wax also enhances shine and makes washing easier.
-
Covered Parking: Park your car in a garage or carport whenever possible. Covered parking shields your car from harsh sunlight, rain, snow, hail, and tree sap, all of which can degrade the paint and increase scratch susceptibility.
-
Strategic Parking Location: Be mindful of where you park. Avoid parking too close to trees, bushes, or shrubs that could brush against your car and cause scratches. Choose parking spots away from high-traffic areas where cars are more likely to bump doors.
-
Regular Car Washing: Wash your car regularly, ideally every 1-2 weeks, to remove dirt, dust, road salt, and grime. These particles can act as abrasives and scratch the paint when rubbed against the surface.
-
Proper Washing Technique: Use high-quality car wash soap, a microfiber wash mitt or sponge, and the two-bucket washing method (one bucket for soapy water, one for rinsing the mitt) to minimize swirl marks and scratches during washing. Rinse your wash mitt frequently in the rinse bucket to remove dirt particles.
-
Microfiber Drying: Dry your car with soft microfiber drying towels. Avoid using paper towels or household cloths, as they can be abrasive. Pat dry or gently wipe the surface; don’t drag the towel forcefully.
-
Avoid Automatic Brush Car Washes: While convenient, automatic car washes with brushes can be harsh on your car’s paint. The brushes can trap dirt and debris and create swirl marks and scratches. Opt for touchless car washes or hand washing whenever possible.
-
Car Cover Protection: Use a car cover when parking outdoors for extended periods, especially if you live in an area with harsh weather or high levels of airborne pollutants. Choose a breathable, soft car cover designed for your car model to prevent scratches from the cover itself.
Final Thoughts on Car Scratch Repair
Dealing with car scratches doesn’t have to be a major headache. By understanding the types of scratches and following the appropriate repair steps, you can confidently address minor imperfections and keep your car looking its best. For deeper or more extensive damage, knowing when to seek professional help ensures a flawless and lasting repair. Consistent car care and preventative measures are key to minimizing scratches and preserving your vehicle’s value and appearance for years to come.