How to Fix a Fuel Gauge on Your Car: Troubleshooting and Repair Guide
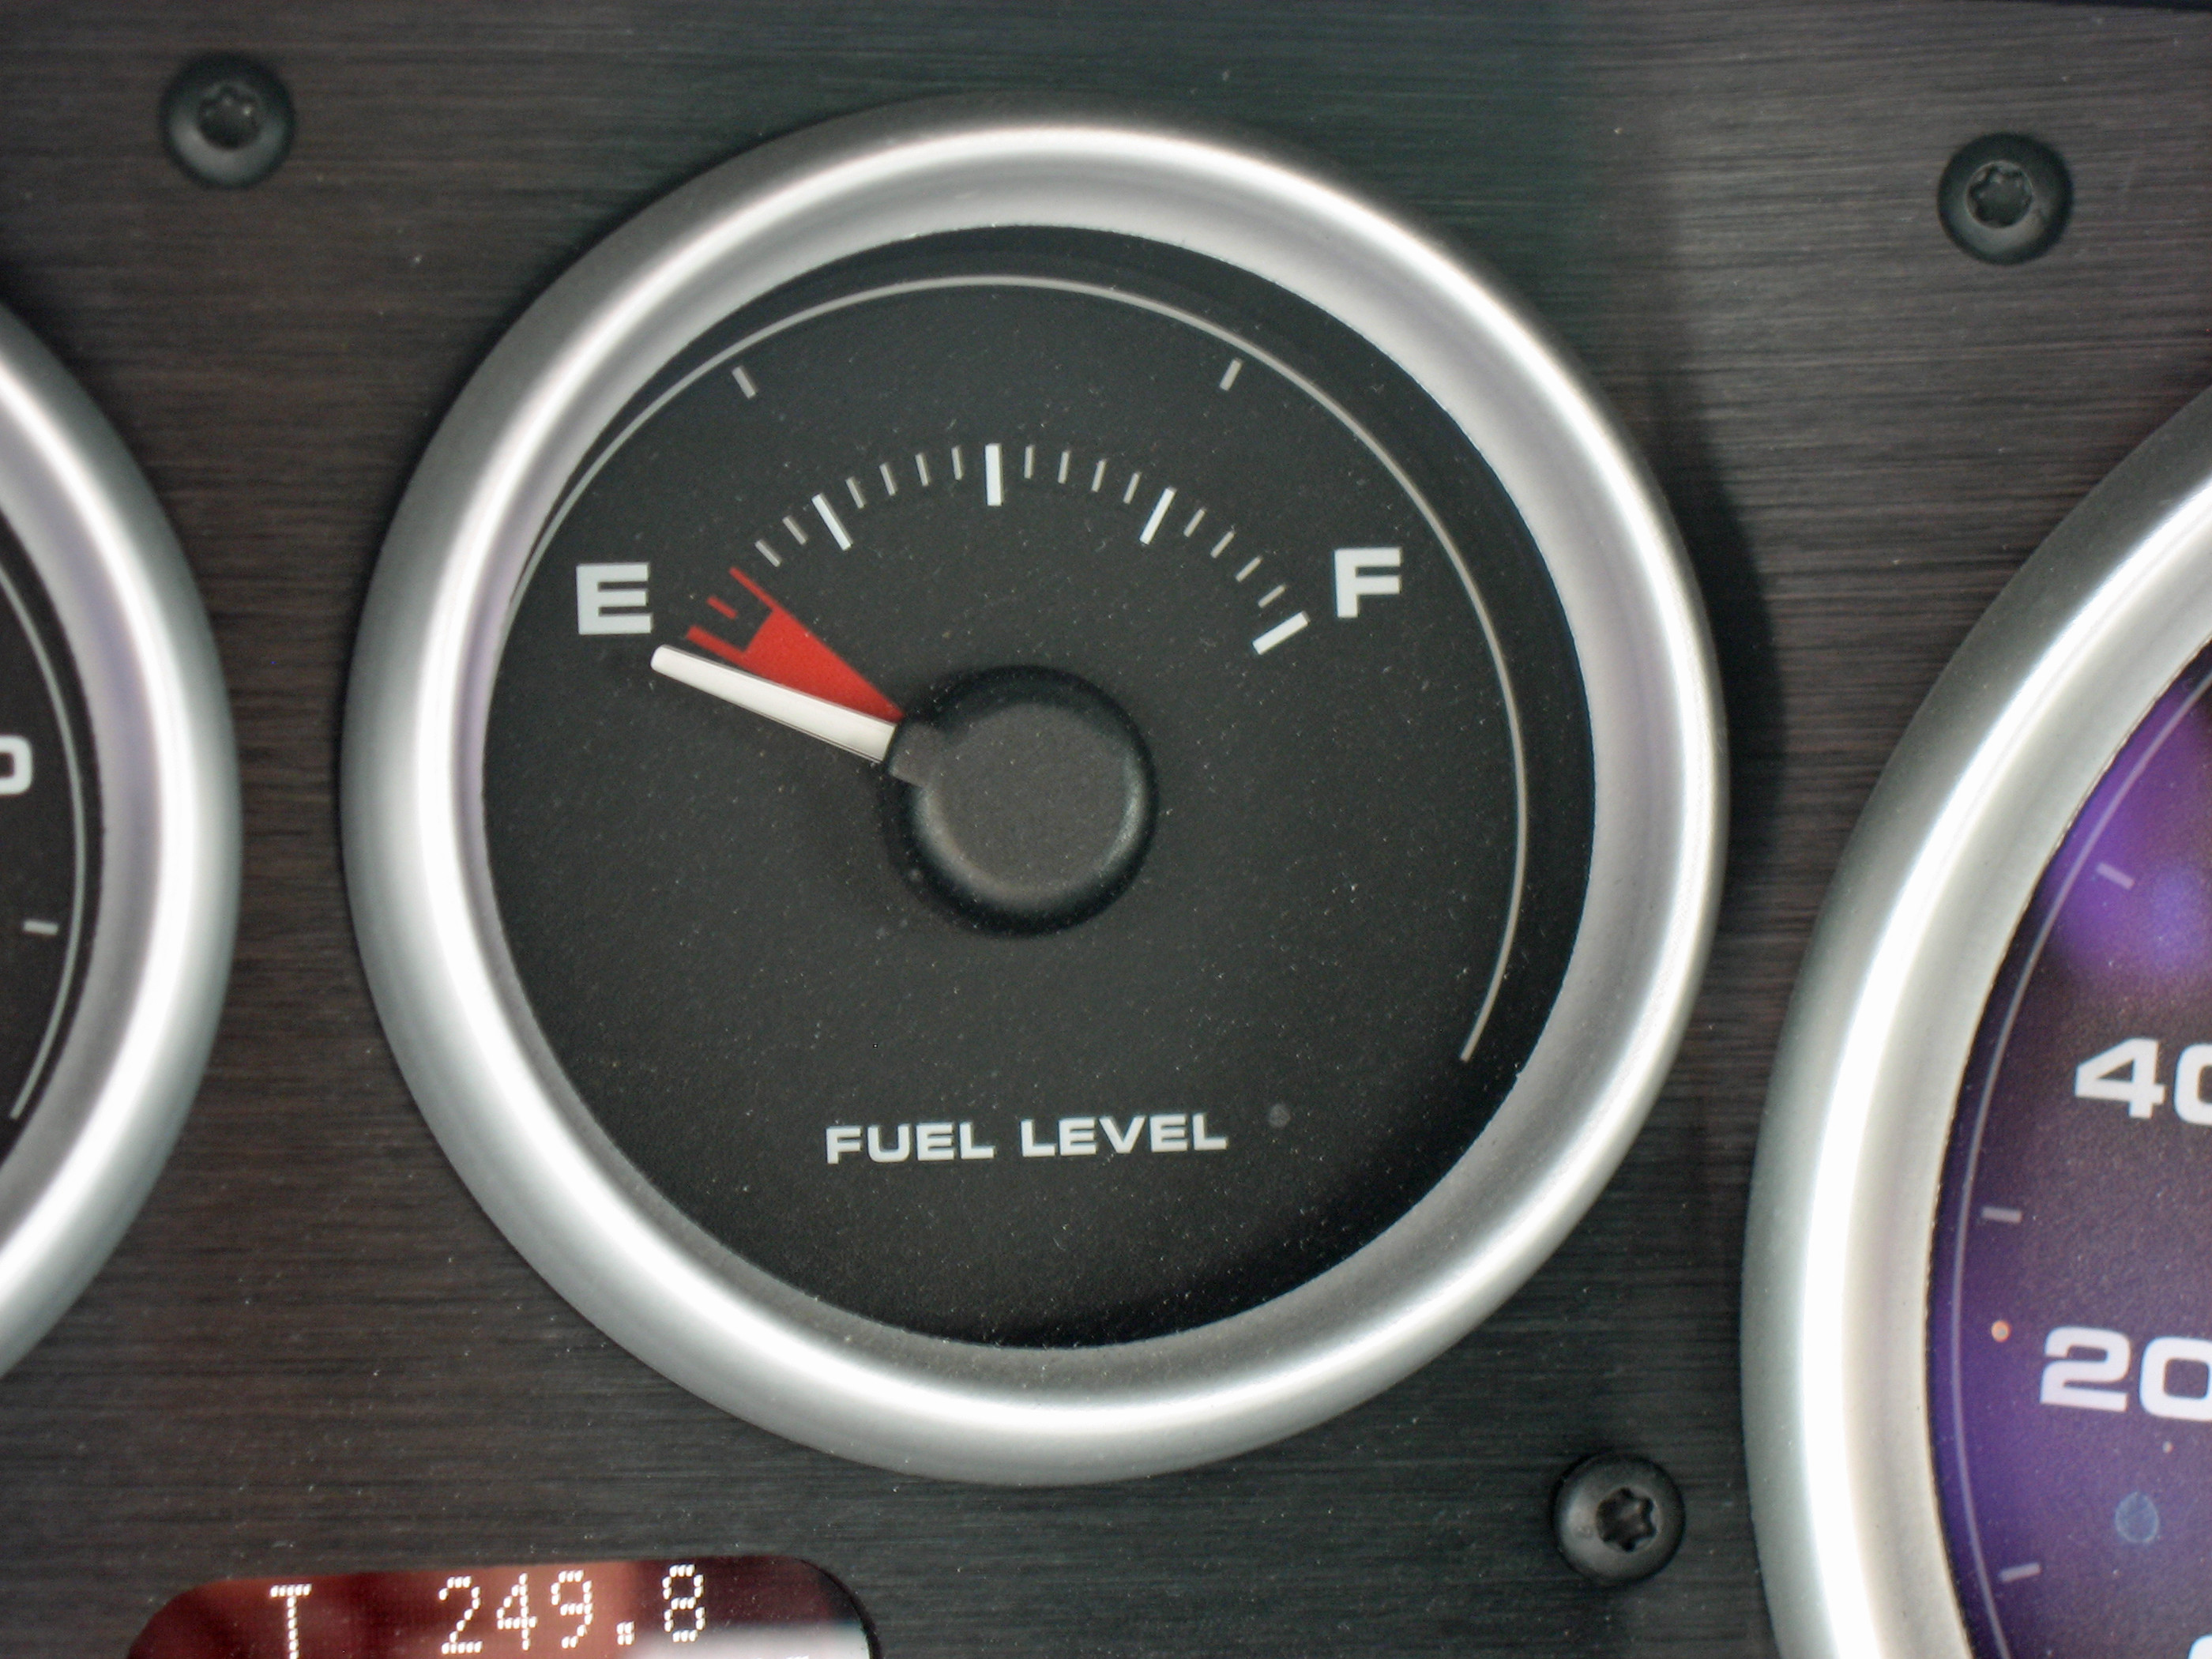
Experiencing issues with your car’s fuel gauge can be more than just an inconvenience; it can lead to anxiety and potentially running out of gas unexpectedly. Remember that moment in April 2008 when I pushed my Ford GT’s fuel gauge well past “E”? It was a test of faith in automotive engineering, and while I made it to the gas station, relying on an inaccurate fuel gauge is a gamble nobody wants to take regularly. Just like in my Ford GT experience, where the gauge read empty but the tank still had some reserve, fuel gauge inaccuracies can range from optimistic readings to downright misleading ones.
Ford GT Fuel Gauge Reading Empty
Ford GT fuel gauge showing empty, illustrating potential inaccuracies in fuel readings.
If you’re wondering “How To Fix Fuel Gauge On Car”, you’ve come to the right place. This guide will walk you through the common causes of fuel gauge problems, how to diagnose them, and potential fixes you can attempt, along with when it’s best to consult a professional.
Understanding Common Fuel Gauge Problems
Before diving into fixes, it’s crucial to understand what can go wrong with your fuel gauge system. Fuel gauges, while seemingly simple, are part of a system that includes several components, any of which can malfunction:
- Inaccurate Reading: This is when your fuel gauge consistently shows more or less fuel than you actually have. My Ford GT experience is a prime example of an optimistic gauge.
- Stuck Gauge: The needle might get stuck at a certain level, not moving even as your fuel level changes.
- Erratic Gauge: The needle jumps around erratically, providing inconsistent and unreliable readings.
- Gauge Always Reads Empty or Full: The gauge might be pegged at either extreme, regardless of the actual fuel level.
Diagnosing the Cause of Fuel Gauge Issues
Pinpointing the exact cause is the first step in learning how to fix fuel gauge on car. Here are the usual suspects:
-
Faulty Fuel Level Sensor (Sending Unit): Located inside the fuel tank, the sending unit has a float that moves with the fuel level. This movement changes the resistance in the sensor, which is then translated into a fuel level reading on your dashboard gauge. A corroded, damaged, or stuck sending unit is a common cause of inaccurate readings.
-
Wiring Problems: The wiring connecting the fuel level sensor to the fuel gauge can become damaged, corroded, or loose. This can disrupt the signal and lead to incorrect readings.
-
Gauge Cluster Issues: In some cases, the problem might lie within the fuel gauge itself, located in the instrument cluster. The gauge motor or circuitry can fail, causing inaccurate or no readings.
-
Grounding Issues: A poor ground connection for the fuel gauge system can also lead to erratic or incorrect readings.
Step-by-Step Guide to Troubleshooting and Fixing Your Fuel Gauge
Safety First: Always work in a well-ventilated area when dealing with fuel systems. Avoid open flames and disconnect the negative battery terminal before working on any electrical components.
1. Visual Inspection and Initial Checks:
- Check the Fuel Tank Area: Look for any signs of damage, leaks, or corrosion around the fuel tank and sending unit area (if accessible from under the car or through an access panel).
- Inspect Wiring: Trace the wiring from the fuel tank area to the gauge cluster, looking for any obvious damage, frayed wires, or loose connections. Pay close attention to connectors.
2. Testing the Fuel Level Sensor (Sending Unit):
- Access the Sending Unit: This usually requires accessing the fuel tank, often through an access panel under the rear seat or in the trunk. Consult your car’s repair manual for the specific location and procedure.
- Disconnect the Wiring Connector: Carefully disconnect the electrical connector from the sending unit.
- Test Resistance: Use a multimeter to measure the resistance across the sending unit terminals. As you manually move the float arm up and down, the resistance should change smoothly and within a specified range (refer to your car’s repair manual for the correct resistance values). If the resistance is erratic, stuck at one value, or outside the specified range, the sending unit is likely faulty and needs replacement.
3. Checking Wiring Continuity:
- Use a Multimeter (Continuity Test): With the sending unit disconnected and the battery still disconnected, use a multimeter in continuity mode to check the wiring between the sending unit connector and the gauge cluster connector.
- Identify Wires: Refer to your car’s wiring diagram to identify the correct wires for the fuel gauge circuit.
- Test Each Wire: Test for continuity on each wire in the circuit. You should have continuity (a beep or near-zero resistance reading) on each wire. If there’s no continuity, there’s a break or short in the wiring that needs to be located and repaired.
4. Inspecting and Testing the Gauge Cluster:
- Gauge Cluster Self-Test: Some vehicles have a built-in gauge cluster self-test. Consult your owner’s manual to see if your car has this feature and how to activate it. This test can sometimes reveal issues with the gauge motors or circuitry.
- Professional Gauge Cluster Testing: If you suspect the gauge cluster itself is faulty, it’s generally best to have it tested by a professional auto electrician or a specialized instrument cluster repair service. They have the tools and expertise to diagnose and repair or replace faulty gauge clusters.
5. Grounding Points:
- Locate Grounding Points: Identify the grounding points for the fuel gauge system (refer to your car’s repair manual or wiring diagrams).
- Clean and Inspect: Check these grounding points for corrosion, rust, or loose connections. Clean any corrosion and ensure the connections are tight and secure.
When to Seek Professional Help
While some basic troubleshooting steps can be done at home, fixing a fuel gauge problem can sometimes require specialized tools and expertise. It’s recommended to consult a qualified mechanic in the following situations:
- You are uncomfortable working with fuel systems or electrical components.
- You are unable to accurately diagnose the problem after performing basic troubleshooting.
- You suspect a faulty gauge cluster.
- The problem persists after replacing the sending unit and checking wiring.
Just like getting the exhaust system on my Ford GT upgraded by professionals, some car repairs are best left to experts.
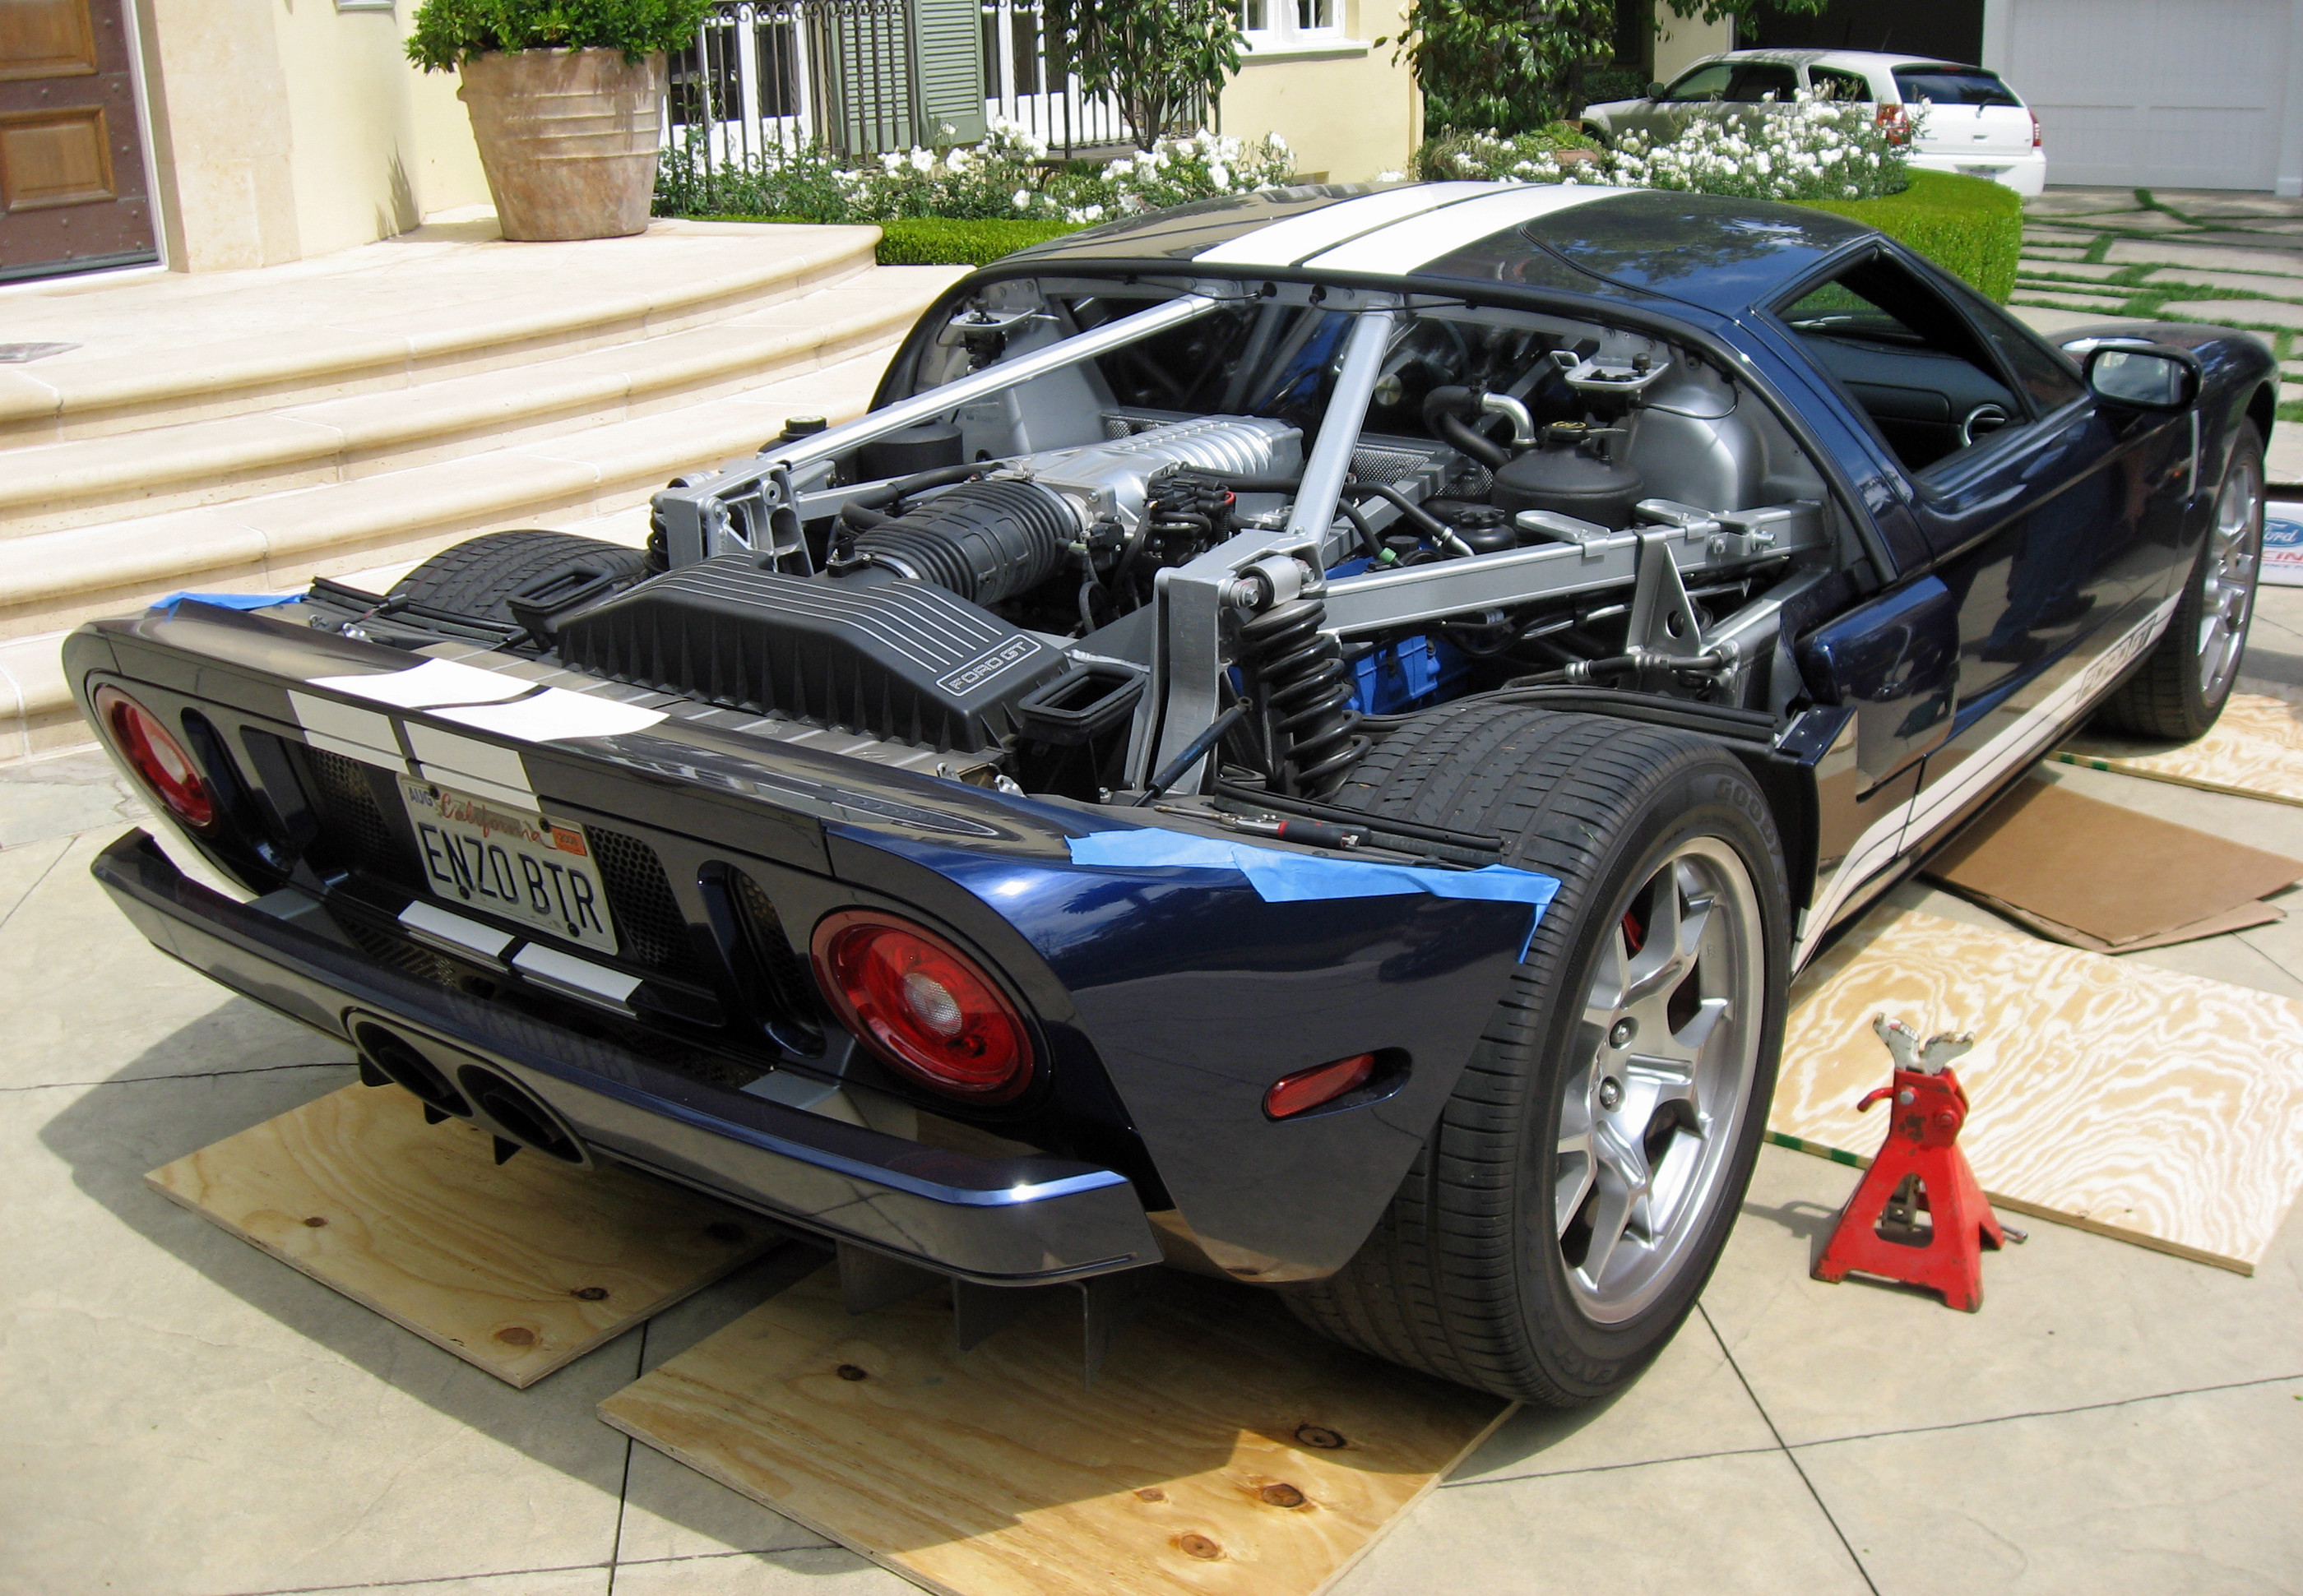 Ford GT Exhaust System Swap
Exhaust system replacement, highlighting that some car repairs are best handled by professionals.
Conclusion
Addressing a faulty fuel gauge is crucial for safe and stress-free driving. By understanding the components of the fuel gauge system and following these troubleshooting steps, you can often diagnose and sometimes even fix the problem yourself. However, always prioritize safety and don’t hesitate to seek professional help when needed. Keeping your fuel gauge accurate not only prevents the inconvenience of running out of gas but also ensures you have a reliable reading of your vehicle’s fuel level at all times.