How to Fix Car Trunk Hydraulics: A Step-by-Step Guide

Is your car trunk lid feeling heavier than usual, or maybe it’s not staying open on its own? You might be experiencing issues with your car trunk hydraulics, also known as lift supports or struts. These components are essential for the smooth and effortless operation of your trunk or liftgate. Over time, they can wear out, become less effective, or even fail completely. The good news is that often, fixing car trunk hydraulics is a task you can easily handle yourself, saving you a trip to the mechanic and some money.
This guide will walk you through the process of diagnosing and fixing common problems with car trunk hydraulics. Whether you need to service your existing struts or replace them, we’ll cover the steps to get your trunk lifting and staying open like new again.
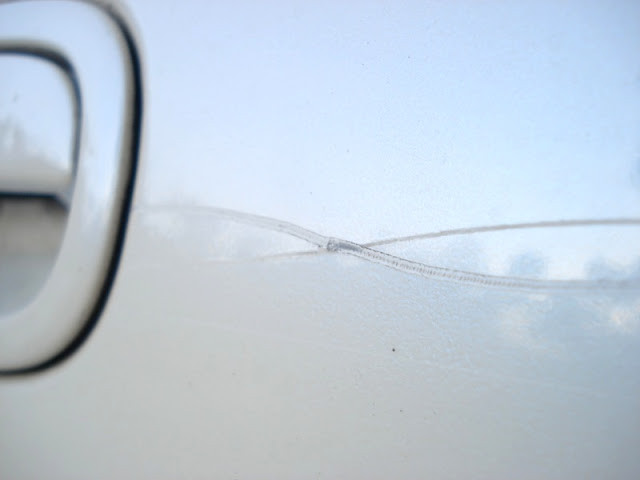
First, let’s understand when your trunk hydraulics might need attention. A key sign is when the trunk lid starts to droop, falls closed too quickly, or requires extra effort to lift and keep open. Even if your liftgate still manages to open somewhat, if it’s slow or doesn’t reach its full height, it’s a good indicator that your struts could use some maintenance or replacement.
In many cases, especially when the struts are not completely worn out, simple servicing can restore their functionality. This usually involves cleaning and lubricating the struts and their joints. Let’s start with how to service your existing car trunk hydraulics.
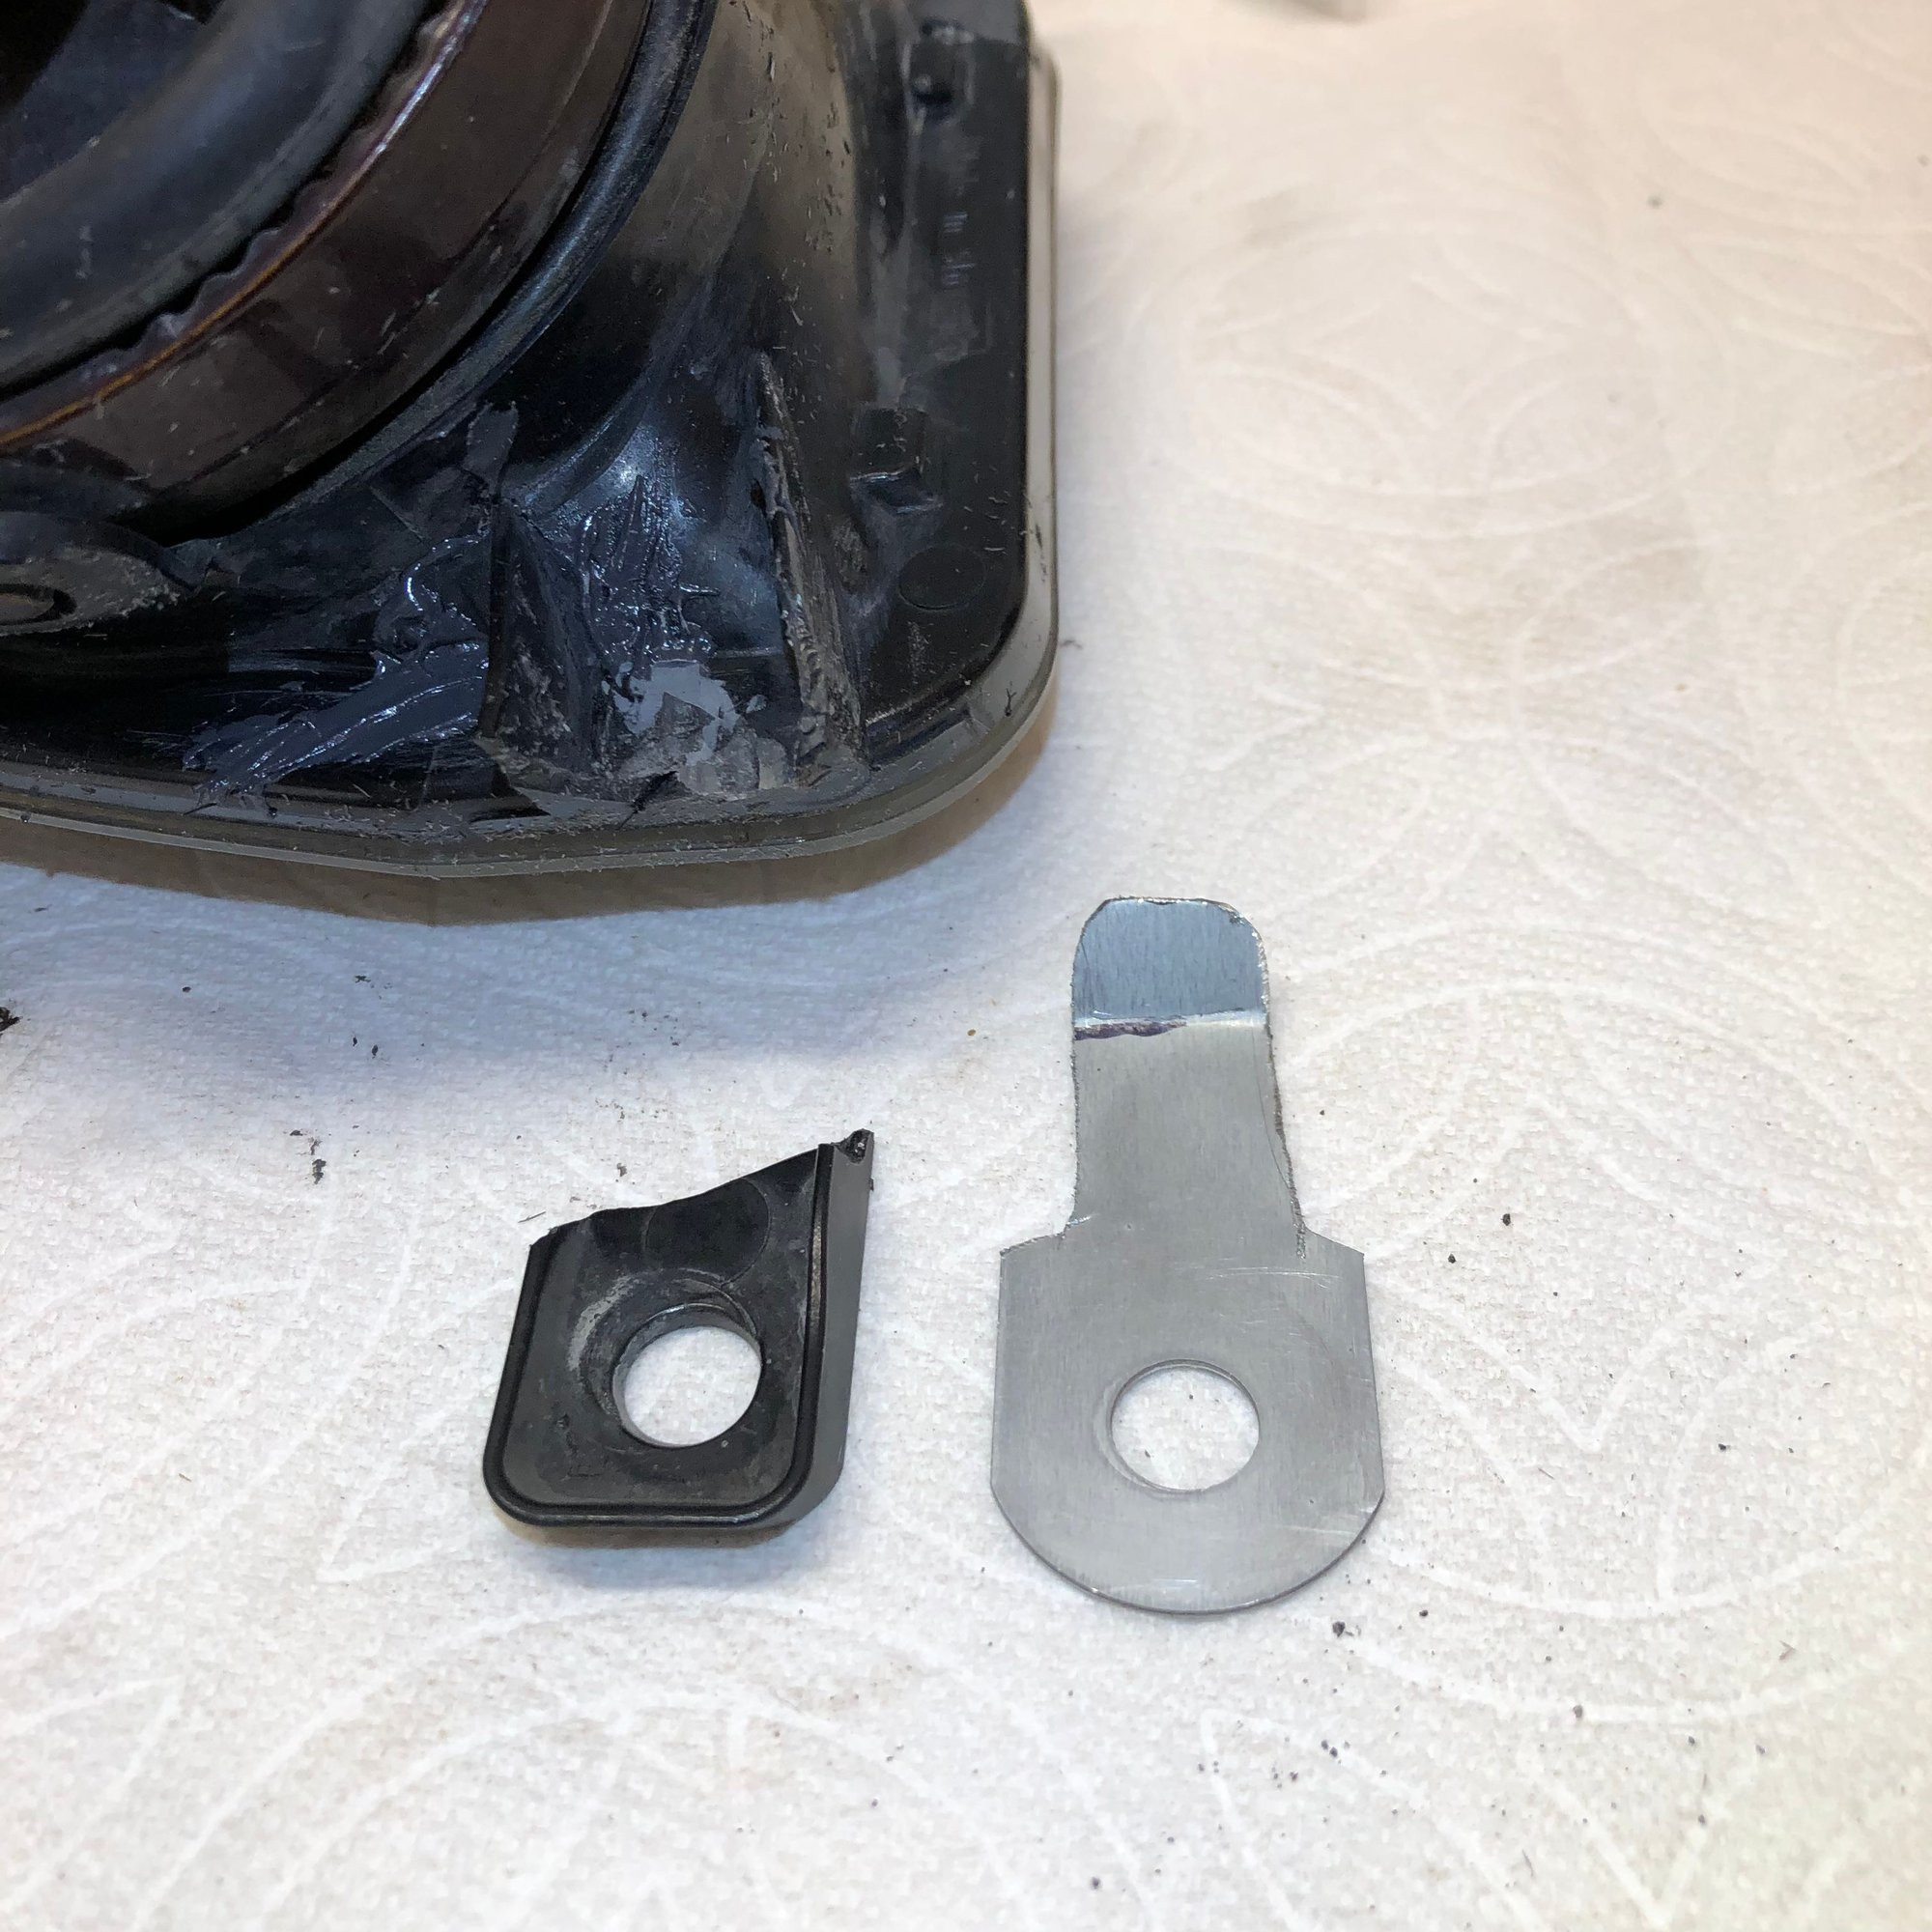
To begin, you’ll need to identify the components we’re working with. Car trunk hydraulics consist of struts, which look like small shock absorbers, and ball-and-socket joints at each end where they attach to your vehicle’s frame and the trunk lid.
Checking liftgate struts for replacement needs.
Step-by-Step Guide to Servicing Car Trunk Hydraulics:
-
Safety First: Before you start, ensure the trunk is propped open securely. You can use a piece of wood or a prop rod to prevent it from falling unexpectedly, especially when you detach a strut. It’s crucial to avoid injury from a falling trunk lid.
-
Locate the Struts and Joints: Identify the hydraulic struts on either side of your trunk or liftgate. Locate the ball-and-socket joints at both ends of each strut. These are the points of connection to the vehicle.
-
Detach the Strut (One End at a Time): Examine how the struts are attached. Some vehicles use a spring clip, while others might use a screw-on bracket.
- For Spring Clips: Use a small flat-blade screwdriver to gently loosen the spring clip. Then, use needle-nose pliers to carefully pull the clip off the joint. Keep these clips in a safe place as you’ll need to reinstall them.
- For Screw-on Brackets: Use the appropriate screwdriver to undo the screws holding the bracket.
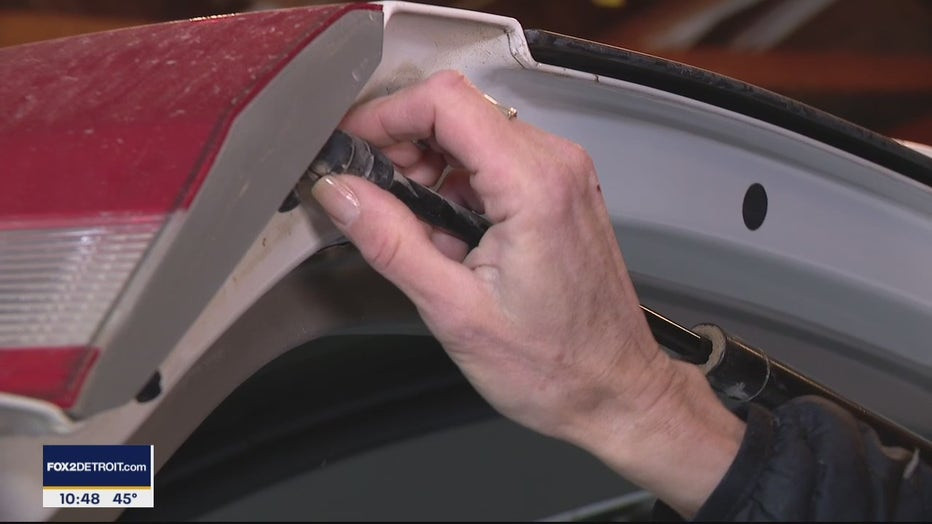 Detaching liftgate struts from the vehicle.
Once the clip or bracket is removed from one end, use the needle-nose pliers to gently wiggle and detach the strut from the ball joint. Remember to support the trunk lid as soon as you detach one end, as one strut alone won’t hold it up. Repeat this process for the other end of the strut to remove it completely. Work on one strut at a time to maintain some level of control over the trunk lid.
-
Clean the Ball and Socket Joints: With the strut removed, inspect the socket ends of the strut and the ball ends on the vehicle. They are likely to be dirty or grimy. Use WD-40 or a similar cleaner spray to flush out dirt and debris from the socket ends of the strut. Wipe clean with a rag. Also, spray WD-40 on the ball ends of the joints on the vehicle and clean them thoroughly. WD-40 acts as a cleaner and helps to displace moisture.
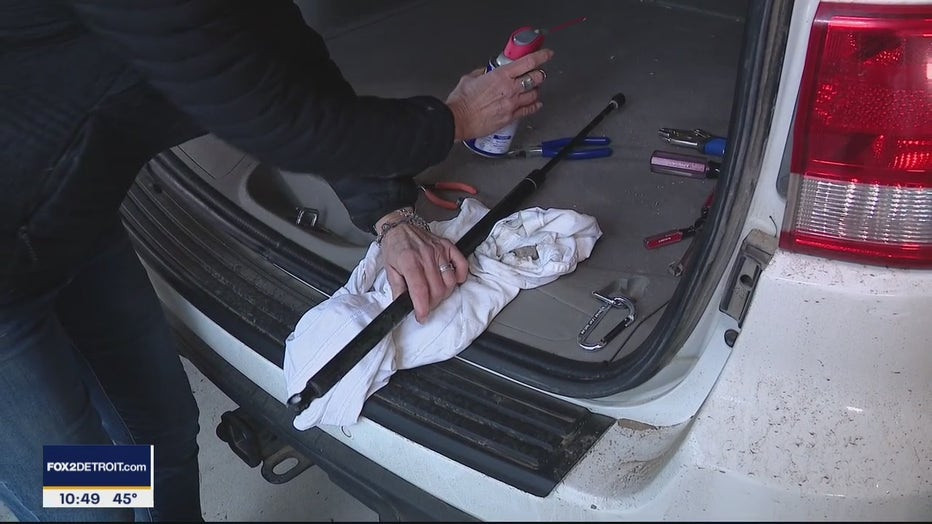 Cleaning ball-and-socket joints of liftgate struts.
 -
Lubricate the Strut Rod: Pay attention to the rod that extends into the hydraulic cylinder part of the strut. This area can accumulate dirt, especially in dusty conditions. Use a small screwdriver or a similar tool to carefully remove any packed-on dirt or grime from around the rod. After cleaning, apply a light lubricant like 3-in-1 oil or Tri-Flow to the rod. This will help the strut move smoothly.
-
Reinstall the Strut: Reattaching the strut involves reversing the removal process. Align the socket ends of the strut with the ball ends of the joints on the vehicle. Pop the sockets over the balls until they are securely in place. If you removed spring clips, you might find them a bit tricky to reinstall. Use a screwdriver or needle-nose pliers to spread the clip open and snap it back into its place to secure the joint. Ensure all clips or brackets are firmly in place. Wearing gloves can help protect your fingers during this step.
-
Test the Liftgate: After reinstalling the strut (and repeating the process for the other strut if you removed both), carefully remove your prop and test the trunk liftgate. Open and close it a few times to distribute the lubricant and check for smooth operation. You might need to reapply lubricant if the movement still feels stiff. Ideally, after servicing, your trunk should open more easily and reach its full height without sagging.
When to Consider Replacing Car Trunk Hydraulics:
If servicing your struts doesn’t solve the problem, or if your struts are visibly damaged, leaking fluid, or completely worn out, replacement is the next step. Replacement is also a straightforward DIY task. You would follow a similar removal process as described above, and then install the new struts in reverse order. New struts come pre-lubricated and ready to install. Ensure you purchase the correct replacement struts for your vehicle’s make and model.
By following these steps, you can effectively troubleshoot and fix many common issues with car trunk hydraulics. Whether it’s a simple cleaning and lubrication or a complete replacement, addressing these problems yourself can save you time and money, and restore the convenience of a properly functioning trunk or liftgate.