How to Fix Wrinkled Leather Console in Your Car
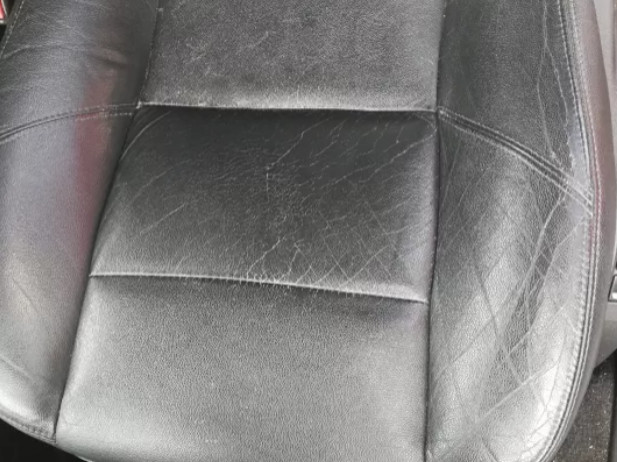
Dealing with a wrinkled leather console in your car can be frustrating. It detracts from the vehicle’s interior aesthetic and can make even a well-maintained car look older than it is. Many car owners face this issue, and while professional repair is an option, it’s often costly. This guide explores DIY methods to address those wrinkles and restore the smooth, luxurious feel of your leather console.
One initial approach many try involves using heat to manipulate the leather. The idea is that warming the leather can make it more pliable, allowing you to smooth out wrinkles. One method involves carefully applying heat, similar to how leather might get hot on a sunny day. For example, using a heat gun on a low setting, or even just the warmth of a hairdryer, can be a starting point. The key is to apply gentle heat evenly across the wrinkled area. After heating, some attempt to quickly cool the leather, hoping to set it in a smoother state. This might involve using a damp, cool cloth to wipe the surface immediately after heating. However, as some have found, this method alone might only yield minimal results, perhaps reducing wrinkles by a small percentage, like 10% or less, with repeated attempts.
A more effective approach often requires removing the console or at least the leather-covered part. Many car consoles are designed with a removable top cover, often the armrest section. Figuring out how to detach this part is crucial. Typically, these covers are held in place by clips or fasteners, often hidden from plain sight. Careful inspection and gentle manipulation are needed to avoid damaging the surrounding materials. Once removed, you might find yourself facing the next challenge: separating the leather from the underlying plastic or metal frame. This is often where manufacturers use strong adhesives or a combination of glue and plastic hooks.
To properly fix the wrinkles, separating the leather is often necessary. Starting at an edge or corner, you can try to gently insert a thin, flat tool, like a plastic trim removal tool or a тонкий screwdriver, to break the adhesive bond. Work slowly and patiently to avoid tearing the leather or damaging the frame. If glue is the primary fastener, you might need to carefully slice through the adhesive. If plastic hooks are involved, try to identify their location and gently pry them open. Once the leather is detached, you have several options to address the wrinkles.
One effective technique is to re-glue the leather while ensuring it’s stretched smooth. Using a quality spray adhesive designed for leather and upholstery, carefully re-attach the leather to the frame, pulling it taut as you go to eliminate wrinkles. Another method involves adding a thin layer of foam padding between the leather and the frame before re-gluing. This extra layer can fill in minor imperfections and provide a smoother, more cushioned surface, effectively masking the wrinkles. Alternatively, if there’s enough excess leather, you can try stretching it and re-wrapping it around the frame, securing the excess material underneath in a way that removes the slack causing the wrinkles.
In conclusion, fixing wrinkles in your car’s leather console involves a combination of careful disassembly, strategic wrinkle removal techniques, and meticulous reassembly. While initial attempts with heat alone might be underwhelming, taking the time to remove the console cover and separate the leather opens up more effective solutions like re-gluing with stretching or adding foam padding. By following these steps, you can significantly improve the look and feel of your car’s interior and restore the luxurious appeal of your leather console.