Porsche PT3G VCI: A Comprehensive Guide to Installation and Setup
The Porsche PT3G VCI (Vehicle Communication Interface) is an essential tool for automotive technicians working with Porsche vehicles. This guide provides a detailed, step-by-step walkthrough on how to install the VNCI PT3G device manager and the necessary drivers to ensure seamless communication between your diagnostic software and the vehicle. This tutorial is designed to help both novice and experienced users correctly set up their Porsche PT3G VCI for optimal performance.
Part 1: Installing the VNCI PT3G Device Manager
The device manager is crucial for keeping your Porsche PT3G VCI firmware up to date. Regularly updating the firmware ensures compatibility and access to the latest features and improvements.
First, download the VNCI PT3G firmware update tool (Device Manager) using this link: VNCI PT3G firmware update tool (Device Manager) download link.
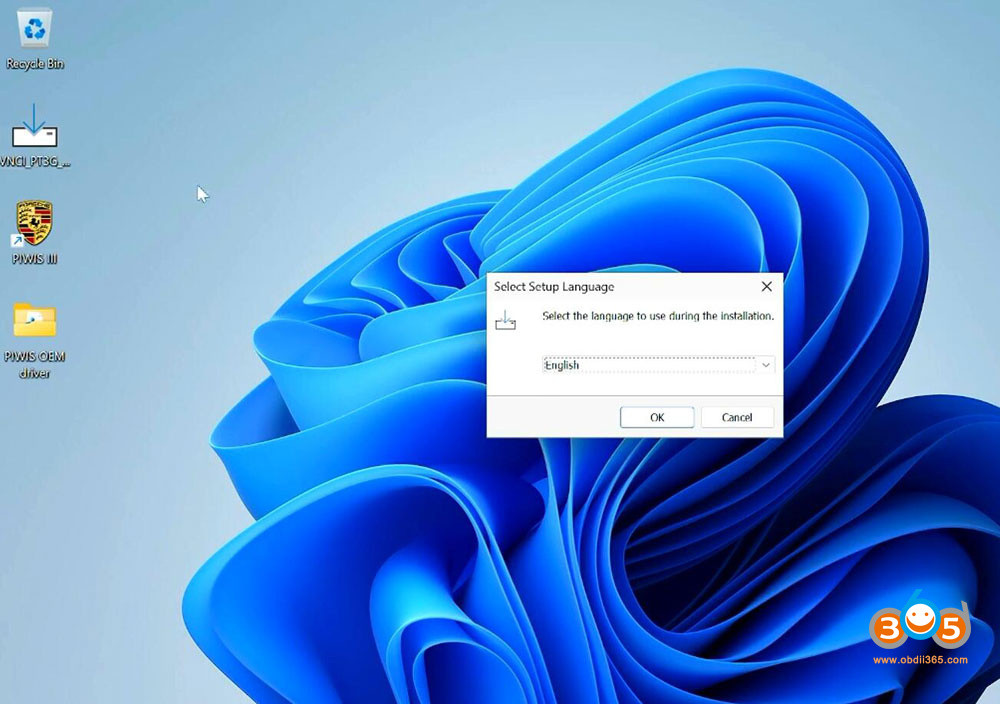
Once downloaded, locate and run the VNCI_PT3G_Device_Manager setup.exe file. Follow the on-screen instructions to complete the installation process. This is a straightforward process, similar to installing any standard software application on your Windows PC.
Installation process step 1 for VNCI PT3G Device Manager, showing the setup wizard welcome screen.
 Installation step 2 showing the license agreement screen, prompting user to accept terms and conditions.
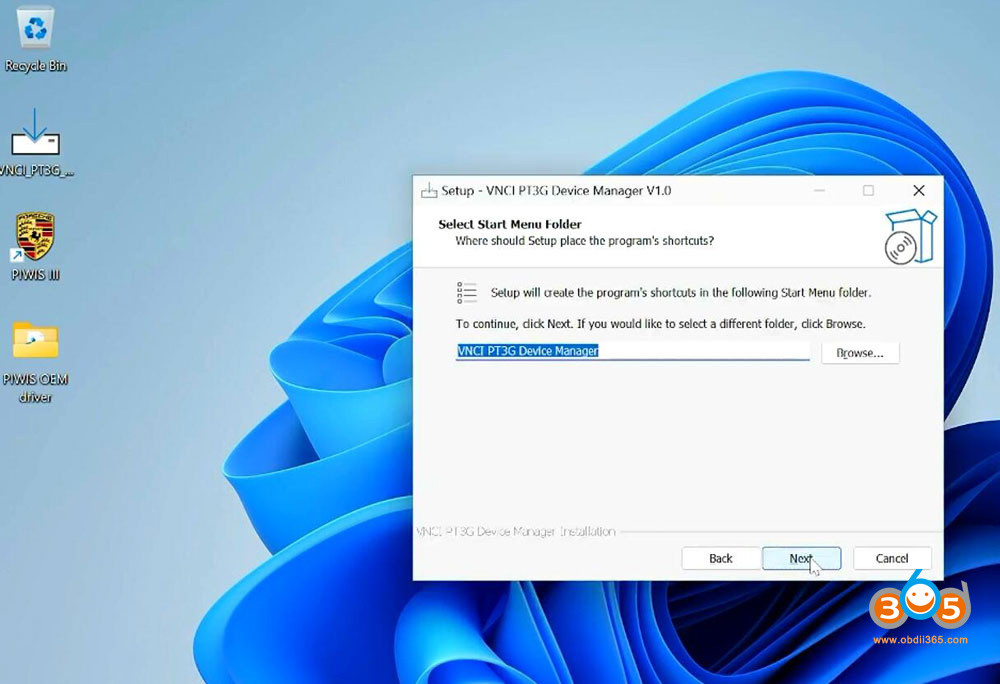 Installation step 3 showing the destination folder selection screen, allowing users to choose installation directory.
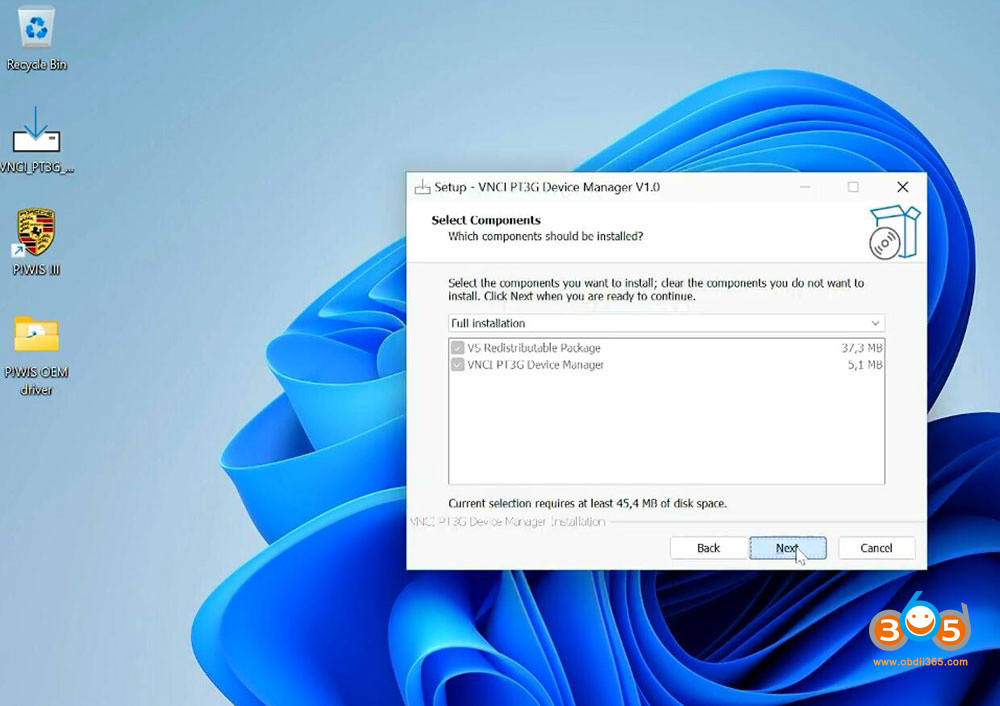
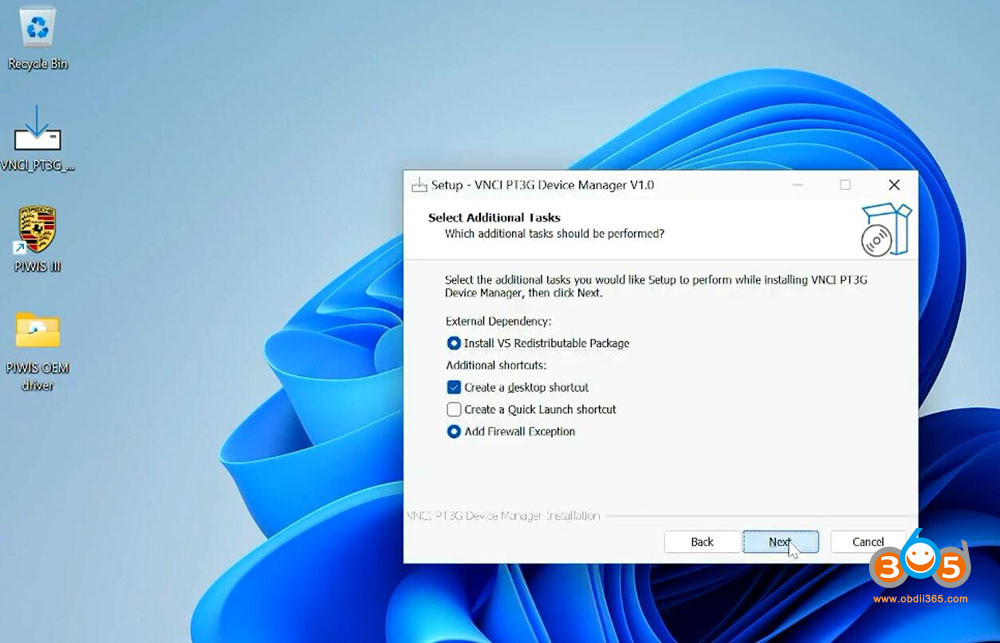 Installation step 4 showing confirmation screen for installation, ready to begin file extraction and setup.
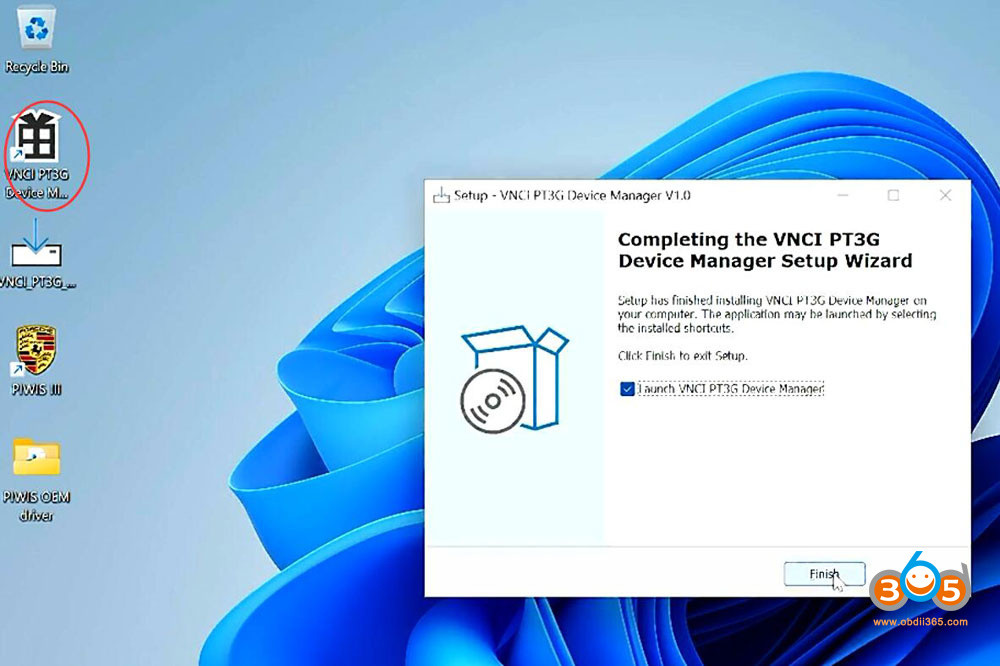 Installation step 5 showing the final installation completion screen, indicating successful setup of VNCI PT3G Device Manager.
After successful installation, run the VNCI PT3G Device Manager application. Connect your Porsche PT3G VCI to your computer via USB. The device manager will automatically detect the interface.
Check the device information displayed, including the serial number and firmware version. This confirms that the device is properly recognized by the software.
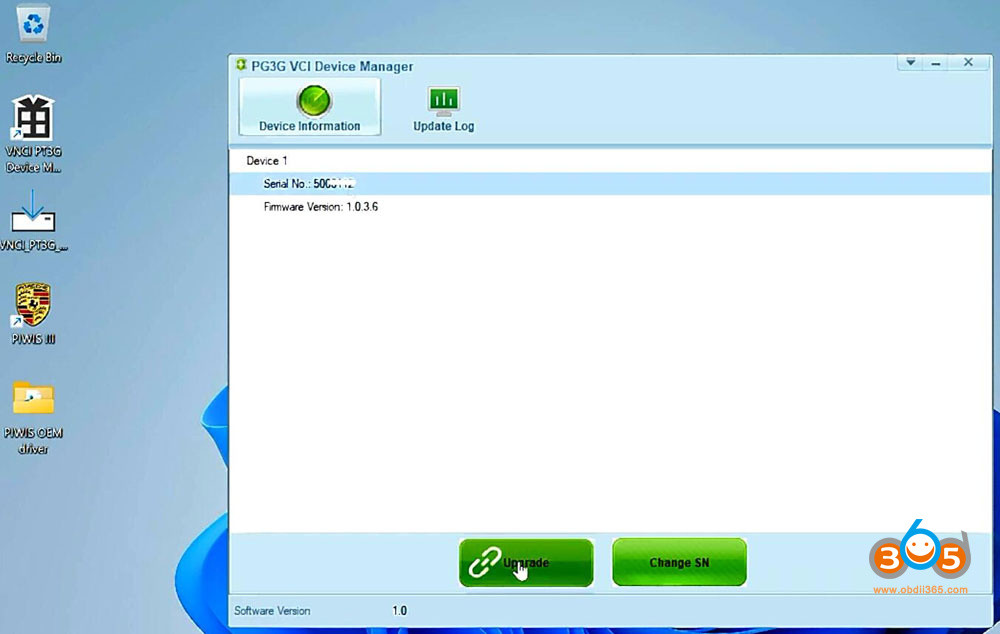 VNCI PT3G Device Manager interface showing device information such as serial number and firmware version after connection.
The Device Manager will automatically check for new firmware versions available on the server. If an update is available, it is highly recommended to run the upgrade to ensure your Porsche PT3G VCI is running the latest software. This keeps your device optimized for performance and compatibility with Porsche diagnostic systems.
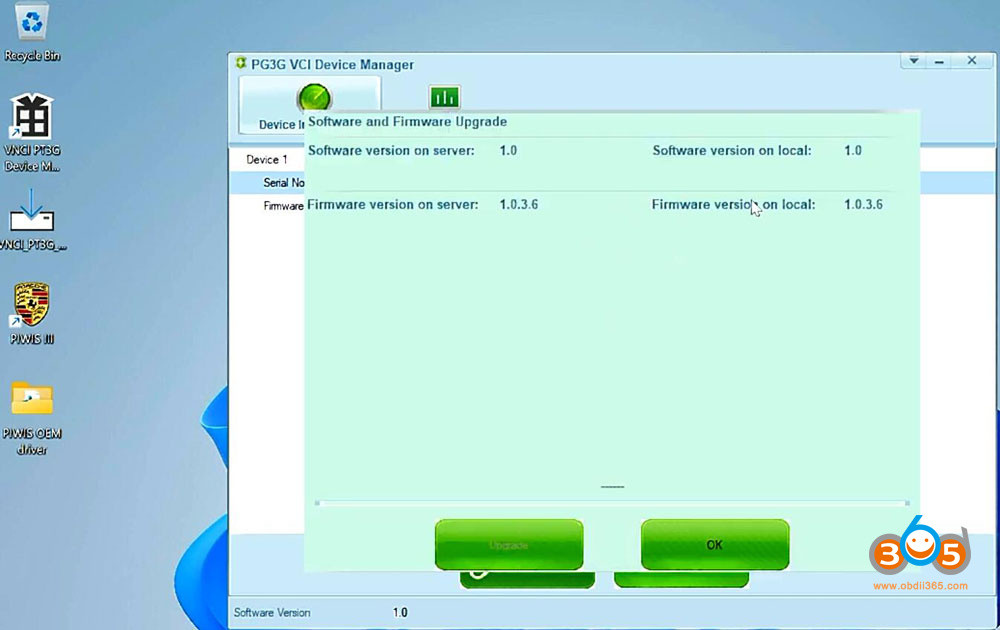 VNCI PT3G Device Manager prompting for a firmware update, indicating a newer version is available on the server.
Part 2: Installing and Configuring Actia PUD API Driver for Porsche PT3G VCI
The Actia PUD API driver is essential for enabling communication between the Porsche PT3G VCI and Porsche diagnostic software, such as PIWIS III. If you are using a pre-configured VNCI PT3G HDD, these drivers are already set up for plug-and-play use. However, if you’re using original or third-party PIWIS III software, manual configuration of the VCI driver within the PUD API is necessary.
It’s crucial to verify that your device is recognized as PT3G_VCI and not as a generic 6154a or other J2534 VCI, to ensure correct driver application.
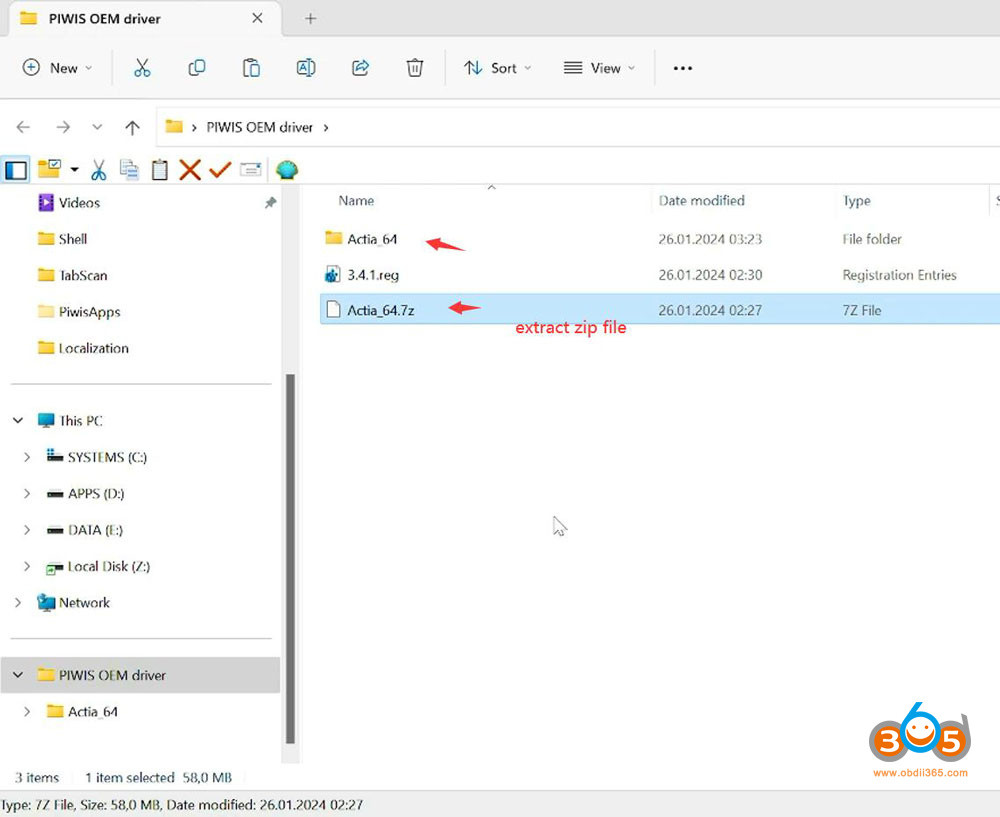
Download the necessary PIWIS OEM driver, which includes the Actia PUD API Driver and a required patch, from the following link: PIWIS OEM Driver. Alternatively, you can download the Actia-64 driver separately here: Actia-64.7z. Extract the downloaded zip file to a convenient location on your computer.
 File Explorer showing the extracted PIWIS OEM Driver files, ready for installation and configuration.
 File Explorer showing the contents of the extracted Actia-64 driver folder, highlighting the necessary files for setup.
 File Explorer showing the XS_D_PDU_API_64 folder within the Actia-64 directory, containing driver API components.
Navigate to your PIWIS software installation directory, typically found at PiwisApps/VCI/Actia-64. Copy the XS_D_PDU_API_64 folder from the extracted driver files and paste it into the Actia-64 folder, replacing the existing folder to update the driver files.
 File Explorer showing the process of replacing the XS_D_PDU_API_64 folder in the PIWIS software directory.
Next, within the driver folder, locate and run the 3.4.1 patch application. This patch is crucial for establishing a stable connection between the diagnostic software and your Porsche PT3G VCI.
 File Explorer showing the location of the 3.4.1 patch file within the driver folder, ready to be executed.
 A command prompt window showing the execution of the 3.4.1 patch, indicating successful application of the patch.
To verify the correct installation and configuration, run the ACTIA_D_PDU_API_Tester.exe program. This application is located in the PiwisApps/VCI/Actia_64/XS_D_PDU_API_64 folder.
 File Explorer showing the location of ACTIA_D_PDU_API_Tester.exe within the XS_D_PDU_API_64 directory.
In the API Tester program, select the device module type as PT3G-VCI from the dropdown menu.
 ACTIA D-PDU API Tester interface with PT3G-VCI selected as the device module type in the dropdown menu.
Finally, check if the serial number displayed in the D-PDU API driver matches the serial number shown in the PT3G device manager. If the serial numbers match, it confirms that the Porsche PT3G VCI and drivers are correctly installed and configured, and your diagnostic software is ready to use with your Porsche vehicle.
 ACTIA D-PDU API Tester interface showing the device serial number, confirming successful driver installation and device recognition.
By following these steps, you can ensure a smooth and successful installation of your Porsche PT3G VCI, enabling efficient and reliable diagnostics for Porsche vehicles.